This site is supported by our readers. We may earn a commission, at no cost to you, if you purchase through links.
Before cutting, lay out your pattern pieces on the fabric to check if matching is possible. You may need extra fabric for plaids and stripes, so consider buying an additional 1/2 to 1 yard. Don’t forget to account for bias-cut pieces, which drape differently.
With some planning and practice, you’ll be creating eye-catching garments in no time. Ready to dive deeper into the realm of pattern matching?
Table Of Contents
- Key Takeaways
- Determine Pattern Suitability
- Consider Challenges With Plaids
- Test Plaid Fabric Suitability
- Break the Rules With Plaid Fabric
- Recommended Fabrics for Minoru Jacket
- Bias Cutting Considerations
- Extra Fabric for Patterns
- Calculating Extra Fabric
- Pattern Matching Class
- Alternative Method for Estimating Fabric
- Frequently Asked Questions (FAQs)
- Conclusion
Key Takeaways
- Diving into the world of plaid and striped fabrics? Buckle up, buttercup! You’ll need to become a pattern-matching maestro, but trust me, the eye-catching results are worth it.
- Vintage patterns are your secret weapon for stripes – they’re like peanut butter and jelly, a match made in sewing heaven. But watch out for those tricky raglan seams and gathered collars when working with plaids!
- Don’t be caught short – grab an extra 1/2 to 1 yard of fabric. It’s like bringing an umbrella on a cloudy day – better to have it and not need it than vice versa.
- bias-cut pieces are the wild cards of the fabric world. They drape differently and can make your garment dance, but remember to let them hang out (literally) before sewing to avoid any funky surprises.
Determine Pattern Suitability
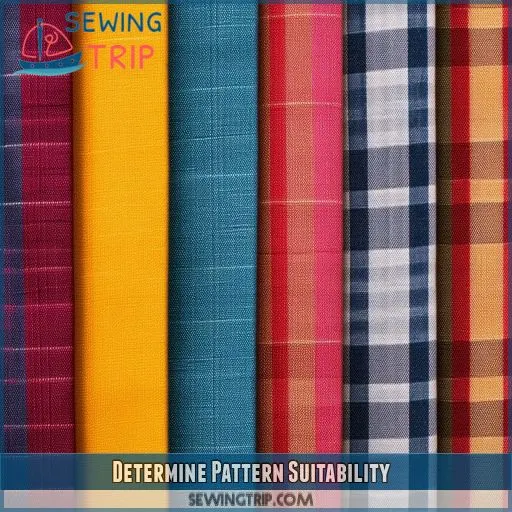
When choosing a pattern for striped or plaid fabrics, you’ll need to carefully assess its suitability. While many patterns aren’t designed for these challenging prints, vintage patterns often work well with stripes, and you can look for stripes on the pattern’s cover art as a good indicator of compatibility.
Avoid Plaids and Stripes for Certain Patterns
When selecting patterns for plaids or stripes, you’ll need to be cautious. Some designs simply aren’t suitable for these bold fabrics.
Raglan seams, gathered collars, and elastic casings can create matching challenges you’d rather avoid.
Before diving in, assess your pattern’s suitability. Consider how the fabric’s lines will interact with each piece.
Sometimes, breaking the rules can lead to innovation, but it’s essential to understand the potential pitfalls first.
Vintage Patterns May Work Better With Stripes
When working with vintage patterns, you’ll often find they’re more compatible with stripes. These timeless designs typically feature simpler lines and fewer pieces, making stripe placement a breeze.
You’ll have an easier time aligning those bold lines across seams and creating a cohesive look.
Plus, the classic appeal of stripes complements the retro vibe of vintage patterns perfectly. It’s a match made in sewing heaven!
Look for Stripes on Pattern Cover Art
While vintage patterns can be stripe-friendly, you’ll want to keep an eye out for stripes on the pattern cover art too. It’s a clever trick to gauge fabric suitability.
If you spot stripes adorning the cover model, you’re in luck! This visual cue suggests the pattern’s designed with stripe placement in mind, making your fabric selection and pattern matching journey a whole lot smoother.
Consider Challenges With Plaids
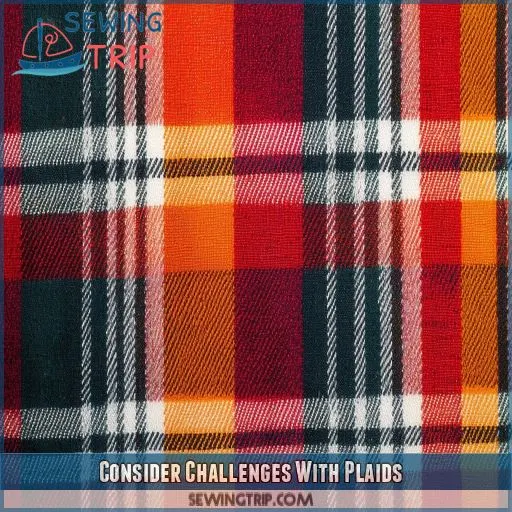
When working with plaid fabrics, you’ll encounter several challenges that can affect your garment’s appearance. Raglan seams and gathered collars can disrupt plaid lines, while elastic casings and necklines may look messy if not carefully aligned with the pattern.
Raglan Seams Make Plaid Matching Difficult
When you’re working with raglan seams and plaid fabrics, you’re in for a challenge. These curved seams can make pattern matching a real headache. Here are three key points to remember:
- Raglan sleeves create diagonal lines that intersect with plaid patterns.
- Matching plaids across raglan seams requires extra sewing steps and precision.
- The plaid bias at the shoulder can create an eye-catching but complex design.
Don’t let this deter you, though. With patience and practice, you’ll master this tricky technique.
Gathering Into Collar Slants Plaid Lines
When working with plaid fabric, gathering into the collar can pose a challenge. The process slants the plaid lines, disrupting the pattern’s uniformity. To tackle this issue, consider these techniques:
| Technique | Description |
|---|---|
| Bias cut | Reduces visible distortion |
| Match lines | Align key points for continuity |
| Crossgrain | Provides stretch for easier gathering |
| Pattern adjustment | Modify collar pieces for better alignment |
| Strategic placement | Position gathers to minimize pattern disruption |
Elastic Casing May Look Sloppy if Not Aligned
When working with plaids, you’ll face another challenge: elastic casings. If not aligned properly, they can ruin your hard work on raglan seams and collar gathering. To avoid a sloppy look, consider these steps:
- Match plaid lines at seam allowances
- Use a walking foot for even feed
- Choose polyester or yarn-dyed fabrics for stability
- Cut bias-cut pieces carefully for proper drape
Plaid Neckline Can Appear Busy
When working with plaids, your neckline can quickly become a visual circus if you’re not careful.
Matching plaids around curves and corners is like solving a puzzle – tricky, but not impossible. Use tracing paper to plan your plaid lines and consider creative solutions.
Sometimes, opting for solid blue or black fabrics for neckline facings can tame a busy plaid and give your garment a polished look.
Test Plaid Fabric Suitability
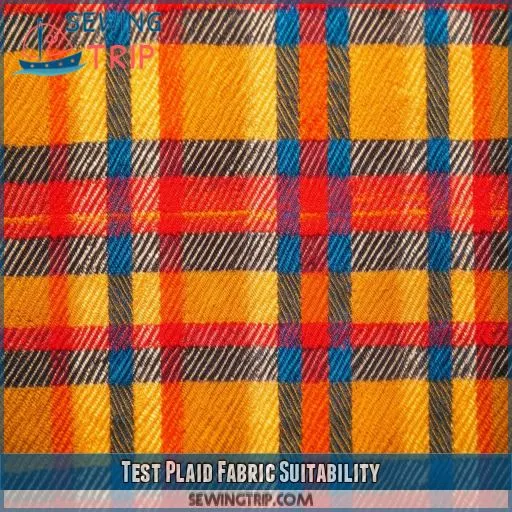
Before committing to a plaid fabric for your project, test its suitability by laying out the pattern pieces on the fabric. You’ll quickly see if matching is possible, and you can draw plaid lines on the pattern tissue to visualize how they’ll align on your body.
Lay Pattern Pieces on Fabric Before Cutting
Now that you’re aware of plaid challenges, it’s time to test your fabric’s suitability. Lay your pattern pieces on the fabric before cutting to visualize the final look. This essential step helps you:
- Assess print scale and color combinations
- Check grain direction and seam allowances
- Evaluate fabric texture, especially with polycotton or quick-dry fabrics
- Envision how ruby red or aqua fabrics will align
This hands-on approach gives you control over the outcome, allowing for innovative pattern matching and mastery of your sewing project.
Determine if Matching is Impossible
After laying out your pattern pieces, you’ll quickly see if matching is a lost cause. Look for glaring misalignments or impossible-to-match sections.
Consider the fabric’s pattern repeat and how it interacts with each piece.
Don’t despair if perfect matching seems out of reach – sometimes, creative solutions can turn matching challenges into unique design features.
Draw Plaid Lines Onto Pattern Tissue
Once you’ve determined matching isn’t impossible, it’s time to visualize the plaid on your pattern. Grab your tissue pattern and a ruler. Here’s how to draw plaid lines:
- Mark the fabric grain direction on each piece.
- Sketch plaid blocks, noting their placement and orientation.
- Highlight areas for matching at seams, including bias sections.
This step is essential for mastering plaid matching and ensuring your finished garment looks polished and professional.
Hold Up to Yourself to See Plaid Line Placement
Hold up your pattern pieces to see how the plaid lines will fall on your body. This step is essential for determining fabric suitability and achieving perfect pattern matching. You’ll gain creative control and can decide if bias cutting might enhance the design. Here’s a quick guide to plaid placement:
| Body Part | Horizontal Plaid | Vertical Plaid | Diagonal Plaid | Chevron Effect |
|---|---|---|---|---|
| Shoulders | Widening | Lengthening | Dynamic | Eye-catching |
| Waist | Defining | Slimming | Interesting | Flattering |
| Hips | Accentuating | Elongating | Unique | Slimming |
| Arms | Shortening | Lengthening | Playful | Attention-grabbing |
| Legs | Widening | Elongating | Stylish | Leg-lengthening |
Break the Rules With Plaid Fabric
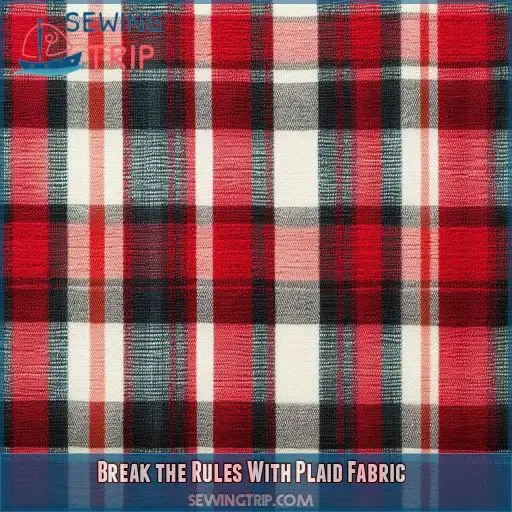
Once you have the pattern in your hands, you’re free to experiment with plaid fabric placement. Try laying out the pattern pieces on your plaid fabric before cutting to see how different arrangements look and decide if any unconventional placements appeal to you.
You Have Creative Control Once Pattern is in Hand
Once you’ve got the pattern in hand, you’re the boss of your plaid adventure! Don’t let those pesky rules box you in. Embrace the challenge and let your creativity shine. Here’s your chance to break free from conventional plaid matching and create something uniquely yours.
- Experiment with intentional mismatching for a bold statement
- Try cutting pieces on the bias for unexpected drape and visual interest
- Mix different plaid scales or colors for a patchwork effect
- Use strategic placement of pattern pieces to create optical illusions
Try Laying Pattern Pieces on Fabric Before Cutting
Now that you’ve got creative control, it’s time to put your skills to the test.
Lay your pattern pieces on the plaid or striped fabric before cutting. This vital step helps you visualize stripe placement and assess fabric suitability.
You’ll quickly spot any potential issues with bias matching or plaid alignment. If something looks off, don’t hesitate to make pattern alterations.
Trust your eye—you’re the expert now!
Recommended Fabrics for Minoru Jacket
When choosing fabrics for your Minoru jacket, consider pinstripes for a classic look, big stripes for a bold directional effect, or plaids for a traditional matched appearance. Each fabric type offers unique design possibilities, allowing you to create a jacket that showcases your personal style while mastering the art of pattern matching.
Pinstripes for a Tailored, Classic Look
Now that you’re ready to break the rules with plaid, let’s explore a classic alternative: pinstripes. They’re perfect for achieving a refined, timeless look with your Minoru jacket. When working with pinstripe patterns, consider these key points:
- Fabric width affects stripe direction
- Horizontal stripes on most pieces create visual interest
- Side front bodice highlights bust with changed stripe direction
- Vertical lines give the illusion of length, great for petite sewers
Big Stripes for a Bold, Directional Effect
After exploring pinstripes, let’s explore big stripe options. These bold patterns offer a striking directional effect. You’ll find horizontal and vertical effects create visual interest.
Consider stripe placement on the bodice, with side front pieces on bias and front bodice horizontal. Matching at side seams is imperative.
For skirts, vertical stripes elongate, while bias-cut stripes add dynamic flair. Experiment with stripe width to achieve your desired impact.
Plaids for a Traditional, Matched Look
When working with plaids for a traditional, matched look, you’ll face unique suitability challenges. Cut all pieces on grain for classic pattern matching, or experiment with bias-cut bodices and skirts for a creative twist.
Be mindful of the center front bodice seam, as it can be distracting. Remember, the crossgrain offers stretch, giving you wiggle room.
For best results, hang cut pieces on the crossgrain before sewing to pre-stretch your fabric.
Bias Cutting Considerations
When working with bias-cut pieces, you’ll notice they drape differently than those cut on the straight grain. To make sure your garment hangs properly, it’s critical to staystitch bias edges, hang the fabric before cutting, and allow for extra ease in crossgrain pieces.
Bias Cut Pieces Drape Differently
When working with bias cut pieces, you’ll notice they drape differently than those cut on the grain. This unique fabric behavior can add a beautiful flow to your garment, but it requires special attention.
Bias cut considerations include understanding how the fabric will hang and move. Keep in mind that crossgrain stretch can affect fit, so make sure you’ve allowed enough ease in your pattern.
Staystitching and Hanging Fabric Essential
When working with bias-cut pieces, you’ll notice they drape differently than those cut on grain.
To maintain shape and prevent stretching, staystitching is essential. Run a line of stitching just inside the seam allowance on curved edges.
After cutting, hang your fabric pieces for at least 24 hours. This allows the bias to settle, ensuring your garment maintains its intended shape and fit.
Crossgrain Has Stretch, Ensure Enough Ease
When working with bias cut fabrics, remember that crossgrain has stretch. You’ll need to make certain there’s enough ease for a comfortable fit. Here are key points to keep in mind:
- Crossgrain stretch provides natural "wiggle room"
- Adjust your ease allowance accordingly
- Consider how the stretch affects drape and fit
Hang Crossgrain Pieces Before Sewing
Before you embark into sewing your crossgrain or bias-cut pieces, take a moment to let them hang. This essential step allows the fabric to stretch and settle, preventing any unwanted surprises later.
Drape your cut pieces over a hanger or dress form for at least 24 hours. You’ll thank yourself when it’s time to match those tricky patterns – your fabric will be more cooperative and easier to work with.
Extra Fabric for Patterns
When working with plaids, stripes, or one-way prints, you’ll need extra fabric to guarantee proper pattern matching. The amount of additional fabric you’ll require varies based on the width of your chosen material, but a simple solution is to purchase an extra 1/2 to 1 yard to be safe.
Needed for Plaids, Stripes, or One-way Prints
When working with plaids, stripes, or one-way prints, you’ll need extra fabric to tackle pattern matching. It’s essential to have enough material to line up those repeats perfectly. Don’t get caught short!
Amount Varies Based on Fabric Width
When calculating additional fabric for patterns, remember that fabric width plays a critical role. Your yardage estimate will vary based on how many pattern pieces can fit side-by-side on your chosen fabric.
Wider fabrics may require less additional yardage, while narrower widths might need more.
To determine your fabric requirements, lay out your pattern pieces and consider how they’ll fit within the fabric’s width. This approach guarantees an accurate pattern layout and prevents frustrating shortages.
Simpler Solution: Purchase an Extra 1/2 to 1 Yard
When dealing with stripes or plaids, you’ll save yourself a headache by simply purchasing extra yardage. Instead of crunching numbers with complex math formulas, just grab an additional 1/2 to 1 yard of fabric.
This buffer guarantees you’ll have enough material to match patterns, regardless of fabric width or repeat lengths.
It’s a small investment that’ll pay off in peace of mind and professional results.
Calculating Extra Fabric
To calculate extra fabric for striped or plaid patterns, start by counting the number of pattern pieces you’ll cut and multiply that by the repeat length of your fabric. For skirts or large pieces that may overlap, you’ll need to multiply the number of pieces by the repeat length to guarantee you have enough fabric for proper pattern matching.
Count Number of Pattern Pieces to Cut
When calculating extra fabric for plaids or stripes, start by counting your pattern pieces. Don’t just tally seams; each piece counts individually.
For A-line skirts, consider if large pieces fit side by side. Downward-folding pockets might need extra fabric for matching.
Remember to account for both horizontal and vertical repeats.
This initial count sets the stage for your fabric calculations, ensuring you’ve got enough to work with.
Multiply Pieces by Repeat Length
Once you’ve counted your pattern pieces, it’s time to do some math. Multiply the number of pieces by the repeat length of your fabric. This calculation gives you a rough estimate of the extra fabric you’ll need for pattern matching.
Don’t worry; you’re not just crunching numbers – you’re setting yourself up for sewing success!
Consider if Large Pieces Fit Side by Side
After counting your pattern pieces and determining the repeat length, it’s time to contemplate how they fit on your fabric.
Examine those large side pieces. Do they fit side by side, or do they overlap?
If they’re a snug fit, you’re in luck! But if there’s side overlap, you’ll need extra fabric to guarantee proper matching.
Don’t skimp – it’s better to have a bit more than not enough.
For Skirts, Multiply Pieces by Repeat Length if Overlapping
When dealing with skirts, you’ll need to think about the overlap of pattern pieces. If they don’t fit side by side, multiply the number of pieces by the repeat length. This is essential for matching plaids and ensuring vertical alignment. Here are three key points to remember:
- A-line skirts may require extra fabric for proper matching
- Downward-folding pockets can complicate plaid alignment
- Create a chevron effect on skirt sides for a unique look
Pattern Matching Class
If you’re looking to master the art of pattern matching, consider taking Amy Alan’s thorough class on Craftsy/Bluprint. For $40, you’ll gain access to detailed instruction on matching plaids, stripes, and other complex patterns, covering all aspects of this essential sewing skill.
Offered by Amy Alan on Craftsy/Bluprint
If you’re looking to up your pattern matching game, you’re in luck. Amy Alan offers an all-inclusive class on Craftsy/Bluprint that’ll have you matching like a pro in no time. With your Craftsy membership, you’ll gain access to a wealth of Bluprint classes, including this gem. It’s like having a sewing guru right in your living room!
Cost: $40
If you’re ready to take your pattern matching skills to the next level, Amy Alan’s class on Craftsy/Bluprint is a worthwhile investment at $40.
This course will help you master the art of matching plaids and stripes, guiding you through fabric choice and bias cutting techniques.
While it may seem pricey, consider it an investment in your sewing future – the knowledge gained will save you time and fabric in the long run.
Covers All Aspects of Pattern Matching
You’ll gain a thorough understanding of pattern matching in this class. It covers:
- Pattern placement techniques for various fabric types
- Aligning prints with fabric grain for ideal drape
- Strategies to achieve matching precision across seams
You’ll master the art of working with challenging fabrics, learning to manipulate seam allowances for perfect alignment. This knowledge will transform your sewing, giving you control over even the most intricate patterns. Ready to become a pattern matching expert?
Includes Detailed Info on Plaids, Stripes, and Beyond
You’ll dive deep into the art of matching stripes, bias cutting plaids, and tackling complex pattern matching. The class covers plaid fabric suitability, ensuring you’ll confidently choose the right materials.
You’ll master pinstripe tailoring techniques that’ll elevate your garments.
With hands-on exercises and expert guidance, you’ll transform from a pattern-matching novice to a confident pro, ready to tackle even the trickiest designs with ease.
Alternative Method for Estimating Fabric
To estimate fabric needs for striped or plaid patterns, try laying out your pattern pieces on a cardboard cutting mat with 1" squares. Add one repeat length for each width filled up, providing a visual representation that’s easier than complex formulas and helps determine if your pattern will fit on a specific fabric width.
Lay Pattern Pieces on Cardboard Cutting Mat With 1 Squares
Now, let’s delve into a clever alternative for estimating fabric needs. You’ll need a cardboard cutting mat with 1" squares to visualize your plaid line placement. This method is particularly handy for aligning complex patterns. Here’s why it’s a game-changer:
- Provides a visual representation of fabric width
- Helps determine if patterns fit on specific widths
- Simplifies chevron effect planning
Add One Repeat Length for Each Width Filled Up
After laying out your pattern pieces, you’ll need to account for extra fabric with one-way prints or patterns.
For each width of fabric you’ve filled up, add one repeat length.
This method gives you a visual representation of how much fabric you’ll actually need.
It’s especially helpful when working with fabrics of different widths or complex patterns that require careful matching.
Easier Than Mathematical Formulas
You’ll find this method a breeze compared to crunching numbers. By laying out your pattern pieces on a gridded mat, you can quickly gauge how much fabric you’ll need.
It’s especially handy for tricky A-line skirts or creating a chevron effect.
Simply count the squares, factor in the repeat length and fabric width, and voila! You’ve got a clear picture of your yardage requirements without breaking a sweat.
Provides Visual Representation of Requirements
Using a cardboard cutting mat with 1" squares offers a visual alternative to estimating fabric needs. You’ll see exactly how your pattern pieces fit, making it easier to plan your layout.
This hands-on approach beats crunching numbers any day! Simply arrange your pieces on the mat and add one repeat length for each width filled.
It’s like playing a real-life game of Tetris with your fabric!
Determines if Pattern Will Fit on Specific Width
Using this visual method, you’ll quickly determine if your specific pattern fits on your chosen fabric width. Lay out the pieces and see how they align with the fabric’s edges.
This approach not only helps you visualize fabric placement but also aids in selecting the best fabric type for your project.
You’ll save time and potentially reduce overall costs by avoiding mismatched patterns or insufficient yardage.
Frequently Asked Questions (FAQs)
How do I handle curved seams with striped fabric?
Like traversing a meandering river, managing curved seams with stripes demands skill. Pin meticulously, easing fabric as you stitch. Clipping curves and pressing thoroughly are essential. Contemplate bias-cutting pieces for smoother transitions and a more flattering drape.
Whats the best way to store leftover plaid fabric?
Store your leftover plaid fabric by rolling it around a cardboard tube. Secure it with pins or clips to prevent unraveling. Keep it in a cool, dry place away from direct sunlight. Label it for easy identification later.
Can I mix different plaid patterns in one garment?
Like a fashion acrobat, you can mix plaid patterns, but tread carefully. Choose complementary colors and scales. You’ll want to balance bold with subtle, ensuring they don’t clash. It’s a daring move that can elevate your design when done right.
How do I choose thread color for striped fabrics?
Choose a thread color that matches the dominant stripe in your fabric. For subtlety, pick a shade that blends with both colors. If you’re feeling bold, contrast the thread with your stripes for a unique, eye-catching look.
Are there special cutting tools for plaid fabrics?
Cutting plaid fabric can be a beast, but you’ve got some handy tools in your arsenal. You’ll want a rotary cutter, self-healing mat, and clear ruler. These precision instruments will help you tame those tricky patterns with ease.
Conclusion
Like a skilled conductor leading an orchestra, you’re now equipped to harmonize stripes and plaids in your sewing projects.
Sewing striped or plaid fabrics requires careful planning, from pattern selection to fabric layout. Remember to keep in mind bias cuts, calculate extra fabric needs, and explore creative matching techniques.
With practice, you’ll master the art of pattern matching, creating garments that showcase your skill and attention to detail.
Whether you’re tackling a vintage design or a modern silhouette, these expert tips will help you achieve professional results every time.

