This site is supported by our readers. We may earn a commission, at no cost to you, if you purchase through links.
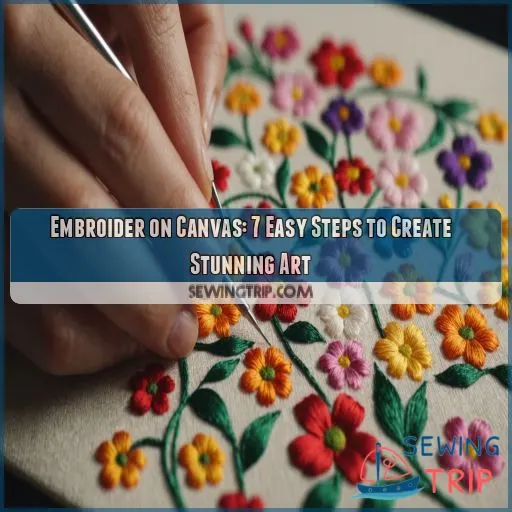
First, you’ll need to choose a simple design. A hanging plant is a popular choice, but you can go wild and create your own. Draw it out on paper, then tape it to your canvas. Use a pushpin to punch holes along the lines of your design—this is where your stitches will go. Thread your needle and get stitching!
Now, if you’re keen to learn more, let’s get into the details.
Table Of Contents
Key Takeaways
- Keep it simple: Opt for straightforward line art, geometric shapes, or florals for your first forays into canvas embroidery.
- Prep is key: Get your canvas ready by sketching your design, taping it in place, and punching holes to guide your stitches.
- Spice it up: Embrace the fun of mixed media embroidery by blending painting, fabric scraps, or yarn with your stitches.
- Share and connect: Snap pics of your embroidered masterpieces and share them online using hashtags like #embroideryart to find your tribe.
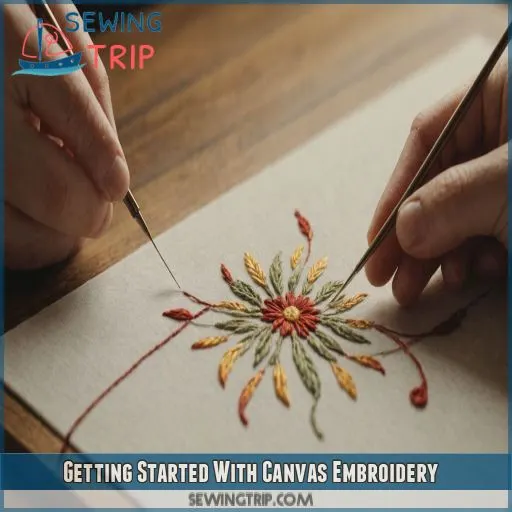
Getting Started With Canvas Embroidery
So, you’re keen to try canvas embroidery but don’t know where to start? Well, you’ve come to the right place!
We’ll guide you through the basics, from choosing a simple design to gathering the essential materials, so you can create stunning embroidered art with ease.
Choosing a Simple Design
Choosing a simple design is the first step to creating stunning embroidery art on canvas.
Go for simple line art designs that are easy to follow and stitch.
Opt for geometric shapes, flowers, or even words to get started.
You can explore free embroidery kits or online resources for inspiration and to find designs that reflect your personal style.
Keep it simple, and you’ll be on your way to mastering the art of canvas embroidery.
Preparing Your Canvas
Now that you’ve chosen your design, it’s time to prepare your canvas. This is your blank slate, so get creative!
- Paint the canvas with colours that complement your design. Go wild with paint techniques and styles!
- You can paint the entire canvas or just add colour to specific areas. It’s up to you!
- Make sure the paint is completely dry before moving on to the next step.
- If you prefer the natural canvas look, you can skip the painting step altogether.
- Now, you’re ready to start poking holes and stitching!
Essential Materials Needed
Okay, let’s talk about the stuff you need to get started with canvas embroidery. It’s like packing for a trip – you want to make sure you have everything you need before you start!
| Materials | Purpose |
|---|---|
| Canvas | Your blank canvas is the foundation of your embroidery art. |
| Embroidery Floss | This colorful thread brings your design to life with texture and vibrancy. |
| Embroidery Needle | A sharp needle is your tool to pierce the canvas and create those intricate stitches. |
| Paint and Paintbrush (Optional) | Add a splash of color to your canvas with paint. It’s like a blank canvas waiting for your artistic touch! |
| Embroidery Scissors | These precision cutters are perfect for trimming threads and ensuring neat finishes. |
| Fabric Markers or Craft Paint | Want to add extra detail? These markers or paint will do the trick! |
| Beads, Sequins, or Ribbons | Embellishments add a touch of sparkle and dimension to your creation. |
| Metallic Threads | Experiment with these shimmering threads for a magical touch. |
| Embroidery Hoop | This handy tool keeps your canvas taut and secure while you stitch. |
| Needle Threader | Makes threading your needle a breeze—no more squinting! |
With these materials gathered, you’re ready to start your canvas embroidery journey!
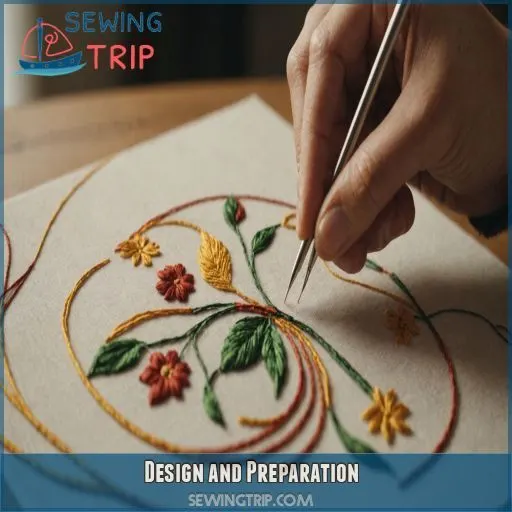
Design and Preparation
Now that you’ve picked a design, it’s time to get it ready for your canvas. This is where your creative vision comes to life as you prepare your canvas for embroidery.
In this section, you’ll learn how to transfer your design onto the canvas and get it ready for stitching.
Drawing Your Design on Paper
Let’s get to the fun part: designing your embroidery art. Grab that plain paper and black marker pen, and start sketching your design. Keep it simple with a geometric shape, a cute flower, or even your name. This is your chance to let your creativity flow and design something that truly speaks to you.
Transferring the Design to Canvas
Now that you’ve drawn your design on paper, it’s time to transfer it to the canvas.
This step is really important for making sure your embroidery stays on track and looks just how you envisioned it.
You can use a simple technique like tracing or lightboxing to get your design onto the canvas.
Or, you can poke holes along the lines of your design and connect the dots with a pen or marker.
Punching Holes for Embroidery
Now that your design is securely taped to the canvas, it’s time to start punching holes for embroidery! This step is important as it will guide your stitches and help create a neat and precise design. Here are some tips to keep in mind:
- Hole size and spacing: Keep holes about 5mm apart. This will help make sure your stitches are secure and your design is clear.
- Canvas type: Opt for a canvas with a tight weave. This makes it easier to create consistent, evenly spaced holes.
- Tool choice: Use a raised pushpin or embroidery needle to create holes. A small awl is another option, but be mindful of hole size and spacing.
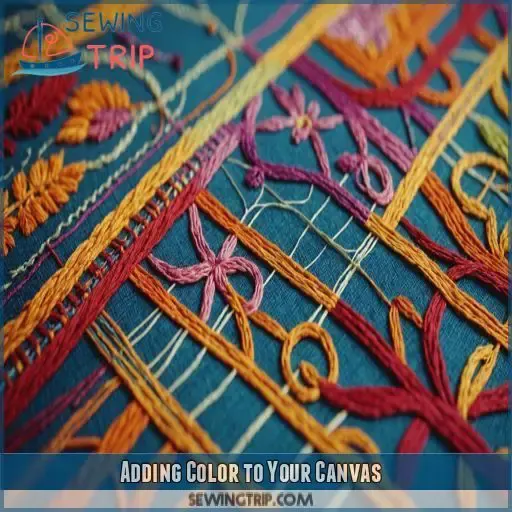
Adding Color to Your Canvas
Now it’s time to add some color to your canvas! In this step, you’ll be using watercolor paint to fill in your design and bring it to life. The paint will give your embroidery a vibrant base to work from.
Using Watercolour Paint
Now for the fun part: adding color to your canvas!
Grab your watercolor paint and start filling in your design.
The holes you punched earlier will come in handy here, acting as guides to help you stay within the lines while painting.
Don’t worry if you make a mistake; that’s all part of the creative process!
Happy painting!
Letting It Dry Completely
- Opt for the right paint: Fabric markers or craft paint are your best friends.
- Be patient: Follow the manufacturer’s instructions for drying time. Better safe than smudgy!
- Experiment with texture: Try dry brushing or adding a glitter varnish for some extra pizzazz.
- Take your time: A solid foundation is worth the wait. Your embroidery will thank you!
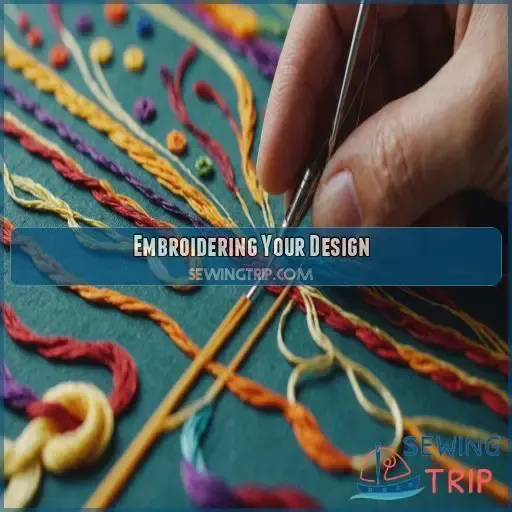
Embroidering Your Design
Now that your canvas is ready, it’s time to jump into the fun part: embroidering your design! This is where your creativity comes to life as you stitch and fill in the details.
You’ll be threading your needle and using the backstitch technique to create neat and solid lines. Don’t be afraid to switch up your thread colors to add dimension and bring your design to life.
Threading Your Needle
Threading your needle is a cinch. Choose a needle size that suits your design. For thicker threads, use a larger needle eye. Double your thread for a bolder look. Tie a knot at the end of two groups of three strands. Easy-peasy!
Using the Backstitch Technique
Now it’s time to embroider your design! The backstitch is a great technique for creating neat, solid lines of stitching. It’s perfect for outlining your design and adding detail. Imagine drawing with thread—that’s the magic of embroidery!
Changing Thread Colors
Don’t be afraid to switch up your floss when you’re embroidering your design. Changing thread colors adds depth and dimension to your art. You can go for subtle shifts or bold contrasts, depending on the look you’re after.
Imagine embroidering a sunset scene. You can capture the gradient sky by blending shades of orange, pink, and purple. Or, if you’re stitching a floral bouquet, try using different colors of floss to represent each flower’s unique hue.
Finishing Touches and Display
Now for the fun part: adding those final touches to your embroidered canvas. In this section, you’ll learn how to create a tassel, attach it to your artwork, and hang it up for all to admire.
Creating a Tassel
Now for the fun part: making a tassel to add that extra flair to your embroidered creation. Here’s a simple process to follow:
- Cut a piece of cardboard to your desired tassel length.
- Wrap your chosen color of embroidery thread around the cardboard multiple times, creating a bundle.
- Slide the thread off the cardboard and tie a tight knot at one end with a separate piece of thread.
There you have it—a tassel to add that finishing touch!
Attaching the Tassel
Now that you’ve crafted the perfect tassel, it’s time to attach it and give your art that extra pop.
| Tassel | Thread | Length |
|---|---|---|
| Size | Color | 3 inches |
Stitch the tassel securely to the base of your hanging plant, using black thread to match the pot. This adds a playful touch to your design and brings it to life.
Your embroidered canvas is now ready to hang!
Hanging Your Embroidered Canvas
Hanging your embroidered canvas is the final step to showcasing your stunning art.
A small nail in the wall is all you need to display your masterpiece.
Choose a spot in your home that needs a pop of color and a touch of your unique style.
Whether it’s above your bed, in the living room, or even in the bathroom, your embroidered canvas will add a personal and creative flair to any space.
Mixed Media Embroidery Ideas
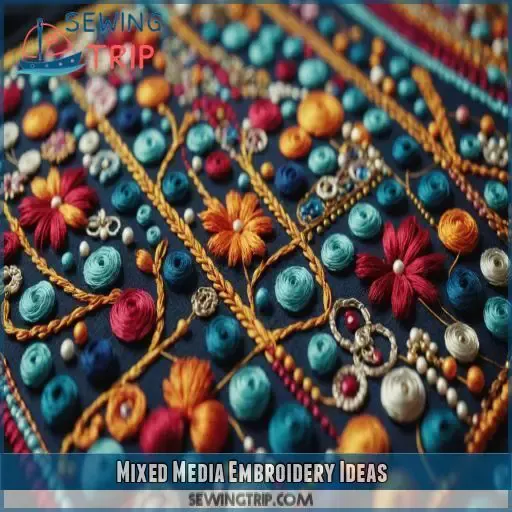
Now that you’ve mastered the basics of embroidering on canvas, it’s time to level up your skills with mixed media embroidery. This is your chance to get creative and experiment with combining embroidery and other art forms. Think outside the box and bring your unique style to life!
Let’s check out some ideas to spark your creativity and guide you in crafting stunning mixed media embroidery pieces.
Combining Embroidery With Painting
Let’s explore the world of mixed media embroidery, starting with blending embroidery with painting. This technique lets you add pops of color and create unique textures in your artwork. Imagine stitching a vibrant sunset over a painted ocean or adding embroidered details to a floral painting. The possibilities are endless!
Experimenting With Different Materials
Now, let’s talk about experimenting with different materials.
You can spice up your embroidery by adding fabric scraps, paper, or yarn to your canvas.
This mixed media approach adds texture and depth to your creations.
Imagine combining fabric and paper to create a 3D effect or using yarn to add a pop of color and a soft, cozy feel to your art.
The possibilities are endless!
Creating Unique and Personal Pieces
Now it’s time to let your personality shine through! Reflect your unique style and interests in your embroidery. Here are some ideas to get you started:
- Add a personal touch: Embroider your initials, a meaningful quote, or a symbol that’s special to you.
- Play with colors: Choose a palette of soft pastels, vibrant hues, or monochrome shades.
- Incorporate textures: Experiment with fabric, yarn, or paper for depth.
- Mix techniques: Combine embroidery with painting, drawing, or collage.
- Get inspired by nature: Embroider floral motifs, leaf patterns, or animal silhouettes.
Tips and Inspiration
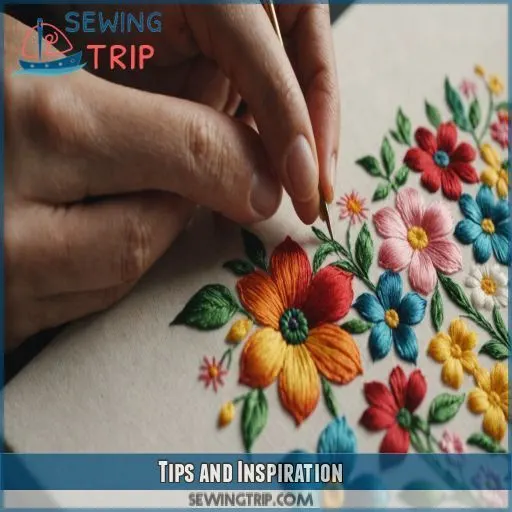
Now that you’ve honed your embroidery skills, it’s time to showcase your creations and connect with the embroidery community. Whether you’re seeking feedback, inspiration, or simply want to share your passion with like-minded people, it’s all about embracing the power of social media and exploring online embroidery communities.
Sharing Your Creations on Social Media
Now that you’ve crafted your embroidery masterpiece, it’s time to show it off! Snap some photos and share your creations on social media. Use relevant hashtags like #embroideryart #handstitched #textileart to connect with a community of fellow embroiderers and art enthusiasts. Don’t be shy; your unique style and creativity deserve to shine!
Joining Embroidery Communities
Joining an embroidery community is a great way to connect with like-minded stitchers.
You’ll find a wealth of tips, tricks, and inspiration from fellow embroidery enthusiasts.
Whether you’re a newbie or a pro, these groups offer a space to share, learn, and get feedback.
From online forums to local guilds, there’s a community for every embroiderer.
So, go ahead and jump into the world of embroidery groups.
It’s a fun way to hone your skills, make friends, and stay inspired!
Getting Inspired by Other Artists
You’ve got your canvas, your thread, and your needles. But now what?
Sometimes, the hardest part of creating art is knowing where to start.
So, why not steal—ahem, borrow—some ideas from other artists?
It’s not cheating; it’s called inspiration.
Check out embroidery hashtags on social media, join online communities, and explore what other artists are up to.
You’ll be surprised at the unique styles and techniques you’ll discover.
Frequently Asked Questions (FAQs)
Can you embroider directly on canvas?
Yes, you can! Embroidering directly on canvas is a fun way to spice up your walls. You can add paint, tassels, and metallic thread to make your creations pop.
How do you prepare a canvas for embroidery?
So, you want to be the next Van Gogh with a needle and thread? Well, first things first, you’ve got to get that canvas ready. Here’s the lowdown: grab some plain paper, sketch your design, tape it to your canvas, then punch holes along the lines.
What stitch is used in canvas work embroidery?
For canvas work embroidery, there are a variety of stitches you can use. Popular stitches include the satin stitch, tent stitch, and brick stitch. The type of stitch you choose will depend on the effect you want to create.
What is embroidery on canvas called?
Embroidering on canvas is called mixed media embroidery or tinted embroidery. It’s a creative process that combines embroidery with other techniques like painting or drawing.
How do I display my finished canvas?
There are many ways to display your finished embroidery canvas. Prop it on a shelf, lean it against a wall, or add it to a gallery wall. You can also hang it by clipping it to wall hooks or using a picture hanger.
What types of needles work best for canvas?
You’ll want a sharp embroidery needle to pierce the canvas. Try a 75/11 needle for a crisp design. Avoid dull, corroded, or pitted needles that can tear the fabric. If in doubt, start with a universal embroidery needle.
How do I choose colours for my design?
Choosing colours sets the tone for your embroidery. Use a colour wheel to pick shades that are harmonious, or go with your gut and pick shades you like.
How much thread do I need?
It’s a case of the early bird catches the worm – the amount of thread you need depends on your design and style. You can use anywhere between 1 to 6 strands of embroidery thread.
Can I embroider on a painted canvas?
You can add embroidery to a painted canvas. Paint your canvas first, let it dry, then stitch away. You can even use fabric markers or craft paint to add extra color and texture to your embroidery.
Conclusion
Now you’re geared up to embroider on canvas with confidence.
From choosing a simple design to punching holes and adding color, you’ve got the lowdown on this fun craft.

