This site is supported by our readers. We may earn a commission, at no cost to you, if you purchase through links.
Hand quilting is a delightful way to add a personal touch to your quilts.
To get started, gather essential tools like quilting needles, high-quality thread, a thimble, and a trusty quilting hoop.
Begin by knotting your thread, then start with the basic technique: pop the needle up and down through the quilt layers, rocking gently to create even stitches.
Play with designs like geometric shapes or freehand swirls to add personality.
Remember, practice makes perfect—your stitches should become second nature!
For a delightful twist, explore spoon quilting for unique looped stitches.
Ready to quilt like a pro? Let’s stitch on!
Table Of Contents
Key Takeaways
- Gather essential tools like quilting needles, high-quality thread, a thimble, and a quilting hoop to start hand quilting with ease.
- Master the three basic steps: knot your thread, pop the needle through quilt layers, and rock the needle back and forth for smooth stitching.
- Choose a quilting design that inspires you, such as geometric shapes or freehand swirls, to add a personal touch to your quilt.
- Experiment with different techniques like spoon quilting to find your unique style and enhance your hand quilting projects.
Getting Started With Hand Quilting
Getting started with hand quilting is easier than you might think!
Gather your essential supplies, like needles, thread, and a comfortable thimble, then jump right into the three basic steps: knot, pop, and rock.
It’s time to let your creative juices flow and start stitching!
Essential Supplies and Tools
With needle and thread in hand, the world of hand quilting awaits.
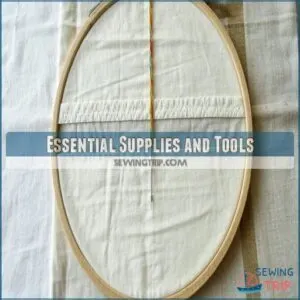
Start by gathering your essential supplies – quilting needles in various sizes, high-quality thread, a trusty thimble, and a sturdy quilting hoop.
Don’t forget fabric scissors to snip away excess threads.
These basic tools set the stage for your quilting masterpiece.
Three Basic Steps of Hand Quilting
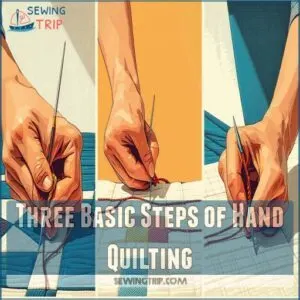
The three basic steps of hand quilting are a breeze once you get the hang of them.
First, knot your thread to secure it.
Then, pop the needle up and down through the quilt layers.
Finally, gently rock the needle back and forth to create your stitches.
With a little practice, these steps will become second nature.
Choosing a Quilting Design
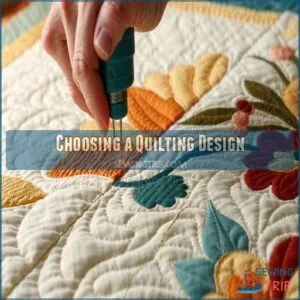
Choosing the right quilting design can feel like a big task, but it’s all about finding something that speaks to you.
When considering your design, think about the center-out techniques that will help keep your quilt sandwich layers smooth and prevent bunching.
Start by browsing quilt patterns and sketching out simple designs – think geometric shapes, playful curls, or even freehand quilting.
Whatever inspires you, the key is to have fun and let your creativity shine.
Essential Hand Quilting Techniques
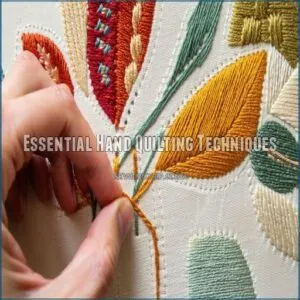
Ready to get started with the essentials of hand quilting?
From the classic running stitch to the charming rocking stitch, this section’s got you covered.
Get ready to quilt like a pro and add a personal touch to all your projects!
Running Stitch Technique
Start by threading your needle, using a quilter’s between needle or embroidery needle if necessary, and making a tiny knot at the end, also known as a quilter’s knot.
Hold the fabric taut with your non-dominant hand, using your thumb as a guide.
Take small, even stitches, about 8-10 per inch, moving the needle up and down through the layers.
Keep your stitches consistent for a polished look.
Rocking Stitch Technique
Once you’ve mastered the running stitch, the rocking stitch is the next must-learn technique for hand quilters.
This gentle, rhythmic stitch creates lovely parallel lines that add texture and elegance to your projects.
Start by rocking your needle back and forth, adjusting the stitch length and thread tension for a consistent, polished look.
With a little practice, this versatile stitch will become a hand quilting favorite.
Spoon Quilting and Other Methods
In addition to the running and rocking stitches, spoon quilting offers a distinct look with looped stitches.
This technique involves maneuvering the needle across the fabric in a rhythmic, scoop-like motion, creating elegant, floral-inspired patterns.
Experiment with different hand quilting stitches to find the style that best suits your project and personal aesthetic.
Hand Quilting Tools and Materials
Gearing up for hand quilting? Don’t worry, you’ve got this!
From trusty thimbles to must-have needles and threads, we’ll walk you through all the essential tools and materials to make your quilting journey a breeze.
Thimbles and Finger Protection
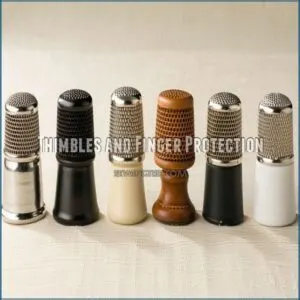
After mastering those stitches, let’s talk about protecting your fingers! Hand quilting can be tough on your digits. A thimble’s your best friend, preventing those dreaded needle pricks. What kind of thimble is right for you?
- Metal thimbles offer durability.
- Leather thimbles provide a softer grip.
- Silicone thimbles are flexible and comfortable.
- Plastic thimbles are lightweight and inexpensive.
- Finger guards offer extra protection.
Safety first, quilters! Choose what fits your hand best.
Choosing The Right Needle and Thread
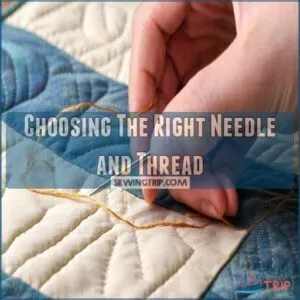
Choosing the right needle and thread is essential for hand quilting.
Look for needles labeled specifically for hand quilting – they’re shorter and have a finer point to minimize fabric distortion.
For thread, cotton or polyester in a weight that matches your fabric work best.
Try different combos to see what feels and looks best!
| Needle Size | Fabric Weight | Thread Weight |
|---|---|---|
| 7-9 | Light | 50 wt |
| 8-10 | Medium | 40 wt |
| 9-12 | Heavy | 30 wt |
Quilting Hoops and Frames
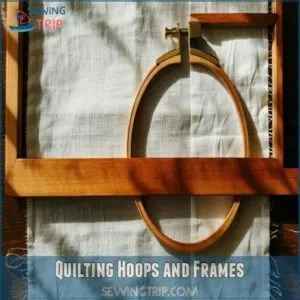
Quilting hoops and frames are essential tools for hand quilting.
The hoop holds your quilt taut, while frames give you more control over larger projects.
You can find a variety of quilting hoops at online marketplaces like best quilting hoops.
Choose a hoop size that fits the area you’re working on – a 6-inch hoop is great for small blocks, while a 12-inch hoop works well for larger areas.
Frames come in various styles to suit your needs and space.
Play around to find the setup that feels most comfortable.
Preparing Your Quilt for Hand Quilting
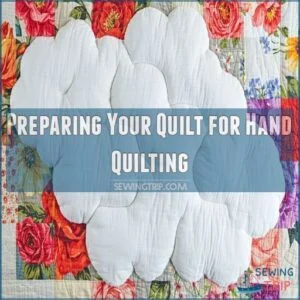
Before you can start hand quilting, you’ll need to create a quilt sandwich by layering your quilt top, batting, and backing.
Don’t forget to smooth out any wrinkles or bumps – you want a nice, flat surface to work on.
Creating a Quilt Sandwich
Before you start stitching, you need to create a sturdy quilt sandwich. Lay your backing fabric face-down, then add the batting. Finally, place your quilt top face-up on top. Smooth out any wrinkles and use basting spray or safety pins to keep the layers in place. This foundation is key for neat, even stitching.
- Choose a cotton backing for stability
- Select a high-loft batting for warmth
- Use a cotton or poly-cotton blend for the top
- Secure the layers with spray adhesive or pins
Cutting and Piecing Your Quilt Top
Cutting and piecing your quilt top is the foundation for a stunning handmade piece.
Start by laying out your chosen fabrics and planning the pattern.
Use sharp scissors or a rotary cutter to carefully cut each piece, following the design.
Then, break out the sewing machine and stitch the blocks together with precision.
Soon, you’ll have a beautifully pieced quilt top, ready to become a cherished heirloom.
Choosing The Right Fabric and Batting
Now that you’ve pieced your quilt top, let’s explore fabric and batting choices that’ll impact weight and drape.
Think of it as picking outfits: color coordination, feel, and warmth matter.
Lightweight fabrics are great for ease, while batting thickness gives that cozy vibe.
For beginners, experimenting with quilting supplies can lead you to the perfect match for your personal style.
The Hand Quilting Process
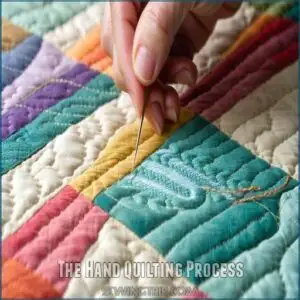
Let’s get hands-on with the quilting process—you’ll feel like a crafting wizard as you thread your needle, knot your thread, and start stitching your masterpiece.
As you work from the center outwards, quilting in rounds and lines, you’ll soon see your quilt spring to life, stitch by stitch.
Threading The Needle and Knotting The Thread
Threading the needle can feel like threading a camel through the eye of, well, a needle.
Choose the right quilting needle and thread size, such as those found in a variety of quilting thread options (quilting thread products), for smooth sailing.
Knot securely by looping the thread thrice and pulling tight; it’s your quilt’s safety net.
Keep tension even; it’s like tuning a guitar.
Try needle threading tricks to save time and sanity!
Working From The Center Outward
Beginning your quilting project can feel like starting a journey.
Begin with the center, which is your starting point, and stitch outward like a spiral pattern unfurling.
This method helps create symmetry and balance, keeping your hand quilting design uniform.
Use hand quilting needles to work each quilting stitch carefully, creating beautiful, even circular designs that showcase your craftsmanship.
Quilting in Rounds and Lines
Picture circular quilting like drawing ripples on a pond, each stitch spreading outward.
When quilting in rounds, start from the center and work your way out, guiding each stitch like a gentle breeze.
For line quilting variations, create straight line designs or quilting in rows for a crisp look.
Your quilting tools are like trusted companions in this creative journey.
Finishing Your Hand Quilt
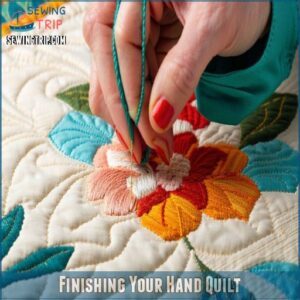
Now that you’ve mastered the quilt top, it’s time to wrap things up with some finishing touches!
Bind your quilt, add a personal label, and give it a good wash.
Soon you’ll be cuddled up under your cozy creation, maybe with a cup of cocoa in hand.
Binding Your Quilt
Now that your quilt’s quilted, it’s time to bind it! Binding’s the finishing touch, protecting your handiwork and giving it a polished look. To achieve a professional finish, consider using techniques such as mitering corners for a pro finish.
You’ll need some binding materials, like fabric strips, and some tools, maybe a few pins.
Here’s what you’ll do:
- Cut bias strips.
- Sew the strips together.
- Attach the binding to the quilt edge.
- Neatly stitch the binding down. It’s easier than it sounds!
Adding a Sleeve or Label
Once you’ve bound your quilt, it’s time to add those finishing touches.
To make sure your stitches are even and precise, consider using high-quality quilting needles from a reliable supplier like those found at specialty quilting needles.
Choose label size wisely, using contrasting fabric choices with clear details.
Utilize basic sewing techniques with quilting needles and thread for durability.
Your personalized label isn’t just a mark, it’s your quilt’s signature!
Hand Washing and Drying Your Quilt
You’ve added a sleeve or label, so it’s time for hand washing and drying your quilt.
Use gentle detergents and cool water to preserve your quilting threads.
Hand washing is recommended to protect those precious hand quilting stitches.
Avoid twisting—press out excess water gently.
Frequently Asked Questions (FAQs)
What is hand quilting?
Hand quilting is like stitching poetry into fabric.
You use needles and thread to create designs by hand, adding a unique, personal touch to quilts.
It’s a mindful, creative process that transforms fabric into cherished keepsakes.
How do I begin hand quilting?
Jump in by gathering essential tools like needles, thread, and a hoop.
Master basic techniques—knot, pop, and rock.
Select a design that inspires you.
It’s about finding your rhythm and enjoying each stitch’s journey.
What do I need for hand quilting?
Did you know 90% of quilters started with hand quilting? You’ll need needles, thread, fabric, a thimble (optional but comfy!), and maybe some hoops. That’s it! Let’s get stitching.
Can you make a quilt by hand?
Absolutely, you can make a quilt by hand!
Enjoy the satisfying process of stitching each piece,
relishing the rhythm of the needle and thread.
It’s like crafting a cozy story, one stitch at a time.
What are the 3 steps to hand quilting?
Think of hand quilting like a quirky dance!
Start with the "knot," anchoring your thread.
Then "pop" the needle through layers.
Finally, "rock" back and forth, stitching smoothly.
It’s rhythm in your fingers, creating cozy art.
Conclusion
Did you know over 90% of quilters say hand quilting gives their projects a personal touch?
As you get started with this timeless craft, remember you’re not just making a quilt, you’re creating art.
With this tutorial on how to hand quilt, embrace the rhythmic punctures of needle and thread, get creative with designs, and don’t forget the joy in personalizing each stitch.
Happy quilting and may your fabric adventures be as comforting as a cozy blanket!

