This site is supported by our readers. We may earn a commission, at no cost to you, if you purchase through links.
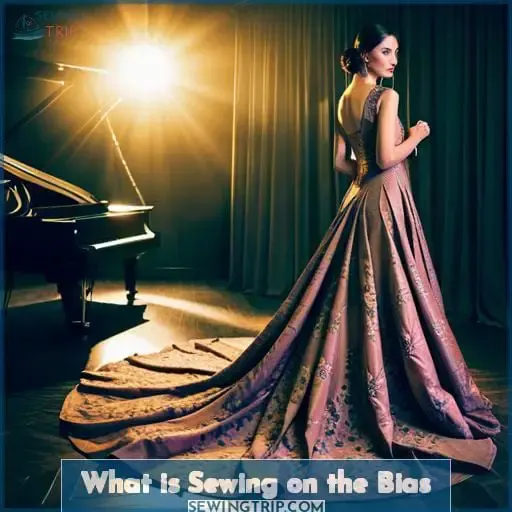
Have you ever wondered why some garments look so much more flattering than others? It may be because they’ve been sewn on the bias. Sewing on the bias is a technique used to accentuate feminine curves and create beautiful drapes in your projects.
Bias tape can also be used for binding or hemming curved edges, making it an essential part of any sewing project! In this article, we’ll explore what sewing on the bias means and how to do it correctly.
You’ll learn about fabric grain, cutting patterns correctly, creating your own bias tape strips and pressing techniques that will give you professional-looking results every time! With these tips under your belt, you’re sure to make stunning creations with perfect drape every single time – no matter what kind of fabric or pattern piece you use!
Table Of Contents
- Key Takeaways
- Why Use the Fabric Bias?
- Understanding the Grain of Fabric
- Cutting Patterns on the Grain or on the Bias
- How to Make Bias Tape
- Tips for Cutting and Layout
- Stabilizing the Fabric
- Seam Construction on the Bias
- Using a Light Hand When Handling Fabric
- Pressing Techniques for Bias Cut Garments
- Storing and Hanging Bias Cut Garments
- Frequently Asked Questions (FAQs)
- Conclusion
Key Takeaways
- Sewing on the bias involves cutting fabric at a 45-degree angle to the grain line, accentuating feminine curves, and creating beautiful drapes.
- It is essential for binding or hemming curved edges and requires selecting lightweight fabric with the appropriate weight. Stabilizing raw edges by stay stitching and fusible interfacing is also necessary.
- Careful consideration throughout the construction process, including pattern placement and grain line, is necessary. Precision is required when pattern matching.
- To achieve a perfect garment cut from biased strips, it is necessary to take time with each step, use a narrow zigzag seam allowance, and pay attention to pressing guidelines and appropriate pressing tools.
Why Use the Fabric Bias?
You’ll love the versatility of sewing on the bias. It can be used to create flattering silhouettes, bind curved edges, and give a project an extra touch of elegance.
The process starts by selecting fabric with the right weight for your project and cutting it along its grainline – straight or crosswise – or at an angle on the bias. Knowing how wide to cut your strips is essential when creating bias tape. Narrow strips are best suited for hemming techniques, while wider ones may require interfacing types that add strength without bulkiness.
Once you have created double fold bias tape from single fold pieces using ironing and folding techniques, you can use it to encase raw edges in seam allowances or even as decorative trim around garments!
When pattern pieces must be cut diagonally across a fabric’s grain line for a garment made solely from fabrics cut on the bias, you need to be careful of stretching the draped fabric out of the original desired shape and losing its drapeability in the process.
With patience and practice, though, learning what is sewing on the bias can open up a massive world of possibilities for your next project!
Understanding the Grain of Fabric
Now that you know why to use the fabric bias, let’s take a closer look at understanding the grain of fabric.
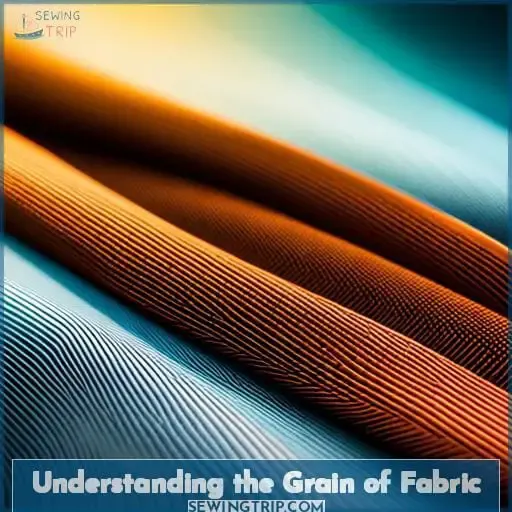
On most woven fabrics, there is a vertical line known as straight or crossgrain and then an oblique line called bias. When cutting along this diagonal line, it can be referred to as ‘on the bias’. This means that instead of following a vertical or horizontal direction on your pattern piece when cutting out shapes like circles, rectangles, and other geometric designs, you would follow an angle so it runs diagonally across your fabric panel.
Knowing which way each type of grain runs is essential for hemming techniques such as making single-fold or double-folded binding strips from pre-cut strips in different widths for curved edges on garments such as necklines and armholes.
When selecting pattern pieces, remember that any time they have to go around curves like collars, cuffs, etc., they must be cut using ‘on the bias’ because this allows them more flexibility than if they were just cut with either straight or crossgrain only.
This means these types won’t stretch enough around corners without distorting their shape! To ensure accuracy when working with patterns, make sure all dots/marks (such as notches) match up perfectly before sewing together.
Also, check where exactly does one’s own particular pattern’s grainline run: horizontally (straight), vertically (crossgrain), or diagonally (bias).
Here are some additional tips about sewing on the Bias:
- Choose lightweight materials such as cotton lawn/voile which hang nicely but are easy to work with
- Stabilize raw edges by stay stitching & fusible interfacing
- Use narrow zigzag seam allowance & gentle press seams upwards
- Hang garment overnight before hemming.
Cutting Patterns on the Grain or on the Bias
When it comes to cutting patterns, you must determine whether the grainline should be positioned along the fabric’s straight or cross grain, or on the bias.
Creating bias strips from a piece of fabric requires folding and ironing techniques that can vary depending on the type of fabric and desired outcome.
Working with stretch fabrics often requires interfacing techniques for stability when sewing non-straight edges with curved lines instead of straight ones.
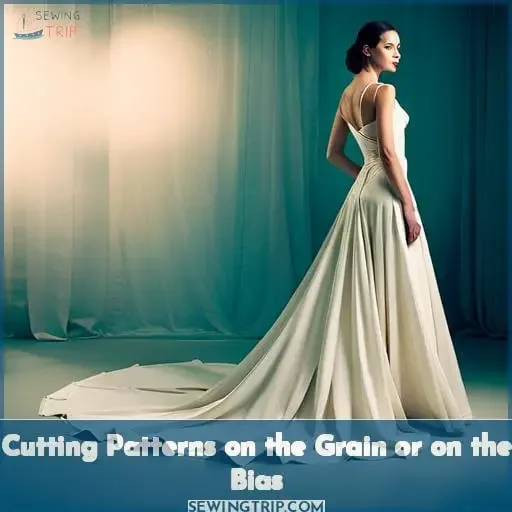
Draping fabrics cut on the bias will give garments more fluidity around body curves, while matching prints accurately becomes easier when using double fold bias tape rather than single fold, which is best used for hemming and decorative purposes only.
When making your own double fold tape, remember to press flat before folding in half lengthwise so both sides are even widths.
With practice and patience, you’ll soon find yourself confidently creating beautiful results by incorporating these skills into any project – an invaluable asset as an aspiring seamstress!
How to Make Bias Tape
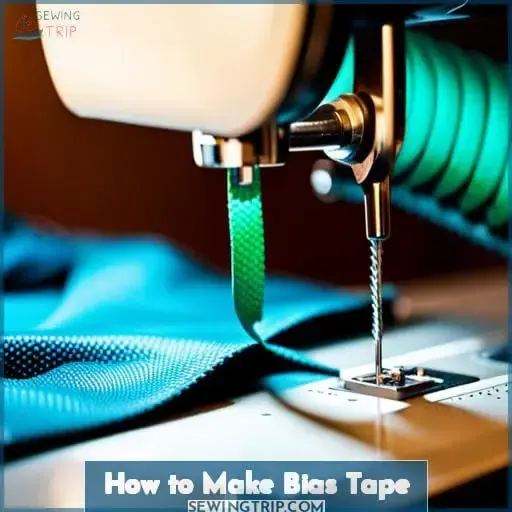
By folding and pressing fabric strips on the diagonal, you can create bias tape to give projects a professional finish.
To make bias tape, start by cutting strips of fabric on the grainline or cross-grain, at least twice as wide as your finished binding width. Make sure to match prints if necessary before ironing flat and folding in half lengthwise for double fold bias tape.
Alternatively, single fold can be created by pressing both raw edges over 1/4 of its strip width using an iron and ruler for accuracy.
When sewing with bias cut fabrics, use a very narrow zigzag stitch that will move along with the stretchy nature of this type of fabric. Instead, opt out from straight stitching which could result in pulling when worn or washed later down the line! Remember too that lighter touches are often best when it comes to handling this kind of material.
Press seams carefully using an up-and-down motion, rather than side-to-side movements which may cause stretching within garments over time.
Bias garments look fantastic but require careful consideration throughout their construction process.
Tips for Cutting and Layout
Before you start cutting, remember that fabric cut on the bias requires careful placement of your pattern pieces and grainline for successful results. Handle the fabric gently to avoid stretching out seams or the garment. When positioning a pattern piece, ensure its grainline is diagonal across the fabric’s straight or cross-grain.
To minimize wasted fabrics due to oblique cuts, use a cutting mat and quilting ruler to trim off excess material once all pieces are in position. If using iron-on interfacing, use steam settings rather than heat as it can cause distortion around curves when pressing tools are applied directly onto raw edges of selvedge fabrics.
For double-fold bias tape, fold one side slightly wider than the other for a professional binding finish. Make sure not to mix up single/double folds! Finally, take time with each step so your garment cut from biased strips looks perfect after assembly.
Stabilizing the Fabric
To create a beautiful finished project, it’s important to stabilize your fabric before sewing on the bias.
To begin with, finish edges of the garment with stay stitching and fusible interfacing to prevent them from stretching out.
Then, use very narrow zigzag stitches when hemming curves to allow for some stretch along the body.
When matching prints over curved seams, cut bias strips instead of using whole pieces. This will help ensure accuracy in design placement and reduce wastefulness due to oblique positioning that can occur when cutting on the grainline.
Bias tape is created by folding both raw edges over by one-quarter strip width, which can be done manually or via special machines such as a rotary cutter, mat, quilting ruler, etc.
Finally, don’t forget that February 2017 was unofficially dubbed ‘Bias Month’, so have fun exploring this field of flowers!
Learn more about stabilizing fabric through Cucicucicoos’ whole series of lessons in their sew course – perfect timing for all those newbies looking forward to starting off their creative journey!
Seam Construction on the Bias
When manipulating fabric on the bias, your skillful fingers make a world of difference. To create an expertly tailored garment that fits perfectly, it’s important to consider both the bias selection and seam allowance when constructing seams on this diagonal grain.
When pattern matching for geometric designs or joining two pieces together at their edges, precision is key! Make sure to align each piece with its respective grainline and take into account any alterations needed for fitting on the bias.
Sewing instructor Sara Almendral suggests allowing extra room in back darts and waistlines if you’re tailoring garments using this technique – so don’t forget about additional ease when cutting out your pattern pieces!
For best results, use a dress form or tailor’s dummy to help shape curves before hemming them up neatly with single fold or double fold bias tape.
Using a Light Hand When Handling Fabric
Now that you’ve learned about seam construction on the bias, it’s important to also understand how to handle fabric when sewing. Remember, a light hand is key! Too much pressure can cause stretching and distortion of seams.
Pay attention to pressing guidelines as well. Use an up-and-down motion with pressing tools like hams and seam rolls instead of ironing directly across them. Fabric selection is also essential. Stick with fabrics that hang nicely but are easy to work with for your first few projects.
When cutting pattern pieces, lay them out in one single layer on the fabric so they don’t stretch during cutting or stitching processes due to their inherent stretchy nature along the bias grainlines.
Don’t forget about hemming tricks either. Fold those raw edges over by 1/4 inch before folding into double fold tape which should be done at least twice around curves for better draping effects (with one side slightly wider than the other).
Finally, always check that center line markings match up properly before starting any project involving cuts made on the bias grainline direction.
Pressing Techniques for Bias Cut Garments
Gently press seams with an up and down motion, using hams and seam rolls, to achieve a professional-looking finish on bias cut garments. When creating interfacing for these projects, it is important to choose the right type of fabric that won’t add bulk or affect the drape.
Matching prints can be tricky when working with twills and stretch fabrics. However, understanding how they react to heat allows you to press seamlessly.
To ensure success when cutting pieces on the bias, line them up according to your pattern’s instructions. Then use a quilting ruler or other form of bias tape maker, following pictures, to make sure all edges are even before laying out on your fabric.
Once ready for sewing, it’s essential to understand what each material needs by choosing appropriate fabrics as well as heat settings. The highest heat should only be used if necessary; otherwise, stick within moderate temperatures to avoid damaging fibers too much during the pressing process.
Using correct pressing tools such as hams, tailor’s clapper boards, etc., will also give the best results while forming the garment around body curves without stretching seams further than the desired shape.
Storing and Hanging Bias Cut Garments
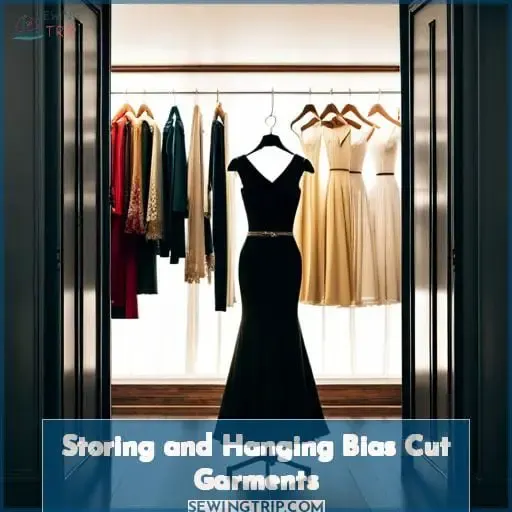
Store your bias cut garments flat to reduce stretching and maintain their shape. Hang them overnight before hemming or pressing. When handling fabric, use a gentle touch to avoid stretching seams and garment pieces.
If you plan on using twill fabrics, evenly distribute tension along the grainline when laying out pattern pieces to prevent over-stretching. Avoid prints that are difficult to match, as they can cause unwanted twisting in fabric when cutting on a bias strip.
Instead, opt for solid colors that will remain consistent throughout the sewing construction process, which also looks most professional. Making single or double fold bias tape is an essential part of working with fabrics, so make sure you are familiar with both techniques.
Iron strips flat first, then fold lengthwise into either one side slightly wider than the other (double fold) or both edges folded inwards towards the center (single fold). Lastly, remember that matching pattern pieces correctly along their respective grainlines is key.
Diagonally positioning them across the fabric ensures they don’t stretch too much during wear, which could ruin their shape over time.
Frequently Asked Questions (FAQs)
What type of fabrics are best for sewing on the bias?
To engage the audience, let’s start with a figure of speech: When it comes to sewing on the bias, lightweight fabrics are crucial. Fabrics such as cottons, linens, and rayon that drape well are ideal. Avoid heavy twill or canvas as they can be challenging to work with.
How can I make sure my pattern pieces are cut on the correct grain?
To ensure that your pattern pieces are cut on the correct grain, check the grainline indicated on each piece and make sure it is aligned with the straight or cross grain of the fabric. Cutting on a bias may result in some wasted fabric, but it is worth it for greater flexibility and drape.
Additionally, binding and hemming curved edges will be easier without any fraying.
What is the difference between single fold and double fold bias tape?
Investigate the difference between single and double fold bias tape: one has outer edges folded in to the center, while the other is a single fold folded in half for binding. Both can be used for hemming or decoration, but double fold bias tape looks more professional.
To create bias tape, iron the fabric flat and use a quilting ruler to cut strips diagonally. Remember that the raw edges must be encased inside the folds and the grainline must be positioned obliquely on the fabric.
How do I ensure that my bias cut garment will not stretch over time?
To ensure that your bias cut garment does not stretch over time, it is important to stabilize the edges with stay stitching and fusible interfacing. Additionally, use a narrow zigzag seam to allow for stretching along the body. When pressing seams, do so gently in an up-and-down motion using hams or seam rolls.
Before hemming, hang the garment overnight to let the fabric settle. It is recommended to avoid heavy fabrics until you gain more experience.
What tools do I need to make bias tape?
To make bias tape, you will need a rotary cutter, cutting mat, quilting ruler, and fabric that can stretch with ease and hold its shape over time, such as an artist’s canvas. Cut strips of fabric on the bias grainline to prevent fraying or warping. Then, fold the fabric in half lengthwise for double-fold bias tape or iron it flat for single-fold bias tape.
Conclusion
Sewing on the bias is a rewarding challenge that can elevate simple projects to everyday luxury. With the right fabric, practice, and attention to detail, you can create garments that hang beautifully, drape nicely, and accentuate curves.
By taking the time to understand the grain of fabric and cut patterns accordingly, you can ensure your projects have a professional finish. With patience and skill, the possibilities are endless when it comes to sewing on the bias.
You can create neckties that hug the neck, chevrons that pop with texture, and garments that have a graceful drape.
If you’re looking for a new challenge, sewing on the bias is a great place to start!

