This site is supported by our readers. We may earn a commission, at no cost to you, if you purchase through links.

In this article, we’ll explore five easy ways to overcome that sticky situation: how to get your sewing machine stitching through Velcro nice and smooth.
From picking the correct type of Velcro to adjusting the settings of your machine, find out these doable tips to help you get over the hump.
For novice and seasoned sewers alike, these techniques will help you gain control over attaching Velcro and make sewing a completely new dimension
Table Of Contents
Key Takeaways
- When Velcro gives your sewing machine a hard time, it’s like trying to navigate a stormy sea – frustrating and full of pitfalls. But fear not, dear sewer! We’ve got your back.
- Before you set sail on your Velcro sewing adventure, make sure you’ve got the right tools for the job. A sharp needle and a steady hand are your trusty companions on this journey.
- As you stitch through the Velcro’s treacherous waters, slow and steady wins the race. Patience is your anchor, keeping your stitches even and your machine humming along smoothly.
- Should you encounter any pesky thread tangles or needle woes, don’t despair! These are just minor squalls that can be weathered with a few adjustments to your technique
Why Won’t My Sewing Machine Sew Velcro?
Your sewing machine might struggle to sew Velcro due to several issues.
First, make sure you’re not using adhesive-backed Velcro, which can gum up needles. Opt for flexible, soft strips without adhesive.
Next, switch to a denim needle and heavier thread, then test settings on scrap fabric. Use a zig-zag or blind hem stitch, and sew slowly while keeping the Velcro aligned.
Common problems include thread getting caught in the hook side or the needle not penetrating the tape. If problems persist, try hand sewing, using a zipper foot, or lubricating the needle.
Want to know more tricks? Let’s continue
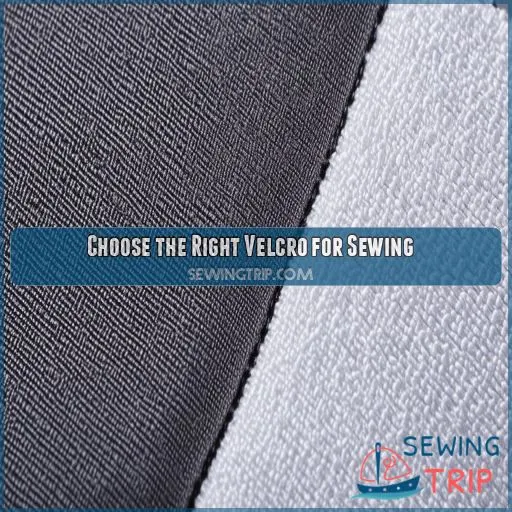
Choose the Right Velcro for Sewing
If selecting Velcro to sew, choose flexible, soft strips with no adhesive on the back. Consider the thickness and width of the Velcro, ensuring that it will work for your project and with the sewing machine.
Avoid Adhesive-Backed Velcro
When sewing Velcro, steer clear of adhesive-backed options. They’re a recipe for disaster, gumming up your needle and causing headaches. Stick to sewing-specific Velcro that’s designed to play nice with your machine. You’ll save yourself a world of trouble and keep your project on track. Remember, the right Velcro is half the battle in smooth stitching!
Select Soft, Flexible Strips
For instance, in a selection of Velcro for sewing purposes, it’s recommended to avoid adhesive-backed strips and replace them with those that are soft or flexible. They’re much compatible with fabric and are generally friendly to work with. Look for:
- Thin Velcro makes it less bulky
- Hook and loop tape of equal strength
- Fusible Velcro for easy application
- Zig-zag stitch-compatible choices
- Sticky back alternatives for tricky fabrics
Choose the right Velcro to make a difference so your work won’t be complete of stiffness and will stitch out smoothly.
Consider Thickness and Width
When choosing Velcro, consider thickness and width for your project. Thinner, softer Velcro works best for delicate fabrics like poly sherpa, while thicker, more durable options suit heavy-duty applications. Wider strips provide stronger holds but can be bulky. Remember, your sewing machine’s capabilities matter too. A denim needle and straight stitch can handle most Velcro types, but always test first
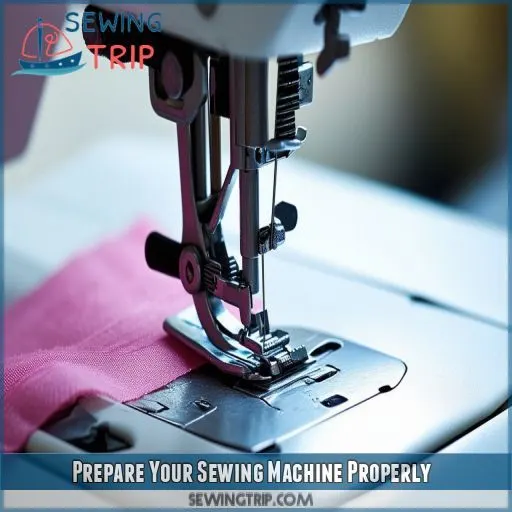
Prepare Your Sewing Machine Properly
Get your sewing machine ready with Velcro: Change to a denim needle, and use heavier thread. Test the settings on your machine with scrap fabric to ensure it sews smoothly before you pick up your main project.
Use a Denim Needle
Now that you have the correct Velcro selected, it’s time to get your machine set up. Switch out your regular needle for a hard-tipped denim needle: this is a heavyweight needle that will be necessary for sewing through all those layers of your heavy Velcro strips. See why it makes a difference now?
- Cuts through adhesive like butter
• Stops frustrating skipped stitches
- Saves your sanity (and your project!)
Rethread With Heavier Thread
Now that you’ve got the right needle, let’s tackle thread tension.
Velcro’s thickness demands heavier thread to prevent skipped stitches and broken needles. Switch to a stronger polyester thread and adjust your machine’s tension. This combo will help you power through those tough Velcro strips without breaking a sweat
Test Settings on Scrap Fabric
Before tackling your Velcro project, test your sewing machine settings on scrap fabric. Adjust thread tension, needle size, and stitch length to suit your machine type and the Velcro you’re using. This trial run helps you fine-tune your setup for smooth stitching. Don’t skip this step – it’s your secret weapon for mastering Velcro sewing and avoiding frustrating mishaps later
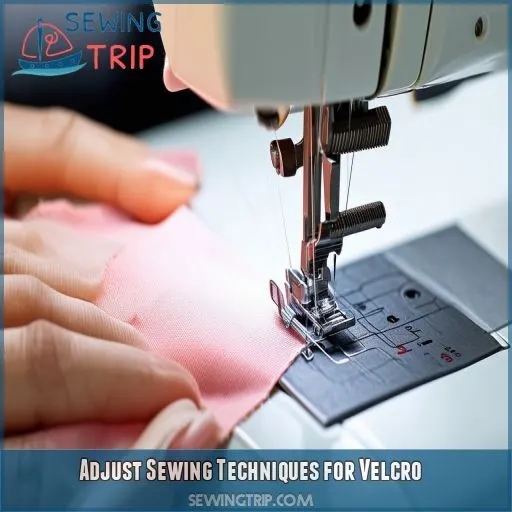
Adjust Sewing Techniques for Velcro
The trick to sewing Velcro successfully is alterations to regular sewing techniques. Use a zig-zag or blind hem stitch, always secure Velcro to the fabric before sewing, and carefully align your stitches.
Use Zig-Zag or Blind Hem Stitch
Now that your machine’s prepped, let’s tackle the stitching. Use a zigzag or blind hem stitch to conquer Velcro’s thickness. Here are some sewing tricks to avoid skipped stitches:
- Lubricate your needle
- Trim away Velcro corners
- Sew diagonally for better grip
- Try a hand-sewn diagonal stitch
- Adjust stitch length for fabric thickness
These techniques will help your machine glide through Velcro like butter, ensuring a secure attachment
Anchor Velcro to Fabric
If you’d like to anchor the Velcro without pins securely, consider fabric-friendly adhesive or disappearing markers that allow precise placement. Check for fabric compatibility and remember the adjustments in thread tension.
Tips on hand-sewing can be most helpful when you’re trying to secure a recalcitrant spot with Velcro before machine sewing. Use a hook and loop footer to hold the fabric in place.
Remember that proper anchoring is critical to the smooth sewing of the Velcro and avoiding frustrating machine jams
Sew Slowly and Align Carefully
Now that you have secured your Velcro begin stitching. Turn your sewing machine speed to the slowest and sew cautiously. This way, you’ll make sure that you have nice, smooth lines of stitches and help to prevent accidents. The best principle to use is a zigzag or blind hem stitch. And remember:
- Take the time, especially at the corners
- Lay the Velcro flat and parallel to your presser foot
- Regulate the tension—there should be no puckering
Sewing Velcro will be perfectly done with your patience!
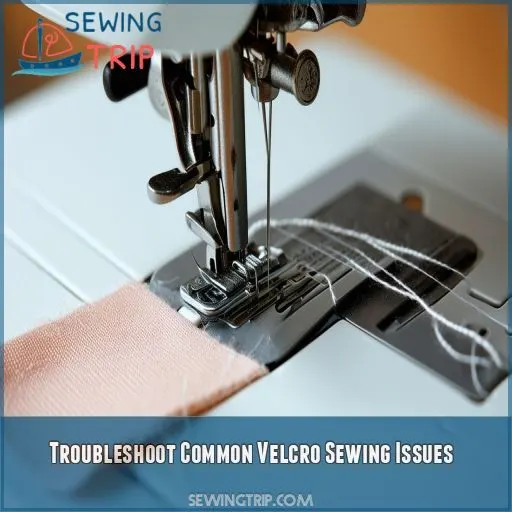
Troubleshoot Common Velcro Sewing Issues
When sewing Velcro, you might encounter a few common issues that can frustrate your progress. Let’s explore three main problems you may face: thread getting caught in the hook side, the needle struggling to penetrate the tape, and the Velcro bunching or creeping as you sew
Thread Caught in Hook Side
When sewing Velcro, you might encounter thread getting caught in the hook side. This can be frustrating, but don’t worry!
Check your needle sharpness and bobbin tension. Use high-quality thread and slow down your machine speed to prevent skipped stitches.
If the problem persists, try gently pressing the Velcro flat as you sew.
These adjustments should help you conquer this common challenge
Needle Won’t Penetrate Tape
Is your needle refusing to pierce the Velcro? Don’t fret! Check your needle sharpness first. A dull needle won’t cut it. Consider your machine type and adjust thread tension accordingly. For thicker fabrics, opt for a larger needle size. Remember, Velcro’s tough, so your needle needs to be tougher. With these tweaks, you’ll be stitching smoothly in no time!
Velcro Bunching or Creeping
Even if you’ve conquered needle issues, Velcro bunching or creeping can still frustrate your sewing efforts. These problems often stem from velcro stiffness or improper handling. To prevent this, try:
- Using thinner, more flexible Velcro strips
- Securing Velcro with temporary adhesive before sewing
- Sewing slowly to maintain control
- Employing a zipper foot for better alignment
- Trimming Velcro corners to reduce bulk
These techniques help minimize thread tangling, skipped stitches, and fabric fraying
Consider Alternative Sewing Methods
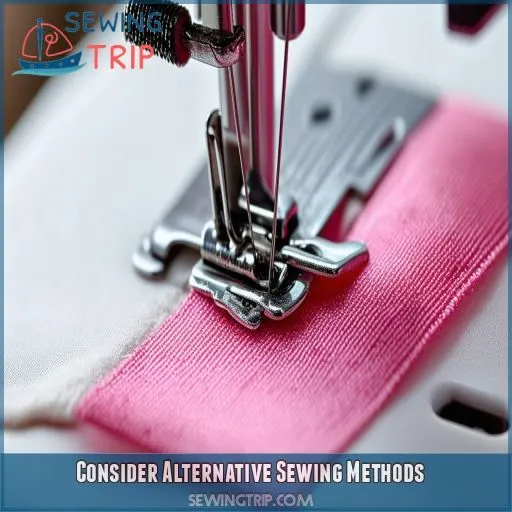
If your sewing machine struggles with Velcro, consider alternative methods to get the job done. Try hand sewing for more control, use a zipper foot to prevent Velcro from creeping, or lubricate your needle to reduce sticking and make stitching smoother
Hand Sewing Techniques
When your machine struggles, hand-sewing Velcro can be a lifesaver. Start by selecting fabric-friendly Velcro and securing it with temporary adhesive. Use a strong thread and thimble to protect your fingers. Sew slowly, keeping stitches close to the edge. Try different stitches like running or backstitch for added strength. With patience, you’ll master this handy technique in no time
Using a Zipper Foot
If hand sewing isn’t your tea, maybe try using a zipper foot. This handy presser-foot alternative should help you tread through Velcro’s tricky territory. Here are a few sewing tips:
- Personalize your machining settings for optimal performance
- Put the foot by the edge of the Velcro
• Stitches with consistent pressure
- Experiment with different stitch lengths
Zipper foot trouble? No problem! It just takes a bit of trying, and soon you’ll get this licked.
Lubricating the Needle
If your zipper foot isn’t cutting it, try lubricating the needle. Oiling the machine can work wonders.
Make sure you’re using a compatible needle for thick fabrics. Wipe away any adhesive residue that might be gumming up the works.
Adjust your thread tension to accommodate the Velcro’s thickness.
With these tweaks, you’ll be stitching like a pro in no time!
Frequently Asked Questions (FAQs)
Is there a trick to sewing Velcro?
Slow and steady wins the race when sewing Velcro. Use a heavy-duty needle, lower your machine’s speed, and consider a walking foot. Secure the Velcro with pins or temporary adhesive, and start with the hook side for best results
Can a sewing machine sew through Velcro?
Yes, your sewing machine can tackle Velcro. You’ll need a heavy-duty needle and the right settings. Go slow, use a zipper foot, and consider lubricating the needle. With patience, you’ll be sewing Velcro like a pro
What size sewing machine needle for sewing Velcro?
Like a needle in a haystack, you’ll need the right size for Velcro. Use a size 14-16 (90-100) denim or jeans needle. It’s sturdy enough to pierce through the thick material without breaking. Don’t forget to adjust your tension settings
How to sew sticky Velcro to fabric?
To sew sticky Velcro, peel off the backing and position it on your fabric. Use a heavy-duty needle and polyester thread. Sew close to the edges with short stitches, lubricating the needle often to prevent adhesive buildup
Can a sewing machine sew Velcro?
By Jove, you can sew Velcro with a sewing machine! You’ll need the right needle, thread, and settings. Use a zipper foot, go slow, and consider lubricating the needle. It’s doable, but be prepared for some challenges
How do you sew through Velcro with a sticky back?
To sew sticky-back Velcro, use a heavy-duty needle and polyester thread. Peel off the backing, position it on the fabric, and sew along the edges. Lubricate the needle frequently to prevent adhesive buildup and work slowly to avoid breakage
Can you use a sewing machine if velcro is peeling?
If it peels, it will be like an uphill climb on a slippery slope. You’ll need to press the Velcro firmly using fabric glue or adhesive tape before sewing to prevent your needle from getting jammed, and you’ll thus get a smooth stitch.
How do you remove sticky back Velcro from a sewing machine?
To remove sticky-back Velcro from your machine, gently peel it off, then use a little acetone on a cloth or nail polish remover to clean out any remaining adhesive on the machine parts. It should be ensured that all machine parts used are free of stickiness.
Can old or expired Velcro affect sewing machine performance?
Old or expired Velcro can indeed disrupt your sewing machine’s performance. “A stitch in time saves nine,” holds true here—expired Velcro may lose grip, crease, or shed fibers, causing skipped stitches and jamming issues
Does humidity impact Velcro sewing machine compatibility?
Humidity can make the Velcro incompatible with the sewing machine. Excessive moisture may deposit adhesive on your needle from the Velcro and cause problems that manifest as thread and skipped stitches. Keep the area dry and clean, lubricating the needle regularly.
How often should I clean my machine when sewing Velcro?
An ounce of prevention is worth a pound of cure. Clean your machine every few stitches when sewing Velcro to remove adhesive buildup. Use acetone and keep a lubricated cloth handy for smooth operation.
Can certain fabrics make Velcro sewing more difficult?
Yes, certain fabrics can make sewing Velcro more difficult. Thick, slippery, or stretchy fabrics can cause issues, leading to skipped stitches or bunching. Using stabilizers and testing on scraps can help mitigate these problems
Does needle temperature affect Velcro sewing success?
Did you know that high temperatures of the sewing needle often result in skipped stitches when sewing Velcro? Let your needle cool off often, and sewing with this tape will be a breeze. You may lubricate, but preventing overheating of the sewing needle is what’ll give you success over Velcro.
Conclusion
Overcoming the challenge of sewing Velcro requires the right materials, proper machine settings, and adjusted techniques.
By choosing compatible Velcro, preparing your machine effectively, and employing specific sewing techniques, you can achieve smooth stitching.
Don’t let common issues like thread tangles or needle penetration stop you—address them confidently.
If you’re still wondering, "why won’t my sewing machine sew Velcro," these tips offer practical solutions to stitch through Velcro with ease

