This site is supported by our readers. We may earn a commission, at no cost to you, if you purchase through links.
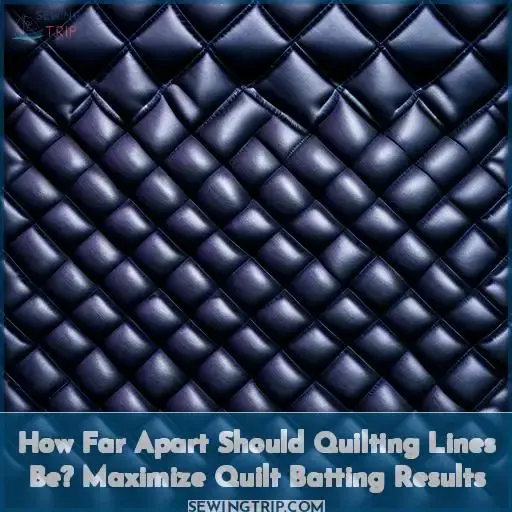
For most quilts, you’ll want to space your quilting lines between 4-8 inches apart.
The quilting lines’ spacing directly impacts the quilt’s loft and drape.
With thicker battings like wool or cotton, space lines 4-6 inches apart to prevent excess puffiness.
For thinner battings like bamboo or silk, quilt lines can be 6-8 inches apart.
Ultimately, consider your batting’s thickness and desired finished look when determining how far apart your quilting lines should be.
Want to maximize your batting’s potential? Read on for detailed batting construction insights.
Table Of Contents
Key Takeaways
- Quilting lines should be spaced between 4-8 inches apart, depending on the thickness of the batting and desired finished look.
- Thicker battings like wool or cotton require closer spacing (4-6 inches) to prevent excess puffiness, while thinner battings like bamboo or silk can have lines 6-8 inches apart.
- To maximize batting results, essential materials and tools include a sewing machine with a walking foot, 40wt or 50wt thread, a seam ripper, a quilting needle, batting, and a sewing needle for tying threads.
- Strategize quilting approach by aligning blocks parallel to the quilting direction, starting from the center, and using a Hera marker for intricate designs. Adjust the stitch length and quilting density for different effects.
How Far Apart Should Quilting Lines Be?
The spacing of quilting lines can vary depending on the type of batting used and the desired appearance.
Generally, a batting’s instructions will specify the maximum distance apart that quilting lines should be.
For example, Warm & Natural batting allows for a maximum of 10 inches between quilting lines.
However, this doesn’t mean that lines must be spaced exactly 10 inches apart; any smaller spacing is also acceptable.
In some cases, it may be advisable to cross-hatch quilting lines to make sure that the quilt maintains its shape and doesn’t bunch up.
It’s also important to keep in mind the type of batting used, as some may have a tolerance range and others may become stiffer when quilted too closely.
Materials Needed
To maximize your quilt batting results, you’ll need a few essential materials and tools.
Begin by preparing a basted quilt sandwich, which consists of your top, batting, and backing layers.
Then, gather a sewing machine with a walking foot, 40wt or 50wt thread, a seam ripper, and a quilting needle.
You’ll also need batting, which can be needle punched, scrim, cotton, wool, or polyester.
Finally, don’t forget a sewing needle to tie threads and bury knots.
Remember to adjust your stitch length between 2.5mm-3mm and remove pins as you go.
Planning
Before you embark on quilting, it’s imperative to strategize your approach.
Choose the alignment of your quilt blocks and align them parallel to your quilting direction.
Initiate quilting from the center, utilizing seams as your guiding lines.
For intricate designs, you can delineate lines with a Hera marker.
Modify your stitch length and quilting density, opting for a thread color that enhances your quilt.
Explore various quilting patterns, bearing in mind that denser quilting will alleviate strain on individual stitches and enhance the durability of your quilt.
Machine Settings
Regarding machine settings for quilting, modify your guide bar to indicate the quilting distance.
This may differ based on the batting type and your personal preference; however, a suitable starting point is to set your stitch length between 2.5mm-3mm.
Recall to remove pins as you progress and conceal threads upon starting or ending.
Utilize a sewing needle to secure threads and bury knots.
For best results, consider using a walking foot and seam guides.
Experiment with varying thread tensions to achieve the ideal balance for your quilting density.
Criss Cross Quilting
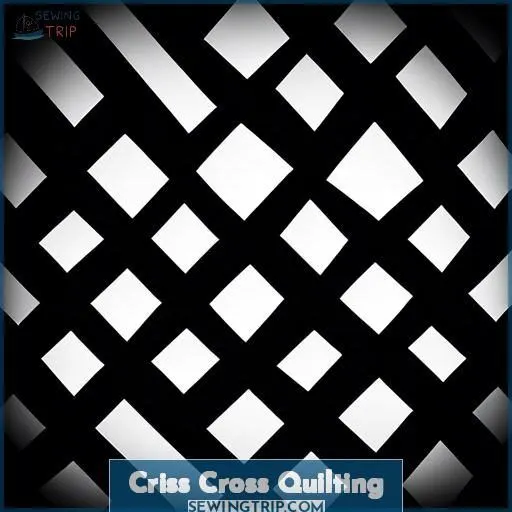
Now that you’ve mastered the basics of straight-line quilting, it’s time to try something new: criss cross stitching.
This technique adds a unique texture and visual interest to your quilt.
To start, roll your quilt parallel to the quilting direction, and re-roll it for perpendicular quilting.
Begin in the middle, leaving enough thread to bury knots.
Trim excess batting and backing, and sew binding onto the quilt.
Choose a thread color that complements your quilt, and mark lines with a Hera marker if desired.
Remember to adjust your stitch length and quilting density for different effects.
With criss cross quilting, the quilting lines should be far enough apart to allow for easy maneuvering of your needle, but close enough to provide stability to your quilt sandwich.
Personalization
Personalization is a key aspect of quilting that allows you to add your unique touch to your creations. Here are some ways to personalize your quilt:
- Stitch embellishments: Use decorative stitches on your sewing machine or hand-embroidery techniques to add intricate patterns and designs to your quilt.
- Thread choices: Select threads that complement the colors and patterns of your quilt. You can use different weights and textures to create contrast and depth.
- Quilting patterns: Experiment with various quilting patterns, such as criss-cross, diagonal, or free-motion designs, to add texture and visual interest.
- Hand quilting: For a more traditional and personal touch, consider hand quilting your quilt using wool or polyester threads.
- Bamboo batting: If you’re using bamboo batting, consider the recommended quilting distances, which are generally closer together due to the batting’s properties.
- Hera marker: Use a marking tool like the Hera marker to plan and guide your quilting, especially for complex designs.
Quilt Batting Types
Regarding quilt batting, there are various types available, each with distinct attributes. Here are some of the most prevalent quilt batting types:
- Warm & Natural Needle-Punched Cotton Batting: This batting is crafted from 15% of US-grown cotton meeting specific length, thickness, and color standards. It undergoes a mechanical cleansing process to eliminate seeds, seed coats, and most leaf and stem fragments, leaving plant particles that lend your quilt a unique aesthetic. It can be quilted up to 10 inches apart and is suitable for both batting and exterior craft fabric applications.
- Hobbs Heirloom Premium 80/20 Batting: This batting combines 80% cotton with 20% polyester fibers, providing strength and durability. It’s needle punched and spray bonded for exceptional strength and is suitable for both machine and hand quilting. It retains its loft and needles well, and if employed directly from the packaging, it will shrink up to 5%, bestowing the desired appearance of antique puckering. It can be quilted up to 4 inches apart.
- Quilters Dream Batting: Quilters Dream offers a range of batting products, encompassing cotton, poly, and wool options. Their batting is renowned for its exceptional craftsmanship and consistency, utilizing soft, silky high-quality fibers that resist shrinkage and maintain a soft yet robust and pliable texture.
- Fairfield/Nature-Fil Bamboo Batting: This batting is derived from bamboo, a renewable resource. It’s available in low, medium, and high loft thicknesses and can be employed for both quilting and upholstery projects.
- Hobbs Heirloom Tuscany Batting: Similar to their 80/20 batting, this batting is also fashioned from a blend of natural cotton and polyester fibers. It’s recognized for its softness and comfort, making it ideal for creating soft and comfortable quilts.
Each of these batting types possesses unique characteristics and quilting recommendations, so it’s crucial to select the one that optimally aligns with your project and personal preferences.
Quilt Batting Quilting Distances
To achieve ideal quilting distance, consider the batting needs and the desired appearance.
For a contemporary look, aim for vertical lines every 10 inches.
For a more classic, old-fashioned antique appearance, you might prefer lines 2 inches apart.
Machine needle size and thread tension also play a role.
When quilting, be sure to conceal threads when starting and stopping to prevent bunching.
For tied comforters, follow the Gran’s Mental Circle Rule, tying every 6 inches.
When binding, a tutorial can guide you through the process.
Frequently used quilts may require closer quilting lines to minimize stress on individual stitches and guarantee durability.
Quilt Batting Construction
To maximize your quilt batting results, consider the batting materials and their construction.
Quilter’s Dream offers a variety of batting types, including needle punched, scrims, cotton, wool, and polyester.
Hobbs and Mountain Mist also provide options, with scrims made of polyester for Warm and Natural Needled Cotton Batting.
Batting construction can impact quilting distance and batting stability.
For example, Warm and Natural Needled Cotton Batting uses no glues or resins and is almost 100% cotton.
Always follow the manufacturer’s instructions for best results.
Quilt Batting Recommendations
Regarding quilt batting suggestions, several variables require attention.
For needle punched batting, quilt lines should be spaced 2 inches apart.
For quilts subjected to heavy use, consider adding more quilting stitches. Closer quilting lines mitigate strain on individual stitches and enhance the quilt’s lifespan.
Adhere to the quilting distance recommendations indicated on packaged batts.
Furthermore, if employing a scrim polyester batting, it may be necessary to tie every 6 inches to guarantee batting stability.
Needle punched construction involves the absence of glues or resins, and cotton batting constitutes nearly 100% of the material.
Quilt Batting Manufacturers
Regarding quilt batting, selecting the manufacturer can greatly affect your quilting experience.
Popular choices include Quilter’s Dream, Hobbs, Mountain Mist, Fairfield/Nature-Fil, and Warm and Natural.
Each brand provides specific characteristics suited to various quilting styles.
For example, Warm and Natural employs a scrim within the batting to minimize bunching, whereas Quilter’s Dream offers a range of batting types designed for different quilting distances.
By understanding the advantages of each manufacturer, you can make an informed decision that best meets your quilting requirements.
Conclusion
Like a perfectly pieced quilt top, determining how far apart your quilting lines should be requires careful planning and attention to detail.
Ultimately, the distance between your quilting lines depends on the desired loft, drape, and finished look you want to achieve with your chosen quilt batting.
By understanding batting construction and following manufacturer recommendations, you’ll maximize your batting’s potential and create a stunning quilt that reflects your skill and artistry.

