This site is supported by our readers. We may earn a commission, at no cost to you, if you purchase through links.
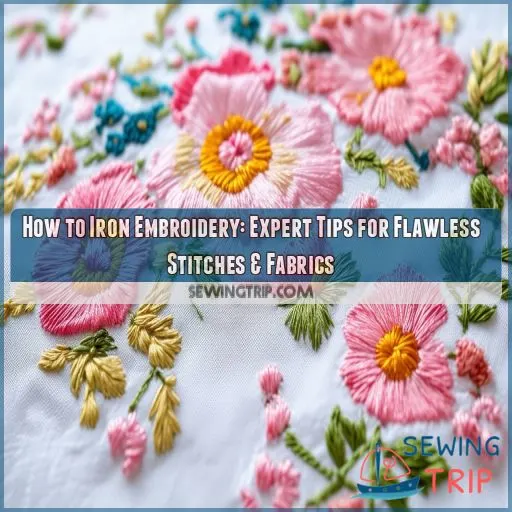
The following guide shall arm you with expert tips on how to iron embroidery projects and clothes with embroidery so that all goes well with your hard work. Learn proper techniques for different fabrics and temperature settings, and troubleshoot common issues.
Master the art of ironing embroidery, and you will be proud of what you have turned into a stunning piece.
Table Of Contents
- Key Takeaways
- How to Iron Embroidery Projects and Embroidered Clothes?
- Preparing Your Ironing Surface
- Pretreatment Techniques for Embroidered Fabrics
- Proper Ironing Techniques for Embroidery
- Ironing Different Types of Embroidered Items
- Maintaining Embroidery Quality After Ironing
- Troubleshooting Common Ironing Issues
- Frequently Asked Questions (FAQs)
- Conclusion
Key Takeaways
- Treat your embroidery like a delicate flower – use a padded ironing surface and the right heat setting to avoid squashing those beautiful stitches. Remember, you’re not trying to flatten your work into a pancake!
- Iron from the back like a sneaky ninja. This technique protects your stitches and keeps your design popping. Plus, it’s like giving your embroidery a relaxing back massage.
- Embrace the mist! A light spritz of water before ironing can work wonders. It’s like giving your fabric a refreshing drink before smoothing out those wrinkles.
- When in doubt, use a pressing cloth. It’s like a superhero cape for your embroidery, shielding it from the iron’s kryptonite-like heat. Your stitches will thank you!
How to Iron Embroidery Projects and Embroidered Clothes?
To iron embroidery projects and embroidered clothes, start by preparing a padded surface on your ironing board. Mist the fabric lightly with water or use starch spray to prevent puckering.
Set your iron to the appropriate temperature for the fabric and always iron from the back to protect stitches. For delicate designs, use a pressing cloth.
When ironing clothing, turn garments inside out. For linens, place them face-down on the padded surface.
After ironing, gently fluff up stitches with your fingers or a soft brush. Remember to handle vintage pieces with extra care.
These techniques will help you achieve crisp fabrics while preserving your beautiful embroidery work.
Let’s explore more expert tips to perfect your ironing skills.
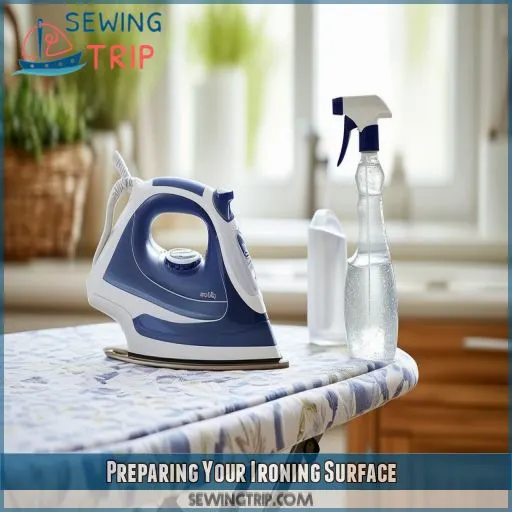
Preparing Your Ironing Surface
To prepare your ironing surface for embroidery, start by selecting the right padding to protect your delicate stitches. Choose smooth, clean fabric layers like flour sack towels to create a soft foundation on your ironing board, ensuring even pressure and preventing damage to your embroidered work.
Choosing the Right Padding
The importance of choosing the right padding to obtain faultless results while ironing your embroidery can’t be understated. You’ll need to create a soft, smooth area that won’t hurt your delicate stitches. You can use the following materials:
Clean flour sack towels
- Soft layers of cotton fabric
- Stabilizing sheets for embroidery
Stack these padding materials on your ironing board, ensuring they’re of even thickness and feel. So, the secret ingredient here is to create a firm, enriched base that will support all your work but be soft enough not to cramp or bruise your embroideries. So ahead—go—and fiddle with layers and positions of padding until you find just the right combination that will work best for you and your projects. Proper padding isn’t just about protection; it can make or break crisp, dimensional embroidery with real pop!
Setting Up Your Ironing Board
Now that you’ve chosen the right padding, it’s time to set up your ironing board for embroidery success. Start by ensuring your board is sturdy and level. Cover it with a clean, smooth pressing cloth or padded ironing board cover to protect your delicate embroidery projects.
For extra cushioning, layer 2-3 flour sack towels on top. This setup creates the perfect foundation for ironing embroidered clothes without flattening stitches.
Remember to keep your ironing equipment nearby, including a spray bottle for misting. Prioritize safety by placing your board in a well-ventilated area, away from flammable materials.
With these embroidery tips and tricks, you’ll be ready to tackle even the most intricate designs.
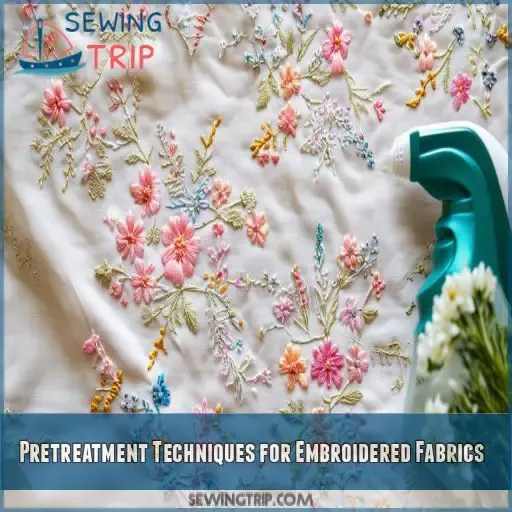
Pretreatment Techniques for Embroidered Fabrics
Before ironing your embroidery, you’ll want to prepare the fabric with some pretreatment techniques. Two effective methods are misting the fabric with water and using a starch spray, both of which can help achieve better results when ironing your embroidered pieces.
Misting With Water
Now, as you have just set up your ironing surface, prepare your embroidered fabric.
Misting with water goes a long way to getting the shot just right. Fill up a spray bottle and mist lightly onto the back of your embroidery backing. It helps not to get wrinkles started and keeps your stitches even because puckering is reduced. You only want it damp—you don’t want it soaking wet. The moisture will relax the texture of your embroidery and hence make it iron-friendly.
Be sure to remove the embroidery hoop before misting. This little action could make all the difference toward giving your ironed embroidery stitches a professional look.
Using Starch Spray
While the water misting works well if you want to treat your embroidery right, go for the starch spray. Not only will this help prepare your fabric during stitching, but it will also make your stitches look fantastic. Here’s how to make the best of this product:
Apply a light, even coat of starch to the back of your embroidered piece.
- Allow the fabric to dry completely before ironing
- Use a clean, dry iron on the appropriate heat setting
- Press hard to drizzle starch and stiffen the cloth
- Repeat if desired for extra crsipyness
The starch application prevents puckering and allows a smooth surface for the show-off of your embroidery stitches. You can see more notable stitch definitions and a most professional finish for everyday embroidered goods.
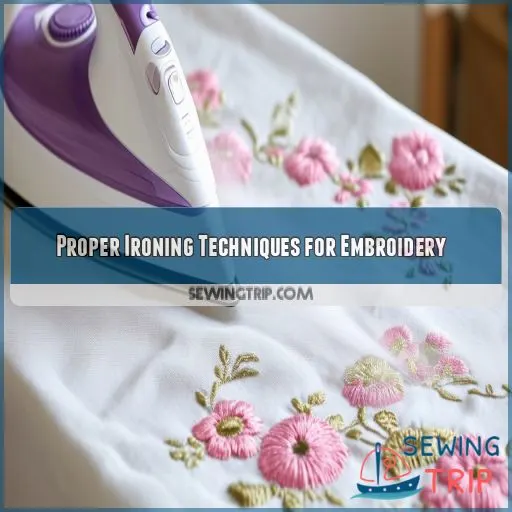
Proper Ironing Techniques for Embroidery
This means one should use the correct temperature setting for a given fabric when ironing embroidery. Begin from the back to prevent burning through your stitches. Treat delicate designs gingerly by either ironing through a pressing cloth or carefully around embossed portions of the design so that none of the texture and dimension is lost.
Temperature Settings
Now that you’ve prepped your fabric, let’s talk temperature. Your iron’s settings are crucial for embroidery success. Different fabrics and stitch densities require specific heat
Ironing From the Back
Ironing from the back is an important step in keeping your embroidery projects looking their best. This is how:
- Place your embroidered item face down on the padded ironing board
- Set your iron to the appropriate fabric setting. Don’t use steam.
- Apply gentle pressure—move steadily in smooth continuous motions
- Work from the center out to avoid puckering
This way, this method prevents crushed stitches and preserves the texture of the fabric so that your embroidered apparel comes out perfect. Remember to ensure safety actions while using a hot iron at all times.
Handling Delicate Designs
When handling delicate designs, take extra care to preserve your embroidery’s beauty. Use a pressing cloth to shield intricate stitches, and gently iron around the edges. For delicate corners, lift the iron slightly to avoid distortion.
To maintain thread sheen, iron on the reverse side. If you’re mending torn embroidery or restoring faded stitches, use low heat and short bursts.
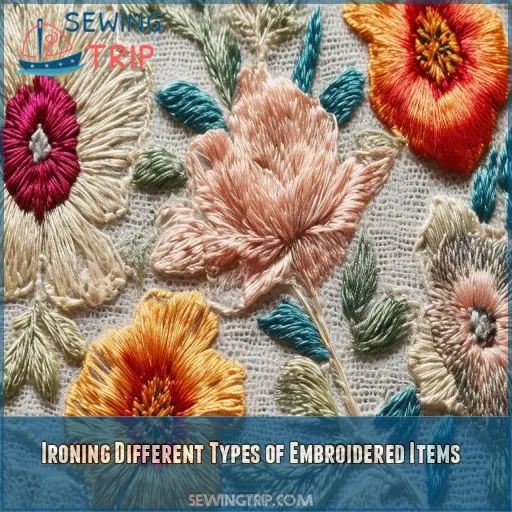
Ironing Different Types of Embroidered Items
Different embroidered items require specific ironing techniques to maintain their quality and appearance. When ironing embroidered clothing, towels, linens, and decorative pieces, you’ll need to adjust your approach based on the fabric type and embroidery complexity.
Clothing
Be more careful with your embroidered apparel during ironing since special care is required to preserve your intricate designs.
Use a padded, clean surface and set the iron to the right setting for the fabric. Turn the garment inside out and lay a thin cloth over the embroidery. Iron while not letting the heat rest directly on the stitches.
On very delicate works, use a pressing cloth and lower temperature heat.
Always test on a small area first to make sure that the fabric is compatible and ensure a long life for your embroidery.
Towels and Linens
When ironing embroidered towels and linens, you’ll need a delicate touch. Start by hooping the fabric correctly, ensuring proper thread tension.
Place the item face-down on a padded surface, misting lightly with water. Iron from the back, using steady pressure to smooth out wrinkles without flattening stitches.
For design placement, work around the embroidery, not over it.
Finish by gently pressing the entire piece for a crisp, professional look.
Decorative Pieces
Be more careful when ironing the decorative pieces.
With a low-temperature setting, lightly press home decor pieces with embroidery in wall hangings or throw pillows. Customize household linens by ironing around the embroidery—not over it.
To upcycle embroidery pieces or keep old vintage embroidery, lay a thin cloth over the design to protect it.
These techniques will help ensure your embroidery projects remain beautiful and dimensional so your ironing efforts aren’t wasted.
Maintaining Embroidery Quality After Ironing
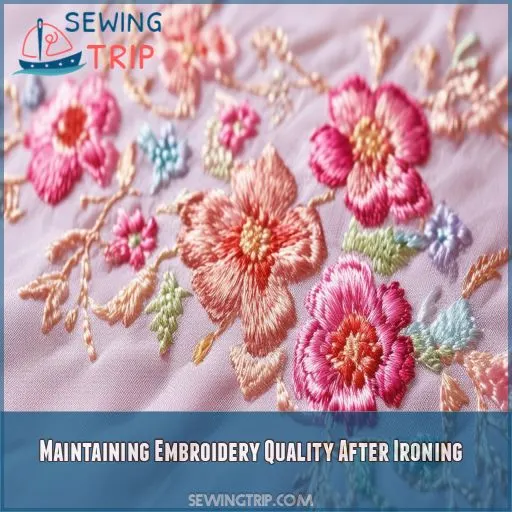
After ironing your embroidery, you want the stitches to still have some dimension without lying flat. You can doll up these stitches with a light finger touch or a soft brush. Additionally, you can spray lightly from a spray bottle to help the threads plump up again.
Preventing Flattened Stitches
After ironing items with embroidery on them, you’ll want to take every measure possible to protect your efforts. Prevention from flattened stitches is one of the surest techniques for securing quality in your embroidery.
You should always iron from the back so you won’t smush your beautiful design. This simple trick enables your stitches to sink into or along the nap of the towel, thereby preserving that raised effect.
Use a pressing cloth when working with clothes that have embroidery on them to protect any delicate areas.
Yes, patience is your best friend here. It’s not worth rushing the process. Taking extra care for these embroidery projects will help maintain the integrity of those dimensional details—ultimately, your stitches will be fresh and fabulous.
Enhancing Dimensional Effects
Now that you’ve prevented flattened stitches, it’s time to elevate your embroidery game by enhancing dimensional effects. To achieve crisp results and a truly eye-catching dimensional appearance, try these techniques.
First, stabilize your fabric with starch spray before stitching. This creates a solid foundation for raised effects. When ironing, use a padded surface to allow your hand embroidery stitches to sink in, maintaining their texture.
For extra dimension, experiment with layering stitches or using thicker threads in key areas. Remember, embroidery projects aren’t just flat designs – they’re tactile art!
Troubleshooting Common Ironing Issues
Even with careful preparation, you may encounter puckering or wrinkles around your embroidery when ironing. To address puckering, try adjusting your ironing technique or using a stabilizer, while wrinkles can often be smoothed out by gently stretching the fabric and applying heat with care.
Dealing With Puckering
Dealing with puckering can be a frustrating aspect of ironing embroidery, but don’t let it dampen your spirits! To prevent this pesky problem, try these tried-and-true techniques:
- Use a stabilizer backing to reinforce your fabric
- Adjust your hoop tension to reduce fabric stress
- Employ proper stitch density to avoid overworking the fabric
- Pre-wash your fabric to account for shrinkage
When troubleshooting puckering, start by gently steam-pressing the back of your embroidery. If that doesn’t do the trick, try ironing with a pressing cloth to protect your stitches. Remember, patience is key! Take your time and work in small sections to achieve that smooth, professional finish you’re after.
Fixing Wrinkles Around Embroidery
After tackling puckering, you’ll want to address those pesky wrinkles around your embroidery.
To prevent stitch flattening, start by adjusting your iron settings for delicate fabrics. Gently stretch the fabric around the embroidered area, being careful not to distort the design.
Use a pressing cloth to protect your stitches, and apply light pressure with the iron. Work from the outer edges inward, smoothing as you go. For stubborn wrinkles, try a light mist of water before ironing.
Frequently Asked Questions (FAQs)
How to iron embroidered clothes?
You’ll want to turn your embroidered garment inside out, place a clean cloth over the design, and iron on low heat. Avoid direct contact with the stitches to preserve their texture and prevent flattening.
Should you iron after embroidery?
You should iron after embroidery to enhance your project’s appearance and remove wrinkles. Iron from the back, use a protective cloth, and adjust heat settings. This process smooths fabric, defines stitches, and creates a polished, professional finish.
How to iron on embroidery patterns?
Place your embroidery pattern face-down on a smooth, padded surface. Use a hot iron with steam, pressing firmly over the back of the design. Move slowly, ensuring even heat distribution. The pattern will transfer onto your fabric.
How do you transfer finished embroidery to clothes?
Like a skilled artist transferring their masterpiece, you’ll carefully position your embroidery on the garment. Use fusible interfacing, iron it on, then stitch around the edges. You’re not just adding decoration; you’re infusing your clothes with personal flair.
Can I use a steamer instead of an iron?
You can use a steamer, but it’s not ideal for embroidery. It won’t provide the crisp finish an iron does. If you’re in a pinch, steam gently from the back, but be careful not to saturate the fabric.
How often should I iron embroidered items?
You’ll want to iron embroidered items after each wash and before use. For display pieces, iron them monthly to maintain crispness. Don’t overdo it, though – frequent ironing can wear out fibers. Use your judgment based on the item’s condition.
Is it safe to iron metallic thread embroidery?
Treading carefully with metallic thread is key. You can iron it, but use caution. Set your iron to low heat, place a pressing cloth over the embroidery, and iron from the back. Don’t press directly on metallic threads.
Can I iron embroidery patches before attaching them?
Yes, you can iron embroidery patches before attaching them. It’ll smooth out wrinkles and give a crisp look. Use a pressing cloth, iron on low heat, and press from the back to protect delicate stitches. Don’t slide the iron.
Should I use a pressing cloth for delicate embroideries?
Like a shield for your delicate stitches, a pressing cloth is your embroidery’s best friend. You’ll want to use one for fragile or intricate pieces. It’ll protect your handiwork while ensuring a crisp, professional finish.
Conclusion
Mastering the art of ironing embroidery projects and embroidered clothes will elevate your creations to jaw-dropping levels.
You’ve learned essential techniques for preparing your ironing surface, pretreatment methods, and proper ironing procedures for various fabrics and designs.
By following these expert tips, you’ll maintain the quality of your embroidery while achieving a polished finish. Remember to adjust temperature settings, iron from the back, and handle delicate designs with care.
With practice, you’ll confidently iron your embroidered items, preserving their beauty and extending their lifespan.

