This site is supported by our readers. We may earn a commission, at no cost to you, if you purchase through links.
 You’re enthusiastic to master hand-sewn applique techniques for beginners! Don’t worry, it’s easier than you think.
To get started, gather your basic supplies: a reliable applique needle, scissors, and interfacing.
Choose fabrics with interesting textures and colors that pop. Prewash your fabric to prevent shrinkage and guarantee a smooth applique process.
Now, prepare your applique shapes by tracing the design onto applique paper and refining it with scissors or a rotary cutter.
With these simple steps, you’ll be well on your way to creating beautiful, unique designs that showcase your personality. But, there’s a catch – or should I say, a stitch?
Table Of Contents
- Key Takeaways
- Hand Sewn Applique Techniques for Beginners
- Essential Tools and Materials for Hand Applique
- Step-by-Step Guide to Hand Applique Process
- Hand Stitches for Applique and Embellishments
- Tips and Variations for Successful Hand Applique
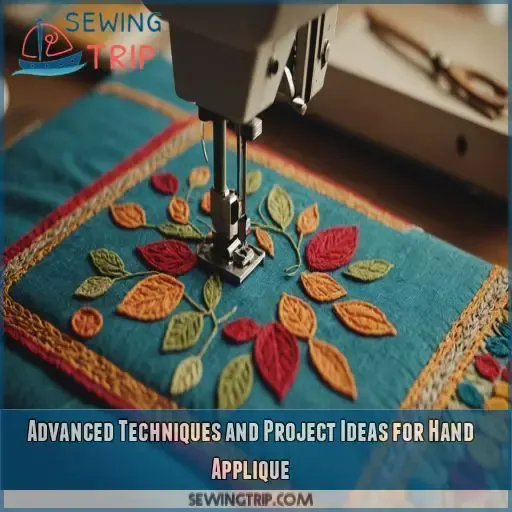
- Advanced Techniques and Project Ideas for Hand Applique
- Frequently Asked Questions (FAQs)
- Conclusion
Key Takeaways
- You’ve got the power to create stunning designs with just a few basic supplies, including a reliable appliqué needle, scissors, and interfacing – so don’t be afraid to get creative and experiment with different fabrics and threads!
- Mastering the blanket stitch is your ticket to secure edges in hand appliqué – it’s easier than you think, and with a bit of practice, you’ll be stitching like a pro in no time!
- Don’t let common mistakes like inconsistent stitching, incorrect thread tension, and poor fabric choices throw you off – with a bit of patience and practice, you’ll be creating beautiful, professional-looking designs that showcase your unique style.
- The key to achieving a uniform stitch length and tension is to focus on consistent motion and gentle pulling of the thread – think of it like finding your rhythm, and remember, practice makes perfect, so take your time and get a feel for the stitches!
Hand Sewn Applique Techniques for Beginners

You’re about to discover the secrets of hand sewn applique, a technique that can add a personal touch to your quilts, garments, and home decor. With some basic supplies and a little practice, you’ll be creating beautiful, professional-looking designs in no time.
Definition and Basic Supplies
Ever wondered what magic happens when fabric, thread, and needle come together? Hand sewn applique is an art form that adds a personal touch to any project. To get started, gather these essentials:
- A reliable applique needle is essential for precision stitching, similar to the precise placement required for Sewing Tucks Techniques.
- A trusty pair of scissors for cutting fabric
- A sheet of interfacing to stabilize your design
Choosing Fabrics and Designs
Now that you’ve got the basics covered, it’s time to get creative with fabric selection and design choices.
For hand sewn applique, pick fabrics with interesting textures and colors that pop.
Visit your local quilting store for inspiration, and don’t be afraid to mix and match fabric scraps.
Prewashing fabric is a must to prevent shrinkage and guarantee a smooth applique process.
Preparing Applique Shapes
Preparing applique shapes is where the magic begins! You’ll need to trace your design onto the plain side of applique paper, remembering to reverse asymmetrical shapes like letters. Cut out the shape roughly, then refine it with scissors or a rotary cutter. Don’t worry if it’s not perfect – the edges will be hidden by your stitching.
Creating and Applying Applique
Now it’s time to bring your design to life. Take your appliqué shape and iron it onto the fabric, following the manufacturer’s guidance. Peel off the backing paper to reveal the sticky side, and place it where desired on the main fabric. The adhesive will keep the shape in place, preventing fraying as you stitch.
Common Mistakes to Avoid
Now that you’re creating and applying appliqué like a pro, let’s tackle common mistakes to avoid. Don’t let inconsistent stitch length, incorrect adhesive usage, or inadequate seam allowance ruin your masterpiece. Watch out for fabric distortion issues and insecure thread tension, too. By sidestepping these pitfalls, you’ll be well on your way to stunning, fray-free hand-sewn appliqué.
Essential Tools and Materials for Hand Applique
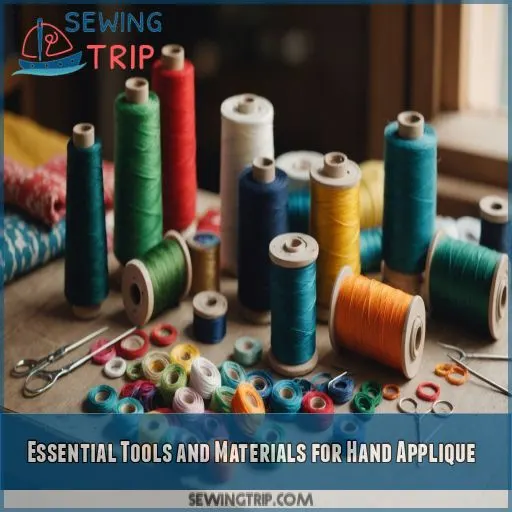
As you start your hand appliqu journey, gathering the right tools and materials is vital for a smooth and enjoyable process. In this section, you’ll learn about the must-haves, from needles and threads to stabilizing materials and scissors, that will help you achieve beautiful, professional-looking results.
Needles and Threads for Hand Applique
The fun part – choosing your right sewing needles and threads.
! For hand appliqué, you’ll want to pick a needle that’s easy to maneuver, like a sharp, thin beading needle. Thread color choices are endless, but remember to match your fabric as closely as possible. Thread weight types, like cotton or silk, will also impact your design’s texture and durability.
Stabilizing Materials and Interfacing
Now that you’ve got your needles and threads ready, let’s talk about the behind-the-scenes heroes: stabilizing materials and interfacing.
You’ll need a reliable sidekick to keep your fabric steady and secure. Popular options include tear-away stabilizer, Wonder Under, and Heat n Bond Lite.
Choose the right material weight and adhesive strength for your project, and you’ll be on your way to stunning fused appliqué or raw-edge appliqué designs.
Scissors and Rotary Cutters for Accuracy
Now that you’ve got your stabilizing materials and interfacing in check, it’s time to get cutting! For accuracy, you’ll want to use the right scissors and rotary cutters. Here are some tips to get you started:
- Use dedicated paper scissors for cutting out appliqué shapes to prevent high quality fabric scissors from getting dull.
.
- Invest in a rotary cutter with a comfortable grip for smooth cutting.
- Choose a cutting mat with a positioning line to help you stay on track.
- Consider using precut shapes or block of the month packages to save time and boost precision.
Iron and Ironing Board for Smooth Results
Your trusty iron and ironing board are about to become your best friends in hand appliqu. To guarantee smooth results, maintain your ironing board with a heat-resistant cover and regularly clean your iron’s soleplate. Master temperature control and use pressing techniques like lifting, not sliding, the iron to prevent scorching. Happy ironing means happy appliqu!
Step-by-Step Guide to Hand Applique Process
You’re about to tap into your creativity with hand appliqué! In this step-by-step guide, you’ll learn how to bring your designs to life, from tracing and cutting out shapes to securing them with hand stitches, and discover tips for achieving even spacing and tension.
Tracing and Cutting Out Applique Shapes
Now that you’ve got your tools and materials ready, let’s create those beautiful appliqué shapes! To get started, you’ll need to trace and cut out your designs. Here are some tips to keep in mind:
- Choose fabrics that complement each other in color, pattern, and texture.
- Use a sharp pencil or pen to trace your design onto the plain side of the paper.
- Cut out your shape carefully, leaving a 1/8 inch seam allowance.
- Consider using a rotary cutter for accuracy and precision.
Ironing and Applying Applique to Fabric
Now that you’ve carefully cut out your appliqué shape, it’s time to bring out the iron! Place the shape, paper side up, on your fabric and set your iron to the recommended temperature. Gently press the iron over the shape for a few seconds, then peel off the paper backing. Voilà! Your appliqué is now securely attached to the fabric.
Securing Applique With Hand Stitches
Now that you’ve ironed and applied your applique to fabric, it’s time to bring out the big guns – your hand stitches!
To secure that applique in place, you’ll want to choose a stitch that’s just right for the job.
A blanket stitch is a classic choice, A blanket stitch is a classic choice, but feel free to experiment with hand stitch variations, and when finished, learn to secure your threads to add some personality to your sewing project.
.
Tips for Even Spacing and Tension
Mastering even spacing and tension is the secret sauce to making your appliqué shine! As you stitch, keep these three tips in mind:
- Consistency is key: maintain a steady stitch length to create a cohesive look.
- Tension control: gently pull the thread to avoid puckering or distorting the fabric.
- Thread tension tricks: use a steady hand and a sharp needle to achieve even stitching.
Hand Stitches for Applique and Embellishments
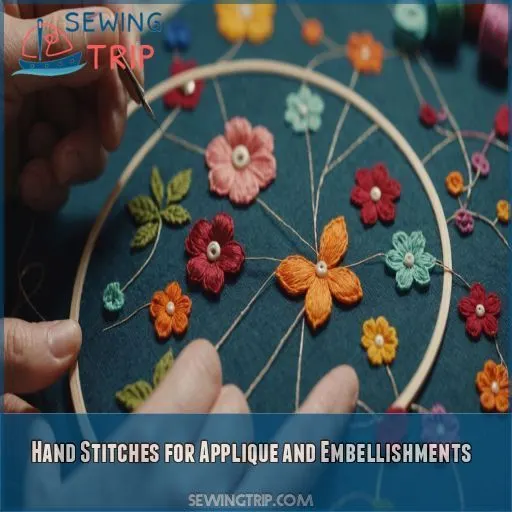
Now that you’ve prepared your appliqué shapes and applied them to your fabric, it’s time to secure them with hand stitches – the final step in bringing your beautiful design to life.
In this section, you’ll learn the essential hand stitches for appliqué and embellishments, including the blanket stitch, running stitch, and back stitch, which will help you add a professional finish to your project.
Blanket Stitch for Secure Edges
Mastering the blanket stitch is your ticket to secure edges in hand appliqué! Start by bringing your needle up from behind the fabric, then insert the needle back into the fabric about 1/8 inch away, creating a small loop. Pull the thread gently to tighten the stitch, adjusting the tension as you go for a smooth, even finish.
Running Stitch for Simple Embellishments
Now that you’ve mastered the blanket stitch, let’s add some personality to your appliqué with the running stitch! This simple stitch is perfect for creating playful embellishments or borders. Experiment with varying stitch lengths and thread colors to add texture and visual interest. Try pairing running stitches with other stitches for unique combos that make your design pop.
Back Stitch for Outlining and Details
Now that you’ve mastered the running stitch, let’s move on to the back stitch for outlining and details! This stitch is perfect for creating delicate lines and intricate shapes. To get started, try these tips:
- Vary your stitch length to achieve a natural, hand-drawn look
- Use a shorter stitch length for outlining intricate shapes
- Adjust your tension to prevent puckering in small areas
Combining Stitches for Unique Effects
Now that you’ve mastered the back stitch, it’s time to get creative! Mix and match stitches for unique effects. Try combining thread colors, textures, and alternating patterns to add depth and visual interest. For example, pair a bold running stitch with a delicate blanket stitch for a striking contrast. Experiment with embellishment stitch combinations to make your appliqué truly pop!
Tips and Variations for Successful Hand Applique
Now that you’ve mastered the basics of hand appliqué, it’s time to get creative and experiment with different techniques to make your designs truly unique. In this section, you’ll learn how to mix and match fabrics, threads, and embellishments to add texture, dimension, and personality to your hand appliqué projects.
Experimenting With Different Fabrics and Threads
Now that you’ve mastered basic sewing techniques, it’s time to get adventurous with fabrics and threads.
, it’s time to get adventurous with fabrics and threads! Explore different textures, like smooth cotton, crinkly silk, or chunky wool. Vary thread colors to create subtle contrasts or bold statements. Discover fabric blends that make your appliqué pop. Experiment with stabilizers, thread weights, and colors to add depth and visual interest to your designs.
Adding Texture and Dimension With Embellishments
Let’s add some magic to your appliqué! Experiment with texture mixing by combining smooth fabrics with lace, ruffles, or velvet. Add dimensional layers with beaded embellishments, buttons, or sequins. Consider appliqué placement to create a visually appealing composition. Don’t be afraid to incorporate quilting techniques like stitching or puffy fills to add depth and interest.
Creating Custom Designs and Patterns
Get creative with custom designs and patterns! You’re now ready to express your unique style. Here are some tips to get you started:
- Mix and match custom fabrics for a one-of-a-kind look
- Experiment with unique pattern layouts to add visual interest
- Create your own applique motifs from scratch
- Design embroidery templates to add an extra layer of detail
- Incorporate stencil art techniques for a modern twist
Troubleshooting Common Issues and Mistakes
Don’t let mistakes get the best of you! Fix applique edge fraying by adjusting your stitch length and tension. Uneven stitch tension can be corrected by re-threading and addressing thread tension issues and re-stitching.
. Interfacing bubble issues? Try ironing with a pressing cloth. Prevent fabric distortion by using a stabilizing material. And, to avoid thread breakage, use a sharp needle and gentle tension.
Advanced Techniques and Project Ideas for Hand Applique
Now that you’ve mastered the basics of hand appliqué, it’s time to take your skills to the next level by combining appliqué with other sewing techniques.
Creating complex designs and scenes, and using appliqué for quilts, garments, and home decor.
Get ready to express your creativity and experiment with new ideas that will make your hand appliqué projects truly stand out.
Combining Applique With Other Sewing Techniques
Now that you’ve mastered the basics, it’s time to mix and match! Combine appliqué with quilting for a show-stopping blanket, or add it to knits for a personalized tee. Try felted appliqué for a unique texture or use it as an embellishment for a special heirloom piece. The possibilities are endless, and your creativity is the only limit!
Creating Complex Designs and Scenes
Now that you’ve mastered combining applique with other sewing techniques, it’s time to tap into your creativity and build intricate scenes! Imagine creating a whimsical forest with multi-layered applique trees, or a mosaic art piece with dimensional embellishments. Break down complex designs into manageable parts, and don’t be afraid to experiment and try new things.
Using Applique for Quilts, Garments, and Home Decor
You’ve mastered the basics of hand appliqué – now it’s time to take it to the next level! With these advanced techniques, you can create stunning quilts, garments, and home decor items that showcase your unique style.
- Imagine snuggling up with a quilt featuring your favorite childhood characters, lovingly hand-appliquéd onto soft cotton fabric.
- Picture a beautiful garment adorned with intricate appliqué designs that make you feel like a work of art.
- Envision a home decor item that tells a story, with each appliqué piece carefully chosen to reflect your personality.
Frequently Asked Questions (FAQs)
How to hand stitch appliqué for beginners?
Ready to express your creativity? To hand stitch appliqu as a beginner, start by threading a straw needle with matching thread, then bring the needle up from behind the fabric and insert it back about 1/8 inch away (Source).
What is the easiest appliqué method?
You’re in luck! The easiest appliqué method is using double-sided web adhesive on paper, like Bondaweb. Simply iron on, peel off, and stick – it’s a total game-changer for beginners, and pros love it too!
Which hand stitch is used for appliqué?
The million-dollar question: which hand stitch is used for appliqué? Don’t worry, friend, it’s not as complicated as it sounds! You can use a simple running stitch, back stitch, or the ever-popular blanket stitch.
What is the best thread to use for hand appliqué?
You’re looking for the perfect thread for hand appliqué! Try using a fine, 100 wt silk thread or an 80 weight cotton thread like Madeira’s Cotona, which will give you a beautiful, nearly invisible stitch .
How do I prevent fabric fraying during the applique process?
Cut to the chase" by ironing on double-sided web adhesive, like Bondaweb, to prevent fraying. This magic trick keeps your fabric in line, allowing you to focus on stitching with ease and precision.
What is the best way to handle asymmetrical applique shapes?
When handling asymmetrical applique shapes, remember to trace them in reverse onto the plain side of the paper. This simple trick guarantees your design looks fabulous, not flipped, when applied to your fabric.
Can I use different types of fabric for applique and background?
Think of applique as a mixed-media art form – you can combine smooth silks with rough linens or vibrant cottons with soft wools. Yes, you can use different types of fabric for applique and background, so get creative!
How do I achieve a uniform stitch length and tension?
To achieve a uniform stitch length and tension, focus on consistent motion and gentle pulling of the thread. Practice makes perfect, so take your time and get a feel for the stitches – it’s like finding your rhythm!
What are some common mistakes to avoid in hand applique?
Your hand applique journey is like a delicate dance – one misstep can throw off the entire rhythm. Avoid common mistakes like inconsistent stitching, incorrect thread tension, and poor fabric choices to keep your project harmonious.
Conclusion
Look who’s a natural at hand-sewn applique techniques for beginners!
As you master the art of beautiful designs, remember, practice makes perfect.
Don’t be afraid to experiment with different fabrics, threads, and stitches.
With these simple steps and a dash of creativity, you’ll be creating stunning hand-sewn applique pieces in no time.
Keep exploring, and soon you’ll be hooked on the unique charm of hand-sewn applique techniques for beginners.

