This site is supported by our readers. We may earn a commission, at no cost to you, if you purchase through links.
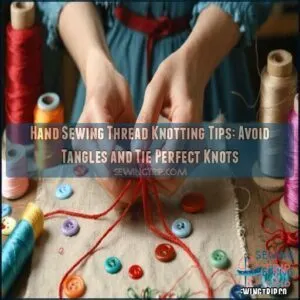
When tying a knot at the start, wrap the thread around your finger, roll it into a loop, and gently pull it tight. To avoid mid-sew tangles, use shorter lengths of thread and lightly run it over beeswax or a thread conditioner.
Got a knot that won’t budge? Gently tease it apart with a pin or needle. For finishing, double-knot the thread and pass the needle through nearby stitches to hide it.
Ready for smoother sewing sessions? Let’s stitch smarter!
Table Of Contents
Key Takeaways
- Cut thread at an angle for easier threading, and use shorter pieces to avoid tangling.
- Wrap thread around your finger, roll it into a loop, and pull tight for a secure starting knot.
- Use beeswax or thread conditioner to smooth thread and prevent twisting or snagging.
- Hide finishing knots by stitching through nearby threads or folds for a clean and professional look.
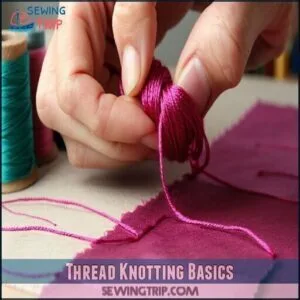
Thread Knotting Basics
Tying knots might seem tricky at first, but it’s easier than you think with a little practice.
You’ll learn to keep your thread tangle-free and secure, making your sewing projects a breeze!
Threading Needle Techniques
Threading a needle can feel like threading a camel through the eye of a storm—tricky, but doable.
Threading a needle can feel like convincing a cat to take a bath—challenging, but with patience, totally achievable.
Start with proper needle selection; match the eye size to your thread. Trim the thread for fiber control, and try hand threading in good light.
If it’s stubborn, grab threading tools. A simple trick is to place white behind the needle to enhance visibility.
Mastering this boosts your hand sewing thread game with a simple trick!
Preventing Thread Knots
Keeping your thread knot-free feels like taming a wild horse, but it’s doable.
Start with good thread quality—cheap ones fray and tangle. Watch your thread tension; too tight, and knots pop up.
Shorten your stitch length for smoother sewing. Match your needle type to your fabric choice, and slow down—rushing often leads to thread knotting and sewing frustrations.
Managing Thread Twist
Thread twists can sneak up on you, turning sewing into a battle.
Thread twists can feel like a sneaky rival, but mastering tension and pace turns the battle into smooth sewing triumph!
Pay attention to the twist direction while stitching—spinning the needle gently between your fingers helps with untwisting thread.
Thread quality matters too; cheap thread tangles more.
Adjust spool tension and slow your sewing speed to prevent knots.
These thread tips can save you from sewing frustrations!
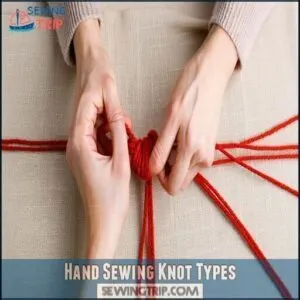
Hand Sewing Knot Types
In the context of hand sewing, knowing the right knot can save you tons of frustration.
From securing thread ends to locking stitches, these simple techniques will keep your projects neat and sturdy!
Locking Stitches
Locking stitches are your go-to for thread security in hand sewing.
They’re simple yet powerful for anchoring stitches.
Try these techniques:
- Use a Tailor’s Tack for hidden knots.
- Loop Knot Stitch adds strength to seams.
- Back Stitch secures heavy fabrics.
- Eight-Shaped Stitch locks threads invisibly.
- Finish with a Securing Stitch for extra hold.
Alternatives to Knots
Not a fan of visible knots? Knot-free anchoring is your best friend! Try a tailor’s tack or the eight-shaped stitch for clean finishes.
These methods secure sewing thread without bulky knots. For a durable and neat finish, consider using locking stitch techniques.
Here’s a quick comparison:
| Method | Difficulty | Visibility | Strength |
|---|---|---|---|
| Tailor’s Tack | Easy | Invisible | Moderate |
| Loop Knot | Moderate | Subtle | Strong |
| Eight-Shaped Stitch | Moderate | Invisible | Strong |
| Locking Stitches | Easy | Invisible | Very Strong |
Experiment and find your favorite method, as this will help you achieve the best results with clean finishes and durable sewing.
Securing Thread Ends
When finishing your sewing thread, securing stitches is key to keeping everything in place.
Try these tips:
- Take a small stitch near the end, leaving a loop, and pull the needle through.
- Repeat 1-2 times for a secure knot.
- Snip thread tails close to the knot.
- Use hidden knots for a clean, professional look.
Knotting Techniques
You don’t need magic to tie a perfect knot—just a little practice and the right technique.
From twirling thread around your finger to sliding neat coils, these tricks will have you knotting like a pro in no time!
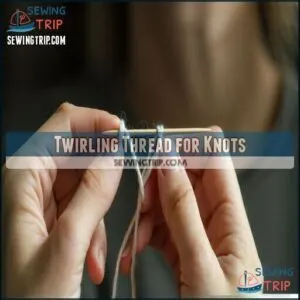
Twirling Thread for Knots
Feeling stuck with knot tying? Finger twirling is your secret weapon! Wrap the thread around your needle, roll it 5-6 times, and pinch the loops tight. Friction control helps keep things smooth. Pull gently for neat knots every time.
Mastering thread twirls makes loop formation a breeze. Here’s a quick guide:
| Technique | Steps | Benefits | Pro Tip |
|---|---|---|---|
| Finger Twirling | Roll thread around needle | Quick knot formation | Use steady hand motions |
| Loop Formation | Wrap thread around finger | Creates strong knots | Keep loops even |
| Coil Tightening | Pinch and pull loops | Prevents loose knots | Tug gently for control |
| Friction Control | Roll thread smoothly | Avoids thread fraying | Wet fingers for grip |
The techniques outlined, including loop formation and friction control, are essential for creating strong and neat knots. By following these steps and tips, you can improve your knot tying skills and achieve quick knot formation with ease. Remember to always use steady hand motions and keep your loops even for the best results.
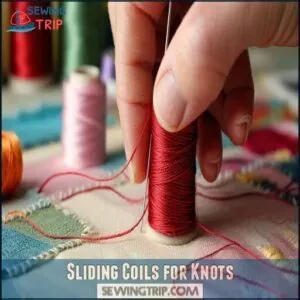
Sliding Coils for Knots
Sliding coils down your thread is surprisingly simple yet satisfying.
Wrap the thread over your needle two or three times, depending on the thread thickness and desired knot security. Gently slide these coils toward the end for placement.
It’s like threading a mini spiral staircase—fun, right?
- Tips for success:
- Keep coil tightness even.
- Adjust coil number for secure knots.
- Practice makes perfect!
Thread Management Tips
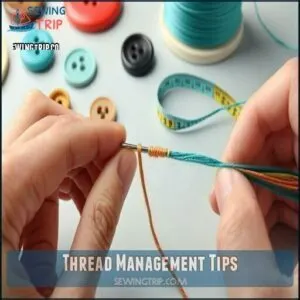
Keeping your thread tangle-free starts with choosing the right needle and making clean, precise cuts on your thread ends.
If threading feels like aiming in the dark, a needle threader can save your sanity (and your eyesight).
Choosing Right Needle Size
When picking a needle for hand sewing, think about fabric thickness, thread compatibility, and project type.
Smaller needles with fine eye sizes work for delicate fabrics, while thicker fabrics need larger needle points.
Here’s a cheat sheet:
| Fabric Type | Needle Size (EU) | Needle Size (US) | Best Use |
|---|---|---|---|
| Light fabric | 60-90 | 8-12 | Delicate stitches |
| Medium fabric | 80-100 | 10-14 | Everyday sewing |
| Heavy fabric | 100-110 | 14-18 | Upholstery, denim |
| Specialty fabric | Varies | Varies | Specific projects |
Perfect needle choice makes threading needles and knotting techniques smooth.
To select the correct needle, consult a detailed needle size guide.
Trimming Thread Fibers
Got the thread ready? Snip it right! Making clean fiber cuts with sharp scissors is your secret weapon. It stops fraying, smooths threading, and keeps knots tight.
A neat thread tail also helps with threading ease and knot prevention.
- Use tiny, sharp scissors for thread trimming.
- Trim close for smooth thread fibers.
- Cut at an angle for threading ease.
To further ease threading, consider the needle’s eye size for compatibility, which is a critical factor in smooth threading and can affect knot prevention.
Using Needle Threaders
A needle threader is a game-changer for tricky hand sewing moments.
These nifty tools, made from wire or sturdy materials, slip threads through small needle eyes easily. Ergonomic designs save time and frustration.
Maintain yours by avoiding rough handling. If lost, fold thread into a loop as an alternative.
Many options are available if you need to buy one.
Trust me, using a threader turns “sewing knots” into smooth starts!
Secure Knotting Methods
You don’t have to wrestle with loose knots or unraveling threads anymore.
With these simple, foolproof methods, you’ll tie secure knots that stay put and keep your sewing projects looking seamless!
Double Stranding Threads
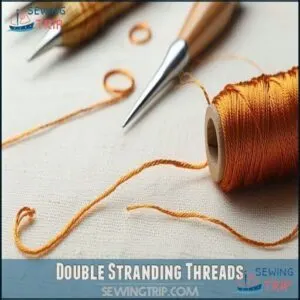
Double stranding threads gives your sewing some extra strength and durability. It’s great for projects needing a secure finish and tension control.
To do it right:
- Pull out double the thread length you’ll need.
- Fold it in half and thread both ends through the needle.
- Knot the loop near the eye for security.
- Avoid excess thread to prevent tangling.
Using quality thread products can improve results, such as those found at quality thread products.
Creating Tight Knots
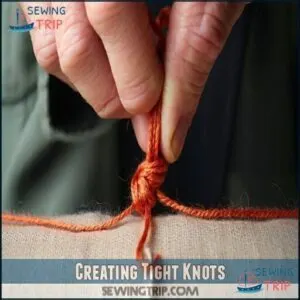
When tying a knot, focus on knot strength and size.
Wetting your fingers and adding a twist can boost knot security and durability.
Keep knot placement close to the fabric to prevent knots loosening mid-project.
Gentle tugging guarantees knot tightness without slipping.
Practice knot tying methods, and watch yourself become the boss of preventing knots from ruining your flow.
Hiding Knots in Hems
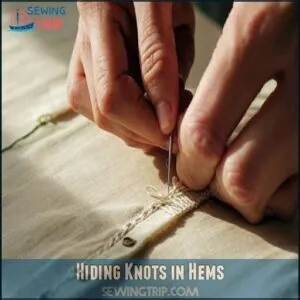
When hiding knots in hems, precision makes your stitches nearly invisible.
Use these steps for secure hiding:
- Start the knot under the fold for hem concealment.
- Make tiny stitches, catching one thread or a thicker strand.
- To prevent knots peeking through, pull the thread tail snugly under the fabric.
The slip stitch technique offers an almost invisible finish.
Perfect for seamless, professional-looking finishes in hand sewing!
Frequently Asked Questions (FAQs)
How do you tie a knot on a sewing thread?
Tying a knot is as easy as making a loop in shoelaces.
Wrap the thread twice around your finger, roll it off, then pull tight.
With practice, you’ll knot like a pro in no time!
Do you need a knot to hand sew?
You don’t always need a knot to hand sew, but it helps secure the thread and prevent unraveling.
If knots aren’t your thing, techniques like double-back stitches or loop starts work wonders too!
How do you knot a sewing machine?
When tying a knot for your sewing machine, pull thread through the needle, wrap it twice around your finger, roll gently, and pull tight.
It’s like magic, but with thread—secure and simple!
Should you tie a knot at the end of a sew?
If you want your stitches to stay put, it’s smart to tie a knot at the end of your sewing thread.
It keeps everything secure and prevents your hard work from unraveling—nothing’s more frustrating!
How do you tie a knot for hand stitching?
Start by wrapping the thread around your index finger, roll it into a small loop, and gently pull it tight.
It’s like tying a tiny shoelace—simple with practice.
Secure your stitch, and you’re golden!
What does a thread knot do at the start of sewing?
A thread knot keeps your sewing secure right from the start.
It’s like locking the door before heading out—prevents the thread from slipping through the fabric and guarantees your stitches stay put.
Why does my hand sewing thread keep knotting?
Your thread’s likely twisting as you sew, causing tangles.
Let the needle dangle every so often to untwist it, and check thread length—a shorter piece reduces knots.
Patience beats frustration, promise!
How to knot thread when hand sewing?
Give it a whirl by wrapping thread around your finger, sliding it off into a loop, and pulling tight.
Practice makes perfect! You’ll knot faster and neater than you ever thought possible!
How to keep thread from tangling when hand sewing without?
Keep thread from tangling by using shorter lengths, around 18-24 inches.
Smooth it out with beeswax or thread conditioner, and sew slowly.
Untwist the thread occasionally—your patience saves headaches later!
How to prevent knots in thread?
Knots in thread are like surprise traffic jams—annoying but avoidable.
Slow down and relax your pace, keep thread untwisted by spinning the needle, and use shorter thread lengths to dodge those pesky tangles.
Conclusion
Think of hand sewing thread knotting as taming a wild thread—it’s all about patience and the right tools.
With these hand sewing thread knotting tips, you’ll spend less time fighting tangles and more time stitching smoothly.
Remember to cut thread smart, use beeswax like a pro, and hide knots like a magician.
Perfecting these simple steps makes sewing more fun and frustration-free.
So grab your needle, embrace the process, and let your creations shine effortlessly!

