This site is supported by our readers. We may earn a commission, at no cost to you, if you purchase through links.
 Learn the magic of the slip stitch hem invisible technique, your secret weapon for sewing elegance.
This technique lets you weave an invisible thread through your fabric, like a sewing ninja, creating hems so subtle and seamless they whisper store-bought sophistication.
You’ll want to choose a lightweight, matching thread to keep your handiwork under wraps.
Mastering this stitch means bidding goodbye to clumsy visible seams and hello to professional perfection.
So grab your needle and thread, and let’s turn your sewing projects from amateur to amazing!
Stick around for insider tips to make your slip stitches truly disappear.
Table Of Contents
Key Takeaways
- You’ll become a sewing ninja with the slip stitch hem technique, creating almost invisible hems that look like they came straight off a boutique rack. Say goodbye to visible seams and hello to store-bought sophistication!
- Choosing the right thread is like picking the perfect cherry for your sundae. Match the thread weight and color to your fabric, aiming to make stitches disappear like Houdini!
- Gather your trusty sewing toolkit before you start. You’ll need a needle, matching thread, and a thimble, just like a chef preps ingredients before cooking a masterpiece.
- Remember, practice makes perfect. As you repeat the slip stitch like a pro dancer, those pesky hems will stay invisible and neat. Don’t worry about a few blunders – every stitch gets you closer to magic!
Mastering the Slip Stitch
To master the slip stitch technique, you’ve got to become a magician with your needle, making the stitches disappear like rabbits in a hat. Whether you’re hemming a garment, closing an opening in a plush toy, or ensuring seams are invisible, this technique will soon become your sewing secret weapon.
What is the Slip Stitch Technique?
The slip stitch is a hand sewing technique that creates an almost invisible finish. Whether you’re hemming a delicate garment or sealing a plush toy, this versatile stitch is a game-changer. With a little practice, you’ll be stitching like a pro and achieving flawless, hidden seams in no time.
Benefits of Using the Slip Stitch
You’ve just learned the slip stitch technique; now let’s explore the perks of this versatile technique. First, it creates an invisible hem, leaving no trace behind. Consider these benefits:
- Professional finish: Your projects look store-bought.
- Durable closure: Keeps everything together through wear and tear.
- Clean appearance: Achieve an elegant, seamless look.
With these, you masterfully take sewing to the next level!
Common Applications of the Slip Stitch
As you appreciate the slip stitch‘s benefits, imagine using it in everyday tasks. It’s perfect for sewing curtains, mending tears, and attaching buttons—and that’s just the tip of the needle! Whether you’re closing pillowcases, fixing upholstery, or sneaking in a blind stitch, this magical technique offers a seamless finish that keeps your projects polished and professional.
Choosing the Right Thread
Picking the right thread for your slip stitch project is like choosing the perfect icing for a cake—essential for a flawless finish. Go for a thread weight that won’t snap under tension and match the color closely to your fabric to keep your stitches secret.
Thread Weight and Quality for Slip Stitch
When stitching with the slip stitch, opt for a lightweight, high-quality thread that won’t break under tension. Look for a thread with a subtle sheen and excellent durability – you want it to glide smoothly through the fabric without causing puckering or distortion. The right thread makes all the difference for a clean, professional-looking hem.
Matching Thread Color to Fabric
Choosing the right thread color is like a game of hide and seek. You want your stitches to blend in seamlessly. Use thread color charts and color matching tools to match your fabric perfectly.
- Consider the dye lots of fabric for precise matching.
- For prints, match the dominant color.
- For white fabric, choose crisp white thread.
Thread Options for Different Fabric Types
While matching thread colors is key, choosing the right thread for different fabric types can be a game-changer in your sewing projects. For lightweight cotton fabrics, opt for a cotton thread that matches the fabric’s thickness. Bulky fabrics benefit from stronger threads like polyester or clear nylon, which won’t break when you pull tight, ensuring a smooth seam repair.
Preparing for the Slip Stitch
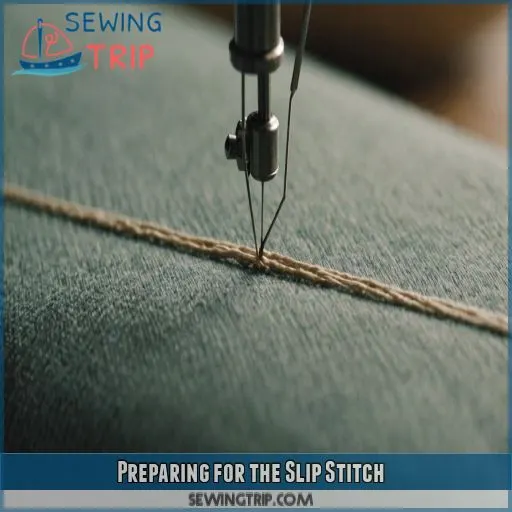
Before you start sewing your beautifully hidden hem, gather your essential supplies like a hand sewing needle, matching thread, and a trusty thimble. Once your needle’s ready and your hem neatly folded, you’ll be stitching with the precision of a tailor in no time!
Essential Supplies for Slip Stitch Sewing
Gather your essential slip stitch supplies – a hand sewing needle, matching thread, a trusty thimble, sharp scissors, and a handful of pins. These simple tools will help you create perfectly hidden seams and hems with ease. Slip stitch sewing is all about precision, so choose your supplies wisely.
- Hand sewing needle
- Matching thread
- Thimble
- Scissors
- Pins
Threading Your Needle and Tying a Knot
Crafting a masterpiece? First, grab your needleconsider needle types for your projectand thread it. Make sure the thread size suits your fabric; you don’t want it too chunky or weak. For knot security, use a firm crossing-over motion when tying. Leave space for the last loop to adjust thread tension. Once knotted, youre ready to stitch!
Finding the Right Fold for Your Hem
Before diving in, determine your hem width and seam allowance; they’re like selecting shoes for a journey—comfort matters! Consider the fabric type: Is it stubborn like a mule or pliable as dough? Keep fold consistency in mind—wrangled hems can scream chaos. Finally, apply an ironing technique to tame those folds into submission, ensuring a polished finish.
The Slip Stitch Technique
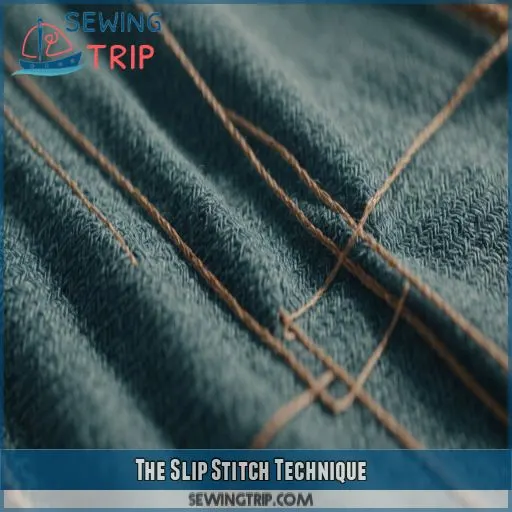
Get ready to master the slip stitch technique and create perfectly hidden seams! This invisible hand-sewing method is a game-changer for hemming delicate fabrics or stitching bulky materials. Follow along as we walk you through the step-by-step process for a professional-looking finish every time.
Step-by-Step Guide to the Slip Stitch
Ready for a slip stitch adventure?
Grab your slip stitch tools, and start practicing these neat tricks!
Begin by threading your needle, making sure it’s sturdy enough for the task at hand.
Peek into the fold, inserting the needle to catch those elusive threads just right.
Perfect for slip stitch projects, this technique makes sure your seams are hidden like a magician’s secret!
Burying the Knot and Starting the Stitch
Alright, you’ve threaded your needle. Now, let’s give that knot a cozy spot to hide. Here’s how to get started:
- Identify the hem fold – This is your playground.
- Knot placement – Sneak it behind the fold.
- Start your stitch – Keep thread tension breezy.
- Needle direction – Out through the fold, aiming precisely.
Grabbing Threads and Inserting the Needle
Next, grab 1-2 threads on the garment with the needle point, hidden behind the folded edge. Insert the needle into the back of the folded edge, close to the previous exit point, going only into the tunnel. This creates the perfect slip stitch every time.
| Needle Depth | Stitch Tension | Thread Count |
|---|---|---|
| Just under the surface | Snug, but not too tight | Match fabric thickness |
Repeating and Finishing the Slip Stitch
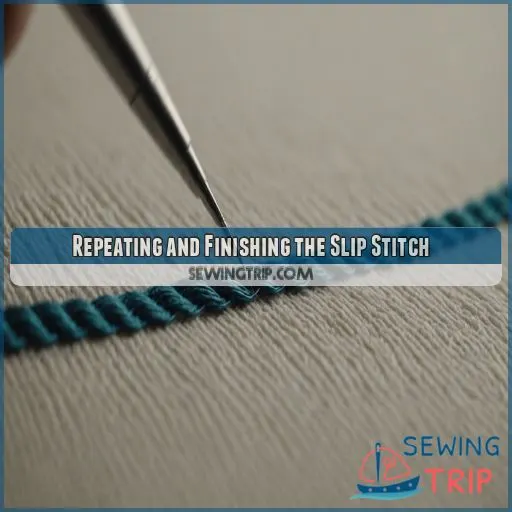
To perfect your slip stitch technique, you need to repeat those tiny, barely-there stitches until your hem is secure and virtually undetectable. Wrap up by securing the final knot and trimming the excess thread, ensuring your finish is as polished as your Sunday best.
Repeating the Slip Stitch for a Secure Hem
To repeat the slip stitch like a pro, maintain even stitch length and keep slip stitch tension just right—tight enough for a secure hem but relaxed enough to stay invisible. Think of your needle as a tiny dancer, gliding smoothly. With practice, you’ll achieve an invisible hem that’ll make others marvel, "Did someone sew this by magic?
Securing the Final Knot and Trimming Excess Thread
Once you’ve repeated the slip stitch to the end, securely tie off the final knot. Then, carefully trim any excess thread, leaving just a tiny tail. This finishing touch will give your project a neat, professional appearance that will make your handiwork shine. Take pride in your perfectly polished slip stitch!
Inspecting Your Work for a Professional Finish
Great job tying that final knot! Now, before you call it a day, give your masterpiece a once-over. Check for even stitches and tension consistency like a detective on a mission. Make sure the fabric smoothness and seam alignment are spot on. If your knot placement doesn’t look right, adjust it. This attention to detail guarantees professional finishes.
Tips and Variations for the Slip Stitch
Mastering the slip stitch involves a few clever tricks you’ll quickly get the hang of, like using clear nylon thread for those extra sneaky seams. Whether you’re working with bulky blankets or delicate dresses, these tips will help you troubleshoot any hiccups and get that professional, invisible finish.
Using Clear Nylon Thread for a Truly Invisible Stitch
For a truly invisible slip stitch, consider using clear nylon thread. This durable option blends seamlessly into the fabric, creating a virtually undetectable finish. The sheer, lightweight nature of nylon makes sure your stitches remain hidden, even on delicate materials. Give it a try for your next hemming project!
Adjusting the Slip Stitch for Bulky or Delicate Fabrics
Mastering the slip stitch dance with bulky or delicate fabrics is like choosing the right shoes for different occasions. For bulkier materials, use a stronger needle and longer stitch length to give your seams some breathing room. When finesse calls for delicate stuff, lighten the thread tension, and slow down. The right touch makes all the difference!
Troubleshooting Common Issues With the Slip Stitch
Now, even a simple slip stitch can be tricky. If you’re wrestling with loose stitches or an uneven hem, don’t throw in the towel just yet!
- Thread tension: Adjust your grip; too tight, it puckers, too loose, it’s floppy.
- Knots showing: Hide them well.
- Fabric puckering: Lighten your touch.
Keep practicing—mastery awaits!
Frequently Asked Questions (FAQs)
How do you make an invisible slip stitch?
Creating an invisible slip stitch is like weaving magic into fabric. Start by hiding your knot behind the hem. Stitch through the fold, ‘pick’ a thread, and repeat. It’s the ultimate sewing sleight of hand!
How to do invisible hem stitch?
To make an invisible hem stitch, hide your knot in the fabric fold. Take tiny stitches, like you’re tiptoeing along the edge. Secure every 1/2" by sewing through the hem tunnel. Knot, and voilà—magic!
How to do a slip stitch for hemming?
Imagine stitching like a stealthy ninja! Bury your knot, then weave the needle through the fabric fold, snagging just a thread or two. Keep going in tiny, secret steps, finishing with an invisible masterpiece. Voila!
What is the invisible stitch?
The slip stitch is a handy, nearly invisible sewing technique that lets you discreetly join fabrics. It’s perfect for hemming delicate materials or closing gaps in plush toys – you’ll be stitching like a pro in no time!
How do I achieve a consistent stitch length when slip stitching?
To achieve a consistent stitch length when slip stitching, mind your tension like a tightrope walker balances. Keep your needle movements steady and even, while ensuring you don’t miss a beat with the thread color and fabric match.
What are the benefits of using a thimble for slip stitch hemming?
Using a thimble while slip stitching saves your finger from feeling like it’s been through a cactus patch. It gives you control too, ensuring your needle doesn’t slip and your stitches stay consistent. Handy, huh?
Can I use slip stitch for hemming curved or bias-cut edges?
Slip stitching works wonders on wiggly, wavy edges like curved or bias cuts. It gently hugs the fabric, like a calm sea embracing the shore, making those stubborn edges behave, delivering an invisibly elegant hem.
How do I prevent puckering when slip stitching delicate fabrics?
To prevent puckering when slip stitching delicate fabrics, take your time and keep the fabric taut. Use a sharp needle, light thread, and gentle tension to glide the stitches through without bunching. With a little practice, you’ll nail that invisible finish!
Is slip stitch suitable for hemming heavily embellished or beaded fabrics?
Slip stitching can work for heavily embellished or beaded fabrics, but you need to be careful. Navigate around beads like dodging raindrops, using a fine needle and matching thread to sneak stitches in neatly between embellishments.
Conclusion
Ready to transform your sewing?
With the slip stitch hem invisible technique, perfection isn’t just a dream—it’s your reality.
Picture yourself confidently crafting impeccable hems that could grace any boutique.
By mastering this technique, you can make your garments look effortlessly chic without harsh, visible seams.

