This site is supported by our readers. We may earn a commission, at no cost to you, if you purchase through links.
Are you looking to learn how to properly sew? Whether it’s for a special project or just because you’ve always wanted to know the basics of sewing, this step-by-step guide is here for your convenience.
We’ll teach you a variety of techniques that will help make sure your stitching comes out perfect every time.
You won’t even need any fancy tools either; just items like thread, needle, and fabric are enough! So let’s get started on mastering proper sewing skills today!
Table Of Contents
Key Takeaways
- Select the appropriate sewing tools and materials for your project.
- Master key sewing techniques such as the running stitch, backstitch, and slipstitching.
- Organize your sewing supplies for easy access and use storage containers or a caddy for portability.
- Practice different sewing techniques to improve skills and confidence in creating beautifully crafted items.
Basic Sewing Tools
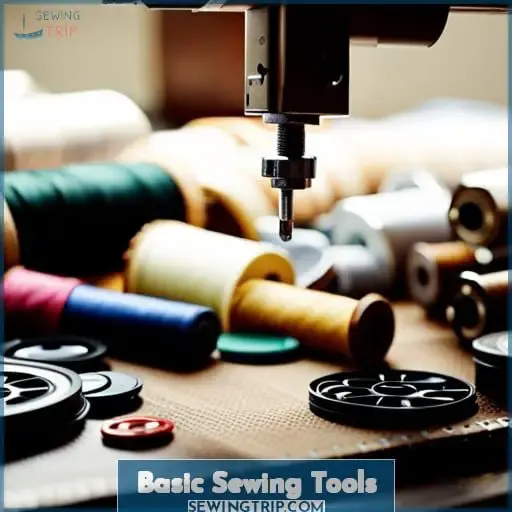
Before you begin sewing, it’s important to have the right tools. To get started, a basic sewing kit should include fabric scissors, pins, and needles – 8 out of 10 sewers agree these items are essential!
Threads come in various lengths and thicknesses for different projects. Needles should be selected based on the thread type as well as the project material. Sharp points work best with thinner fabrics, while duller tips are better for thicker materials.
Pins can help keep layers together during stitching or alterations – just be sure not to leave any behind when finished! Lastly, don’t forget your seam ripper if mistakes need correcting.
With all the necessary tools accounted for, you can start learning techniques such as the running stitch, basting stitch, whipstitch, or slipstitch – each having its own unique application depending on what kind of finish is desired from your project.
With practice comes proficiency, so get comfortable using those scissors and needles – they will serve you well time after time!
Diagonal Stitching Technique
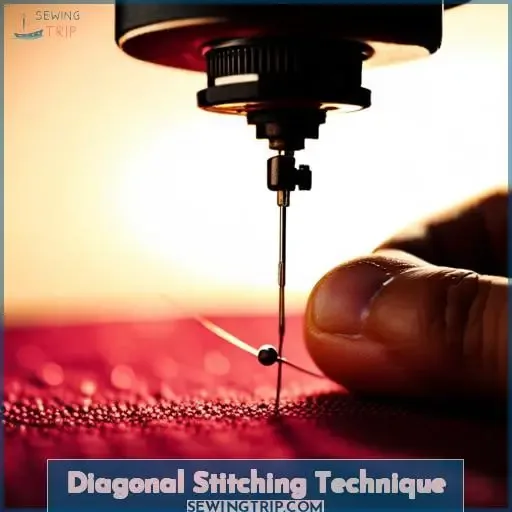
Try your hand at the diagonal stitching technique for an extra layer of style and sophistication in any project – it’s easier than you think!
To get started, make sure the thread tension is right and adjust the needle placement to match the fabric choice.
Be mindful of the slant angle when pulling through; choose a thread type that works best with the material.
For emergency sewing kits, use cotton threads with beeswax so they won’t fray easily.
To finish off, small overhand knots will do just fine.
You don’t need to be a master sewer – simple steps like getting familiarized with needle types or adjusting stitch lengths can elevate your projects quickly!
Whether it’s clothes repair or crafty designs, take control by experimenting with different techniques yourself instead of relying on tutorials alone!
With practice comes proficiency, so soon enough you’ll have creative projects looking sharp as ever from every corner using this trusty method every time.
Forming a Knot at the End
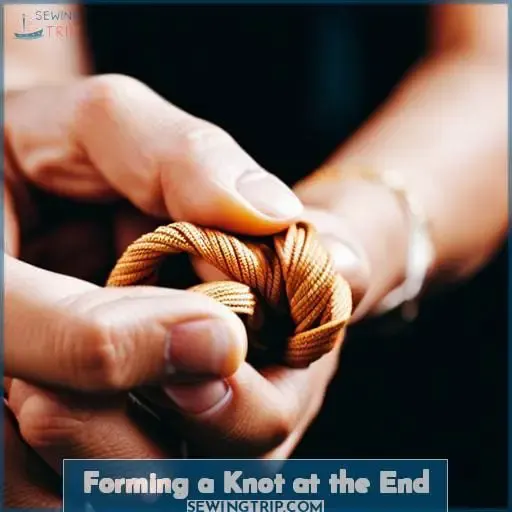
Once your stitching is complete, give it a neat finish with an easy knot-tying technique. Start by adjusting the thread tension and needle placement to ensure you get the desired effect when forming diagonal stitches.
Practice making knots until you understand how much of the doubled-over thread should be pulled through in order to create a tight knot.
For fabric folds, use a basic square knot – but remember that there are other ways to secure threads at their end if needed! With each stitch or fold, pay attention to detail and practice patience as this will help make all future projects look professional from every corner.
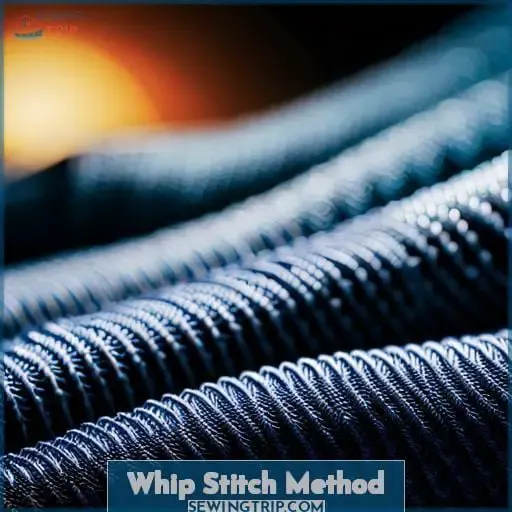
Whip Stitch Method
Once you’ve got the basics of knot-tying down, mastering whipstitch is a breeze! Start by picking threads that are suitable for your fabric and securing seams.
After adjusting lengths, it’s time to form loops with the needle. Start from the wrong side of the fabric and bring the needle up through the next stitch. Slip stitching will allow you to join pieces together quickly. When using embroidery floss, consider beeswax as an aid in keeping the thread smooth while sewing.
Now that everything is ready for use, it’s time to get creative! With a few simple movements, you can make intriguing patterns on any material. Whether it’s creating unique designs on curtains or decorative stitches around pillows in your hotel lobby, no matter what project comes along, whipstitching has never been easier.
Folding Fabric and Pinning
Before you start whipstitching, it’s important to make sure your fabric is properly prepped.
To do this, fold the material in half and pin along the edges with a good pair of shears or small triangular teeth so that all of your stitches look uniform on both sides – like a zipper opening up or closing shut.
Use purpose cotton thread for heavier fabrics and soluble marking pens when stitching together two pieces of fabric to keep track during sewing.
With these basics down, create intricate patterns by using knot formation and diagonal stitching technique while pulling threads for 90-degree angles until complete.
Finally, form knots at each end with careful whipping stitch method – moving the needle right from the last vertical line formed by the thread, then bringing it up through the fabric, making a loop before putting the needle through multiple times until finished!
Blanket Stitch Tutorial
Learn the timeless art of blanket stitching for a finished look that will make your project pop! Gathering all the necessary supplies like thread, needles, and smaller embroidery scissors is key to creating perfect loops.
Thread tension should be set just right so that it’s not too tight or loose when you pull on either end. When sewing, start with an eye of the needle going through both layers of fabric before pulling out a longer version of running stitch looped over itself several times until the desired length is achieved.
Use beeswax every few inches to help create smoother sounds as well as prevent knotting while working on multiple projects at once.
For finishing knots, ask yourself what type best suits your needs – whipstitch or blanket? Whipstitching uses small overlapping stitches pulled together tightly, whereas blanket stitching creates larger, more decorative designs resembling flowers and other intricate patterns often used in quilts today.
No matter which one you choose, practice makes perfect, so don’t forget to work slowly with patience and attention.
Running and Basting Stitches
Now that you’ve mastered the blanket stitch, let’s move on to learning how to use running and basting stitches. These are essential elements of any successful sewing project, so it’s important to understand them thoroughly.
Start by prepping your cotton fabric with embroidered edges and pattern matching, if necessary. Then, press seams before gathering the fabric for a top-stitch or center line seam.
When stitching along lines, make sure the top of your needle meets each step evenly.
Finally, don’t forget about finishing knots like whipstitching. Whipstitching uses small overlapping stitches pulled together tightly. You can also use blanket stitching for larger decorative designs resembling flowers, which are often used in quilts today.
With focus and practice, perfect results come every time!
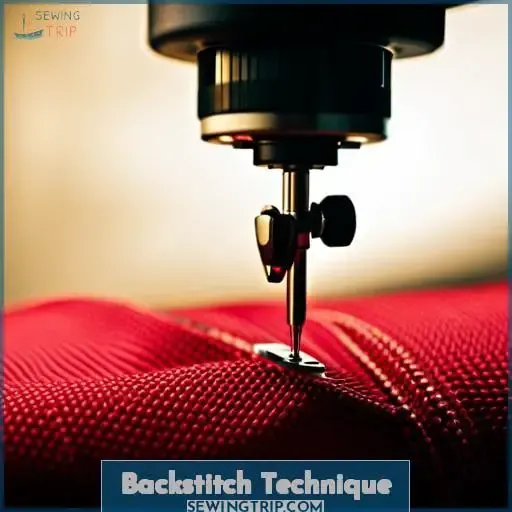
Backstitch Technique
Master the backstitch technique for an extra-polished look to your sewing projects – you’ll be amazed at how easy it is!
Make sure to start with the right fabric choices, such as prepping cotton and embroidered edges.
Remember pattern marking before gathering, then set single thread tension just right when pulling either end.
As you stitch along lines, ensure that each step of the needle meets evenly and keep track of where you left off for uniformity across all sides.
To finish up, use whip stitching or blanket stitching for larger decorative designs like flowers used in quilts today.
Achieving perfection requires focus though – practice makes perfect!
Thicker threads work best here too; dressmaking shears are also essential if snipping ends from a roll of fabric or finishing seams on a dress shirt, etc.
But don’t forget about ending knots like whipstitching, which pulls together tightly in small overlapping stitches.
Slipstitching Method
Slipstitching is like driving a car: the needle glides through the fabric with ease as you pull each thread to create a tight, invisible seam. Perfect for hems and seams on all types of fabrics, this technique can be used with different threads and needle sizes depending on your desired stitch length.
To start off, fold your single piece of fabric along its bottom edge before inserting a pink thread – knot at one end using small bits of fabric so that it doesn’t slip away while sewing. From there, begin making tiny stitches in succession until you reach the other side or complete an entire hemline if working around multiple edges.
Make sure not to pull too hard or else risk breaking apart delicate silks or any lightweight fabrics! With practice comes perfection; practice your slipstitch method today for beautiful results tomorrow!
Frequently Asked Questions (FAQs)
What is the best kind of fabric to use for sewing?
The best fabric for sewing depends on your project. Choose lightweight cottons or linens, wool blends for jackets, and sturdy denims for jeans.
What is the difference between a running stitch and a backstitch?
A running stitch is a basic technique that moves in and out of the fabric, while a backstitch produces thicker, stronger stitches by looping the thread around itself. Both are useful for sewing projects, but one may be better suited depending on what you’re making.
Is there a way to make sewing easier?
Yes! Make sewing easier by mastering key techniques such as diagonal stitching, forming a knot at the end of your thread, and whipstitching.
What is the best way to store my sewing supplies?
Organize your sewing supplies to make them easily accessible and usable. Use bins, boxes, or drawers for fabric scraps, threads, needles, and other items. Label containers so you can quickly find the item you need. Place tools in a caddy for portability when working on projects away from home.
Is there a tutorial on how to create buttonholes?
Looking for a tutorial on how to create buttonholes? Check out FutureGirl’s comprehensive guide. Learn the basics of diagonal stitching, forming knots, and whip stitch techniques with detailed pictures and clear instructions.
Conclusion
In conclusion, sewing can be both an enjoyable and fulfilling activity. With the right tools, techniques, and knowledge, anyone can become a master seamstress.
As you practice the different techniques like whip stitch and diagonal stitching, you’ll soon see your projects come to life. Remember, no matter how complex the stitching you’re doing, the end result should always be the same: a beautifully crafted garment, blanket, or item that will last for many years.
As you continue to practice sewing, you’ll develop the skills and confidence to take on more difficult projects. So don’t be afraid to take on the challenge of mastering the art of sewing – it’s worth the effort.

