This site is supported by our readers. We may earn a commission, at no cost to you, if you purchase through links.
We’ve all been there – eyeballing placements and hoping for the best. But no more guessing games or crossing your fingers that things will line up! This handy tool ensures every pleat, seam, and hem hits the sweet spot for fabulous results.
Simply slide it along to mark measurements, poke out corners, and maintain order amidst the chaos of fabric. Consistency and precision will be your superpowers. Say goodbye to crooked buttons and uneven hems with this sneaky secret weapon stashed in your notions pouch.
Accuracy is sewn into every stitch. Your inner maker is squealing in delight – let’s get measuring!
Table Of Contents
Key Takeaways
- Sewing gauge is a metal sliding tool for precise measurements in sewing.
- It is used to mark fabric for spacing, seam allowances, hems, and pleats.
- Sewing gauge ensures consistency in measurements and helps achieve accuracy within 1/16 inch.
- It allows for perfectly even spacing, pleats, and button alignment, and helps avoid mistakes and waste of materials.
What is a Sewing Gauge?
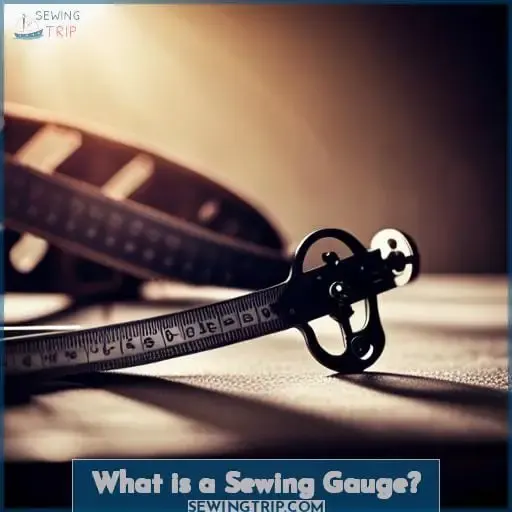
You’ll find a sewing gauge makes quick work of measuring and marking hems, tucks, pleats, and more. Slide the metal tool to the measurement needed, then mark along the edge on the wrong side of your fabric.
Avoid using pens that can bleed through to the right side. I like using different colored chalks for fold lines compared to placement lines. The pointed end is great for neatly poking out corners. Try to find the exact start and stop points of your seams as well.
It’s perfect for getting bias binding folds even. Overall, this inexpensive tool saves time and frustration when sewing tricky details like buttonholes or 5mm seam allowances. Investing in a durable gauge helps ensure your projects turn out precisely as planned.
The Benefits of Using a Sewing Gauge
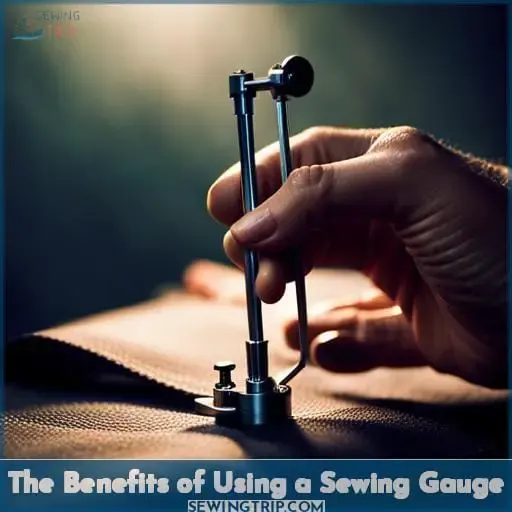
Let’s enhance your sewing skills with precision. A sewing gauge is your secret weapon for achieving accurate measurements. You’ll be able to achieve perfect pleat depths, seam allowances, and button spacing every time you use this handy tool.
Whether you’re hemming, adding tucks, or making buttonholes, a sewing gauge helps you mark and measure with precision.
Accurate Measurement
Sew those buttons perfectly spaced every time with the dependable precision of a sewing gauge. Line up that slider to mark out each buttonhole at just the right width for even spacing. Get every tuck width and pleat line precise for flawless results. Measure seam allowances and waistband lengths accurately.
Use it to proportion each hem depth perfectly. Your sewing will be more precise and professional with this handy little tool.
Even Button Spacing
Clips keep your buttons more evenly spaced than the guards at Buckingham Palace. Effortlessly mark button placements with your trusty sewing gauge before stitching. The transparent measuring tool glides smoothly along vinyl and fabric, ensuring quick, creative techniques for even spacing.
Say goodbye to improvised measuring and embrace the infinite button possibilities. Measure and mark button spots precisely for smooth vinyl hemming and effortless stitch spacing every time.
Consistent Pleat Depths
A sewing gauge helps you achieve consistent pleat depths every time. Whether you are making pleated skirts, knife pleats on a jacket, or pockets with precise pleats, a narrow gauge ensures uniform pleat spacing.
Simply align the gauge’s edge with the desired pleat depth and insert your aligning pins. Use the markings to evenly space and align each pleat before basting. Your pleats will have that perfect, consistent look every time.
Precise Seam Allowances
Its precision lets you nail those fussy seam allowances.
- Get exact 5mm collar seam allowances.
- Measure stitching lines between perfectly spaced darts.
- Check fold widths for bias binding.
With the gauge’s adjustable lengths, you can mark collar stitch lines effortlessly. No more eyeballing seam allowances or using tape measures. This tool helps measure precise seam allowances for flawless sewing projects.
Versatility for Various Sewing Tasks
You’ll quickly discover the versatility that a handy dandy gauge delivers for diverse dainty tasks. Skillfully slide this slim strip to slay those seam allowances. Glide the edge to gracefully gauge gorgeous buttonhole spacing options.
Cleverly clutch this measuring magician to masterfully mark magnificent hem depths. Triumphantly tout this trusty tool to tactfully tackle pleat proportions and achieve wrinkle-free pressing perfection.
How to Use a Sewing Gauge
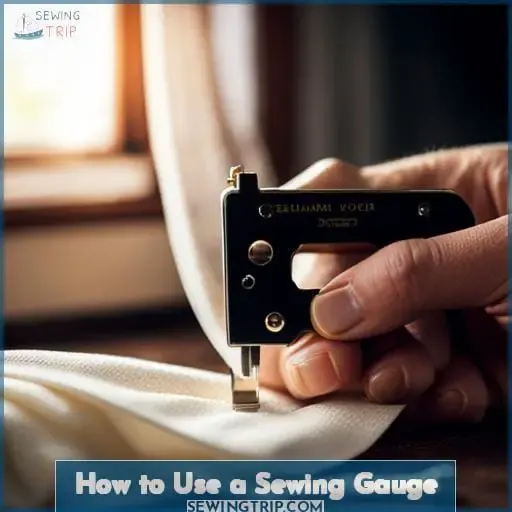
Before you even thread your needle, grab that slim metal sewing gauge from your toolbox – it’s going to make your project a breeze! Line up the slider to the hem depth needed, then mark lightly along the fabric’s wrong side to indicate the fold placement.
Use different colored fabric markers to distinguish between fold lines versus final placement lines, and don’t be shy about poking out precise corners with the gauge’s pointed end. With the help of this unsung hero, you’ll have perfectly even hems and buttonholes in no time.
Marking Placements
You can mark your placements before sewing with a gauge. Align your sewing gauge to the desired depth for hems or width for pleats. Mark along the edge on the wrong side of your fabric. Use fabric markers that can be removed after sewing.
Make different colored marks for fold lines compared to final placement. The sewing gauge helps achieve precise spacing for buttons, buttonholes, tucks, and pleats before stitching.
Distinguishing Fold Lines and Placement Lines
You’d use different colored marks to distinguish fold lines from placement lines when using a sewing gauge.
- Blue for fold lines
- Red for placement
- Green for trim line
- Purple for pleats
When marking your fabric, use a simple system of color coding for clarity. Distinct colored lines offer precise placement, ensuring your project, whether a quilt or pouches, has professional results.
Neatly Poking Out Corners
The pointed end is perfect for precisely poking those pesky corners before pleating your project. Simply slide the gauge’s tip along folds to poke corners out flawlessly when prepping fabrics. For crease-free corners, let the gauge’s slender point poke them out neatly prior to sewing.
Recommended Brands and Types of Sewing Gauges
Let’s discuss some of the most popular sewing gauges for measuring and marking fabric. The classic Dritz sliding marker sewing gauge provides versatile functionality in a compact size. For a basic inches/centimeters ruler, Fiskars offers their orange measuring gauge at an affordable price point.
To quickly space buttons, buttonholes, pleats, and more, the flexible Tatiwoo aluminum gauge expands up to 24 inches. With the right sewing gauge, you can achieve accurate measurements and professional results in your sewing projects.
Dritz Sliding Marker Sewing Gauge
Quick as a wink, catch a glimpse of the versatile sliding marker lining your project perfectly. This clever nickel gauge slides smoothly to any measurement for flawless needle placements, buttonhole spacings, and stitch length adjustments.
Mark tucks, pleats, hems, and more with its stay-put marker, preparing fabrics and marking techniques precisely.
Fiskars Measuring Gauge Orange
You’ll like the budget Fiskars gauge for basic sewing measurements. Though thin, its durable plastic withstands pinning and marking often. The locking increments excel at measuring hem depths or button placements. Just be sure your machine stitch length suits the fabric thickness and stretch to avoid skipped stitches.
Folding precise hems takes patience, so rely on this gauge’s corner turner and clear markings.
Aluminum Sewing Gauge Button Spacing Device
See, that flexible aluminum gadget will spread like a measuring tape to space buttons evenly, though its flimsiness may affect your precision. You’ll find many uses for the expandable gauge—it conforms to curves, marks woodworking evenly, and spaces hooks, eyes, and pleats perfectly.
Tips for Sewing With Vinyl
Whether you’re new to working with vinyl or have sewn with it before, there are some key things to keep in mind for achieving great results. From choosing the best thickness and finding quality vinyl to using the right needles and thread, following these tips will help you get smooth seams and professional finishes when sewing with vinyl.
Read on to learn essential techniques that will take your vinyl projects from homemade to polished and put together.
Choosing the Right Thickness of Clear Vinyl
When selecting clear vinyl, you’d best check its gauge number to determine the right thickness for your project’s needs. For lightweight pouches, 8 gauge (0.008 inch) vinyl allows neat seams. But for structured totes able to hold shape when loaded, opt for a thicker 20 gauge (0.
020 inch) vinyl. Test different gauges on scrap pieces to ensure your machine can stitch the chosen thickness evenly before cutting your vinyl.
Where to Find Vinyl for Sewing
You need to know where to find quality vinyl when starting a sewing project. Check fabric stores for basic clear vinyl rolls and fun printed options. Craft stores also have vinyl for pouches and home decor items. For specialty vinyls like faux leather or uncommon colors, try online retailers that focus on materials.
They offer vinyl specifically for bag making, upholstery, garments, and even outdoor uses. Read vinyl buying guides before purchasing to pick the right type and thickness for your project’s needs.
Ensuring a Great Look for Clear Vinyl on Finished Projects
For professional-looking clear vinyl projects, double-check measurements with a handy sewing gauge before cutting. Confirm pleat depths match the pattern markings. Clip weights prevent curling as you sew.
Rub seams thoroughly before topstitching. Fold corners sharply on band edges. Press vinyl gently with a silicone sheet.
Techniques for Smoothly Sewing With Vinyl
You’ll find selecting the right vinyl gauge speeds stitching success.
- Invest in quality scissors designed for vinyl.
- Use clips instead of pins to avoid holes.
- Tape down the edges smoothly and taut.
- Practice on scraps before starting your project.
Smooth sailing with vinyl awaits when you prepare properly. Armed with the right tools and techniques, you’ll sew through vinyl projects feeling fabulous.
Why Use a Sewing Gauge
Let’s delve into why using a sewing gauge is so helpful for your sewing projects. This handy little tool brings accuracy and precision to measuring seam allowances, hems, buttonholes, and more. Using a gauge saves you time and effort trying to eyeball or improvise measurements.
Most importantly, it helps achieve consistency across your sewing projects – evenly spaced buttons, identical pleat widths, and perfect topstitching lines. With such a small investment, a sewing gauge is an indispensable item that every sewist should have in their toolkit.
Accuracy and Precision
A sewing gauge helps ensure accuracy within 1/16th of an inch for consistent spacing and seam allowances. For instance, the width between perfectly aligned buttonholes could vary by only 1.
| Task | No Gauge | With Gauge |
|---|---|---|
| Hem Depth | Uneven, wavy | Perfect 5/8 all around |
| Button Spacing | Slightly off | Precisely spaced |
| Folding Bias Tape | Wrinkled edges | Crisp folded edges |
| Pleat Width | Inconsistent | Exact 1/2 pleats |
| Marking Darts | Imprecise shaping | Shape darts precisely |
When folding selvages, the gauge ensures even pressing and folding. Testing stitch tension on scraps prevents stretching later. Marking inner curves and pressing with care along the fabric grain will give your project mastery.
Time and Effort Savings
It’ll save you tons of time and headache using a gauge for those fussy measurements.
- Skip fussing with tape measures for small details.
- Quickly mark buttonholes and pleats evenly.
- No more counting button spaces out by hand.
- Hem lengths perfect on the first try.
A sewing gauge packs decades of clever utility into a tiny tool. Slip it in your kit for versatile on-the-go use. With handy measurement markings, it replaces bulkier tools when packing light. Sewists through the years have treasured these little lifesavers for their convenience.
Consistency in Sewing Projects
You’re knocking out precise measurements and even spacing like a boss with that handy gauge. Sew perfect lines, angles, and distances every time for properly fitting projects. Mark evenly spaced buttons, buttonholes, and pockets with identical placement. Measure precise seam allowances for professional results in light/medium/heavyweight fabrics.
Be the creative master of consistency and order in your sewing space. That little gauge makes it happen with accuracy.
Frequently Asked Questions (FAQs)
How do I clean and maintain my sewing gauge?
Gently wipe your sewing gauge clean after each use with a soft cloth. Avoid harsh cleaners that could damage the markings. Store it flat or rolled up in a sewing kit to prevent it from getting bent. Oil the slider occasionally so that it glides smoothly.
What sewing projects don’t require using a gauge?
Simple items like napkins, placemats, reusable grocery bags. Small decorative pillows that don’t need precise sizing. Costumes or clothing for kids who grow fast. Home decor projects like curtains, table runners, trivets.
Beginner’s first lessons in hand-sewing. Quick gifts stitched from scraps or fat quarters.
Is a sewing gauge necessary for hand sewing as well as machine sewing?
Sewing sister, a gauge is your trusty ruler for hand or machine sewing magic! It whispers wisdom in neat stitches, ensuring even spacing and perfect pleats. Without its guiding numbers, your sewing is just guessing. So treat yourself to precision – a gauge empowers your inner couturier.
What are some common mistakes to avoid when using a sewing gauge?
You absolutely must avoid the cardinal sin of eyeballing it! Skipping precise gauge measurements will unleash a tidal wave of mistakes. Meticulously measure hem depths, buttonhole spacing, and pleat widths every single time, or face disastrous results.
Can I use a sewing gauge on knitted or crocheted projects?
Yes, you can use a sewing gauge on knitted or crocheted projects! Just place it gently against the fabric, aligning the marker with the required measurement. Be careful not to snag any stitches. Make light markings using non-permanent methods like chalk or snippets.
Regularly check the gauge as stitches may shift. A gauge helps ensure consistent measurements for rows, repeats, and sizing.
Conclusion
As your loyal sewing guru and lifelong crafter, let me say this sewing gauge is your trusty guide through the twisting thread trails ahead. With its shimmering metal edge to light your way, you’ll stitch that perfectly spaced line of buttons or mark those flawless 5mm collar seam allowances in no time.
So clip this clever tool to your sewing kit – with its guidance beside you, your next project will be sewn up with skill and ease in equal measure.

