This site is supported by our readers. We may earn a commission, at no cost to you, if you purchase through links.
Making your own apron is a breeze with some basic sewing skills.
Start by selecting a durable fabric like cotton or linen, grab your sewing supplies, and follow a simple pattern.
Cut out the main body, neck strap, ties, and pocket pieces.
Assemble by sewing the straps, ties, and pockets, then finish with hems and any cute embellishments.
In no time, you’ll have a custom apron that’s as stylish as it is practical for kitchen adventures.
But don’t stop there – keep reading to delve into the full step-by-step instructions.
Table Of Contents
Key Takeaways
- Selecting the right fabric, such as cotton or linen, is crucial for a durable and customizable apron.
- Gathering the necessary sewing supplies, including a sewing machine, scissors, and measuring tools, is essential for a successful DIY apron project.
- Following a simple pattern and step-by-step instructions can guide beginners through the process of cutting out the apron pieces and assembling the final product.
- Customizing the apron design with features like pockets, ruffles, or embellishments allows for a personalized and unique creation.
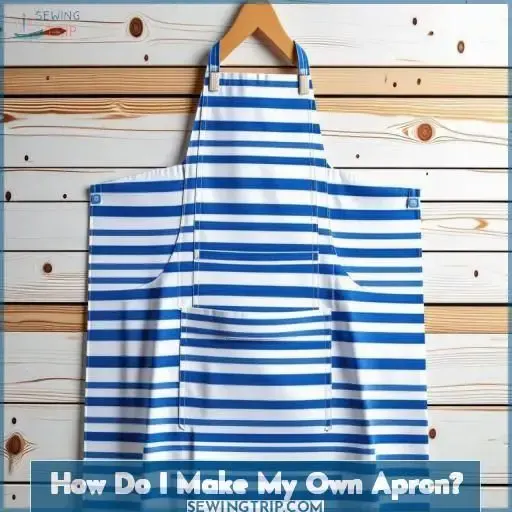
How Do I Make My Own Apron?
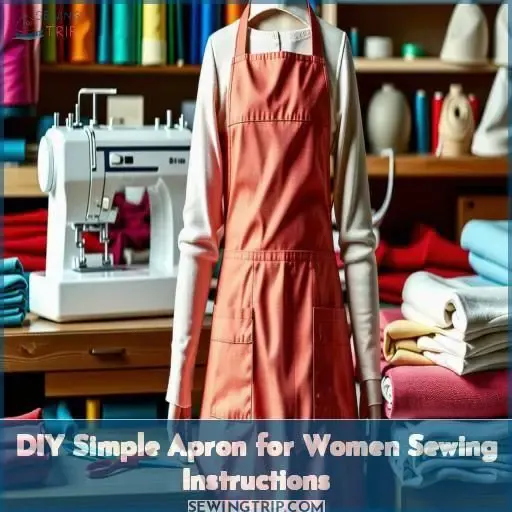
Making your own apron is a rewarding DIY project that allows you to customize the design and fabric to suit your style.
Start by selecting a durable, medium-weight fabric like cotton or linen.
Consider adding a pop of color or pattern for a personalized touch.
The basic apron construction involves cutting out the main body, neck strap, and ties, then hemming the edges and attaching the straps.
You can further customize your apron by adding pockets, ruffles, or a waistband.
Sewing an apron is a great beginner-friendly sewing project that results in a practical and thoughtful gift.
With a little creativity, you can make an apron that perfectly fits your needs and preferences.
DIY Apron Fabric
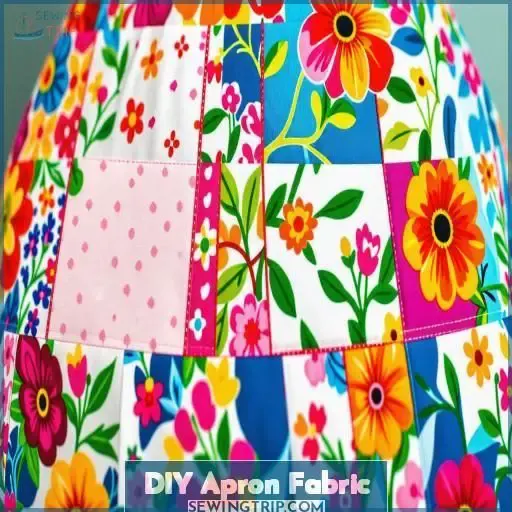
Concerning DIY aprons, the fabric selection is crucial.
Cotton, a budget-conscious choice, offers an array of colors and patterns, ideal for novice sewers. Opt for medium to heavyweight cotton that will endure daily usage.
Linen, another sturdy option, comes with a slightly higher price tag.
Determine the style and purpose of your apron before selecting the fabric. Will it be predominantly used for culinary endeavors, creative pursuits, or as an ornamental element? Make your choice accordingly.
With the plethora of fabric options, you can effortlessly locate the ideal material to meet your requirements and craft a unique DIY apron.
DIY Apron Supplies
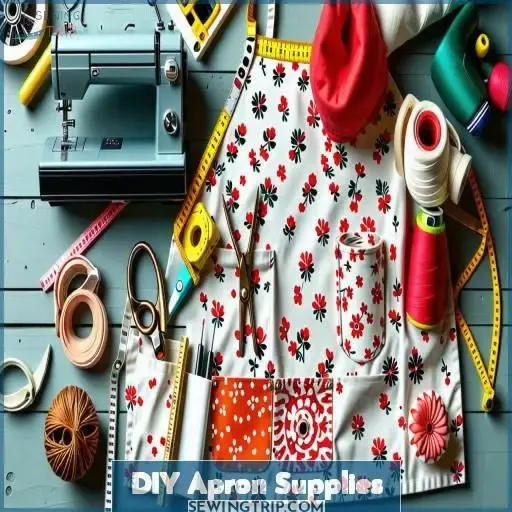
Now that you’ve selected the perfect fabric for your DIY apron, it’s time to gather the necessary supplies. The key materials you’ll need include a sewing machine, scissors, thread, a measuring tape, and a pencil or tailor’s chalk.
For the best results, choose high-quality tools that will make the sewing process easier. Look for sharp fabric scissors, a sturdy measuring tape, and thread that matches your chosen fabric. You may also want to have an iron and ironing board on hand to press your seams and hems.
With the right supplies, you’ll be well on your way to creating a custom apron that reflects your personal style. Whether you opt for a classic cotton or a vibrant linen, the possibilities are endless in regards to apron design.
DIY Simple Apron Cut List
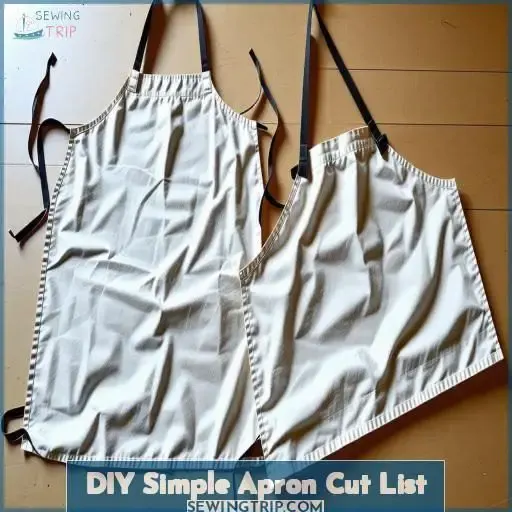
To create your own simple apron, you’ll need to cut out a few key fabric pieces. Start with a 32 x 27 1/4 inch rectangle for the main apron body, ensuring you curve the neckline and bottom edges. Cut two 4 x 22 inch strips for the neck strap, and two 2 x 25 inch strips for the ties. If you want pockets, cut two 8 x 8 inch squares.
When selecting fabric, consider cotton or linen for durability and easy care. Coordinate the thread color to match. Use a tape measure, scissors, and straight pins to precisely cut out each piece. This cut list provides the foundation for your custom apron design.
DIY Simple Apron for Women Sewing Instructions
To prepare the neck strap and ties, fold each piece in half lengthwise and sew along the long raw edges, leaving a small opening to turn them right side out. Once turned, press the straps and ties flat. For the pockets, fold over the top edge of each pocket piece twice to create a hem, press, and stitch in place.
Prepare the Neck Strap and Ties
To prepare the neck strap and ties, start by folding the fabric in half lengthwise. Measure and cut the neck strap to 22 inches, and the ties to 25 inches each. Use a sewing machine to stitch the long edges, then turn the straps right-side out for a clean finish. Get creative with color combinations and decorative stitching for a personalized touch.
- Measure and cut neck strap (22) and ties (25 each)
- Fold fabric in half, sew long edges, turn right-side out
- Experiment with color schemes and decorative stitching
Prepare the Pockets
Next, prepare the pockets. Cut two 8×8 inch pocket pieces from your contrasting fabric. Hem the top edge of each pocket using your sewing machine. Position and pin the pockets onto the main apron piece, then stitch them in place along the sides and bottom. Distribute any pleats evenly for a polished look.
Check Out More Homemade Gift Ideas Here!
Now that you’ve mastered the basics of sewing a simple apron, why not explore some other fun and practical homemade gift ideas?
Consider making a set of coordinating oven mitts or potholders using the same fabric as your apron for a cohesive kitchen look.
Or, try your hand at sewing a reusable fabric grocery bag – perfect for the eco-conscious friend.
For a more personalized touch, embroider or applique a monogram or design onto your apron.
The possibilities are endless in terms of customizing your homemade creations.
With a little creativity and some basic sewing skills, you can whip up thoughtful gifts that are sure to impress.
So get inspired and start stitching!
Frequently Asked Questions (FAQs)
How to sew an apron for beginners?
Did you know 90% of sewers start with an apron? Easily protect clothes with a handmade creation. First, cut fabric pieces following measurements. Then, stitch components like straps and pockets for a customized, practical gift.
How many yards of fabric do you need for an apron?
For an apron, you’ll need around 1 yard of fabric. But don’t worry, it’s an inexpensive project perfect for newbies! Just grab your scissors and get ready to create something functional and stylish.
How to make an improvised apron?
OK, drop whatever you’re doing and grab that old sheet! Famine be damned, you’re about to DIY an apron. Wrap fabric around your waist, secure with a knot or belt – voila! Sexy and practical.
How to measure and cut an apron?
First, determine your measurements using a cloth tape. Lay the fabric flat and mark along the measurements with chalk or pencil. Carefully cut along the marked lines with sharp fabric scissors. Voila! You’ve precisely cut out your apron pieces.
How do I choose the right fabric for my apron?
Choose a durable cotton or linen fabric. It should be medium-to-heavy weight to protect your clothing. Consider patterns or colors that fit your style.
What are some tips for sewing an apron neatly?
Use dressmaker’s chalk to mark seamlines. Pin fabric diligently for tidy stitching, stay close to drawn lines. Reinforce stitches at corners and vulnerable spots. Iron seams smooth after sewing for a sharp, refined look.
Can I customize the apron design to my liking?
With an apron project, the sky’s the limit! You can absolutely put your unique spin on it – try fun prints, add pockets, or embellish with trims for a custom creation that’s all you.
How do I care for and maintain my homemade apron?
To maintain your apron’s vibrant look, wash it in cold water and let it air dry. Iron on low heat to remove wrinkles. Spot clean stains promptly with a damp cloth. Mending frayed edges preserves its longevity.
Are there any special techniques for adding pockets or ruffles?
To add pockets, you’ll create a square or rectangle piece from your fabric and stitch it onto the main apron panel before final assembly. Ruffles on the bottom can be created by gathering fabric onto a string or stitching rows of basting stitches.
Conclusion
Creating bespoke aprons not merely safeguards your garments but liberates creativity. Honing practical creations instills personal satisfaction. Engage in continuous practice – expertise fosters impeccable projects. This guide demonstrated constructing an apron; utilize these proficiencies for future sewing adventures. Embark on rewarding pursuits, investigating limitless adornments. Enrich daily necessities through fabric treasures customized to your preference.

