This site is supported by our readers. We may earn a commission, at no cost to you, if you purchase through links.

We will walk you through five simple fixes: checking bobbin tension, thread path, cleaning and re-threading of the machine, upper thread tension adjustment, and finally consulting your sewing machine manual.
This will help you take back your sewing projects easily and make sure they come out smooth and professional. Let’s get started and get your machine back in top shape.
Table Of Contents
Key Takeaways
- Bobbin Blues: Tame that loose bottom thread by adjusting its tension, cleaning the thread path, and ensuring your upper thread tension is just right.
- Tension Troubles: If your stitches are skipping or puckering, it’s time to play with your tension settings. Give that dial a little twist, and watch your fabric transform!
- Threading Woes: Don’t be a threadhead! Check that your machine is threaded correctly and that your bobbin is wound evenly. A tangle-free path means smooth sailing.
- Manual Matters: Your sewing machine’s manual is your secret weapon! Consult it for specific tips and tricks tailored to your model. Let the experts guide you to sewing success.
Check Bobbin Tension
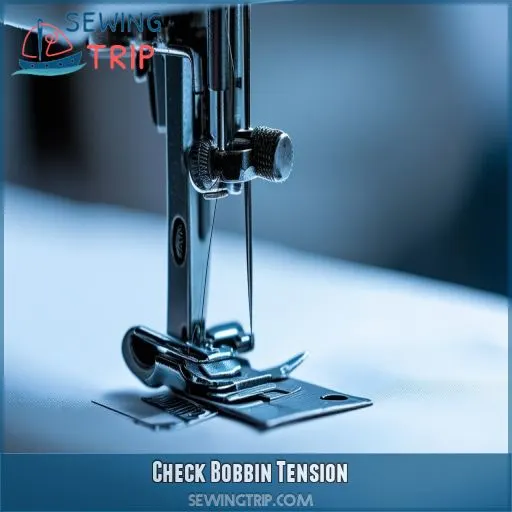
If the bottom thread is loose, the first thing to check is the bobbin tension. Take the bobbin case out of the sewing machine and take a look at the tension spring.
Hold the thread only—hold the bobbin case in your hand, giving it a slight flick with your wrist. If the bobbin case drops fast, the tension is too loose. If necessary, adjust the small screw on the bobbin case clockwise or counterclockwise.
Ensure that the Bobbin winder has filled the bobbin wind evenly. Place the bobbin inside the bobbin housing remembering the thread of the bobbin feeds through the tension spring correctly.
Proper tension on the Bobbin would give smooth and even stitches which are required for a professional finish to your sewing projects.
Inspect Thread Path
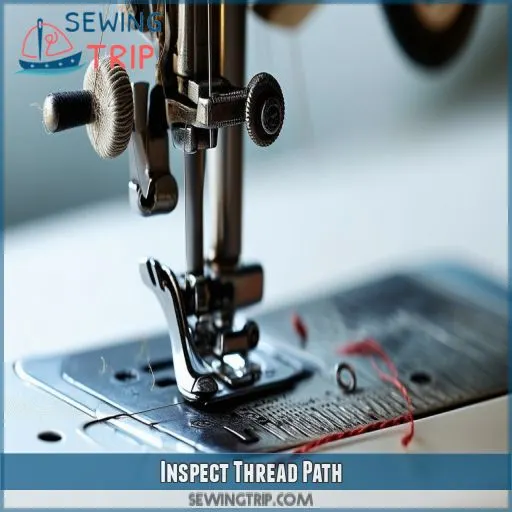
Next, very carefully follow the path of the thread. First, verify that your bobbin case is correctly aligned under the presser foot—the package should fit snugly and not be angled in any way. Follow the path of the needle thread from spool to needle, checking for snags or pass-overs in its progress. Check again on the tension disk, which could have become loaded with fluff and thus prevent smooth execution—make sure it’s clean and correctly adjusted. A disproportionate number of loose bottom threads are caused by a machine threaded incorrectly.
Also, check the hook timing. If this is out of kilter, it can produce a variety of problems—loose stitches, etc.—just like an automobile engine if something is conflicting with its timing. And then there’s the bobbin-winding; it needs to be even and firm. Should the thread not be wound evenly on the spool or core, then this will react on the tension, which in turn brings about inconsistent stitches. A sharp eye here may save hundreds of headaches later.
Clean Machine and Re-thread
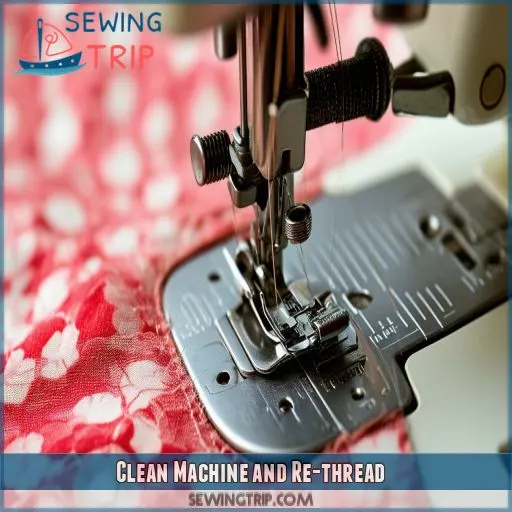
Check the path of your thread and then follow up by cleaning up your machine and re-threading. Consequently, this maintains optimum function and tension balance. The steps for this are:
- Lint removal: Clean the lint from the bobbin case and from other parts corresponding to it using a small brush. See that all are swept out.
- Lubrication Check: Only pan a single drop of recommended machine oil for sewing machines on moving parts. This will prevent stiffness and allow smooth operations.
- Bobbin Winding Tension: The bobbin winding tension should be tight enough to keep the thread in place but not too tight.
- Needle Re-insertion: Reinsert the needle to ensure no bent or dull tips affect the tension of the thread.
Adjust Upper Thread Tension
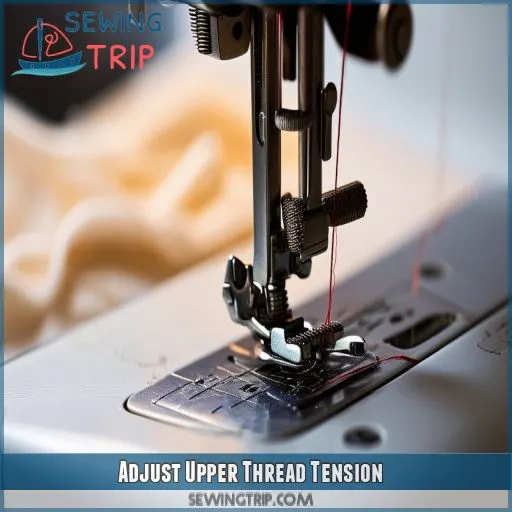
Now, since you’ve cleaned your machine and re-threaded it, let’s take a look at your upper thread tension. Proper thread tension is essential for smooth stitches of the appropriate length. First off, check your Machine Tension dial normally located at the top or front of your machine. Just turn the tension quite a bit in small increments, then sew a little test on a piece of fabric each time. Here, in the next table, is a quick reference guide on how to diagnose and fix some common tension problems:
| Issue | Cause | Fix |
|---|---|---|
| Loops on top of fabric | Tension too loose | Increase upper thread tension |
| Puckering fabric | The tension is too tight | Reduce upper thread tension |
| Skipped stitches | Tension too high or incorrect type of needle | Adjust tension or try a different type of needle |
| Thread breaks | Tension set too high or fabric too thick | Use less tension or larger needle |
Consult Sewing Machine Manual
If your bottom thread is loose, then you should refer to your sewing machine’s manual for instructions. The following steps will help you in doing that:
- Bobbin quality and winding: It should be of good quality and wound evenly; otherwise, one will face loose thread issues.
- Adjust Bobbin Case Alignment: Proper alignment in the bobbin case is essential for smooth stitching. Refer to your manual for alignment tips.
- Identify Correct Thread Type and Lubrication Needs: Refer to your machine’s operation manual for the proper thread type to operate on your machine. Proper lubrication may help increase performance and prevent thread problems and breakage.
Don’t skip this step. The manual is a treasure trove of specific solutions tailored to your model, ensuring you’re back to sewing smoothly without unnecessary frustration.
Frequently Asked Questions (FAQs)
What causes the bobbin thread to keep breaking?
Think of your bobbin thread like a delicate spider web. Tension, incorrect threading, or even a damaged bobbin case could cause it to break. Check the tension, rethread with caution, and make sure that the bobbin case isn’t damaged for smooth sewing.
How do I prevent skipped stitches on the bottom?
To prevent skipped stitches on the bottom, ensure you’re using the correct needle for your fabric type, check for proper thread tension, clean your machine regularly, use high-quality thread, and ensure your needle isn’t bent.
Why is my sewing machine making a birds nest?
A bird’s nest on your sewing machine? That’s a tangled mess! Check the tension, rethreading, and bobbin – one of those culprits is likely causing your thread to bunch up beneath the fabric. Get that sorted, and you’ll be sewing smoothly again.
What should I do if my stitches are uneven?
Check the sewing machine’s tension settings and run a new set of threads both at the top and in the bobbin. Ensure the needle is seated properly, after cleaning out the machine because there could be so much fluff and other debris which might be causing irregular stitches.
How can I make my stitches look more professional?
Ever seen those perfect, gorgeous stitches? The secret: adjust your tension settings, use a sharp needle, and make sure your machine is clean and threaded right. Your stitches magically change.
Conclusion
Ultimately, by following these five straightforward steps, you’ll have your sewing machine’s bottom thread loose issue resolved in no time.
With a properly adjusted bobbin tension, clean thread path, and optimized upper thread tension, you’ll be back to sewing smoothly and confidently.
Get sewing and enjoy the fruits of your labor!

