This site is supported by our readers. We may earn a commission, at no cost to you, if you purchase through links.
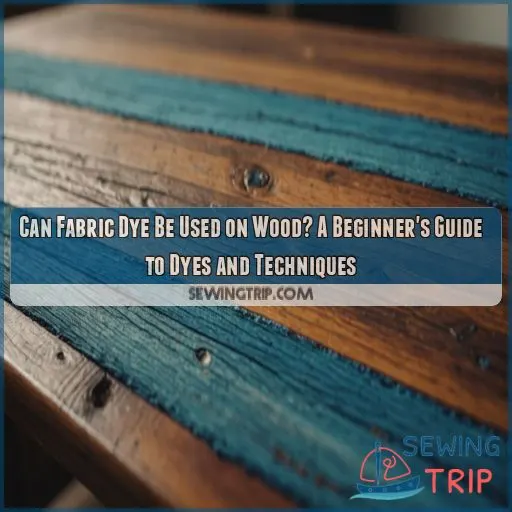 Yes, you can use fabric dye on wood to add a unique and vibrant touch to your projects. This technique is perfect for achieving a distressed, vintage, or shabby chic look. Before you begin, prepare the wood by Sanding and cleaning the surface, removing any old finishes, and ensuring even porosity. When choosing your fabric dye, select the right colour shade and consider dye concentration for your desired effect. You can mix the dye with water or solvents and apply it with various techniques such as brushing, spraying, or dipping.
To find out more about the benefits of using fabric dye on wood, as well as step-by-step instructions and tips for maintaining and keeping your dye job looking great, keep reading.
Table Of Contents
Key Takeaways
- Fabric dye is a versatile medium that can add a unique and vibrant touch to your wood projects, achieving looks ranging from distressed and vintage to shabby chic.
- It offers a wide range of customizable color options, from bold and bright hues to subtle pastels, allowing you to create eye-catching pieces that stand out.
- The natural grain pattern of the wood is preserved, adding a unique touch to your project and enhancing its natural beauty.
- You can mix fabric dye with water or solvents and apply it to wood using various techniques, such as brushing, spraying, dipping, or sponge dyeing.
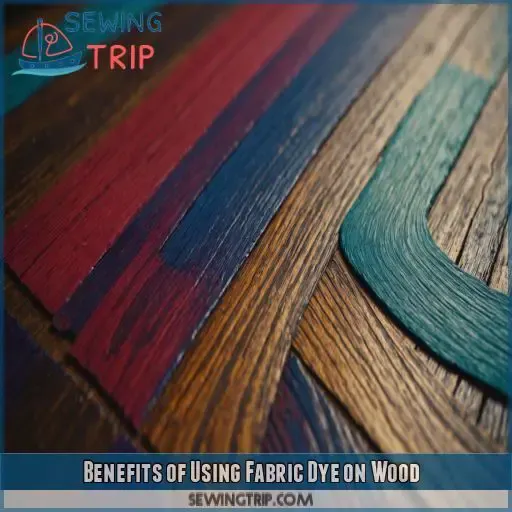
Benefits of Using Fabric Dye on Wood
So, you’re thinking of sprucing up that old wooden furniture or adding a pop of color to your woodcraft projects? Well, you’re in luck! Using fabric dye on wood can open up a whole new world of creative possibilities.
With its ability to enhance the natural beauty of wood, fabric dye offers an affordable and customizable way to transform your pieces, whether you’re going for a subtle stain or a bold statement.
Enhanced Aesthetic Appeal
Using fabric dye on wood opens up a whole new world of creative possibilities for your projects. Here’s why you should consider it:
- Unique Wood Dye Aesthetics: Fabric dye offers a range of vibrant and unique colours that can transform the look of your wood projects. From bold and bright hues to subtle pastels, you can create eye-catching pieces that stand out.
- Distressed Wood Finishes: If you’re going for a rustic or vintage look, fabric dye can help you achieve that perfectly worn-in appearance. Create distressed finishes that give your wood an aged, time-worn charm.
- Shabby Chic Wood Dye: Embrace the shabby chic style by using fabric dye to create a soft, romantic aesthetic. Light pastel dyes can give your wood a delicate, faded look that’s perfect for this trend.
- Upcycled Wood Projects: Give new life to old, tired-looking wood furniture or decor. With fabric dye, you can completely change the colour and style of your wooden pieces, making them feel modern and fresh again.
Fabric dye is a versatile medium that can enhance the beauty of your wood projects, whether you’re aiming for a rustic, chic, or contemporary style. It’s an easy way to add a unique and personal touch to your creations.
Customizable Colour Options
One of the biggest perks of using fabric dye on wood is the rainbow of customizable colour options it offers. You’re not limited to a handful of shades. With fabric dye, you get access to a whole spectrum of colours to play with. This means you can match your wood to your favourite hue, whether it’s a soft pastel or a bold, vibrant shade.
Fabric dye also lets you experiment with colour blending, colour theory, and colour trends. You can create unique colour palettes and try out different colour-matching techniques to make your wood projects truly one-of-a-kind.
Preserves Natural Grain Pattern
One of the standout benefits of using fabric dye on wood is how it preserves the natural grain pattern, adding a unique touch** to your project. You can showcase the wood’s natural beauty, creating a one-of-a-kind piece with a distinctive look and feel.
The dye penetrates the wood, enhancing the grain without obscuring it. This technique is a subtle way to add interest and depth to your work, especially if you’re a fan of the natural, rustic vibe.
Suitable for Various Materials
One of the great things about fabric dye is its versatility. While it’s designed for fabric, it can be used on a range of other materials, including:
- Wood
- Wicker
- Miscellaneous plastic
- Natural dried plants
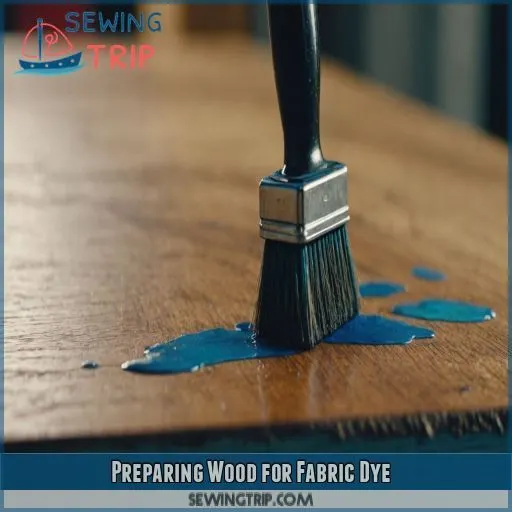
Preparing Wood for Fabric Dye
So, you’re keen to try fabric dye on wood, but where do you start? Before you get into the fun part (choosing colours), there’s some prep work to do.
First, you’ll need to get your wood surface ready. This involves cleaning and sanding to create a smooth base, removing any old finishes or coatings, and ensuring the wood has even porosity for consistent dye absorption.
Cleaning and Sanding the Surface
Okay, let’s talk about sanding and cleaning. You’ll want to start by picking the right sanding grit. For most raw woods, it’s best to begin with a #120-150 grit paper, sanding in the direction of the grain. Then, work your way up to a finer #220 grit paper. This will give you a smooth finish and help the stain soak in evenly.
Once you’ve sanded, it’s time to clean. You can use a tack cloth, a special adhesive-coated fabric, to pick up every last bit of dust. Or, you can wipe down the surface with a clean cloth soaked in mineral spirits, denatured alcohol, or Trisodium phosphate. These cleaning agents will get your wood ready for its new fabric dye outfit!
Removing Old Finishes or Coatings
You might be excited to start dyeing, but hold your horses! First, you need to strip that wood bare.
There are a few ways to do this:
- Sanding: A tried-and-true method that’ll remove any finish or coating.
- Chemical Strippers: These work great on acrylic, varnish, and paint without harming the wood. Just be careful, as these can be nasty if they get on your skin or eyes.
- Solvents: Start with a thinning product, then use a rag to apply the solvent and loosen that coating.
- Heat Gun and Scraper: Apply heat to the finish until it’s soft enough to scrape off.
Ensuring Even Porosity
To get even dye absorption, you need to prep the wood’s surface.
The goal is to open up the wood grain, creating a uniform canvas for the dye.
Sanding with fine-grit sandpaper is key.
Go with the grain, not against it, for a smooth, even finish.
Remove any dust with a tack cloth.
Now your wood is ready for its close-up – I mean, dye job.
Choosing the Right Fabric Dye
Picking the right fabric dye is key to getting the results you want and making sure the dyeing process goes smoothly.
This section will help you choose the perfect dye for your wood-dyeing project.
We’ll cover everything from finding the right color shade to thinking about dye concentration and type.
All while making sure it works with the unique properties of wood.
Selecting the Correct Colour Shade
When choosing a colour shade, it’s important to keep in mind the type of fabric you’ll be dyeing. Natural fabrics like cotton, linen, silk, wool, and ramie take dye differently than synthetics. White cotton fabric dyes closest to the package colour, but nylon, silk, rayon, and wool may dye lighter or darker.
- Experiment with colour blending: add a small amount of navy blue, charcoal grey, or black dye to achieve cooler colours.
- Adjust the tone: neutral colours like tan beige or brown can tone down a bright colour.
- Darken colours: use deep, rich dyes like charcoal grey or black to make existing dyes deeper.
For colour matching, think about using a colour matching service, which can help you find the perfect colour dye for your fabric. These services often require a fabric swatch or matching hang ribbon to colour match.
Considering Dye Concentration and Type
When choosing a fabric dye, it’s important to think about the dye’s concentration and type. These factors will affect the final result, including the color vibrancy and longevity.
| Dye Concentration Impact | Dye Type Comparison | Longevity |
|---|---|---|
| Higher pigment densities result in more vivid and strong colors. | Garment dyeing produces a softer, more blended print finish. | Garment dyeing gives fabric a rich and lasting color. |
| Pigment dyeing offers sharper print outlines. | Leather dyes can last several years with proper maintenance and minimal exposure to sunlight, heat, and environmental factors. |
Ensuring Compatibility With Wood
When you’re working with wood, it’s important to think about the type of wood you’re using.
Different woods, like oak or pine, will react differently to dyes.
The grain direction and surface finish of the wood also play a part in how well the dye takes.
Pre-testing is key—try the dye on a small, inconspicuous area first to see how it looks and penetrates the wood.
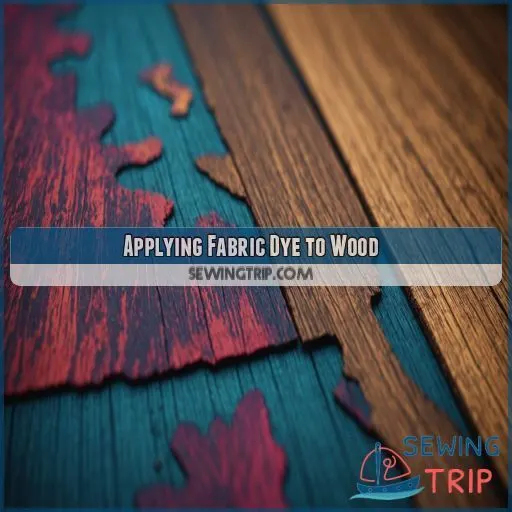
Applying Fabric Dye to Wood
Now that you’ve picked the perfect fabric dye, it’s time to get your hands dirty and apply it to your wood project. This section will walk you through the process of mixing, applying, and Drying the dye to achieve that stunning, vibrant finish you’re after.
Mixing the Dye With Water or Solvents
Now that you’ve chosen the perfect fabric dye, it’s time to mix it with water or solvents to create the perfect colour for your wood. Here’s a step-by-step guide:
- Water Ratio and Dye Concentration: Start by adding water to your dye powder, not the other way around. Add a little water at a time and stir, smoosh, and scrape until the powder is completely dissolved. Gradually add more water until you reach your desired colour concentration.
- Solvent Types: If you’re using a solvent instead of water, be mindful of the type. Fabric dyes typically mix well with non-oil-based solvents like lacquer thinner, denatured alcohol, or acetone.
- Mixing Tools: Use a glass jar and a plastic spoon for mixing. Glass jars are ideal as they allow you to see any remaining dye particles on the sides, indicating the need for further stirring.
- Safety Precautions: Always wear rubber gloves and a dust mask when handling dye powders to prevent skin absorption and inhalation. Work in a well-ventilated area, and be cautious when dispensing dye powder to avoid it landing on cooking or eating surfaces.
Applying the Dye Using Various Techniques
Now for the fun part: applying that dye! There are several ways to do this, and the method you choose will depend on the look you’re going for. Here are some common techniques:
- Brush application: This method is great for getting into nooks and crannies and gives you a lot of control over the final look. Just make sure to use a brush that won’t leave behind any stray bristles!
- Spraying methods: Spraying the dye can give you a nice, even coat. It’s a quick way to cover a large area, but be sure to protect your surroundings from any overspray!
- Dipping technique: For an all-over, consistent colour, dipping is a great option. Just be careful not to get any drips or runs as you remove the wood from the dye bath.
- Sponge dyeing: Using a sponge gives you a more textured, natural look. Go easy and build up the colour gradually to avoid any blotches.
Allowing for Proper Drying and Fixation
Now, let’s talk about drying and fixation. After applying the dye, you’ll need to be patient and let it dry. Depending on the dye and the desired shade, it could take a few hours or up to 24 hours before applying another coat.
| Drying Time | Number of Coats |
|---|---|
| A few hours | First coat |
| 24 hours | Second coat |
Once the dye is dry, it’s time to fix it in place. This is where the magic happens and your dye job becomes permanent. There are a few methods to fix dye, including:
- Drying: This involves heating the dyed wood to a specific temperature for a set amount of time.
- Wet fixation: The dyed wood is treated with a wet solution at a certain temperature for a specified duration.
- Combination of wet fixation and drying: This method combines the previous two techniques for the best results.
For example, in one study, dyed fabric was treated with wet fixation at 60 °C for 5 minutes, then dried at 70 °C for 6 minutes.
Temperature is key to successful dye fixation. Higher temperatures increase the physical and chemical interaction between the dye and the wood, enhancing colour retention. However, be careful not to go too high, as excessive heat can cause the dye molecules to detach, leading to colour fading.
The humidity in your work environment can also impact the dyeing process. Higher humidity levels can lead to darker and more saturated colours, so keep this in mind when planning your project.
Lastly, remember that dye penetration is important. To make sure the dye soaks in deep enough into the wood, you might need to experiment with different techniques, such as submerging the wood in the dye or using vacuum techniques.
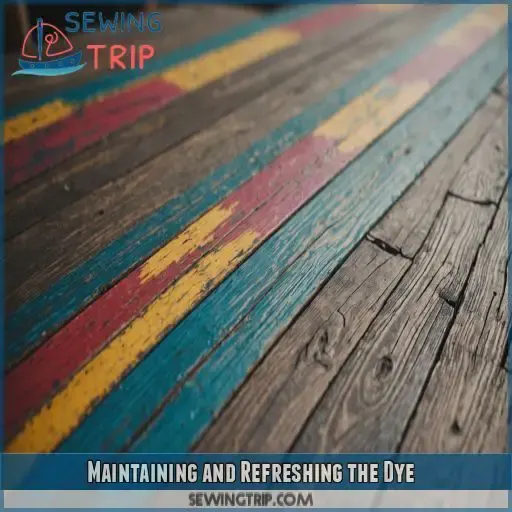
Maintaining and Refreshing the Dye
So, you’ve successfully dyed your wood and are loving the new look. But how do you keep it looking fresh and vibrant? This section will talk about maintenance and touch-ups, making sure your dyed wood stays gorgeous for years to come.
Protecting the Dye With Sealants or Coatings
Now that you’ve dyed your wood, it’s time to seal the deal!
Sealants and coatings are essential to maintaining your dye job. They protect against moisture, UV rays, and general wear and tear. Plus, they give your wood a finished look.
Touching Up Faded Areas
Over time, the color of your dyed wood may fade, and you might need to touch it up to restore its original vibrancy. Here’s a simple guide to help you refresh the dye and maintain the color:
- Prepare the dye solution: Mix the dye with hot water, following the manufacturer’s instructions, to achieve the desired color. You can always test the color on a small area first to make sure it matches.
- Protect your work area: Fabric dye can stain, so cover your work surface with plastic or a drop cloth. Don’t forget to wear gloves to protect your hands!
- Apply the dye: Use an applicator like a sponge brush, paintbrush, or clean cloth to gently apply the dye to the faded areas. Build up the color gradually by patting, and once you’re happy with the shade, give it a gentle rub.
- Set the dye: Allow the dye to set for 20-30 minutes. You can also use a warm iron to speed up the process and make sure the color sets properly.
- Clean up: Once the dye is set, simply wash and dry the wood as usual. Don’t forget to clean your work area with soap and water (or bleach if needed).
- Create a custom color: If you need to match a specific shade, mix different dyes together. Remember, more dye creates darker/brighter colors, while less dye results in softer, lighter hues.
- Use painters tape: For more precise touch-ups, apply painters tape around the area you’re treating to avoid accidental dye bleed.
Re-Dyeing the Wood for a Fresh Look
If you’re feeling adventurous and want to give your wood a brand-new look, re-dyeing is an option. You can choose a different colour or simply refresh the existing shade to make it pop again. Remember, it’s always easier to add more dye than to remove it, so go slow and steady.
| Re-dyeing Tips | Suggestions |
|---|---|
| Prepare the dye | Shake the jar and dilute with solvent if needed. |
| Avoid over-darkening | Start with a small amount of dye and add more as needed. |
| Achieve desired shade | Apply multiple coats, allowing each to dry before adding another. |
| Protect your work | Seal with polyurethane or varnish to prolong colour and add sheen. |
| Experiment with techniques | Try the immersion method or a weather-beaten look for a unique finish. |
Frequently Asked Questions (FAQs)
What other materials can be dyed with fabric dye?
You can dye more than just fabric with fabric dye. Natural fabrics like cotton, linen, silk, and wool absorb dye well. Synthetic fabrics like nylon, polyester, and spandex can also be dyed, but they may not take the colour evenly.
Should fabric dye be mixed with water?
Yes, fabric dye should be mixed with water. You can adjust the amount of water to get your desired colour. But remember, the wetter the fabric, the more watered-down your results.
How do you prepare painted wood for dyeing?
Before dyeing painted wood, sand it down with fine-grit sandpaper to create a smooth surface. Then, wipe the wood with a damp cloth to remove any dust. Now you’re ready to apply the dye!
Will the dye damage my skin?
Will it hurt me?" you wonder, eyeing the dye. Well, it’s not a walk in the park—it can cause skin issues like eczema and dermatitis. But it’s rarely deadly, unless you swallow a ton of it. So, keep that dye away from your mouth and you should be fine.
Will the dye last?
The sun will cause fading to your wood over time, but you can delay this by choosing a finish that will protect against fading. You can also re-dye your wood as needed. Dye will last for at least a year if stored in a cool place.
Conclusion
So, can fabric dye be used on wood? You bet your vintage-loving heart it can!
You’ve got the lowdown on how to prep your wood, pick the right dye, and apply it like a pro.
With these tips, you can transform wooden pieces with distressed, vibrant, or shabby chic looks that’ll make your projects stand out.
Go ahead, give that old chair a colorful makeover or add a unique twist to your next woodworking endeavor.
The possibilities are endless!

