This site is supported by our readers. We may earn a commission, at no cost to you, if you purchase through links.
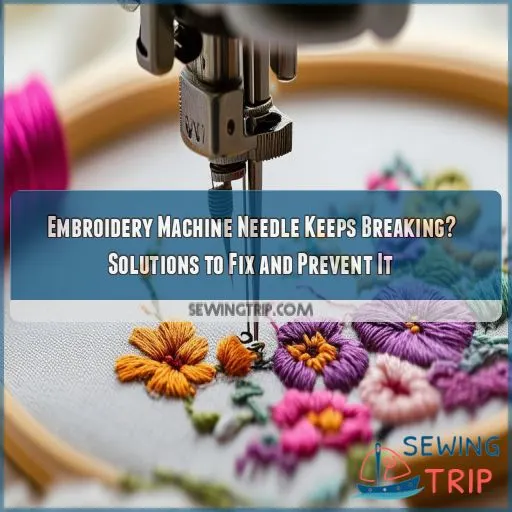
Every time your embroidery machine needle breaks, it’s a pain in your workflow and patience. You want control over the machine and precise solutions.
Here’s a rundown of critical areas: needle placement, handling fabrics, speed control, and problems with threading.
Whether you are a seasoned professional or just a beginner in this field, master these simple tips on how to avoid broken needles and keep your projects running
Table Of Contents
Key Takeaways
- Needle breaks got you down? Don’t fret! With the right know-how, you’ll be gliding through your embroidery projects like a hot knife through butter.
- Picture this: your embroidery machine’s needle is like a race car. If it’s not set up properly, it’s like trying to drive on a bumpy road – you’re bound to hit a few obstacles! So, make sure your needle is in the right spot, nice and tight, and you’re using the right needle for the fabric you’re working with.
- Don’t be a fabric bully! Let the machine do the work. If you pull on the fabric while sewing, it’s like putting the brakes on your race car – you’re asking for trouble.
- Your embroidery machine is like a finely tuned symphony. If something’s out of whack, it’s like a screeching violin in the orchestra – it ruins the whole performance! So, keep your machine well-oiled, check the tension, and listen for any unusual noises
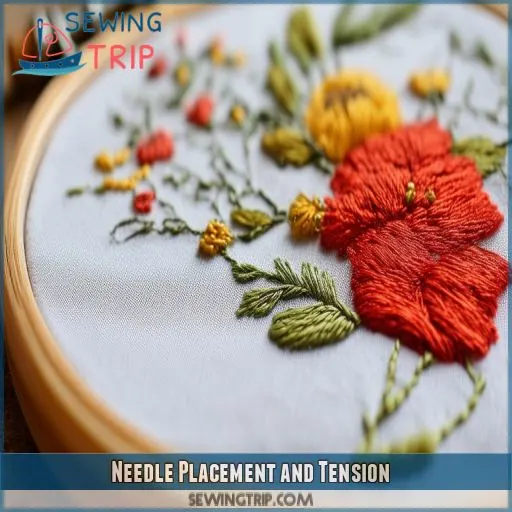
Needle Placement and Tension
This avoids breakages specific to certain fabrics. Also, ensure the needle is inserted correctly and avoid pulling the fabric while sewing to maintain the tension and reduce breakage.
Use the Appropriate Needle for the Fabric Type
Choosing the right needle can prevent needle breaking. Consider fabric density and toughness. Use:
- Ball point needles for thin, stretchy fabrics.
- Sharp point needles for most embroidery.
- Titanium coated needles for regular use and tough materials.
- 80/12 or 75/11 needles for caps
Ensure the Needle is Inserted Correctly
| Ensure that your needle is inserted correctly to avoid breaks. The flat side should face back; the depth and orientation should be proper. — | Step | Instruction | Checkpoint |
|---|---|---|---|
| Step 1 | Flat side to back | Flat side facing correct |
Avoid Pulling the Fabric While Sewing
One of the common reasons for breakage is pulling on the fabric during sewing, which also makes fabrics slip. This can be taken care of by ensuring proper pressure exerted by the presser foot and stabilizing the fabric with a stabilizer. Also, to align the needle plate and upper-thread spool, keep thread tension consistent.
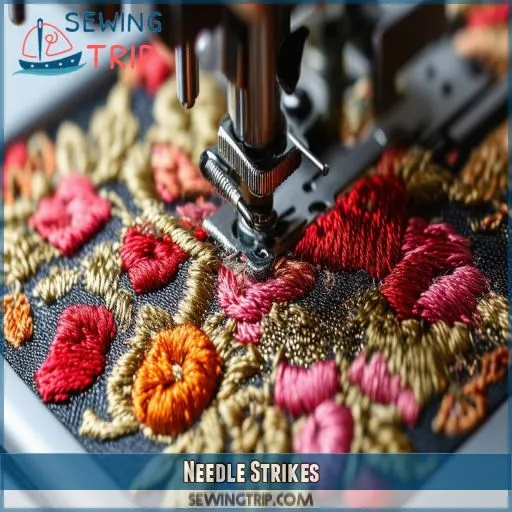
Needle Strikes
If your embroidery machine needle keeps breaking, typically, it’s when the needle hits something. Be careful in positioning the needle and guiding the material, remembering to pick up scraps of the needle that break off, lubricate often, and adjust tension for the proper running of the machine.
Needle Breaks When Hitting Obstacles
Needle strikes happen when your embroidery machine needle hits obstacles like zippers or thick seams. To prevent this, enhance obstacle detection and collision prevention by optimizing needle path and checking hook timing. Regular maintenance minimizes issues
Position the Needle Correctly and Pull the Fabric Carefully
Precisely align your needle to avoid obstacle detection and prevent needle strikes. Apply the best tensioning of your fabric by pulling it gently, always looking in the bobbin area. Careful pulls certify very smooth troubleshooting and fewer breaks of needles.
Collect Needle Pieces if Broken
If your needle breaks, carefully collect all the pieces. Properly store and dispose of broken needles to prevent injury. Identify the cause to avoid future breaks.
- Needle collection
- Broken needle disposal
- Needle storage
- Needle retrieval
Lubricate the Machine Regularly and Adjust Tension Settings
Keep your machine well-lubricated with the recommended methods of lubrication. Adjust tension with a good tension gauge. Schedule routine maintenance will allow optimum tension settings that avoid frequent needle strikes and breaks.
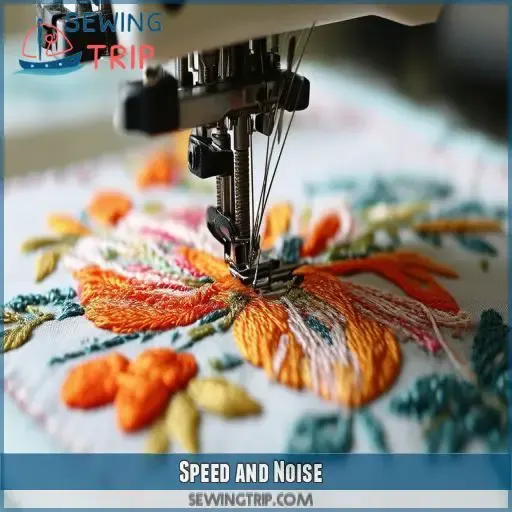
Speed and Noise
Reduce your sewing speed when working with delicate fabrics to prevent needle breaks. If you hear excessive noise, it could indicate maintenance issues that need immediate attention
Reduce Sewing Speed for Delicate Fabrics
When using your embroidery machine on delicate fabrics, reduce the speed. If you do this, your needle won’t break, and your stitches will be clean.
For instance, silk should be handled very gently because it has a very low density as a fabric. Slow and steady keeps your needle from fighting the fabric, thus keeping down the noise level.
In addition, adjust the length of the stitch appropriately to make sure your design remains intact without putting undue stress on your materials
Check for Excessive Noise Indicating Maintenance Issues
If your embroidery machine starts making excessive noise, it’s a red flag for potential maintenance issues. Regular needle lubrication and tension adjustment are critical.
Keep an ear out for unusual sounds as they might indicate something’s off. Stick to a maintenance schedule to avoid problems.
Utilize noise diagnostics to pinpoint issues, and always check your warranty coverage in case professional help is necessary
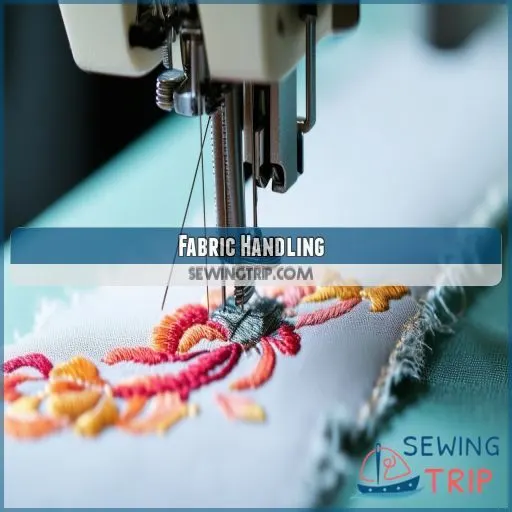
Fabric Handling
Ensure the presser foot applies proper pressure to avoid fabric slippage during embroidery. Don’t pull the fabric by hand; instead, let the machine guide it to prevent needle breaks
Ensure the Presser Foot Applies Proper Pressure
Keep your embroidery smooth with the proper pressure from the presser foot. Check that your presser foot is securely attached, then pick the appropriate one for the fabric used. Check regularly for scratches or perform other maintenance routines to avoid tragedies during sewing.
Avoid Pulling the Fabric by Hand
Avoid pulling the fabric by hand because it will only result in fabric slippage or even break your needle. Be specific, too, that the presser foot pressure is appropriate for the weight of the fabric being used. Proper tension settings will allow everything to flow smoothly and avoid possible damage to your fabric or machine.
Check Thread Tension to Prevent Bird’s Nests
Proper tensioning of the thread will help you avoid ugly bird’s nests. Check your bobbin tension, the compatibility of threads, and the quality of the thread. Adjust the tensions so that everything goes through smoothly and professionally in embroidery.
- Check Correct Bobbin Winding
- Tension Settings—Adjust as required
- Use High-Quality Thread that’s Compatible
Thread Issues
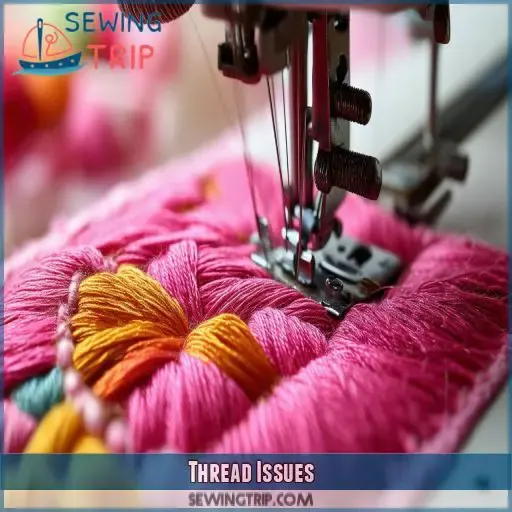
In the event of needle breakage, look for the thread tangling in the bobbin capsule. Wind the bobbin properly to prevent overfilling. Always inspect the thread for any signs of breakage or damage to ensure smooth operation.
Check the Bobbin Capsule for Thread Tangles
The bobbin capsule shouldn’t be tangled so that sewing can go smoothly. Proper placing of the bobbin capsule, correct thread direction when unwinding, and condition checking of the case could have prevented these problems. Control over the quality of the bobbin thread should be ensured as well as proper adjustment of the thread tension to ensure formulation most appropriately.
Wind the Bobbin Correctly to Avoid Overfilling
Avoid those problems with the bobbin by winding it properly. Make sure:
Proper bobbin size and bobbin thread.
Correct orientation of the bobbin in the machine.
- Avoid overfilling to retain constant bobbin tension and not jam thread.
Check the bobbin case in setup always
Inspect the Thread for Breakage or Damage
See to it that the thread has no kinks, frays, or abrasions, which might be indicators that it’s more worn than necessary.
Ensure the thread is ideal not only for the fabric being worked on but also for the machine.
Inspect the tension and track of the thread for snags, knots, or tangles that may lead to thread breaks.
Proper quality of thread can help to resolve most of the needle issues
Needle Inspection
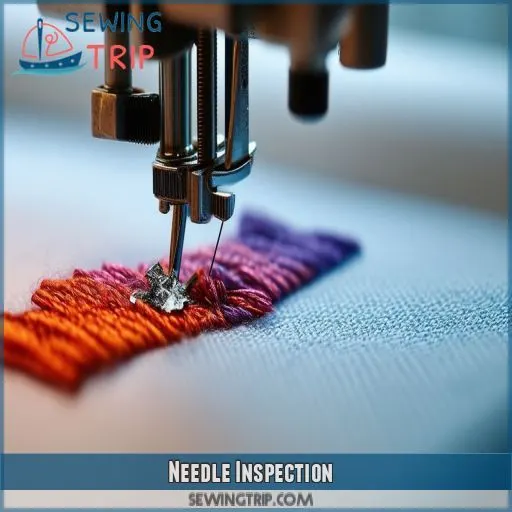
Ensure your needle is installed correctly with the flat side to the back and that the point isn’t bent or dulled. If the appearance of the needle is damaged or otherwise seated improperly, replace it to avoid further problems.
Ensure Correct Installation (flat Side Facing Back)
Ensuring the correct installation of your needle is critical; the flat side should face the back. Failure to do so can lead to needle breakage and tension issues. Verify:
- Needle orientation
- Flat side positioning
- Secure insertion
- Proper alignment
- Regular maintenance checks
Check for Bends, Bluntness, or Incorrect Orientation
Moreover, inspection should check for bends, bluntness, or incorrect orientation. A bent or blunt needle can play havoc with embroidery work; improper orientation will upset stitching.
| Issue | Impact | Solution | Frequency |
|---|
Bent Needle Skipped stitches Replace immediately Inspect daily
Wrong Orientation
Replace Needle if Needed
If your needle is bent, too blunt, or not perfectly aligned, it may be time for a change. Then, always replace it with a new one, ensuring the flat side of the needle is turned back. Remember, damaged needles can cause problems; therefore, never be afraid to replace them to enjoy better performance.
Clamp and Tension
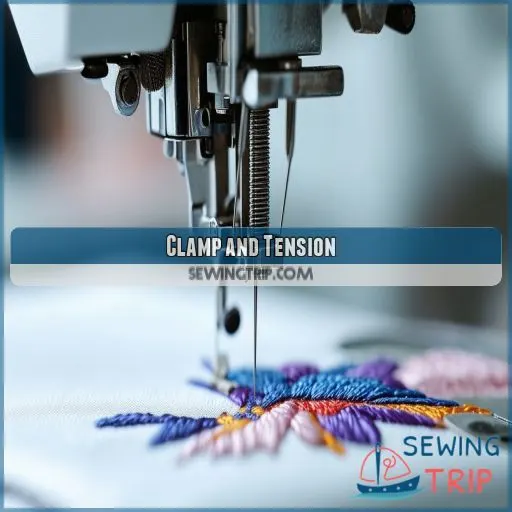
Be sure to tighten the clamp screw enough to hold the needle quite firmly in its place so it doesn’t move around during embroidery. Double-check that you’re using the correct type of needle for your fabric until the threat of breaks comes down.
Tighten Clamp Screw Sufficiently
Now, on to tightened clamp screws: a very integral step. Good clamp pressure improves needle stability and thread tension substantially.
Be sure not to overtighten the screw but have it snug enough for the apprehension of the needle. Over time, clamps will wear out. If you have frequent problems, replacement of clamps could be in order.
This little readjustment will save you from frequent breaks and smooth your sewing
Verify Correct Needle and Fabric Combination
Verify you’re using the right needle for your fabric. Thicker fabrics need larger needle sizes, while delicate materials require smaller needles. Check the thread thickness too – heavier threads need a bigger needle eye. Adjust your tension settings accordingly to prevent skipped stitches or thread breakage. Getting the needle-fabric-thread combo right is key to avoiding frustrating needle breaks
Upper Threading
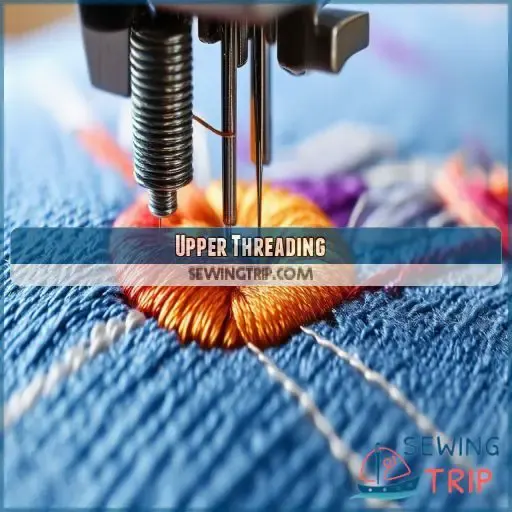
Ensure that your embroidery machine’s upper threading has the proper tension and isn’t threaded too tightly, with no snags along the threading path. Check that the sequence of upper threading is correct and verify that the spool cap is inserted correctly to avoid sewing issues.
Ensure Proper Tension (not Too Tight)
This will help avoid the broken needle caused by too much tension; the upper threading should sit appropriately inside the tension mechanism. Check regularly for the bobbin capsule, as thread tangles may increase tension, leading to breakage.
Check for Thread Snags in Threading Path
Avoid broken needles by checking the threading path for thread snagging. Check these areas:
- Tension mechanism: This allows smooth thread movement.
- Winding in the bobbin: Don’t overfill.
- Needle: Sharp-point needles deliver precision
Verify Proper Upper Threading Sequence
First, guide the upper thread through the threading path, ensuring it follows the correct sequence. Any misstep in this process can cause issues. Double-check each path point for accuracy to prevent thread breaks
Ensure Correct Spool Cap Insertion
Ensure that the spool caps are correctly aligned to avoid tangling. Ensure proper bobbin thread alignment and correct bobbin thread tension. Breaks may also occur due to incorrect alignment of spool caps and incorrect tension of spool caps. Use only high-quality bobbin thread for the best results.
Frequently Asked Questions (FAQs)
Why do my needles keep breaking on my embroidery machine?
Your needles most likely break because you chose the wrong type of needle, threaded it incorrectly, or used the wrong fabric. Use the right needle for your fabric, check its timing and threading, and don’t pull the fabric while sewing.
What is the cause of continuous needle breaking?
These needle breaks on your embroidery machine, much like a puzzle piece that won’t fit, are usually because of incorrect needle choice, improper installation, fabric pulling, or problems with hook timing. Make sure you pair the correct needle with your fabric for smooth stitching.
How can you avoid breaking the machine needles?
Always use the appropriate needles, install them with the correct tension, and ensure your sewing machine is serviced correctly; don’t pull on the fabric. This will prevent breaks, and you can also check for bent or blunt needles regularly.
What should you do when the needle of the sewing machine keeps on breaking?
Imagine that your machine is like a small ship in stormy waters. First, there’s the proper positioning of the needles and tensioning; inspect for any obstruction. Handling the fabric, speed adjustment, and verification of thread engagement—if it persists, give it to an expert.
Why does my embroidery machine needle break?
Your embroidery machine needle breaks because you have used the wrong type of needle installed the needle incorrectly, your fabric tension isn’t correct, or there are hook timing problems. Ensure that you use the appropriate needle and install it correctly, that the tension in your fabric is correct, and finally, check on the hooks’ synchronization often enough.
How do I know if my embroidery machine is bad?
You’ll know your embroidery machine is bad if it consistently makes loud noises, frequently jams, struggles to maintain thread tension, or shows signs of mechanical damage despite proper maintenance, careful handling, and using the right needles and threads
Why does my embroidery machine keep breaking?
Your embroidery machine needle keeps breaking because the needles could be installed incorrectly, poor handling of fabrics, using the wrong type of needles, tension problems, or misaligned hook timing. Ensure all components are in good condition and appropriately matched.
Why do needles break during sewing?
Needles of the wrong type may cause such frequent breakage, incorrect tension settings, improper treatment of fabric, strokes on obstacles, or poor maintenance of machines. Make sure that the needle is made for your material and inserted correctly, and that the tension and speed settings are checked themselves.
How does fabric type affect needle choice?
Fabric type dictates needle choice: Use ball point needles for thin, stretchy fabrics to avoid snagging. Opt for sharp point needles for most embroidery tasks. For tough materials, titanium needles provide durability and precision
What is proper cap driver height for embroidery?
Lower cap driver to minimize space between the cap and the needle plate: Correct height of the cap driver reduces flagging; this minimizes needle breaks with a small gap between the sewing arm and cap driver.
How to check embroidery machine hook timing?
Checking embroidery machine hook timing: Very slowly turn the handwheel towards you until the point at which the needle is at the lowest. Keep turning until it rises 6 mm. The hook should fall into alignment with the scarf of the needle.
Why use titanium needles on tough materials?
Using titanium needles on tough materials is akin to using a diamond-tipped bit on hard rock; they resist wear, maintain sharpness longer, and handle dense fabrics effectively, reducing the risk of needle breaks and increasing efficiency
When to seek professional embroidery machine repair?
Seek professional embroidery machine repair when you repeatedly experience needle breaks despite trying recommended troubleshooting steps, notice unusual noises or vibrations, or find the machine not stitching correctly, indicating possible internal mechanics issues
Conclusion
If your embroidery machine needle keeps breaking, don’t sweat over it because mastering these simple solutions will save you from frustration. Make sure to place your needle correctly and handle your fabric appropriately. Monitor your sewing speed, and check both threading and the condition of your needles.
With these tips from experts, you’ll be able to keep your embroidery machine running smoothly and efficiently. After all, it’s all about precision and regular maintenance to avoid broken needles and achieve quality embroidery.
At the same time, execute your projects most seamlessly with these detailed guidelines on their application

