This site is supported by our readers. We may earn a commission, at no cost to you, if you purchase through links.
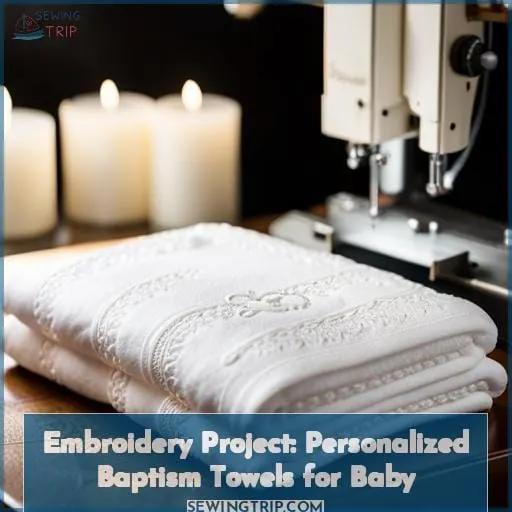
Don’t worry – with the right tips, you can embroider baptism towels that’ll become treasured keepsakes.
Let’s walk through everything you need to know. First, choose a soft, absorbent towel in a cotton/polyester blend or 100% cotton.
Next, pick a simple design with solid fills and thick fonts that’ll stand out against the nap. Pre-wash and hoop the towel tautly. Use the right needle, threads, and stabilizer.
With the right techniques, you’ll be gifting personalized baptism towels in no time.
Table Of Contents
Key Takeaways
- Use a tightly woven 100% cotton towel and pre-wash it to prevent shrinkage. Fold the towel diagonally before hooping.
- Select a simple design with solid fills, thick block font for text, and the child’s full name or birthdate.
- Hoop a medium/heavy tear-away backing secured with spray adhesive to prevent stitches from showing through.
- Set the machine to 500 stitches per minute. Increase the bobbin tension slightly.
Selecting the Right Towel
When choosing a towel for embroidery, you’ll want to consider the material and construction. Opt for 100% cotton towels with a tighter weave and lower pile to best hold embroidery designs and prevent distortion.
Stay away from super plush or thin towels, and make sure to pre-wash to preshrink the fabric before hooping up your design.
Material
Don’t be afraid to invest in quality towels – you’ll feel that plush cotton against your skin while admiring your personalized stitching. Look for 100% cotton towels with a tighter weave and lower pile. The tighter weave prevents the threads from shifting during embroidery, and the shorter loops create a nice flat surface for your hooped project.
Pre-wash your towels to preshrink the fibers. This prevents distortion or puckering around your design after the first hot wash. Fold the towel in half diagonally, then gently peel back the top corner and position inside your embroidery hoop.
Use quality tear-away stabilizer underneath and a water-soluble topping to prevent stitches from sinking into the terry loops. Slow your machine down, use a size 90/14 needle and quality embroidery thread for clean stitching.
Construction
You’ll save headaches by hooping a stabilizer then floating your towel on top. Don’t force the terry cloth into the hoop, as this can distort the fibers. Instead, secure a piece of tear-away stabilizer in your hoop’s outer frame. Lightly coat the stabilizer with temporary spray adhesive.
Smooth your prewashed cotton towel over the sticky surface. The towel should lie flat, with the pile facing up.
Slowly lower the inner frame, gently pressing the excess towel around the edges. Hoop only what’s needed for your design. Finally, stitch away on that custom baptism gift using quality needles and threads.
Choosing a Design
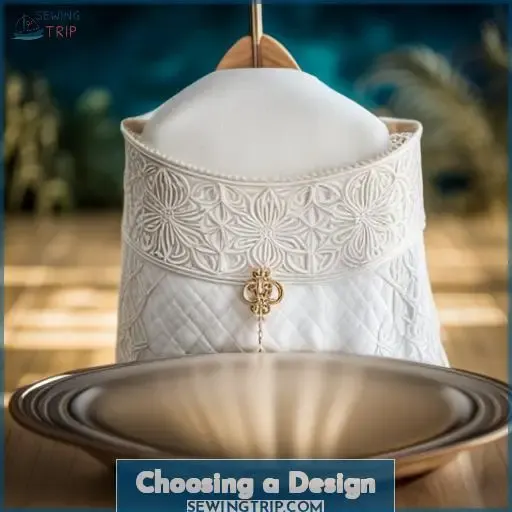
When picking out an embroidery design for personalized baptism towels, keep it simple and meaningful. Focus on choosing a minimal design with the baby’s name, birth date, or a short verse – elaborate graphics can distort on the terry cloth fabric.
Personalize with a single meaningful element like the child’s full name or baptism date in a basic script or block font rather than crowded details.
Simplicity
Look at simple designs with thick fonts and solid fills. When choosing embroidery for towels, opt for plain, simpler designs that will show up well on the fabric. Avoid delicate designs with thin lines or intricate details that could get lost.
Some tips for simple towel embroidery designs:
- Use thick block fonts in 1-3 colors for any text or monogramming. Sans serif fonts work best.
- Choose solid fill designs like flowers, stars, or hearts over outlined designs. Solid fills will stand out on towels.
- Resize designs slightly larger so elements don’t get swallowed by the terry loops.
- Keep the number of design elements low. Towels don’t need complicated designs to look great!
Personalization
Let’s personalize these homemade baptism towels by sewing your child’s full name and special verse in a fun bubble font. Consider using their first, middle, and last names to make it extra special. Place the name centered near the top in a bold 1-2 inch font.
Below the name, add a meaningful bible verse, poem, or quote in a slightly smaller font. For a creative touch, try a bubbly font with rounded edges to add some fun whimsy. Personalize further by embroidering their birth date, a small cross, or their favorite color or flower.
When giving a homemade gift like this, personal details make it even more heartfelt and meaningful.
Preparing the Towel
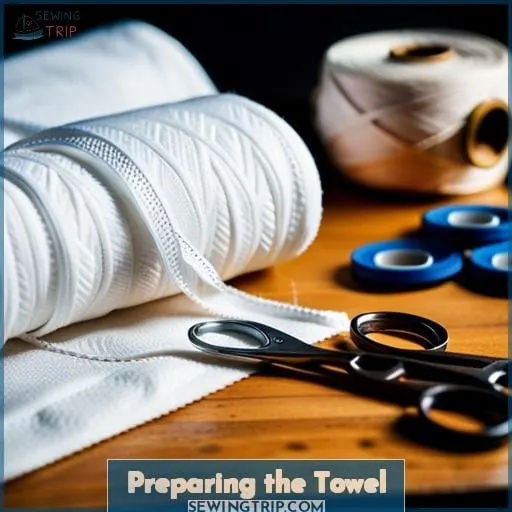
When preparing the towel for personalized machine embroidery, start by washing and thoroughly drying it first. This pre-shrinks the material and removes any chemicals from manufacturing. Next, carefully hoop the towel using a float method over sticky stabilizer, smoothing it taut but not stretched.
With quality terry cloth prepped and securely hooped, you’ll achieve the best results embroidering a personalized baptism keepsake.
Washing
Wash your towels in hot water with a mild detergent before embroidering to prevent shrinkage and distortion. Machine washing removes sizing, chemicals, and excess dye from the fabric. It allows the terry cloth to relax and preshrink.
- Wash in hot water with a mild detergent
- Use a gentle cycle or delicate setting
- Dry completely on high heat
- Press with an iron to flatten prior to hooping
Prewashing preps the material and helps the embroidery turn out cleanly. Terry cloth that hasn’t been pretreated may shrink unevenly after stitching, causing puckering around the design. Take this simple step beforehand for towels that’ll launder well after personalizing.
Hooping
You’d swear the hoop has a mind of its own, fighting to trap your towel within its unyielding grasp.
Start hooping with the back stabilizer first. Smooth the tear-away backing onto the sticky side of the hoop, then carefully lay your prewashed towel on top.
Gently work the fabric into the hoop, smoothing out wrinkles and making sure the weave is straight. Take your time easing the towel into place before clamping the outer ring tight.
Having patience pays off with a drum-tight hoop and a finish ready for frame-worthy embroidery. With the right prep, your towels will be personalized keepsakes for years to come.
Embroidering Tips
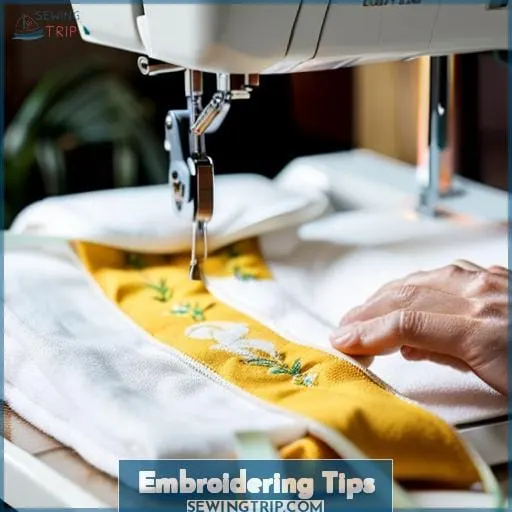
When working on your embroidery machine project for personalized baptism towels, start by installing a size 90/14 sharp or ballpoint needle to penetrate the thick terry cloth. Set your machine to a medium speed, use thread colors that closely match your design, overlap the fill stitching, and always work with a new needle.
Following these simple needle and setting tips will help you achieve a high-quality embroidered keepsake towel.
Needles
You’ll get better penetration embroidering terry cloth towels with a thicker size 90/14 needle. The added thickness helps the needle push through the loops and piles of towel fabric without flexing or damaging the needle tip.
- Use 90/14 sharp or ballpoint needles for towels
- Change needle every 2-3 towels
- Insert needle with flat side of scarf to the back
- Check for burrs and damage regularly
- Slow down machine speed if needed
Selecting the appropriate needle for towel embroidery ensures clean punctures, minimal skipped stitches, and quality results when personalizing with a loved one’s name.
Settings
Tighten the hoop and lower the speed for quality towel embroidery results. Adjust your machine to slower 500 stitches per minute to avoid skipped stitches on the terry cloth loops. Set your machine’s bobbin tension slightly higher at 4.5 for solid coverage on the towel’s underside.
Use the bernette b79’s CTR file format for crisp edges when embroidering your infant’s monogram or favorite verse onto the baptismal towel. The water-soluble stabilizer topping will wash away cleanly after the project is complete.
With the proper preparations and adjustments of settings, you’ll have an heirloom keepsake to cherish for years to come.
Finishing Touches
After trimming the stabilizer, be sure to remove any remaining topping with water.
Carefully trim away the excess tear-away stabilizer from the back of your embroidered baptism towel, getting as close to the stitching as possible without clipping it. Don’t leave any stabilizer residue that could make the towel scratchy. Next, dissolve any remnants of water-soluble stabilizer by holding the towel under warm running water.
Gently rub with your fingers over the embroidery to help remove all topping residue. Machine wash the finished towel in cold water using a gentle cycle, then tumble dry on low to avoid shrinking the cotton.
Once dried, lay the towel flat and press with an iron on the cotton setting to smooth it out. Add a special finishing touch of your own by hand-stitching a scalloped edge or simple border using coordinating embroidery floss – a sweet detail for this cherished keepsake.
With care, the embroidered design and stitches will remain vibrant, bringing joy at every use.
Frequently Asked Questions (FAQs)
What thread colors should I use?
You should pick two to three medium-colored threads that complement the towel color. Maybe try a bold blue and golden yellow, they’ll really pop. Don’t overthink it too much, just go with what feels right and evokes meaning for the baby’s special day.
How can I add the baby’s birth date?
Simply digitize the birth month and year in small font and embroider it below the name. Use just the month and year to keep it brief. Check alignment and preview on screen before stitching.
What is the best backing to use so the stitches don’t show through?
Use a medium to heavy weight tear-away stabilizer on the back of the towel. Make sure it’s secured well with spray adhesive. The stabilizer will support the stitches and prevent them from showing through to the front.
How do I make sure the towel stays in place when embroidering?
Keep the towel flat and smooth in the hoop. Use sticky stabilizer underneath and spread the towel out taut. Don’t hoop the towel directly. Float it above the adhesive instead. You’ll get great results following this method.
What size hoop should I use?
Use a 5×7-inch or 6×10-inch hoop for toddler or baby towels. Larger hoops allow more coverage and flexibility for centering designs, but a smaller hoop provides enough space for a name or short phrase while keeping artwork tight and vibration minimal.
Conclusion
All good things must come to an end, including your baptism towel embroidery endeavor. Carefully review each step, as proper preparation prevents poor performance. With thoughtful planning and precise technique, you’ll celebrate success when that special day arrives.
Hold your stitches high; this handmade heirloom signifies baby’s beginning and your love that’s everlasting.


