This site is supported by our readers. We may earn a commission, at no cost to you, if you purchase through links.
But before you begin, it’s time to get familiar with the language of embroidery.
Whether you’re a beginner or a seasoned stitcher, knowing embroidery terms is really helpful.
This embroidery terms glossary will be your go-to guide, helping you understand the world of stitching.
Table Of Contents
Key Takeaways
- Embroidery has a language of its own, and knowing the terms will help you stitch like a pro.
- The right tools and techniques are essential for any embroidery project, from choosing the right hoop and fabric to mastering basic stitches like the backstitch and satin stitch.
- Stabilizers are the unsung heroes, keeping your stitches in check and fabric smooth. Cut-away, tear-away, and wash-away stabilizers all have unique roles.
- Embroidery styles and techniques, like Hardanger and Goldwork, add unique flavors to your creations, taking your embroidery game to the next level.
Embroidery Essentials
Before you start learning embroidery, you need to know the basics. This section will introduce you to the tools, stitches, and techniques that will help you get started. Whether you’re a beginner or a pro, reviewing these basics will help you tackle any project.
Essential Tools for Embroidery
Before you start embroidering, you’ll need to gather your tools. Here are the essentials:
- Hoop: This holds your fabric tight as you stitch, making it easier to create neat, even designs.
- Embroidery needle: Sharp and pointed, this needle is designed to push thread through fabric with ease.
- Thread: Choose from a variety of materials, colors, and thicknesses to bring your creations to life.
- Scissors: A good pair of sharp scissors is essential for cutting thread and fabric.
- Fabric: The base of your embroidery. Common choices include linen, cotton, and silk.
Stitching Basics for Beginners
Now that you’ve gathered your tools, let’s get into the basic stitches. Here’s a quick guide to get you started on the most common embroidery stitches:
- Backstitch: This is your go-to stitch for creating strong, straight lines and outlines. Think of it as the backbone of your embroidery, giving you a solid foundation to build on.
- Running Stitch: Simple and versatile, the running stitch is perfect for filling areas or creating lines. It’s like the little black dress of stitches—a classic that never goes out of style.
- Satin Stitch: Imagine you want to fill an area with smooth, close stitches that create a sleek, satin-like finish. That’s when you reach for the satin stitch. It’s a real show-stopper.
- French Knot: Want to add some texture and dimension to your embroidery? The French Knot is like the perfect little bow that ties your design together. It’s a decorative knot that adds a touch of whimsy.
- Stem Stitch: When you need to outline a design or stitch a long, elegant stem, the aptly named stem stitch has got your back. It’s like having a secret weapon for creating graceful, flowing lines.
Embroidery Techniques to Master
Now that you’ve got the basics down, let’s explore some embroidery techniques you can master. Each technique offers a unique look and feel to your creations, so it’s worth experimenting to find your favorites.
- Freehand Embroidery: This is like painting with thread—no rules, just creative expression. It’s a great way to add a personal touch to your projects.
- Pattern Embroidery: Think of it as a coloring book for fabric. You follow a pre-designed pattern, but the end result is still unique to you.
- Surface Embroidery: This technique creates raised designs that pop off the fabric, adding texture and dimension to your work.
- Crewel Embroidery: Working with wool yarn, you can create beautiful, intricate designs that stand out.
Embroidery Terminology
Whether you’re a seasoned embroiderer or just starting out, embroidery terminology can be a bit of a minefield. This glossary will help you navigate the most essential terms you need to know to take your stitching to the next level.
Thread Count and Gauge Explained
Embroidery is all about the details, and two key things to keep in mind are thread count and gauge.
Thread Count
Thread count tells you how many threads are packed into each inch of fabric. This is super important when picking your fabric because different fabrics have different thread counts, which affects how your stitching looks and feels.
Gauge
Gauge is about your needle. It’s the size of the needle you use for embroidery. The right gauge is vital for getting the right stitch tension and making sure your thread moves smoothly.
Tension and Stitch Direction Defined
The Key to Consistency
Tension and stitch direction are essential to achieving consistent, polished embroidery. Here’s the lowdown:
- Tension refers to the tightness or looseness of your thread as you stitch.
- Keep an even tension to avoid puckering fabric or loose stitches.
- Stitch direction matters, too. Stick to one direction for consistent results.
Design and Pattern Embroidery Terms
Designs and patterns are the heart and soul of embroidery. They’re like the blueprint for your stitching adventure. Here’s a lowdown on some key terms:
| Term | Meaning |
|---|---|
| Design | This is the big idea, the image or pattern you want to embroider. It’s like the roadmap for your thread journey. |
| Pattern | A pattern is like a step-by-step guide, showing you exactly where to place each stitch. It’s your stitching GPS! |
| Embroidery Digitizing | This is the process of converting your design into a format your embroidery machine can understand. It’s like translating your idea into machine language. |
| Embroidery File Formats | Different machines use different file formats. Think of them as the language your machine speaks. |
Embroidery Supplies and Materials
Before you start stitching, it’s important to gather the right supplies and materials. This section will introduce you to the essential tools and products you’ll need to create beautiful embroidery designs. From stabilizers and blanks to threads and needles, we’ll cover everything you need to know to get started.
Stabilizers for Embroidery: Cut-Away, Tear-Away, and Wash-Away
When you’re working with embroidery, stabilizers are like the unsung heroes that keep your stitches in check. They provide support and stability to your fabric, ensuring your embroidery doesn’t end up a hot mess.
But wait, there’s more than one type of stabilizer? Yep, and here’s the lowdown:
Think of these two like BFFs with different personalities. Cut-away is the reliable one, offering permanent support to dense designs and stretchy fabrics. Meanwhile, tear-away is more like the easy-going friend, offering temporary support to non-stretchy fabrics and designs with fewer stitches. After you’re done stitching, you can tear it away like a bad relationship.
Then there’s wash-away, the stabilizer that dissolves in water like magic. It’s perfect for those times when you want to stiffen your fabric or create a temporary guideline. No traces left behind, just smooth sailing ahead.
Blanks, Spray Adhesive, and Embroidery Scissors
Now, let’s talk about some key terms related to blanks, spray adhesive, and embroidery scissors:
- Blanks: Any item you plan to embroider on, from quilting fabric to shirts and even cardstock.
- Spray Adhesive: A temporary solution to keep your fabric and stabilizer together while you embroider.
- Embroidery Scissors: These aren’t your average craft scissors. They’re designed for clipping appliqué fabrics and jump stitches.
Specialized embroidery scissors come in various shapes, like curved tips for working within the hoop and duckbill applique scissors to cut stabilizer without snipping your base fabric.
Machine Embroidery Thread and Needles
Machine embroidery thread comes in luxurious colours and can withstand more friction than regular sewing thread. You’ll find different weights and materials to choose from. To help threads feed more evenly through the machine, especially with metallic or slippery threads, use a thread net.
Embroidery needles are special too. They’ve an elongated eye and a widened groove to reduce friction. Choose the right needle size and type based on your fabric and thread weight.
Embroidery Machine and Accessories
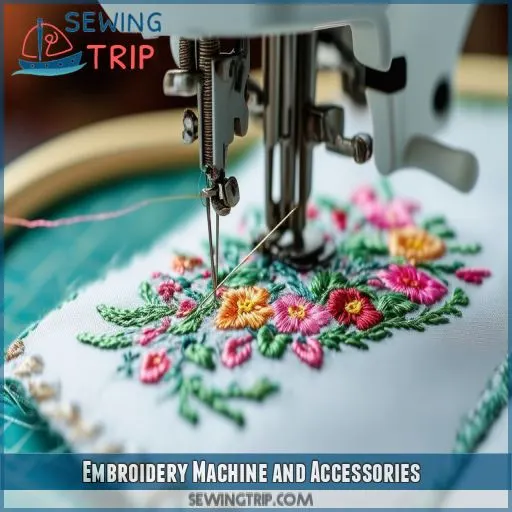
So you’ve got your embroidery supplies and materials, now what? Well, it’s time to talk about the star of the show: your embroidery machine. This bad boy is what’s going to take your stitching to the next level. But it’s not just about the machine itself; you’ve also got to get to know its accessories.
From the embroidery foot that helps guide your fabric, to the bobbin that holds your bottom thread, and the thread stand that keeps your threads in line—we’ll walk you through all the key players that make your machine tick. Get ready to explore the ins and outs of embroidery machines and get your creative juices flowing.
Embroidery Hoop or Frame: Hoop Size and Hooping Aid
Let’s talk about your embroidery BFF: the hoop (or frame). This handy tool holds your fabric and stabilizer taut, making it way easier to stitch.
Hoop size matters. Go too small, and you’re limited on design size. But a bigger hoop gives you more room to play with. So, choose a hoop that fits your project’s scale.
Now, hooping two-layered items like shirts can be a pain. That’s where hooping aids save the day. They simplify the process, so you spend less time prepping and more time stitching.
Embroidery Foot, Bobbin, and Thread Stand
Now, let’s get down to the basics of your embroidery machine’s accessories:
- Embroidery Foot: This metal presser foot has a large hole for the needle and thread to pass through. It helps guide your fabric and makes sure your stitches are smooth.
- Bobbin: A tiny spool that holds the bottom thread, which is essential for creating those perfect stitches. It fits snugly into the bobbin case at the base of your machine.
- Thread Stand: Think of it as a thread butler. It holds multiple threads, keeping them organized and making sure they feed smoothly into your machine. This is especially handy when using slippery or metallic threads.
Embroidery Process and Terminology: Marking, Hooping, and Floating
Marking, Hooping, and Floating
Embroidery is a precise art, and the process involves several steps to make sure the design is accurately placed and stitched. Marking is the first step, where you indicate the center of your design using tools like water-soluble pens, chalk wheels, or placement stickers. Next comes hooping, where you secure the stabilizer and fabric tautly within the embroidery hoop. This technique helps keep your fabric smooth and stable while you stitch. Floating is a technique used for hoopless embroidery, where you place a piece of unattached stabilizer in the embroidery area.
Embroidery Stitches and Projects
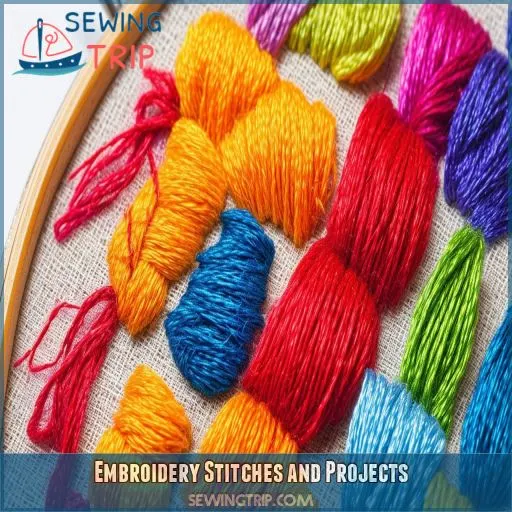
Now that you’ve got the basics down, let’s get into the fun stuff: stitches and projects. There’s a whole world of embroidery stitches to explore, from simple to fancy, and then you can create your own projects.
Fill Stitches, Satin Stitch, and Running Stitch
For embroidery, fill stitches, satin stitches, and running stitches are like the icing on the cake. They’re the stitches that give your project that extra pop of texture and dimension.
Fill stitches are like a tight hug for your design, covering the entire area with closely-placed stitches. Satin stitches, or column stitches, create a smooth, zig-zaggy border, like a satin ribbon. And running stitches? They’re the easy-going ones, a simple line of stitches that are great for underlay or adding a touch of detail.
Appliqué, Arrowhead Stitch, and Bullion Stitch
Let’s take a look at some embroidery stitches and projects.
Appliqué is a technique where you attach a smaller piece of fabric to a larger one as a decoration.
Arrowhead stitch, as the name suggests, creates a ‘V’ shape with two straight stitches connected in the middle.
And bullion stitch? Well, it’s like wrapping thread around your needle to create a cool, textured effect.
Chain Stitch, Couching, and Dégradé
Now, let’s look at some embroidery techniques that will add a unique flair to your projects:
- Chain Stitch: Imagine creating a series of interconnected loops with your thread, forming a chain-like design. This stitch is perfect for adding a delicate touch to your embroidery.
- Couching: Think of this as an embroidery shortcut. You lay yarn or other materials across the fabric and secure them with tiny stitches. It’s a quick way to add texture and dimension.
- Degrade: This technique is all about creating a smooth shift from a dense color or pattern to a subtle fade. It’s like watching a sunset gradually blend into the night sky.
- Interlaced Stitch: Want to add a little twist to your embroidery? Try the interlaced stitch, where you run another thread under straight stitches to create a unique, woven effect.
Embroidery Techniques
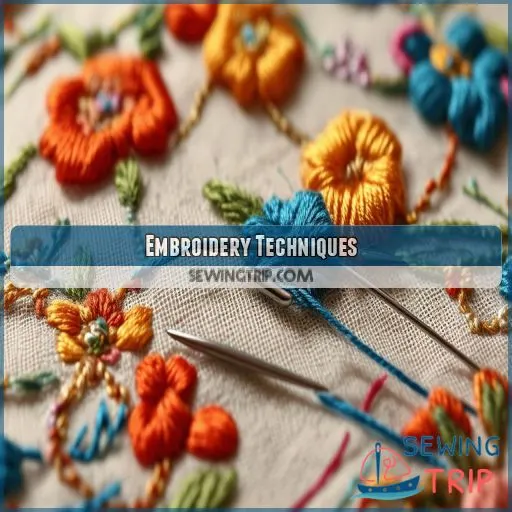
Embroidery techniques are the various methods and styles used to create unique designs and patterns on fabric. Whether you’re a beginner or a pro, understanding these techniques will help you elevate your stitching game and create beautiful embroidery art.
Chain Stitch, Couching, and Interlaced Stitch
Now, let’s check out some embroidery techniques and stitches that’ll make your creations stand out.
Chain Stitch: This technique creates a series of loops that resemble a chain. It’s a versatile stitch that can be used for outlining, filling, or creating decorative patterns.
Couching: This technique involves laying yarn or other materials across the fabric and securing them with small stitches. It’s perfect for adding texture and dimension to your embroidery.
Interlaced Stitch: For this stitch, another thread is run under straight stitches to create an interlaced effect. It adds a unique, woven look to your embroidery.
| Embroidery Technique | Description |
|---|---|
| Chain Stitch | Loops connected by stitches, forming a chain |
| Couching | Securing yarn with stitches for texture |
| Interlaced Stitch | Thread interlaced under straight stitches |
| Fly Stitch | Sewn with three points, forming a ‘V’ or ‘Y’ shape |
| French Knot | Yarn knotted around itself |
Knotted Diamond Stitch, Moorish Stitch, and Queen Stitch
These embroidery stitches are unique techniques that add texture and dimension to your embroidery projects.
The Knotted Diamond Stitch creates a cross-stitch effect with knots at all intersections, giving it a unique, textured look.
The Moorish Stitch is a series of diagonal stitches with a pattern that runs along the design, creating a beautiful, flowing effect.
The Queen Stitch forms an orb-like shape with four straight stitches that start and end on the same point. It’s a regal-looking stitch that adds a touch of elegance to your embroidery designs.
Fly Stitch, French Knot, and Herringbone Stitch
Let’s take a closer look at some embroidery techniques.
The fly stitch is a unique stitch sewn with three points, forming a ‘V’ or ‘Y’ shape. It’s a fun way to add a bit of movement to your embroidery.
The French knot, on the other hand, is a knotted stitch where you’ll knot the yarn around itself, creating a cute little decorative knot.
Embroidery Materials
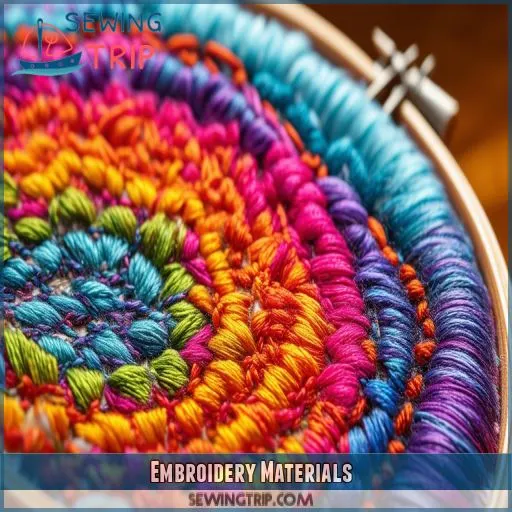
Now that you’ve got the basics down, let’s take a closer look at the materials you’ll be working with. From threads to needles, fabrics to stabilizers, each element plays a big part in making your embroidery ideas come to life.
Chenille, Gilt, and Rough Purl
Chenille, gilt, and rough purl are unique embroidery threads that add texture and glamour to your creations.
- Chenille is a fuzzy silk thread that creates a fluffy effect.
- Gilt is a plated gold thread used in Goldwork embroidery, a technique that employs metal threads for military and ceremonial garments.
- Rough purl, a very fine wire thread in a tubular shape, is also used in Goldwork embroidery.
Needles for Embroidery: Crewel, Tapestry, and Chenille
Embroidery needles come in different types, each suited to specific embroidery techniques. Here’s a quick guide to three common types: crewel, tapestry, and chenille.
Crewel Needles
These are versatile needles used for most embroidery techniques. They’ve a long eye and a sharp point, making them easy to thread and ideal for surface embroidery.
Tapestry Needles
Tapestry needles have a blunt tip and a large eye, perfect for needlepoint and cross-stitch. Their large eYes accommodate thicker threads, and the blunt tips help prevent piercing the fabric yarns.
Chenille Needles
Chenille needles are similar to tapestry needles but with a sharp point. They’re designed for ribbon embroidery and working with heavier threads like chenille yarn.
Goldwork and or Nué Embroidery
Goldwork embroidery is a technique that uses metal threads to create stunning designs, often seen on military and ceremonial garments.
Or Nué, a type of goldwork, involves couching, where different-coloured silk threads are stitched over a metallic base for a unique effect.
Goldwork has a rich history, with techniques passed down through the centuries, adding a touch of luxury and elegance to embroidery projects.
Embroidery Styles
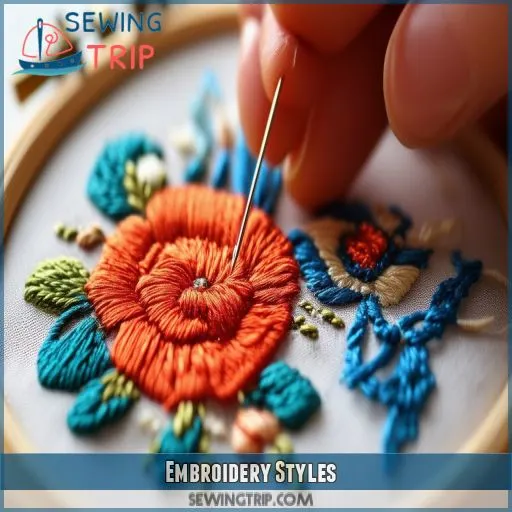
Embroidery styles are like spices in your pantry—each brings a unique flavor to your stitching. From ancient Persian Hardanger to the fanciful Jacobean, get ready to explore a world of embroidery techniques that will add a touch of magic to your creations.
Hardanger, Jacobean, and Lunéville
Hardanger is a style of embroidery that originated in ancient Persia and Asia, where it was stitched on fine gauze netting with coloured silk and metallic threads. It was introduced to Europe through Byzantium and other Asiatic cultures during the Renaissance, when it was stitched on white or ivory linen fabric using white linen threads. It was brought to America by Norwegians in the 1800s.
Jacobean embroidery is a design style, not a technique. It features stylised leaves, vines, flourishes, animals, and tree of life designs. It’s often associated with crewel embroidery, but it’s not limited to this technique. Any embroidery stitches, fabrics, and fibres can be used to create a Jacobean design.
Lunéville is a style of embroidery that originated in the commune of Lunéville in northeastern France. It involves using a hook to create chain stitches on tulle, a very light fabric. It’s known for its use of pearls and sequins.
Su Embroidery and Other Styles
Su Embroidery, a style with a rich history, hails from Suzhou, China. It’s known for its delicate beauty, created with fine silk threads on silk fabric. This technique has been perfected over centuries, resulting in intricate and exquisite designs.
Other embroidery styles include dimensional embroidery, which adds depth and texture to your creations, and free-standing lace, where the embroidery itself becomes the fabric.
Or Nué and Goldwork Embroidery
Or Nué and Goldwork are embroidery styles that will add a touch of glamour to your projects.
Or Nué, a type of goldwork, involves a technique called couching, where you stitch down a thicker thread or cord. This creates a textured, raised effect.
Or Nué is unique because you stitch with different-coloured silk threads over a metallic base, resulting in a shimmering, multi-dimensional design.
Goldwork, as the name suggests, uses metal threads like gilt (plated gold thread) and rough purl (fine wire thread).
Advanced Embroidery
Now that you’ve mastered the basics, let’s get into some advanced embroidery terms. From density and filler blocks to fringe and hoop sizes, there’s a whole new world of techniques and tools to explore.
Density, Filler Block, and Flexible Foam
Let’s talk about some embroidery terms you might hear.
Density refers to how tight or loose your fill stitches are. Think of it like a hug—you can go for a gentle squeeze or a tight embrace.
Filler block is a type of embroidery interfacing used to add structure and stability to your stitches. It’s like a trusty sidekick that keeps your embroidery game strong.
And finally, flexible foam (or embroidery puffy foam) is a soft, squishy material that adds texture and dimension to your creations. Imagine giving your designs a fluffy cloud or marshmallow treatment!
Fringe, Hoop Sizes, and Needle
Let’s talk about some embroidery terms you might hear.
Fringe is that decorative trim you see on embroidery projects, adding a fun, fluffy border.
Hoop sizes matter because they determine how big your design can be. So, if you’re planning a big project, you’ll need a big hoop!
And then there’s the needle. This might seem basic, but there’s a lot to learn. Embroidery needles come in different sizes and types, so you need to choose the right one for your fabric and thread weight.
Pantograph, Paper Tape, and Piecing
A pantograph is a nifty device used to guide your embroidery machine.
It makes sure your design is stitched accurately, and you can even adjust the scale to make it bigger or smaller.
Paper tape, or "punch tape," is used with older embroidery machines to transfer your design.
Each stitch is punched into the tape, which the machine reads to create your embroidery.
Frequently Asked Questions (FAQs)
Can I embroider on clothes?
You can definitely embroider on clothes. It’s a great way to personalise your wardrobe. You can embroider on jeans, T-shirts, shirts, knitwear, and dresses. Just grab a needle and thread, and you’re good to go!
How do I embroider letters?
The best stitch for letters is the backstitch. Start at the top of the letter and work your way down. For thick letters, use a fill stitch like the satin stitch.
Whats the best way to embroider a picture?
Pick a photo with a full-size image of the person. Focus on colourful features like outfits and accessories. Use photo editing apps to turn pics into line drawings. Trace the outline onto your fabric. Use guide holes to help "trace" lines with your thread.
How do I embroider on stretchy fabric?
You’ll need extra support when embroidering on stretchy fabric. Use a cut-away stabilizer, a sturdy backing that stays with your fabric. It’s like a safety net, keeping your stitches secure and preventing that stretchy fabric from misbehaving.
Can I embroider without a hoop?
Yes, you can embroider without a hoop. But, be careful of puckering. Hoops keep the tension of the fabric even, so it’s not overstretched or understretched, which can make your fabric look squeezed.
Conclusion
So, are you ready to stitch up a storm and embroider like a pro?
With this embroidery terms glossary under your belt, you’ve got the lingo down to tackle any embroidery project. From essential tools and stitching basics to advanced techniques and unique styles, you’re now well-versed in the language of embroidery. This guide has given you the know-how to understand embroidery with confidence and a needle in hand. Happy stitching!

