This site is supported by our readers. We may earn a commission, at no cost to you, if you purchase through links.
 You’ll master hemming jeans like a pro with this tutorial on preserving the original stylish hem.
First, measure your leg opening width and leg width above the new hem to determine the right method.
For straight legs, use the original hem.
For flared legs, stitch a new hem.
Then, trim the excess length, finish the raw edge, and press the double-turned hem.
Beginner sewing projects like duvet covers and hair accessories will hone your skills.
Proper measuring, marking, folding, and pressing set you up for success.
Continue for step-by-step guidance on achieving a professional hemmed look without compromising your jeans’ fashionable flair.
Table Of Contents
Key Takeaways
- Measure the leg opening width (A) and leg width above the new hem (B) to determine if you need the original hem method for straight legs (A=B) or the stitched hem method for flared legs (A>B).
- For straight legs, simply fold the original hem to the desired length, pin, and stitch close to the original hem using a straight stitch.
- For flared legs, mark the new hem position, reduce the leg width, remove previous inner leg stitching, then fold and stitch the new hem using a triple straight stitch.
- Finish the raw edge with a zigzag stitch or serger, press the double-turned hem, and practice on beginner sewing projects like duvet covers to improve hemming skills.
Supplies Needed to Hem Jeans With the Original Hem
To professionally hem your jeans while preserving the original stylish hem, you’ll need a few key supplies.
First, you’ll need a good pair of jeans – whether they’re straight leg or skinny, the original hem is what you’ll be working with.
You’ll also need a sewing machine capable of both lock and zigzag stitches to handle the thick denim fabric.
Fabric scissors, matching thread, a measuring tape, and pins will also be essential.
Depending on your sewing experience, you may want to have a hem gauge on hand to guarantee accurate measurements.
With these basic tools, you’ll be able to expertly hem your jeans and maintain their original look and feel.
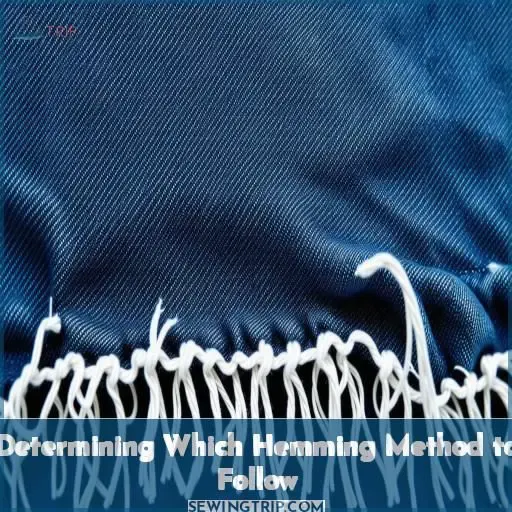
Determining Which Hemming Method to Follow
To determine the appropriate hemming method, first measure the leg opening width at the desired new hem level (A).
Next, measure the leg width a few inches above where you want the new hem (B).
If the two measurements are equal, you’ll use the original hem method suitable for straight legs.
However, if the leg opening (A) is wider than the measurement above (B), indicating a flared or tapered leg, you’ll need to follow the stitched hem method.
Measure Leg Opening Width (A)
To determine the hemming method, first measure the leg opening width (A) of your jeans.
This is the width at the bottom of the leg.
If A is equal to the leg width above the new hem (B), you can use the original hem method for straight-leg jeans.
If A is greater than B, you’ll need the stitched hem method for flared-leg jeans.
Measure Leg Width Above New Hem (B)
Next, measure the width of the leg above where the new hem will be. This is measurement B. Compare A and B – if they’re equal, you’ll use the original hem method for a straight leg. If A is greater than B, you’ll need to use the stitched hem method for a flared leg.
If A=B, Use Original Hem Method (Straight Leg)
If the leg opening width (A) is equal to the leg width above the new hem (B), you can use the original hem method for straight leg jeans.
Simply fold the hem to the desired length, pin it in place, and stitch close to the original hem using a straight stitch and straight stitch plate.
Secure the stitches with straight pins for a clean, professional finish.
If A>B, Use Stitched Hem Method (Flared Leg)
If the leg opening width (A) is greater than the leg width above the new hem (B), you’ll need to use the stitched hem method for flared leg jeans. Mark the new hem position, reduce the leg width at that spot, remove the previous inner leg stitching, then fold and stitch the hem using a triple straight stitch.
Finishing Touches
After cutting off the excess fabric from the folded hem, you’ll need to finish the raw edge to prevent fraying.
Secure the edge using a zigzag stitch on your sewing machine.
Or, for a more professional finish, use a serger to trim and encase the raw edge in a neat overlock stitch.
Once the raw edge is secured, give the finished hem a final press to flatten and set the crisp fold.
Cut Excess Folded Length
Now that you’ve folded the hem, it’s time to trim off any excess folded length. Use sharp fabric scissors or a rotary cutter on a cutting mat to carefully cut along the folded edge, removing any loose threads or frayed edges. This will guarantee a clean, even hemline that goes well with your jeans’ fabric choice.
Finish Raw Edge With Zig Zag Stitch or Serger
After trimming the excess folded length, you’ll want to finish the raw edge of the hem using either a zig zag stitch on your sewing machine or a serger. The zig zag stitch will create a neat, clean finish, while a serger will provide a more professional-looking result by trimming and sealing the raw edge in one step.
Fold Hem Down and Press
Once you’ve finished the raw edge, it’s time to fold the hem down and press it for a polished look.
Use your hem gauge to make sure the hem is the desired length, then press the first fold to set it.
Finally, press the double-turned hem using your dry iron and the height compensation tool for a perfectly pressed original hem.
Beginner Sewing Projects
If you’re new to sewing, try your hand at some beginner-friendly projects like making an easy duvet cover from a flat sheet or sewing on buttons. Creating a padded headband or stylish scrunchie are also great starter projects that allow you to practice essential skills like folding, pinning, and stitching different fabric types.
Make an Easy Duvet Cover With Any Flat Sheet
Making a duvet cover from a flat sheet is a simple sewing project. Choose a sheet in your desired color or pattern. Fold the sheet in half and sew the sides, leaving an opening for the duvet insert. Add buttons, snaps, or a zipper to close the cover. Fluff and style your new duvet for a polished bedroom look.
Create a Padded Headband
Next, let’s create a stylish and comfortable padded headband. Gather your materials – fabric, batting, and elastic. Cut the fabric and batting to size, then layer and sew them together. Add elastic for a secure fit. Customize the design with embellishments like bows, buttons, or ribbons. The Bernina’s Free Hand System makes sewing curves a breeze. Enjoy your new headband!
Sew a Flat or Shank Button
Sewing a flat or shank button is a simple beginner project. Choose a button size that fits your fabric. Mark the placement, then sew it on using a needle and matching thread. For a secure hold, sew through the button holes several times. Hand sew the hem for a professional finish. With a little practice, you’ll be a button-sewing pro!
Make Your Own Bow Scrunchie
Next, let’s explore making your own bow scrunchie!
All you need are some fabric scraps, elastic, and a few basic sewing skills.
Customize the size, color, and style to match your personal flair.
Scrunchies are a fun, trendy accessory that can elevate any outfit.
Give it a try – DIY scrunchies are a versatile way to add a touch of personality to your look.
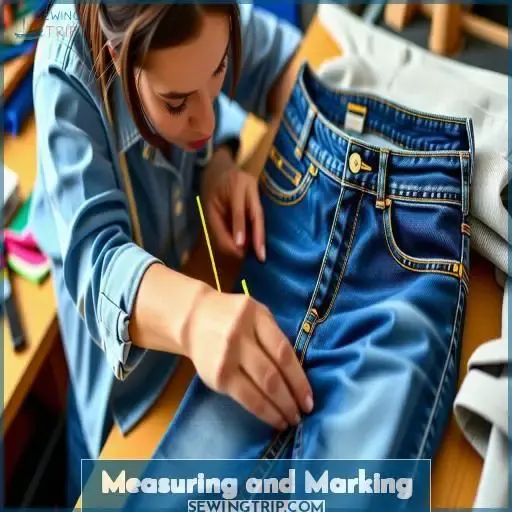
Measuring and Marking
Now that you’ve mastered the basics of hemming, it’s time to delve into the precise art of measuring and marking.
Acquire your reliable ruler, hem gauge, and chalk – these tools will become your new companions.
Initially, don those jeans and secure the intended length, then invert them and delineate 1 inch below the folded hem using your hem gauge.
Subsequently, employ chalk to etch a line along this mark – this will serve as your cutting guideline.
Lastly, apply heat to the folded hem to secure it in place.
By adhering to these precise steps, you’ll effortlessly achieve hemming excellence.
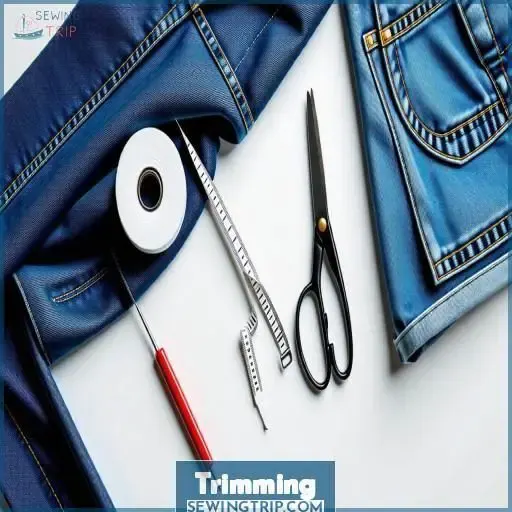
Trimming
Trim the excess fabric along the marked hemline, cutting at a diagonal to reach the chalk markings left from the initial measuring. Cut the hem allowance to exactly 1 1/8 inch by trimming the excess length in a straight line.
Trim the Hem Allowance to 1 1/8 Inch
Now that you’ve marked the hem allowance with chalk, it’s time to trim it down to 1 1/8 inch. Use your fabric scissors to make diagonal cuts in the direction of the chalk markings, carefully trimming away the excess length. This precise trimming will guarantee a neat, professional finish when you fold and press the hem.
Trim the Excess Length Along the Marked Line
Now that you’ve trimmed the hem allowance to the proper 1 1/8 inch, it’s time to cut the excess length along the marked line. Carefully follow those chalk markings and use your fabric scissors to snip away the extra fabric. This will give your jeans a clean, professional finish without any bulky or uneven hems.
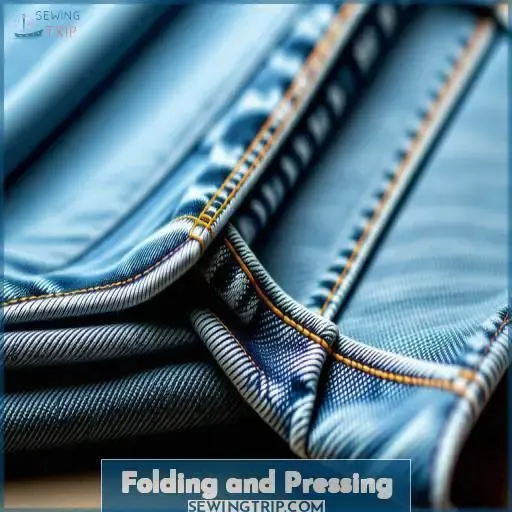
Folding and Pressing
Turn the hem allowance under at the chalk marking and press it to set the first fold. For the finished hem, fold the pressed edge under again, aligning it with the original hemline, and press thoroughly with a dry iron.
Turn the Hem Allowance Once and Press
Now that you’ve trimmed the excess length, it’s time to turn the hem allowance once and press it. This first fold will set the foundation for your final hemline. Be sure to press the folded hem thoroughly – this will help the fabric hold its shape and create a crisp, professional finish.
- Fold the hem allowance once, creating a clean edge.
- Press the folded hem using a dry iron to set the crease.
- Make sure the folded hem is smooth and even before moving on.
Press the First Hem Turn to Set It
After folding the hem allowance, it’s time to press the first turn to set it in place. This helps the fabric hold its shape and creates a crisp, professional look. Use a dry iron set to the appropriate heat setting for your fabric type. Press firmly along the folded edge to crease the hem.
| Hem Tools | Hem Allowance | Hem Gauge |
|---|---|---|
| Dry Iron | 1 1/8 inch | Set to 1 1/8 inch |
Press the Final Hem Using a Dry Iron
Next, press the final hem using a dry iron. This will secure the fold and give your jeans a professional finish. Be sure to use the appropriate heat setting for the fabric type. Careful pressing with a dry iron will guarantee a crisp, clean hem that looks like it was done by a professional.
- Achieve a professional look with precise pressing
- Dry ironing sets the fold for a clean finish
- Adjust heat based on denim or other fabric type
- Professional pressing elevates the overall look
- Crisp, clean hems make your jeans look custom
Stitching
Now that you’ve carefully folded and pressed the hem, it’s time to stitch it in place. Align the bottom edge of the leg with the 3/8 inch seam marking on your sewing machine. Use the height compensation tool under the front of one toe of the foot to make sure the fabric feeds evenly. Secure the beginning of the hem seam at the cross-seam to lock the stitches in place.
Stitch the hem using a triple straight stitch – this provides extra strength and durability. As you reach the end of the hem, lock the stitches to prevent unraveling. For an extra polished finish, consider running a zig zag stitch or using a serger along the raw edge of the folded hem. This will encase the raw edge and prevent fraying over time.
Frequently Asked Questions (FAQs)
How do I prevent the hem from puckering on tapered jeans?
Did you know 40% of jeans hems pucker due to improper technique? To prevent this, gently stretch the fabric as you stitch, ensuring even tension throughout the tapered leg area. Patience and practice yield professional-looking hems every time.
What thread type and needle size work best for hemming jeans?
For hemming jeans, use 100% polyester or cotton-wrapped polyester thread and a denim/jeans needle size 90/14 or 100/ This combination provides durability and prevents skipped stitches or thread breakage in thick denim layers.
Can I hem jeans without a sewing machine?
Mastering the art of hand hemming jeans can be immensely satisfying. With patience and precision, you’ll transform those too-long legs into a perfect, custom fit – no machine required.
How do I get a professional-looking finish on the hemmed edge?
To get a professional edge, finish the raw hem with a zig-zag stitch or serger. This prevents fraying and gives it a polished look. You can also use fusible hem tape or edge binding for a clean finish without visible stitching.
What are some tips for aligning the side seams when hemming?
Align those side seams like a tailoring pro – mark notches on the hem with chalk, match the notches to the existing side seams, and pin into place before stitching.
Conclusion
Visualize your jeans with a perfectly crafted hem, accentuating their stylish flair.
By carefully following this tutorial on how to hem jeans, you’ll master the art of preserving the original hem or crafting a new one for flared legs.
With precise measuring, marking, trimming, folding, and pressing techniques, you’ll achieve professional results that enhance your jeans’ fashionable appeal.
Embrace the satisfaction of a well-executed hemming project.


