This site is supported by our readers. We may earn a commission, at no cost to you, if you purchase through links.
 Tired of those pesky loose armholes ruining your favorite tops? You’re not alone!
Fixing loose armholes is easier than you think. Start by checking the fit and identifying problem areas.
Then, choose from a variety of sewing techniques like taking in side seams, adding darts, or inserting elastic like hemming.
Don’t have mad sewing skills? No worries! There are quick fixes like fashion tape or clever layering tricks.
With the right tools and a bit of patience, you’ll be transforming those baggy armholes into sleek, fitted perfection in no time.
Remember, a well-fitted top can make you feel like a million bucks – and who doesn’t want that?
But wait, there’s more to this tailoring tale…
Table Of Contents
- Key Takeaways
- Common Causes of Loose Armholes in Tops
- Assessing Armhole Fit and Identifying Problem Areas
- Sewing Techniques for Tightening Loose Armholes
- Tools and Materials for Fixing Armhole Issues
- Step-by-step Guide to Altering Armholes in Tops
- Alternative Solutions for Loose Armhole Problems
- Preventing and Maintaining Proper Armhole Fit
- Frequently Asked Questions (FAQs)
- Conclusion
Key Takeaways
- You’ve got options galore to tackle those pesky loose armholes – from whipping out your sewing machine to embracing quick fixes like fashion tape. Don’t let a little gap cramp your style!
- Before you dive in with needle and thread, play detective with your top. Check the fit, pinch excess fabric, and measure carefully. It’s like giving your clothes a mini health check-up!
- Sewing newbie? No worries! Try layering with a camisole or adding decorative trims to hide gaps. It’s like putting a Band-Aid on your wardrobe woes – quick, easy, and surprisingly effective.
- Prevention is your secret weapon against future armhole angst. Choose the right size when shopping, treat your clothes with TLC, and keep an eagle eye out for early signs of looseness. Your tops will thank you with years of gap-free wear!
Common Causes of Loose Armholes in Tops
You’ve probably experienced the frustration of a top with loose armholes, leaving you feeling exposed or uncomfortable.
Understanding the common culprits behind this issue, from poor garment design to changes in your body shape, is the first step in finding the perfect fix for your favorite shirts and dresses.
Poor Garment Design or Construction
Even when you’ve chosen the right size, poor garment design or construction can leave you with gaping armholes. Here’s why this happens:
- Armhole shaping that’s too wide or low
- Incorrect fabric choice for the design
- Insufficient seam allowance
- Construction flaws during manufacturing
- Subpar pattern drafting techniques
Improper Sizing and Fit Issues
Buying clothes that fit perfectly can be tricky. You might end up with loose armholes if you’re not careful. Let’s explore common sizing issues:
Vanity sizing can make it difficult to find the right fit.
Body shape variations also make finding the perfect fit tricky.
Inconsistent size charts can lead to confusion when shopping online.
Ignoring fit guidelines can result in ill-fitting clothes.
Let’s explore some solutions:
| Problem | Solution |
|---|---|
| Vanity sizing | Check measurements |
| Body shape variations | Try different brands |
| Inconsistent size charts | Read reviews |
| Ignoring fit guidelines | Follow size recommendations |
Fabric Stretching Over Time
Fabric fatigue’s no joke! Over time, your favorite tops can stretch out, leaving you with droopy armholes. Let’s tackle this pesky problem head-on.
Weight Loss Affecting Garment Fit
After shedding pounds, you’ll notice your tops hanging loose. Those once-snug armholes now gape, revealing more than you’d like. Let’s tackle this wardrobe challenge head-on!
Alterations Needed for Different Body Types
You’re not a cookie-cutter shape, so why should your tops be? Different body types often require custom tweaks to nix those pesky loose armholes for good.
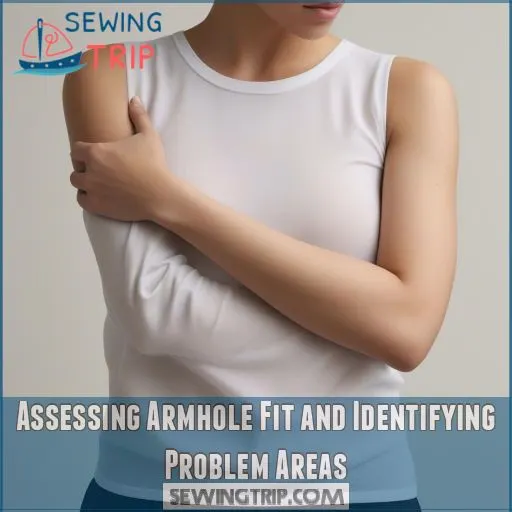
Assessing Armhole Fit and Identifying Problem Areas
Before you grab your sewing kit, you’ll need to play detective with those pesky loose armholes.
Let’s explore how to assess the fit and pinpoint those problem areas, so you can transform your top from sloppy to sleek in no time.
Visual Inspection Techniques
Let’s take a closer look at your top’s armholes. Visual inspection is like playing detective with your clothes. Here’s what to watch for:
- Armhole shape: Is it a perfect circle or more of a wonky oval?
- Fabric drape: Does it hug your body or flap in the breeze?
- Seam alignment: Are the sides singing in harmony or doing their own thing?
Pinching and Measuring Excess Fabric
Now that you’ve spotted the loose areas, it’s time to get hands-on. Pinch that excess fabric and measure it like a pro:
| Action | Purpose | Tool |
|---|---|---|
| Pinch | Identify excess | Fingers |
| Measure | Quantify adjustment | Tape measure |
| Mark | Guide alterations | Fabric chalk |
You’ve now identified the areas that need adjustment and are ready to make the changes.
Checking for Gaping and Underarm Exposure
After pinching excess fabric, it’s time to spot gaping and underarm exposure. Stand in front of a mirror and raise your arms. Notice any peek-a-boo moments?
Evaluating Comfort and Range of Motion
Move your arms in all directions, reaching high and low. Does the armhole restrict you or expose too much? Your top should flex with you.
Determining the Extent of Necessary Adjustments
With your range of motion checked, it’s time to gauge how much tightening your armholes need. Pinch the excess fabric, measuring carefully. You’re the tailor now!
Sewing Techniques for Tightening Loose Armholes
You’ve got a favorite top with loose armholes, but don’t worry – we’ve got you covered.
In this section, we’ll walk you through some nifty sewing tricks to tighten those pesky gaps and give your garment that perfect, fitted look you’ve been dreaming of.
Taking in Side Seams
You’ve measured and pinned—now it’s time to stitch! Taking in side seams is like giving your top a custom hug. Let’s tighten those loose armholes.
Adding Darts for Bust Fullness
Two well-placed darts can work wonders for bust fullness. Pinch excess fabric, mark your dart points, and stitch carefully. Your top will hug your curves perfectly!
Inserting Elastic for a Snug Fit
- Choose the right elastic type (fold-over, clear, or decorative)
- Measure and cut elastic slightly shorter than armhole length
- Pin elastic in place, stretching slightly
- Sew using a zigzag stitch for flexibility
- Trim excess fabric and finish edges neatly
Reshaping Armhole Curves
Armhole blues? Don’t fret! Grab your scissors and let’s reshape those curves. It’s like giving your top a mini facelift – smoother lines, snugger fit.
Adjusting Shoulder Seams for Better Fit
Reshaping curves is great, but don’t overlook those shoulders! Tweaking shoulder seams can work wonders for armhole fit. Let’s explore how this subtle adjustment impacts your top’s overall look.
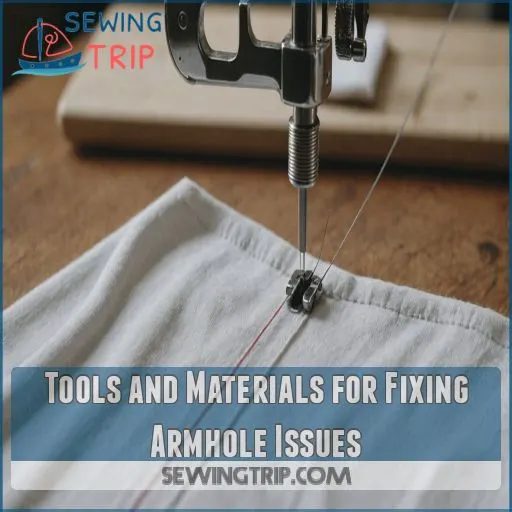
Tools and Materials for Fixing Armhole Issues
Ready to tackle those pesky loose armholes?
Let’s gear up with the right tools and materials to make your tops fit like a dream.
From essential sewing supplies to the perfect thread and fabric choices, we’ll cover everything you need to achieve professional-looking results that’ll have you feeling confident and comfortable in no time.
Essential Sewing Supplies and Equipment
Equipping yourself with the right tools is half the battle in fixing those pesky loose armholes.
Here’s your sewing arsenal:
- Trusty sewing machine
- Sharp fabric shears
- Flexible measuring tape
These essentials will have you conquering ill-fitting tops in no time!
Choosing Appropriate Thread and Needles
Now that you’ve got your sewing kit ready, let’s talk thread and needles. You’ll want to match these to your fabric’s weight and type.
Selecting Compatible Fabrics for Alterations
When selecting fabrics for armhole alterations, consider weight, stretch, and fiber content. You’ll want materials that play well with your top’s original fabric, ensuring a seamless fix.
Measuring Tools for Accurate Adjustments
Precision is your secret weapon when fixing loose armholes. Arm yourself with these trusty measuring tools for spot-on adjustments:
- Flexible measuring tape
- Clear ruler
- Fabric chalk
- Seam gauge
Pressing Equipment for Professional Results
Ironing out armhole issues? You’ll need the right pressing equipment. From trusty irons to specialized pressing tools, these gadgets are your secret weapons for achieving pro-level results.
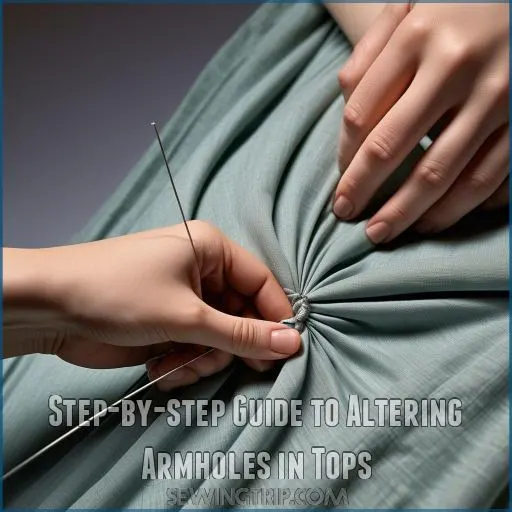
Step-by-step Guide to Altering Armholes in Tops
Ready to tackle those pesky loose armholes? You’ll be amazed at how easy it’s to transform your ill-fitting tops into perfectly fitting garments with our step-by-step guide to altering armholes.
Preparing the Garment for Alterations
You’ve got your tools ready, now let’s prep that top! Wash and iron it first—trust me, you don’t want any surprises mid-alteration. Grab your chalk and ruler.
Marking and Pinning Excess Fabric
Now that your garment’s ready, let’s get pinning! Grab those trusty sewing pins and start marking the excess fabric. It’s like giving your top a custom hug!
Creating New Seam Lines
With careful precision, begin stitching your new seam lines. Follow the pinned markings, adjusting tension based on fabric type. Remember, slow and steady wins the armhole race!
Trimming and Finishing Raw Edges
Once you’ve sewn your new seams, it’s time to tidy up! Grab those scissors and trim any excess fabric, leaving about 1/4 inch beyond the stitching.
Testing and Refining the Fit
After making alterations, try on your top to assess the armhole fit. You’re looking for:
- Comfortable movement without restriction
- No gaping or underarm exposure
- Balanced appearance on both sides
Alternative Solutions for Loose Armhole Problems
Don’t let loose armholes cramp your style – there are plenty of clever tricks up your sleeve (pun intended).
From **quick fixes** with fashion tape to layering techniques that’ll have you looking fab, we’ve got a toolbox of solutions to tackle those pesky gaps without breaking out the sewing machine [and without worrying about skipped stitches](https://sewingtrip.com/sewing-machine-skipping-stitches/).
Using Fashion Tape for Temporary Fixes
Sometimes you need a quick fix for those pesky loose armholes. Enter fashion tape – your secret weapon for instant, no-sew solutions to gaping tops!
Layering With Camisoles or Fitted Undershirts
Layering’s your secret weapon! Slip on a sleek camisole or fitted undershirt to instantly solve loose armhole woes. Choose breathable fabrics and matching colors for a seamless look.
Adding Decorative Trims to Conceal Gaps
Decorative trims can work wonders for those pesky armhole gaps. You’ll be amazed at how a bit of lace or ribbon can transform your top’s fit and style.
Incorporating Removable Shoulder Pads
While trims can jazz up your tops, let’s explore another clever fix: removable shoulder pads. These handy inserts can work wonders for loose armholes.
Here’s why:
- Instant structure
- Customizable fit
- Easy to remove
- Versatile across outfits
Styling Tricks to Minimize Armhole Issues
Ready to rock those loose armholes without breaking out the sewing kit? Let’s explore some clever styling tricks that’ll have you feeling confident and looking fabulous!
Preventing and Maintaining Proper Armhole Fit
You’ve mastered the art of fixing loose armholes, but now it’s time to prevent them from happening in the first place.
With a few simple strategies, you’ll keep your tops fitting perfectly and avoid those pesky armhole issues for good.
Choosing the Right Size When Purchasing
Your perfect fit starts at the store. Before buying, consult size charts and take your measurements. Don’t forget to factor in your personal fit preferences.
Proper Care and Washing Techniques
You’ve nailed picking the right size! For washing, choose gentle detergents, dry flat to avoid stretching, and iron cautiously. Stains? Tackle them promptly.
Regular Garment Inspections and Maintenance
Countless garment woes can be nipped in the bud with regular once-overs. Keep an eagle eye on those armholes, and you’ll catch issues before they snowball.
Addressing Fit Issues Early On
Vigilance is key in terms of fit issues. Keep an eye on your tops’ armholes and address any looseness promptly. Regular checks prevent minor problems from snowballing.
Alterations for Changing Body Shapes
As your body evolves, so should your clothes. Don’t let changing shapes leave you with ill-fitting tops. Here’s how to tackle armhole alterations:
- Adjust for weight gain by adding fabric inserts
- Accommodate post-pregnancy changes with strategic darts
- Modify for muscle growth by extending seams
- Fine-tune bust adjustments with custom contouring
Armhole alterations can help you feel confident and comfortable in your clothing no matter what stage of life you’re in.
Frequently Asked Questions (FAQs)
How to fix tight armholes?
You’re not doomed to suffer in straitjacket-tight sleeves!
Let out the side seams, snip armhole curves, or add gussets.
For a quick fix, try stretching the fabric.
How to alter gaping armholes?
Pin and sew darts to reduce fullness, or try easing a smaller band or elastic into the armhole.
For knits, adjust the binding’s length.
Can you make armholes bigger?
Like David conquering Goliath, you can tackle bigger armholes.
Trim the armhole binding, carefully cut the seam allowance, and resew with a narrower seam.
It’s a bit tricky, but you’ll feel triumphant when you’re done!
How do I make my arm holes smaller on top?
To shrink armholes, start by trying on the top and pinching excess fabric.
Mark the desired size, then sew a new seam parallel to the original.
Trim excess material and finish edges.
Voila! Your top’s now snug as a bug.
How do I fix armholes without a sewing machine?
You’ve got options!
Hand-sewing’s your go-to for a no-machine fix.
Grab a needle and thread, then carefully stitch along the armhole’s edge.
It’s a bit time-consuming, but you’ll feel like a DIY champ when you’re done!
Can I adjust armholes on stretchy or delicate fabrics?
Stretchy or delicate? No problem! You’re not stuck with loose armholes. Hand-sewing’s your best bet here.
Use a gentle stretch stitch for knits, and tiny, careful stitches for delicates like a narrow zigzag stitch.
It’s like performing surgery on your favorite top!
What if the armhole is too small after alterations?
Don’t panic if your armhole’s too snug!
Carefully unpick the stitches and re-sew with a smaller seam allowance.
If that’s not enough, consider adding gussets or panels.
How to fix armholes on sleeveless formal dresses?
Imagine your perfect dress, ruined by gaping armholes!
Fear not, here’s a quick fix:
Pin excess fabric, sew darts or take in side seams, and add elastic or binding for a snug fit.
It’s easier than you’d think!
Are there temporary solutions for loose armholes when traveling?
You’ve got quick fixes for loose armholes while traveling!
Try safety pins for a temporary tuck, use fashion tape to secure edges, or rock a cute cardigan.
These tricks’ll keep you looking sharp on the go.
Conclusion
Isn’t it ironic? Those tiny armholes causing such big problems!
But now you’re armed with the know-how for fixing loose armholes in tops.
Whether you’re wielding a needle and thread or reaching for that trusty fashion tape, you’ve got options.
Remember, a well-fitted top isn’t just about looks—it’s about confidence.
So go ahead, tackle those gaping armholes and strut your stuff.
Who knew a little nip and tuck could make such a difference?
Your wardrobe (and your arms) will thank you!


