This site is supported by our readers. We may earn a commission, at no cost to you, if you purchase through links.
Most newbies find their groove in about six months, but don’t let that number scare you. It’s all about how much time you’re willing to invest.
Think of it like learning to ride a bike – wobbly at first, but soon you’re cruising! Patience is key, and before you know it, you’ll be stitching up a storm.
Just remember, every expert was once a beginner, so embrace the learning curve. There’s a whole world of stitches waiting for you to explore!
Table Of Contents
- Key Takeaways
- Mastering Embroidery Basics
- Choosing the Right Embroidery Materials
- Understanding Embroidery Stitches
- Working With Embroidery Patterns
- Threading and Knotting Your Thread
- Embroidery Machine Basics
- Digitizing and Advanced Techniques
- Troubleshooting and Maintenance
- Creating Your First Embroidery Project
- Continuing to Learn and Improve
- Frequently Asked Questions (FAQs)
- Conclusion
Key Takeaways
- You’ll pick up the basics of embroidery in just a few hours, like getting the hang of a new dance move. But mastering the craft is a journey you’ll love, just like learning to ride a bike – a little wobbly at first, but soon you’re cruising and loving every moment.
- Embroidery is all about practice, much like trying to hit the high note in karaoke. Consistent stitching builds muscle memory, so even if your first stitches look like the Leaning Tower of Pisa, keep at it – your hands will soon perform like pros.
- Don’t stress about mistakes – they’re just stepping stones (or misplaced stitches) on your embroidery adventure. Consider them part of the process, like plot twists in your favorite novel. Tackle common pitfalls head-on, such as keeping your fabric taut and preventing floss strands from splitting, ensuring your art will shine like a polished gem.
- Choosing the right materials is like selecting the best teammates for a game. You’ll want a hoop that keeps your fabric firm, shiny floss for intricate patterns, the right needles for easy threading, and sharp scissors for a clean finish. With the right tools, you’ll make embroidery feel as sweet and simple as pie!
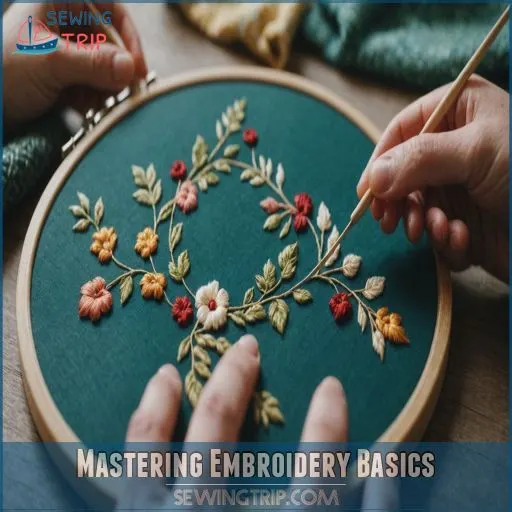
Mastering Embroidery Basics
Mastering the basics of embroidery doesn’t happen overnight, but with some patience and practice, you’ll soon be stitching like a pro.
It’s all about working through the common mistakes, keeping a steady hand, and learning not to get tangled up—unless, of course, you’re talking about floss!
Time Needed to Learn Embroidery Basics and Techniques
Learning embroidery basics is a colorful journey shaped by your skill level, tools, and time.
Give yourself about six months to grasp essential stitches like running and backstitches, as well as embroidery techniques.
Embroidery classes or online tutorials can speed up your learning curve.
Remember, threading your needle and understanding fabric are key steps.
Importance of Practice in Mastering Embroidery Basics
You’ve got the embroidery basics down, but practice? That’s your golden ticket.
Consistency and patience weave skills you can’t just read about.
Imagine this: each repetitive stitch builds muscle memory, turning your hands into pros.
Like learning to ride a bike, it takes more than wheels—you’ll need time and balance.
Keep stitching; you’ll master embroidery one stitch at a time, and it’s that golden ticket.
Common Mistakes to Avoid in Embroidery Basics
Ah, the embroidery journey!
As a beginner, steer clear of 3 common pitfalls.
using a warped hoop that won’t keep your fabric taut, (Source) neglecting to split your floss strands for the perfect stitch thickness, and failing to pull the fabric tight before stitching are common mistakes.
Conquer these, and your embroidery will shine!
How to Overcome Frustration in Mastering Embroidery Basics
Starting embroidery? Don’t fret! Mistakes happen but they’re just stepping stones. Picture every stitch as puzzle pieces coming together. To keep your sanity, try short thread lengths for less tangling.
| Practice | Consistency | Resources |
|---|---|---|
| Daily | Slow, steady | Books, blogs |
| Relaxed | Same tension | Online groups |
| Small | Even stitches | Tutorial videos |
Relax: You’re building art, not racing!
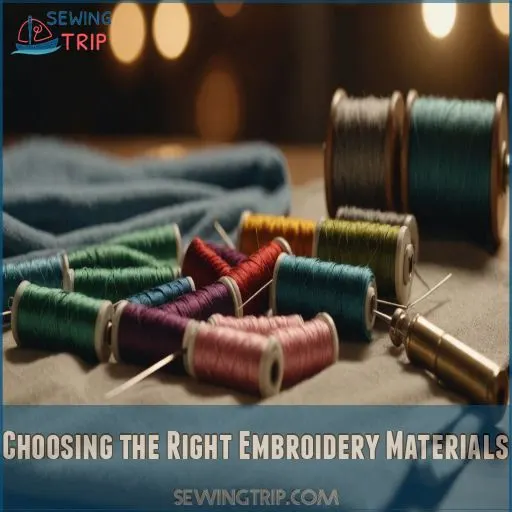
Choosing the Right Embroidery Materials
Choosing the right embroidery materials can feel like picking a favorite ice cream flavor—with so many options, where do you start?
Don’t worry about brain freeze; we’ll help you find the best hoops, threads, needles, and scissors to make your stitching sweet and simple!
Selecting the Best Embroidery Hoop for Beginners
Starting your embroidery journey? The right hoop is your crafty sidekick!
Consider these factors:
- Hoop size: Choose one slightly larger than your design .
- Material: Wooden or plastic—each offers unique benefits.
- Tightness: Make sure the fabric stays taut throughout your project.
- Stability: Secure clamps prevent slippage .
- Features: Adjustable tension screws work wonders.
A well-chosen hoop elevates your embroidery from meh to magnificent!
Understanding the Differences in Embroidery Floss and Thread
When you’re picking between embroidery floss and thread, it’s like choosing the perfect adventure companion.
Floss, with its six shiny strands ready to unravel and conquer intricate patterns, adds a touch of magic with its sheen.
Threads, more durable and textured, are perfect for sewing but less magical in embroidery’s whimsical tapestry.
Choosing the Right Embroidery Needles for Your Project
Choosing the right needle makes embroidery a breeze.
Imagine trying to thread a camel through a needle—the wrong needle size, and you’re stuck in no man’s land.
Select a sharp needle for a satin stitch or a crewel needle for a stem stitch.
Match needle type with fabric type and thread weight for seamless stitching success .
Why Embroidery Scissors Are Essential for Clean Cuts
You’ve picked the perfect needles, now let’s talk about scissors.
Great scissors make thread snipping effortless, ensuring precise cuts right at the fabric edges.
For those seed stitches and French knots, a clean finish is a must.
Whether tackling machine embroidery or handling an embroidery stabilizer, you’ll appreciate scissors that leave no stray threads behind (Source) and make for a clean finish.
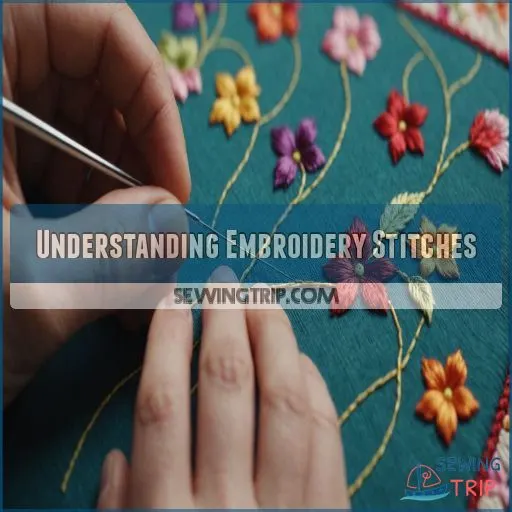
Understanding Embroidery Stitches
Mastering the art of embroidery starts with understanding the basic stitches.
From the classic running stitch to the elegant satin stitch, each technique adds a unique flair to your creations.
Get ready to develop your stitching skills and elevate your embroidery game!
Learning the Basic Embroidery Stitches for Beginners
Getting started with embroidery is like painting with a needle—it’s tactile and joyful! Start with basic stitches to set a strong foundation.
- Straight Stitch: Simply in, out, repeat.
- Chain Stitch: Link loops for a charming feel.
- French Knot: Tiny knots, big impact.
- Lazy Daisy: Petal perfect.
- Feather Stitch: Feathery elegance .
Enjoy the journey!
Mastering the Running Stitch and Backstitch
Mastering embroidery begins with the running stitch and backstitch. Picture these stitches as the yin and yang of your embroidery journey.
Keep stitch length even, manage tension like a Zen master, and play with practice patterns for freedom.
Choose threads wisely; they’re your brushes in this fabric artistry.
| Stitch | Length | Tension |
|---|---|---|
| Running | Varies | Medium |
| Backstitch | Consistent | Firm |
| Variation | Experiment | Adjust |
How to Do the Satin Stitch and French Knot
A starting stitch or two may seem tricky, but satin stitch variations and French knots come down to practice and tight stitch control.
Picture satin stitches as parallel lines on a freeway—smooth and untwisted [Citation:1].
For French knots, don’t lose your cool; find the right tension by wrapping your thread like a tiny, joyful tiny, joyful twist[Citation:4].
Tips for Perfecting Your Embroidery Stitches
To perfect your embroidery stitches, think of it like finding harmony in a musical ensemble.
Stitch consistency and tension control are key—avoid pulling too tight to prevent fabric puckering.
Select the right needle and thread for smooth stitching, much like choosing the right instrument.
Regular practice drills will make stitching second nature, ensuring flawless creations through regular practice drills.
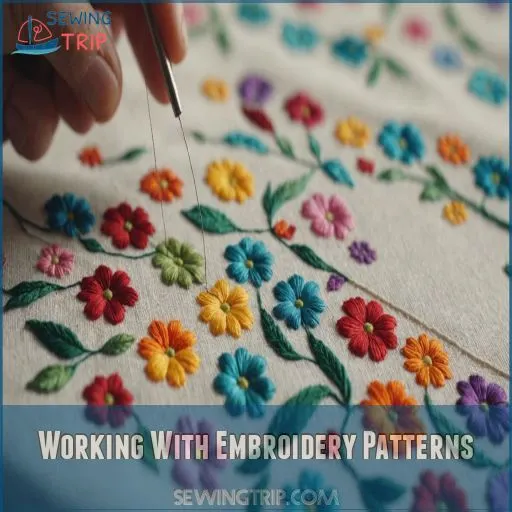
Working With Embroidery Patterns
Jumping into embroidery patterns is like discovering a secret stash of colorful treasures—exciting and a bit overwhelming.
Whether you’re puzzling over squiggly lines or deciding between daisies and dinosaurs, mastering embroidery patterns will brighten your stitching adventures and spark your creativity.
Choosing the Right Embroidery Patterns for Beginners
Finding just the right embroidery pattern can feel like opening a treasure chest of creative possibilities. Focus on simple designs that let your imagination soar.
- Choose patterns with bold outlines for easier stitching .
- Use vibrant colors to bring your work to life .
- Start small to build confidence.
- Match patterns to your fabric type .
- Transfer patterns with care.
How to Read and Understand Embroidery Patterns
Reading embroidery patterns might seem tricky at first, but with a little know-how, you’ll be reading them like a pro in no time.
Start by understanding the pattern’s symbols, color codes, and stitch types. Then, learn how to scale the design to fit your desired size.
Soon, you’ll be stitching with confidence!
| Symbol Meanings | Pattern Scaling | Color Codes |
|---|---|---|
| Identify stitch types | Adjust design size | Match thread colors |
| Understand design layout | Fit to hoop size | Follow color key |
Transferring Embroidery Patterns to Fabric
Got your embroidery pattern sorted? Now it’s showtime with fabric prep and pattern tracing!
Try these four methods:
- Use a lightbox for clear tracing.
- Iron-on transfers for quick results.
- Water-soluble stabilizers provide a smooth finish.
- Transfer pens work wonders for intricate details.
Remember, practice makes perfect—your fabric’s ready for those stitches!
Tips for Customizing Your Embroidery Patterns
Now that you’ve transferred your pattern, it’s playtime! Customizing embroidery patterns is like painting a canvas—you’re the artist. Play with color, adjust scale, and experiment with stitch placement. Add-ons like beads or threads can jazz it up.
| Aspect | Options |
|---|---|
| Color | Bold, Pastels |
| Scale | Large, Small |
| Stitch | Satin, French Knot |
| Placement | Center, Edge |
| Add-ons | Beads, Sequins |
Let your creativity soar!
Threading and Knotting Your Thread
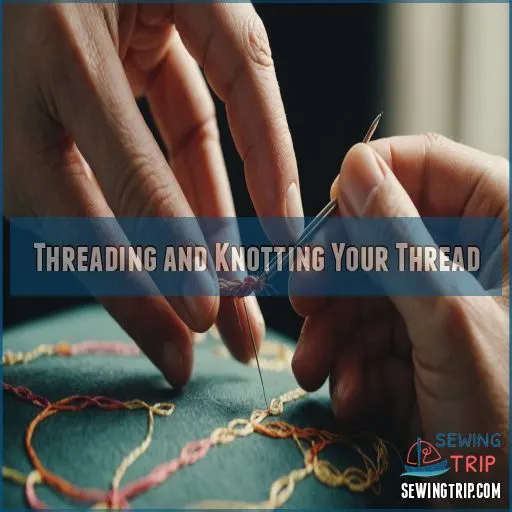
Threading your needle and knotting the thread might sound like a trivial task, but it’s an art that saves your sanity as an embroiderer.
Threading your needle and knotting the thread are essential techniques for embroiderers.
Imagine wrestling a rebellious piece of thread that seems to have more knots than a pretzel stand—practice these simple techniques, and you’ll avoid unraveling both thread and patience!
How to Thread Your Needle Correctly
Choosing the perfect pattern is art in itself. But, threading your needle can sometimes feel like herding cats!
- Select the Right Needle Size: Make sure it matches your thread to maintain tension.
- Embrace Threading Tricks: Use beeswax for smooth threading .
- Explore Needle Types: A needle threader can make life easier.
The Importance of Knotting Your Thread
Securing your thread is like laying a solid foundation for your stitches.
Without a proper knot, your beautiful work might unravel before your eyes, turning your masterpiece into a mess.
Think of it as avoiding loose ends, giving your embroidery stability and preventing unraveling.
So, embrace a secure starting point, and watch your creations thrive!
Tips for Tying a Secure Knot
Anyone can master the art of tying secure knots with a little practice.
Start by splaying out your thread and separating two strands . Thread your needle, then tie two small knots in the longer end. Snip the excess to prevent accidental pull-through.
For extra security, consider the "loop and pull" technique, where you wind the thread around the needle before forming the knot.
Your stitches will thank you, with secure knots and a little practice, making all the difference in tying secure knots.
How to Avoid Thread Tangles and Knots
While wrestling with tangled threads can be as frustrating as trying to untangle holiday lights, you can keep your embroidery smooth sailing with these nifty tricks:
- Pull thread from the skein’s numbered end
- Store floss on bobbins to prevent chaos
- Use thread conditioner for smoother stitching
- Let your needle dangle
Embroidery Machine Basics
Ready to take your embroidery skills to the next level?
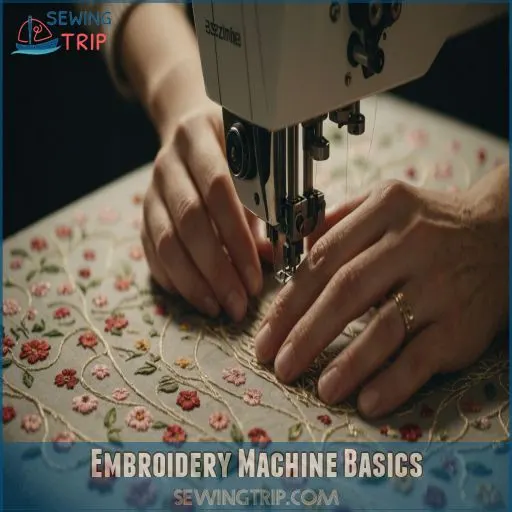
Learning to use an embroidery machine can open up a world of creative possibilities, and with the right approach, you’ll be stitching up a storm in no time.
Time Needed to Learn to Use an Embroidery Machine
In just a few hours, you’ll be stitching your first design on your embroidery machine, such as the Brother SE600, which is a great beginner sewing machine for embroidery.
But don’t expect to become a pro overnight, especially when choosing between various types of embroidery machines, like combination sewing/embroidery machines. The learning curve varies depending on your machine’s complexity and your prior experience.
| Machine Type | Learning Curve | Practice Time | Cost Factor |
|---|---|---|---|
| Basic Home | Gentle | 3-6 hours | $ |
| Combo | Moderate | 6-12 hours | $$ |
| Commercial | Steep | 12-24 hours | $$$ |
Remember, patience is your best friend in this journey. Happy stitching!
Understanding the Different Parts of an Embroidery Machine
The heart of your embroidery journey beats in the machine itself. To truly master this art, you’ll need to befriend the different parts of your embroidery machine.
Let’s break it down into bite-sized pieces:
- Headstock: The brain of the operation, determining stitch quality
- Presser foot: Your fabric’s best friend, keeping it steady (Source)
- Feed dogs: The tiny teeth that guide your fabric forward
- Bobbin and case: The dynamic duo supplying your bottom thread
How to Thread and Use an Embroidery Machine
Threading your embroidery machine might seem like a needle in a haystack at first, but don’t worry! You’ll be stitching up a storm in no time.
Start by winding your bobbin and threading the upper tension discs. Next, guide the thread through the take-up lever and down to the needle.
Once you’ve mastered machine threading, you’ll be ready to hoop your fabric and select your stitch .
Tips for Troubleshooting Common Embroidery Machine Issues
Now that you’ve threaded your machine, let’s tackle those pesky problems that can pop up. Like a detective solving a mystery, you’ll need to examine the clues and use your newfound knowledge to keep your embroidery projects running smoothly.
- Needle breakage: Check for bent needles or incorrect size
- Skipped stitches: Re-thread your machine and make sure the tension is right
- Bobbin tension: Clean the bobbin area and adjust as needed
- Thread jams: Slowly turn the handwheel to identify the problem
- Machine cleaning: Use a lint brush or canned air regularly
Digitizing and Advanced Techniques
Ready to take your embroidery skills to the next level?
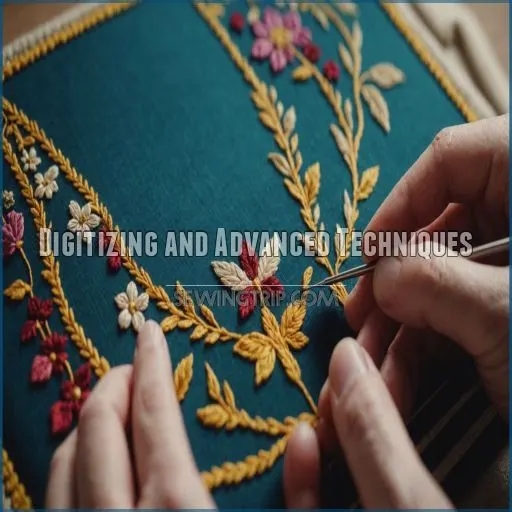
Digitizing and advanced techniques open up a whole new world of creative possibilities, but they’ll require patience and dedication to master.
Time Needed to Learn to Digitize Embroidery Designs
Learning to digitize embroidery designs is like learning a new language – it takes time and dedication.
You’re looking at several months to grasp the basics, but mastering this skill can be a rewarding journey.
The time needed varies based on your design complexity and how much you practice.
Don’t get discouraged if it doesn’t click right away – even seasoned pros are constantly learning new techniques.
The journey to mastering embroidery digitization requires dedication.
Understanding Embroidery Digitizing Software
While embroidery digitizing software might seem intimidating at first, it’s your key to opening up a world of creative possibilities.
These powerful tools allow you to transform your ideas into stitch-ready designs .
From user-friendly interfaces to advanced features, you’ll find options that suit your skill level. Whether you’re tracing logos or creating custom patterns, digitizing software helps you bring your visions to life with precision and flair .
How to Create Custom Embroidery Designs
Creating custom embroidery designs is like painting with thread. You’ve got the basics down, now it’s time to let your creativity run wild!
Design software like Photopad can transform your ideas into stitchable patterns.
Don’t worry if you’re not a Picasso – abstract designs are perfectly fine too. Remember, even simple shapes can become stunning when stitched.
Ready to turn your doodles into wearable art?
Tips for Mastering Advanced Embroidery Techniques
You’ve mastered custom designs, now it’s time to level up your embroidery game!
Free-motion embroidery lets your creativity run wild – it’s like drawing with thread. Perfect your satin stitch for silky-smooth textures, and experiment with thread blending for eye-popping colorwork.
Ready to add some pop? Try 3D embroidery techniques to make your designs leap off the fabric.
Remember, these advanced skills take practice, but they’ll make your projects truly stand out, and help you perfect your satin stitch .
Troubleshooting and Maintenance
Learning to troubleshoot and maintain your embroidery machine is an ongoing process that’s really important for successful stitching.
You’ll encounter common issues like skipped stitches or thread breaks, but don’t worry – with practice, you’ll become a pro at quickly identifying and fixing problems, keeping your machine in tip-top shape.
How to Clean and Maintain Your Embroidery Machine
Grab your cleaning tools, it’s time to pamper your embroidery machine! Regular maintenance keeps your trusty stitching companion humming along smoothly.
- Unplug and unthread your machine
- Remove the needle plate and bobbin
- Gently brush out lint with a small brush or pipe cleaner
- Oil moving parts sparingly with machine-specific oil
Remember, a clean machine is a happy machine – and a happy stitcher makes for beautiful embroidery!
Tips for Preventing Embroidery Machine Problems
Embroidery machine headaches can unravel your creative flow, but fear not.
Regular maintenance is your secret weapon against pesky problems. Keep your trusty sidekick humming by giving it a thorough cleaning after each project .
Don’t forget to oil those moving parts – a well-lubricated machine is a happy machine .
Choose quality threads and needles, and always double-check your tension settings before diving into a new masterpiece.
How to Troubleshoot Common Embroidery Issues
When your embroidery project hits a snag, don’t throw in the towel! Common hiccups like skipped stitches, thread breakage, or tension problems can be frustrating, but they’re often easy to fix.
Start by checking your needle – is it old or bent? Swap it out if you’re unsure.
Next, give your machine a quick once-over. A bit of lint buildup can wreak havoc, so grab that lint brush and show it who’s boss ! Additionally, check your needle often to avoid future issues.
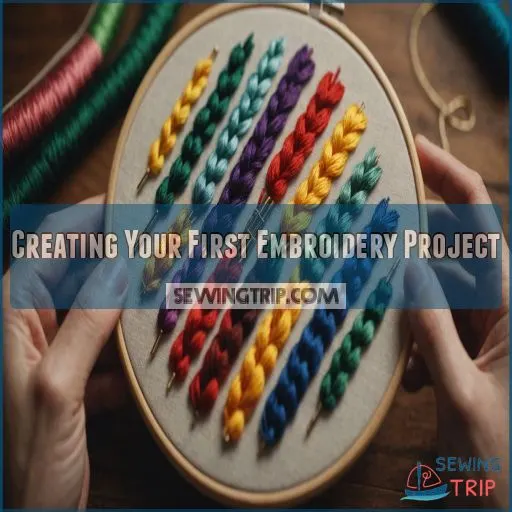
Creating Your First Embroidery Project
You’re about to start your first embroidery project—how exciting!
Whether you’re stitching a simple flower or a more intricate design, creating your first embroidery piece is a rewarding experience that’ll have you hooked in no time.
Choosing the Right Embroidery Pattern for Your First Project
Selecting your first embroidery pattern is like choosing a dance partner – you want one that matches your skill level and makes you feel comfortable. As a beginner, opt for designs that won’t leave you tangled up in knots.
- Simple line drawings without complex shading
- Patterns using basic stitches like running stitch or backstitch
- Designs with larger elements, avoiding tiny details
- Projects with limited color palette (3-5 colors max)
- Patterns suitable for light-colored fabric
How to Prepare Your Embroidery Hoop and Fabric
With your embroidery hoop in hand, you’re ready to get started with the exciting world of stitching! Preparing your hoop and fabric is like setting the stage for a grand performance.
Let’s break down the process:
| Step | Action | Tip |
|---|---|---|
| 1 | Choose fabric | Leave extra for backing |
| 2 | Position hoop | Screw on right for righties |
| 3 | Tighten fabric | Pull taut, not stretched |
Remember, tight fabric is your best friend for easy stitching, especially if you’re a newbie. Now, let’s get hooping!
Tips for Threading and Stitching Your First Project
Now that your hoop’s ready, let’s thread that needle and start stitching!
Remember, your thread’s not spaghetti – don’t yank it too tight . Aim for Goldilocks tension: just right.
Choose a needle that’s not too big or small for your fabric and thread .
Keep your stitches slow and steady, like you’re painting a masterpiece. And hey, if a stitch looks wonky, no worries!
You can always undo and try again , and remember that with a little practice, you’ll be creating perfect stitches in no time, every time is a wonky stitch.
How to Finish and Display Your Embroidery Project
You’ve stitched your masterpiece, and now it’s time to showcase it! Let’s turn your embroidery into a stunning display piece. Here’s how to finish and frame your work:
- Iron your project to remove wrinkles
- Cut a mounting board to size
- Secure your fabric to the board
- Place your art in a frame
For a more traditional look, try framing in a hoop. It
Continuing to Learn and Improve
After completing your first project, you’re ready to take your embroidery skills to the next level. Remember, as Joyce Jagger, The Embroidery Coach, says, "Embroidery is like any other new thing – it’s always better to do it with a friend who can show you the ropes" .
Consider joining embroidery groups or taking classes to connect with fellow stitchers. Online resources and stitch challenges can keep you motivated and learning.
Don’t be afraid to experiment with new techniques or materials – linen fabric, for instance, offers a unique texture that can elevate your work . As you progress, share your creations and ask for feedback.
Keep in mind the wise words of one embroidery enthusiast: "You’re going to mess up over and over again… All of that’s okay. Just keep stitching" . Your embroidery journey is a marathon, not a sprint. This mindset will help you stay committed and enjoy the process.
Frequently Asked Questions (FAQs)
How long does it take to learn embroidery?
Picture Sarah, who mastered basic stitches in two months but took a year to feel confident with intricate designs.
You’ll grasp fundamentals in 3-6 months, but true proficiency can take years.
It’s a journey of patience and practice.
How long does it take to embroider a design?
Embroidering a design can take anywhere from 4 to 60 minutes, depending on complexity, size, and stitch count.
A simple 5-inch logo might take 4-6 minutes, while intricate designs could require over an hour.
It’s a stitch-by-stitch journey, especially for intricate designs.
How do I start learning embroidery?
You’ll be stitching like a pro in no time!
Start by gathering essential supplies: fabric, thread, needles, and a hoop.
Choose a beginner-friendly kit or pattern, then get started with basic stitches. Practice makes perfect, so keep at it!
How to learn embroidery in a week?
Start with basic stitches and practice daily.
Jump into online tutorials, join a workshop, or try a 7-day intensive course .
Focus on one technique each day, like goldwork or sequin application.
You’ll be stitching up a storm in no time!
How hard is it to learn to embroider?
Diving into embroidery’s world is like untangling a colorful thread – it takes patience, but it’s not Mount Everest!
You’ll face challenges, but with determination and practice, you’ll soon be stitching like a pro.
It’s all about perseverance.
Can you self-learn embroidery?
Self-learning embroidery is totally doable.
Grab some basic supplies, jump into online tutorials, and practice those stitches.
With patience and a good stitch book, you’ll be creating beautiful designs in no time.
How hard is it to learn to use an embroidery machine?
Ever wondered if you’re up for the embroidery machine challenge?
It’s no walk in the park, but don’t let that scare you!
With practice, you’ll be stitching like a pro. There’s a learning curve, but you’ll get there.
How long does embroidery usually take?
Embroidery projects can take anywhere from a few hours to several weeks.
Your skill level, design complexity, and project size all play a role.
Don’t rush – enjoy the process! Start small and work your way up.
How do you transfer embroidery designs onto fabric?
Like a painter choosing their canvas, you’ll select your fabric transfer method.
You’ve got options: water-soluble stabilizer for dark fabrics , iron-on transfers for ease, or the classic light-box tracing with a water-erasable pen.
It’s your artistic journey!
Can you embroider on any type of fabric?
You can embroider on many fabrics, but some are better than others.
Natural fibers like cotton and linen are ideal. They’re easy to work with and give great results.
Don’t shy away from experimenting, though!
How do you care for and wash embroidered items?
When washing embroidered items, gently hand wash them in cool water with mild soap.
Then air dry to preserve the thread’s vibrancy and texture.
Always avoid bleach and dryers to keep your embroidery looking sharp and stylish.
Whats the best way to display finished embroidery projects?
Take your embroidery to the next level by transforming it into a stunning centerpiece.
Stretch it over canvas, frame it with flair, or showcase it in a stylish hoop – the possibilities are endless!
How do you price and sell handmade embroidery pieces?
Pricing handmade embroidery involves balancing material costs, labor, and market trends.
Consider the time invested, use quality supplies, and assess customer demand.
Experiment with special pieces to explore pricing potential, ensuring fair value for your unique creations .
Conclusion
Perhaps you’re wondering if learning embroidery might be too time-consuming, but think of it as a delightful artistic journey.
You’ll soon see how tackling stitches and designs becomes a cherished hobby, much like creating your own tapestry of experiences.
With our expert tips, you’ll discover how long it takes to learn embroidery isn’t just about time—it’s about enjoying every moment spent exploring patterns, mastering stitches, and expressing your creativity.
Happy stitching, and may your needles always find the right path!

