This site is supported by our readers. We may earn a commission, at no cost to you, if you purchase through links.
Ever noticed how your fabric either swims under the foot or gets caught? That’s often a sign your presser foot height needs attention. With the right adjustment, you’ll see a marked improvement in stitch quality, ensuring your fabric feeds through smoothly, without snags or skips.
This guide will walk you through the steps to fine-tune the presser foot height, align it perfectly under the needle, and maintain these adjustments for optimal sewing performance.
Whether you’re tackling thick seams or delicate fabrics, mastering this adjustment can elevate your sewing to the next level.
Yes, you can adjust the presser foot height on a Singer sewing machine. Simply refer to a guide on adjusting Singer sewing machine presser foot height for detailed instructions.
Table Of Contents
Key Takeaways
- Proper presser foot height is essential for optimal stitch quality, preventing skipped stitches and fabric puckering, and ensuring a smooth fabric feed.
- The ideal space between the presser foot and the throat plate is 5/16 inch, which can be measured accurately using a presser foot gauge.
- Before adjusting the presser foot height, select the correct type of presser foot, clean and care for it, and lubricate the presser bar and clamp.
- Regular maintenance, including checking the lift mechanism and needle clearance, can enhance stitch quality and prevent issues such as fabric puckering or skipped stitches.
Understanding Presser Foot Height
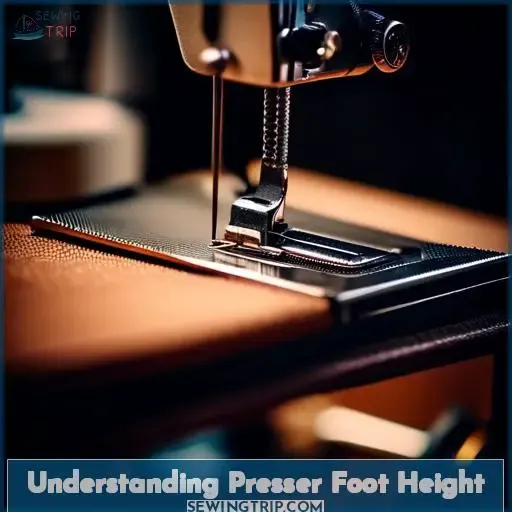
Adjusting the presser foot height on a Singer sewing machine is crucial for achieving optimal stitch quality and ensuring smooth fabric feed.
Proper adjustment prevents fabric from swimming or wandering under the foot and eliminates skipped stitches, especially over thick seams.
By setting the presser foot to the correct height, you ensure balanced pressure on the fabric, which is essential for consistent stitch formation and handling various fabric types and thicknesses.
Importance of Proper Adjustment
Adjusting the presser foot height on your sewing machine is crucial for achieving optimal stitch quality and fabric handling. Proper adjustment ensures balanced foot pressure, which is essential for smooth fabric feeding and preventing issues like puckering and skipped stitches.
Whether you’re working with thick, heavy fabrics or delicate, lightweight materials, the right presser foot pressure can make a significant difference in your sewing project’s outcome. It’s not just about avoiding common sewing problems; it’s about mastering your machine to get the best possible results, regardless of the fabric type or thickness.
Adjusting the presser foot height and pressure allows you to tailor the sewing experience to your specific needs, ensuring that each stitch is formed correctly and that the fabric moves under the foot as it should.
Impact on Stitch Quality
Adjusting the height of your Singer sewing machine’s presser foot is crucial for achieving the best stitch quality. The right presser foot height ensures the fabric feeds smoothly under the needle, preventing issues like skipped stitches or puckering.
It’s essential to consider fabric thickness, thread tension, and stitch length when setting the presser foot height. Using the correct presser foot type for your sewing technique can also impact stitch formation.
A presser foot gauge can help you measure the height accurately. If the presser foot is too high, the fabric may not be held firmly, leading to skipped stitches.
Adjustments can be made using the presser bar clamp screw to achieve the ideal height for your sewing project.
Tools and Preparation
Before you begin adjusting the presser foot height on your Singer sewing machine, you’ll need to gather a few essential tools and prepare your workspace.
Ensure you have a presser foot gauge, a screwdriver, and some oil at hand. These tools will help you achieve the precise adjustments necessary for optimal sewing performance.
It’s crucial to lubricate the presser bar and clamp to facilitate smoother adjustments, and remember to use the presser foot gauge for accurate height measurement.
Required Tools for Adjustment
To adjust the presser foot height on a Singer sewing machine, you’ll need a few essential tools to ensure precision and proper functionality. Grab a screwdriver for adjusting screws that control the presser foot’s height and alignment.
A Presser Foot Gauge is indispensable for measuring the exact space needed between the presser foot and the throat plate, which should be 5/16 inch for optimal fabric pressure. Regular oiling is also crucial to maintain smooth operation of the tension release mechanism and other moving parts.
Pay attention to the eccentric positioning of components, as this affects the synchronization process during adjustments. When aligning the presser foot, ensure it’s centered under the needle using alignment techniques that prevent fabric swimming and skipped stitches.
Pre-Adjustment Setup
Before you start adjusting the presser foot height on your Singer sewing machine, it’s crucial to ensure you’re set up for success. Begin by selecting the correct presser foot type for your fabric to avoid any compatibility issues.
Take a moment to clean and care for your presser foot, as this can impact tension and overall sewing performance. When you’re ready to adjust the presser foot height, remember that the ideal space between the presser foot and the throat plate is 5/16 inch.
Adjust the height by manipulating the presser bar clamp screw, and align the foot so that the needle is centered. This setup is essential for achieving the precise presser foot alignment and tension necessary for smooth sewing machine presser foot adjustment.
Adjusting Presser Foot Height
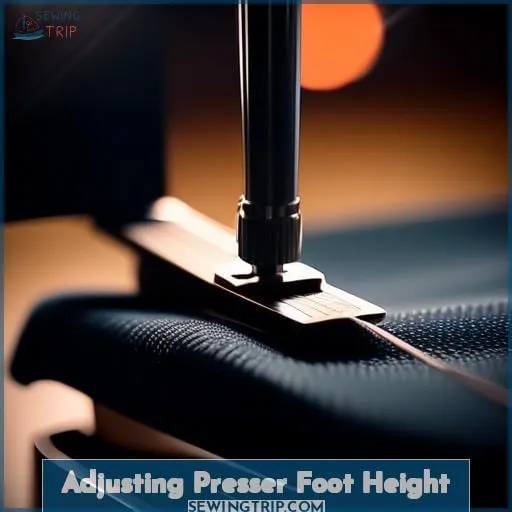
Adjusting the presser foot height on your Singer sewing machine is a crucial step to ensure smooth fabric feed and consistent stitch quality.
You’ll need to check the current height and make precise adjustments using tools like a presser foot gauge and screwdriver.
It’s a straightforward process that can prevent issues like skipped stitches or fabric puckering, enhancing your sewing experience.
Step-by-Step Height Adjustment
To adjust the presser foot height on your Singer sewing machine, you’ll need to follow a precise, step-by-step process that ensures your sewing projects come out flawlessly.
Start by ensuring your machine is turned off and unplugged for safety. Locate the presser foot adjustment mechanism, which could be a screw or dial, depending on your Singer model. If you’re using a presser foot gauge, place it under the presser foot to measure the current height.
Adjust the presser foot height by turning the adjustment mechanism. For most sewing tasks, the space between the presser foot and the throat plate should be approximately 5/16 inch to prevent fabric puckering or skipped stitches.
This adjustment is crucial for handling different fabric types and thicknesses effectively.
After adjusting, lower the presser foot to check if it aligns correctly with the feed dogs and throat plate, ensuring it doesn’t press too tightly or loosely against the fabric.
Checking and Testing Height
After adjusting your presser foot height, it’s crucial to calibrate for optimal fabric handling.
Ensure the lift mechanism functions smoothly, checking needle clearance to prevent snagging.
If fabric puckers or skips stitches, troubleshoot by reducing excessive height.
Regular maintenance of the presser foot pressure enhances stitch quality, empowering you to master your sewing projects with precision and control.
Aligning the Presser Foot
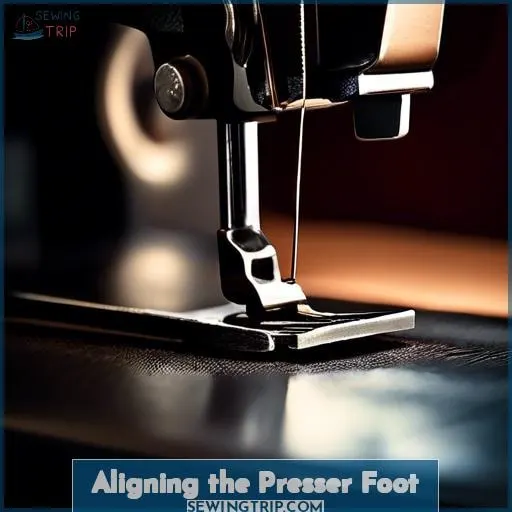
To ensure your Singer sewing machine stitches accurately, it’s crucial to align the presser foot properly.
You’ll need to center it under the needle for precise stitch formation.
This involves adjusting the presser foot so that the needle descends through the center of the foot, which is critical for preventing misaligned stitches and potential fabric damage.
Centering Under the Needle
To ensure your Singer sewing machine’s presser foot is perfectly centered under the needle, follow these steps:
- Remove the Presser Foot: Start by taking off the current presser foot attachment. This gives you clear access to make adjustments.
- Centering the Foot: Place the presser foot replacement under the needle, ensuring it aligns with the center. Use the presser foot gauge’s raised guide to help with this alignment.
- Secure the Attachment: Once the presser foot is centered, tighten the presser bar clamp screw to secure the foot in place.
Ensuring Proper Alignment
Once you’ve centered the presser foot under the needle, ensuring proper alignment is crucial for optimal stitch formation and machine tension. Use a presser foot gauge to check the alignment, considering fabric thickness and needle clearance.
| Adjustment | Purpose |
|---|---|
| Presser Foot Gauge | Ensures precise height and alignment |
| Needle Clearance | Prevents needle from hitting the presser foot |
Adjust the presser bar clamp screw if necessary to maintain the correct presser foot height and alignment. This attention to detail will help prevent issues like skipped stitches and fabric puckering, contributing to your mastery over your sewing projects.
Maintaining Your Adjustments
Maintaining the adjustments on your Singer sewing machine’s presser foot height is crucial for ensuring smooth and consistent sewing performance.
Regular maintenance, such as cleaning and lubricating the presser bar and checking the presser foot for alignment, can help prevent common issues like skipped stitches or fabric puckering.
Troubleshooting problems as they arise, by adjusting the presser foot height or realigning the foot, ensures your machine operates efficiently and produces high-quality stitches.
Regular Maintenance Tips
To maintain your Singer sewing machine and ensure it continues to operate smoothly, it’s crucial to regularly check and adjust the presser foot pressure. This helps prevent needle deflection, which can lead to skipped stitches or damage to your fabric.
If you notice your stitches aren’t forming correctly or the fabric isn’t feeding as it should, it may be time to reassess the presser foot height.
Keep the machine clean and oiled, and consult your manual for specific maintenance routines. If you encounter persistent issues, consider having your machine professionally serviced to address any underlying problems.
Troubleshooting Common Issues
When troubleshooting common issues with your Singer sewing machine’s presser foot height, keep these tips in mind:
- Presser foot binding: If your presser foot seems wobbly or binds, check for proper alignment and ensure it’s centered under the needle. Misalignment can lead to fabric feeding issues and affect stitch quality.
- Jamming: A common culprit for jamming is a presser foot set too low, causing excessive compression on the fabric. This can lead to skipped stitches and fabric puckering. Adjust the foot height to the recommended 5/16 inch clearance.
- Skipped stitches: This often results from incorrect presser foot height or a damaged foot. Ensure the foot height allows for smooth fabric feed without dragging or excessive pressure. Also, consider replacing the foot if it shows signs of damage or wear.
Regular maintenance and correct adjustments can significantly improve your sewing experience, preventing these common issues.
Frequently Asked Questions (FAQs)
Can I adjust the presser foot height on a Singer sewing machine without a Presser Foot Gauge?
Yes, you can adjust the presser foot height on a Singer sewing machine without a Presser Foot Gauge.
Use a screwdriver to loosen the presser bar clamp screw. Then manually adjust the height.
Ensure the foot is neither too high nor too low for optimal fabric compression and stitch quality.
How do I prevent the presser foot from sticking or becoming too loose after making height adjustments?
To keep the presser foot from sticking or becoming too loose after adjustments, ensure screws are snug but not overtightened.
Apply a drop of oil to moving parts for smooth operation.
What should I do if the presser foot height adjustment causes the fabric to feed unevenly?
If adjusting the presser foot height leads to uneven fabric feed, recheck the foot’s alignment and height.
Ensure it’s not too high or low, using a Presser Foot Gauge for accuracy.
Adjust the presser foot pressure if necessary, as improper pressure can also affect fabric feed.
Is there a way to adjust the presser foot height for a Singer sewing machine that doesn’t have visible adjustment screws or knobs?
Navigating the waters of a Singer sewing machine without visible adjustment screws or knobs can feel like sailing without a compass.
However, fear not, as there’s always a way to adjust the presser foot height, even when the path isn’t immediately clear.
Begin by consulting your machine’s manual, as it may offer clues hidden beneath the surface. If manual adjustments seem like uncharted territory, consider using accessories like a Non-Stick Foot Snap-On Presser Foot, which can adapt to varying fabric thicknesses without manual height adjustment.
How often should I check and adjust the presser foot height on my Singer sewing machine for optimal performance?
For optimal performance on your Singer sewing machine, it’s wise to check and adjust the presser foot height before starting a new project or when switching fabric types.
This ensures smooth fabric feed and consistent stitch quality.
Conclusion
Navigating the nuances of your Singer sewing machine’s presser foot height might initially seem like a daunting task, akin to taming a wild beast.
Yet, with the right tools and a bit of patience, you’ll find it’s more like a gentle dance, ensuring every stitch lands with grace and precision.
By mastering how to adjust the presser foot height on your Singer sewing machine, you’re not just tweaking a small component; you’re unlocking a whole new realm of sewing possibilities.
Whether you’re working with the thinnest silks or the heftiest denims, the right adjustment ensures your fabric glides smoothly, without the dreaded snag or skip.
So, take the plunge, adjust that presser foot height, and watch as your sewing projects transform from good to exceptional.

