This site is supported by our readers. We may earn a commission, at no cost to you, if you purchase through links.
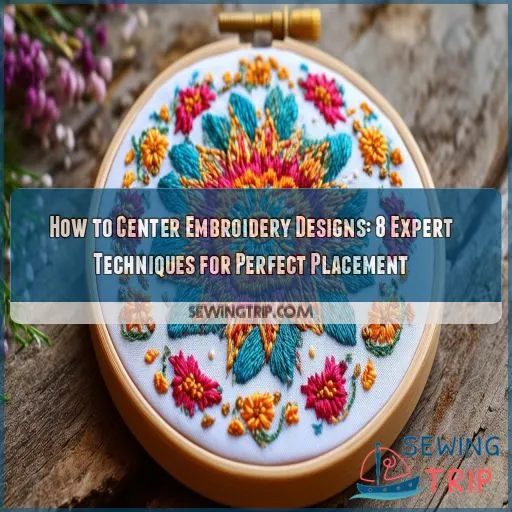
You will see in the following article eight expert techniques that ensure you get perfectly placed designs every single time.
You will be given accurate strategies on different garments for methods ranging from using embroidery hoops and marking tools to features and hand methods on machines.
From stretch happening in fabric or sewing irregular surfaces, the hints below have clear, concise directions that will help bring embroidery projects to the next level of expertise
Table Of Contents
- Key Takeaways
- How to Center Embroidery Designs?
- Understanding the Importance of Centering Embroidery Designs
- Essential Tools for Centering Embroidery Designs
- Preparing Your Fabric for Embroidery
- Using Templates and Grids for Accurate Placement
- Techniques for Centering Designs on Different Garments
- Leveraging Machine Features for Precise Centering
- Manual Methods for Centering Embroidery Designs
- Troubleshooting Common Centering Issues
- Frequently Asked Questions (FAQs)
- Conclusion
Key Takeaways
- You’ll be a design placement guru with these techniques in your toolbox.
- Your designs will be the talk of the town, earning you a reputation for precision and professionalism.
- Say goodbye to wasted fabric and hello to efficient material usage.
- Prepare to be amazed by how easy it is to achieve perfectly centered designs on even the most challenging surfaces
How to Center Embroidery Designs?
Centering embroidery designs is essential for a good look and material savings.
First, mark the center of the fabric using a water-soluble pen. Use correct embroidery hoops—round, square, or magnetic—with flexible tape or rulers to consistently measure.
Also, use templates and grids to position your design perfectly on the fabric.
Log on to garments like T-shirts by folding them in half to find their center.
On hats, measure and align with care on the brim.
For towels, prewash to allow for shrinkage.
Use built-in machine features or other manual-folding and marking methods. These will help you easily center embroidery designs while learning how to.
Ready to elevate your embroidery game?
Understanding the Importance of Centering Embroidery Designs
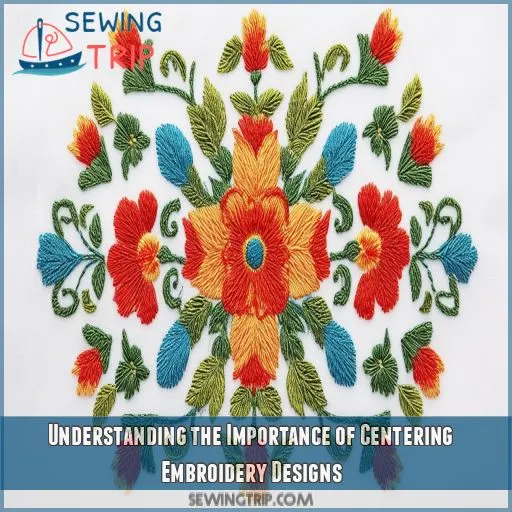
Your embroidery designs must be centered to derive professional results, enabling you to attain maximum usage of the material you’re working on. Properly aligned designs will please the eyes and turn out predictable—just as it should be in every given embroidery work.
Visual Appeal
When centering embroidery designs, one is placing stitches and giving a vision of balance. A well-centered design enhances the aesthetic and provides a professional finish. The following points shall help in its precise execution:
• Size and shape of design in relation to the fabric
- Fabric type and texture
- Inbuilt aligning facilities of your machine
- Placement challenges unique to each project
Test stitch-outs are your best friend to fine-tune positioning before committing to the final piece. While machine advancement has made things more accessible, it’s still up to you to have an eye for detail.
Material Optimization
This won’t only give you striking designs but also achieve optimal material usage. Precise design positioning will cut fabric scrap and create the maximum layout of material to use.
Such design efficiency ensures either even embroidery from one end to the other on your project or that you utilize the capacity of your machine.
Proper centering in the embroidery hoop can assist you in hitting that center point every time to ensure better material precision with less rework
Professional Results
In embroidery, accuracy in centering will yield professional results. Yes, your level of attention to detail really can make or break a project. Advanced placement techniques will help you master limitations and restrictions in the machine that lower hooping precision. It’s just frustrating when imperfect centering ruins your beautiful work. Here’s why:
- Elevates your brand’s reputation
- Ensures consistent quality across products
- Minimizes waste and rework
Essential Tools for Centering Embroidery Designs
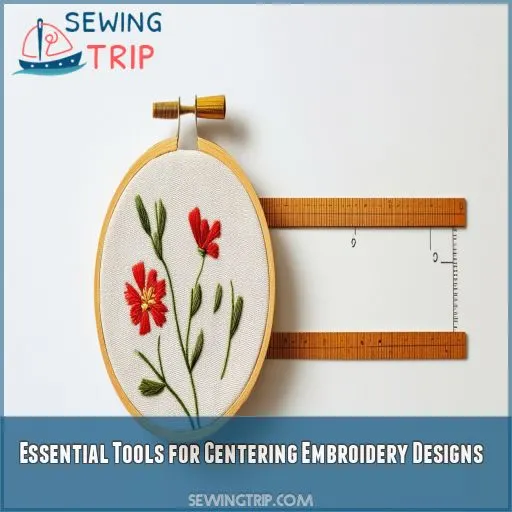
You will want accurate placement of your embroidery designs at the center, and you’ll have to use appropriate tools. You’ll need embroidery hoops to hold the fabric firmly, marking tools for putting it just right, and measuring devices to ensure that your design is kept at the center of your project.
Embroidery Hoops
When it comes to centering embroidery designs, the hoop used is everything. Coupled with that would be the technique of hooping that gives perfect tension to the fabric. You may want to consider different types of stabilizers for various fabrics to avoid mistakes for both the best results and an improved attractive appearance. Machine calibration is also vital to the correct placement. The following is a brief guide about embroidery hoops:
| Hoop Type | Best For | Features |
|---|---|---|
| Round | General use | Versatile, easy to use |
| Square | Quilts, corners | Straight edges for alignment |
| Magnetic | Light fabrics | No hoop marks, light tension |
Marking Tools
You’ll need reliable marking tools to complement your hoops. Water-soluble pens and fabric markers are your go-to for temporary guidelines. Chalk wheels offer a dust-free alternative for delicate fabrics. When marking your fabric’s origin point, use crosshairs to pinpoint the center. Remember, precision is key – a well-marked fabric is half the battle won in achieving perfect embroidery placement
Measuring Devices
You’ll also need stable measuring tools. For doing this on a curve, you’ll want a flexible tape measure. On flat fabrics or when working with straight lines, a brutal ruler works quite well. Digital calipers offer the finest degree of accuracy. You may also wish to use gridline templates for good square alignment quickly and easily. You must know your design dimensions before you hoop your alignment.
Feel the thrill of precision as you glide your tape measure across the fabric.
Experience the rewarding feeling of perfectly aligned gridlines on your template.
- Embrace the power of digital calipers, transforming you into an embroidery mastermind
Preparing Your Fabric for Embroidery
To prepare your fabric, start by selecting the appropriate stabilizer that matches your garment’s material. Mark the center point accurately and consider pre-washing the fabric to prevent shrinkage and distortions during embroidery
Choosing the Right Stabilizer
Choosing the right stabilizer makes all the difference in perfect embroidery. Different types serve different purposes to ensure that your fabric lies flat and remains wrinkle-free. Consider design properties and which kind of fabric you’re using. Then, decide between an adhesive, temporary, tear-away, or wash-away stabilizer. Make a test stitch each time before stitching so you’re sure of stability for better results.
| Stabilizer Type | Suitable Fabrics | Application | Removal Method |
|---|---|---|---|
| Adhesive | Subtle, stretchy | Stick-on | Peel off |
| Temporary | Light to medium weight | Iron-on or spray adhesive | Rinse or brush off |
| Tear-away | Tight weave | Hoop with fabric | Tear off when sewn |
Marking the Center Point
Marking a point in the center of your fabric ensures it’s positioned correctly. Here’s how:
- Fold your fabric vertically and then horizontally to create creases.
- You may use a fabric marker or some ordinary chalk to mark the crossing point.
- Snap to grid or use a template for accuracy.
Use software like Wilcom TrueSizer for digital designs, ensuring the accuracy of the templates.
Pre-washing Considerations
You should pre-wash your fabric. This will take care of the fabric shrinkage and ensure that material stretch doesn’t distort your design.
It also washes out pre-treatments running to create problems when bonding to the stabilizer.
Always pre-wash and iron a fabric before it being stabilized in the hoop.
The result for hoop tension will be consistent, leaving a precise and professional embroidery placement each time
Using Templates and Grids for Accurate Placement
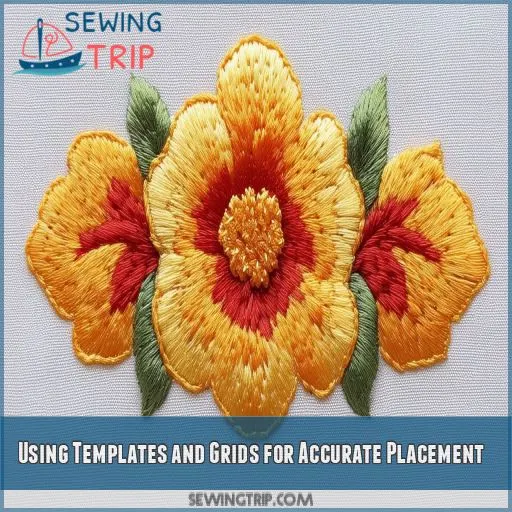
This can greatly help in placing your embroidery quite accurately using templates and grids. You can either create custom templates suited to your projects or make use of pre-made grids for aligning them with fabric patterns.
Creating Custom Templates
Creating custom templates ensures perfect template alignment for embroidery. Follow these steps:
- Template Material: Sturdy plastics or cardstock should be used.
- Digitized Templates: Print design templates using embroidery software.
- Custom Grid Creation: Drawing grids with any accuracy; center and boundary lines.
- Specialled Templates: Mark unique garment features for precise positioning.
This will help you in correctly aligning your design every single time.
Utilizing Pre-made Grids
Pre-made grids can be very helpful in allowing you to square your fabric up precisely. Pick a grid that’s closest to the size of your design.
Place the grid over your fabric, lining up the grid with your marks or the edge of the material. Use the center point of the grid to help you find the center of your design. This gives you accuracy and consistency without all the measuring.
Custom templates can be used this way also
Aligning With Fabric Patterns
While this can be a bit of a tricky process, it allows for very little room for error when working with patterns on fabric.
Pair your embroidery design with pre-printed fabric designs to create a perfect pairing, and use a template to ensure the embroidered fabric is aligned correctly. This will give regard to pattern repeat alignment and color matching.
This technique ensures there’s no design distortion at all and remains professional, so for those tricky patterns, do a test stitch to make sure it’s perfect
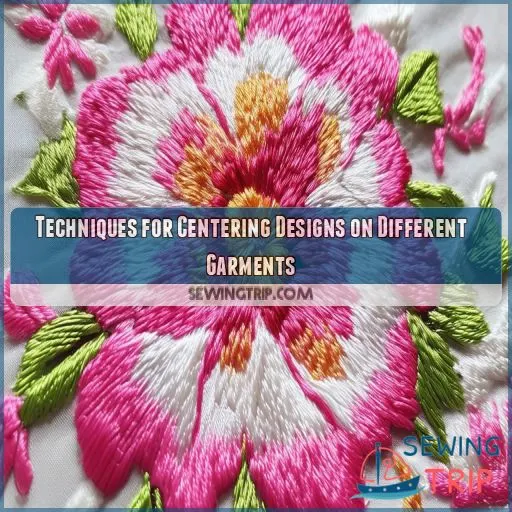
Techniques for Centering Designs on Different Garments
There are some specific techniques to center the embroidery designs in several garments and produce the required accuracy. Having your placement uniformly done on a T-shirt, hat, or even towel improves the overall professional appearance of the finished work.
T-shirts and Sweatshirts
For perfect t-shirt alignment and sweatshirt placement, first, fold the garment in half to find the center. Use fabric markers to mark the neckline centering point. For pocket alignment and sleeve embroidery, measure from key reference points, marking the desired positions. Secure fabric with stabilizer and double-check all marks before hooping and embroidering
Hats and Caps
Advanced techniques are required to center embroidery designs over hats and caps. First, choose the correct shape of the hoop that will fit best on the curved surface of your cap. Second, measure the circumference of your cap so it fits neatly without wrinkles or creases. Finally, take down, align the brim, and adjust thread tension to avoid puckering. Follow the proper method to get perfectly centered designs on headwear.
- Correct hoop shape is essential for caps and hats in embroidery.
- Measuring the circumference of a cap for a secure, wrinkle-free hooping is essential to achieve optimal results.
- Brim alignment and correct thread tension are how puckering and distortion are avoided.
Towels and Linens
When embroidering on towels and linens, you’ll want to use a large embroidery hoop to provide stability. Mark the center with a fabric marker or chalk, and be sure to pre-wash the fabric to account for shrinkage. Custom templates or laser guidance can help you precisely align your design for a professional finish on these soft, absorbent materials
Leveraging Machine Features for Precise Centering
TDirectional tools, digital positioning systems, and laser guidance technology built into your embroidery machine significantly improve the accuracy of design placement. Such features help one center ideally and produce professional results using the least effort.
Built-in Alignment Tools
Leveraging your machine’s built-in alignment tools can elevate your embroidery accuracy. Features like Absolute Check let you position the needle precisely. Utilize 2-Point and 4-Point Placement for rotation and shape adjustments. The built-in Pinpoint Laser guides stitch accuracy, perfect for Endless Embroidery, ensuring repeat designs are impeccably aligned. Embrace these tools to enhance precision effortlessly
Digital Positioning Systems
Digital positioning systems elevate your embroidery game by ensuring design accuracy. They integrate seamlessly with your machine’s software, allowing for precise template alignment. Calibration features let you adjust designs effortlessly, ensuring your stitches are on point. Here are four benefits:
- Accurate design placement
- Streamlined workflow
- Reduced errors
- Enhanced customization options
Laser Guidance Technology
Laser technology revolutionizes embroidery with remarkable accuracy improvements. Using advanced features like laser guidance, the machine highlights the exact needle placement, ensuring your design is perfectly centered. This precise positioning enhances stitch placement and reduces errors. Imagine effortlessly achieving flawless results, showcasing your creativity without the usual headaches. Laser guidance is your trusted ally for impeccable embroidery
Manual Methods for Centering Embroidery Designs
Using folding and creasing, one can get precise guides on the fabric for practical manual centering. Additionally, measuring and marking techniques can be utilized along with placement stickers to achieve maximum accuracy in design alignment.
Folding and Creasing Techniques
Folding and creasing are the manual approaches to center embroidery designs with a lot of accuracy and precision. Steps:
- Cut your fabric in half vertically and press a crease.
- Repeat horizontally to create intersecting lines.
- Center the design on that intersection point.
- Use temporary fabric markers to keep in alignment.
These techniques ensure perfect placement every time!
Measuring and Marking Strategies
For measuring and marking for center embroidery, use fabric marking tools like water-soluble pens or chalk wheels.
Align your hoop precisely with pre-made grids and alignment tools in many products.
Measuring devices, such as rulers or tape measures, will help ensure accuracy in your measurements.
And remember the saying: Measure twice, mark once, for accuracy here prevents later adjustments and keeps your project perfectly aligned!
Using Placement Stickers
Using placement stickers simplifies centering embroidery designs. These temporary markers serve as alignment aids, ensuring your design stays on point. Just adhere the sticker to your fabric, aligning it with the center mark. The fabric adhesion keeps it stable during hooping. Once your design is centered, make any necessary adjustments before stitching, guaranteeing precise, professional results
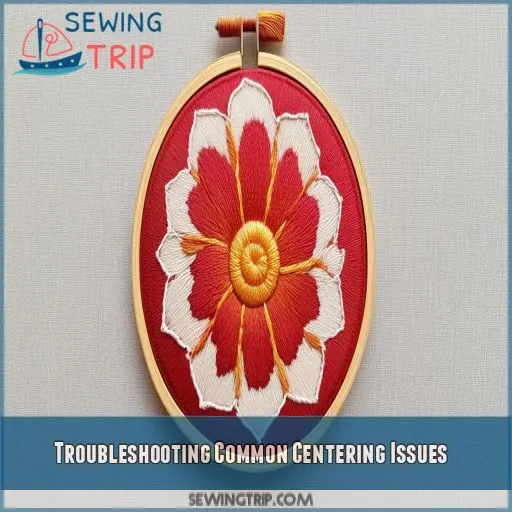
Troubleshooting Common Centering Issues
Facing fabric stretch can distort your design, so always stabilize properly to prevent shifting. For uneven surfaces like hats, use special hoops and adjust tension to ensure accurate stitching
Dealing With Fabric Stretch
The key to perfect embroidery is managing fabric stretch. Proper tension is acquired through the correct choice of stabilizer and effective hooping. Prepare your fabric with good marking and creasing methods. Keep the fabric tight but not over-stretched so the alignment will remain intact, avoiding distortion of resulting designs that must be perfectly centered and professional-looking.
Adjusting for Uneven Surfaces
In case of uneven surfaces, constantly adjust your hoop perfectly for the process. Stabilize first; then avoid stretching the fabric by adding more layers of the stabilizer if needed.
Gently reposition your design by often checking that the alignment is perfect.
If your fabric has much texture, all seams require proper adjustment of the hoop tension for a smooth embroidery field, smoothly maintaining accuracy in the design
Correcting Misaligned Designs
The causes of misalignment can be frustrating but are correctable with various realigning techniques. Check in the first instance for hoop movement or fabric shifting; rehoop if necessary.
Utilize your machine’s design adjustment features or software to recalibrate. For minor shifts, employ careful manual repositioning.
Why Machine Calibration Is Important: Sharpness comes from consistent calibration. Regular practice with these correction methods will improve your craftsmanship and develop control over the same
Frequently Asked Questions (FAQs)
How do I choose the right embroidery hoop?
Think of the hoop as your design’s stage—size does matter. Choose one that will snugly fit your project at hand. Too big, and it flops; too small, and you’re walking a tightrope. Ensure stability and proper coverage.
How to line up embroidery designs?
Position your fabric using a transparent template to mark the true center. Select the motif center on your machine, and use multifunction knobs to adjust. Utilize placement tools like rulers or target stickers for precision
How do I determine embroidery design placement based on industry standards?
Determine embroidery design placement using tools like the Perfect Placement Kit or Embroidery Placement Ruler. Refer to the Embroidery Library’s Placement Chart and follow industry standards, while trusting your creativity for unique placements
Where can I find embroidery designs?
Did you know 85% of embroiderers source designs online? You can find embroidery designs on websites like Embroidery Library, Etsy, and iBroidery, or use machine-specific marketplaces such as Brother’s own design database
How can I fix uneven embroidery designs?
To fix uneven embroidery designs, you should re-hoop the fabric, ensuring it’s taut and centered. Utilize the multifunction knobs to adjust the design in your machine, and run a test stitch to confirm alignment
What stabilizer is best for complex designs?
For intricate embroidery designs, use a cut-away stabilizer. Cut-away stabilizers provide firm support, preventing fabric shift and ensuring intricate detailing remains crisp and clean, leading to precise, polished, and professional results
Why does my fabric pucker during embroidery?
Your fabric likely puckers because of a lack of adequate stabilization, improper tension in your hoop, or dense design stitching. Try using a suitable stabilizer with correct hooping, and adjust the density of your design for better results.
Can I center designs on stretchy fabrics?
First, hoist your design into the center of stretchy fabrics using a stabilizer to prevent shifting. Use a fabric marker to mark the middle of your fabric, then place it into a hoop, tightening it as much as possible. Your sewing machine has tools to align your work for you.
How do I prevent hoop burn on delicate fabrics?
Worried about hoop burn on delicate fabrics? Use a water-soluble stabilizer between the fabric and hoop, ensuring a snug fit without over-tightening. Consider hooping aids like soft fabric grip tape for extra protection
Conclusion
Mastering how to center embroidery designs instantly can take your craft to the very top. You’re building a great base by learning why this process is essential, gathering the necessary tools, and prepping your fabric correctly.
Using templates and grids for accuracy, along with using machine features, provides balance. Don’t forget the manual methods for those special garments—be prepared to troubleshoot when needed.
Follow these expert techniques and achieve that professional, polished look you want for your designs time and again

