This site is supported by our readers. We may earn a commission, at no cost to you, if you purchase through links.
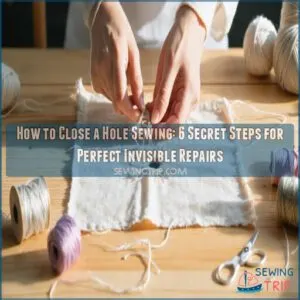
Match thread color to fabric and create a secure knot. Hide the knot, then make small stitches around the hole’s edge, maintaining consistent tension.
Tie off the thread on the fabric’s backside and trim ends. With practice, you’ll master the invisible stitch, making repairs nearly undetectable.
Now, let’s get started with the first step: gathering the right supplies to guarantee a flawless repair.
Table Of Contents
Key Takeaways
- You’ll master the invisible stitch by gathering the right supplies, preparing your fabric, and threading your needle with a matching thread color to ensure a seamless repair.
- To hide the knot, you’ll turn your fabric inside out, use a quilter’s knot, and make small stitches around the hole’s edge, maintaining consistent tension for a strong and nearly invisible mend.
- You’ll stitch around the hole, matching your thread to the fabric’s color, keeping stitches tight and about ⅛ inch from the hole’s edge, and using the right needle for fabric reinforcement to achieve a professional finish.
- By following these steps and practicing the invisible stitch technique, you’ll be able to repair clothes efficiently, reducing waste and making how to close a hole sewing easy for you.
Gather Your Sewing Supplies
Your sewing project’s success starts with gathering the right supplies.
Begin with a well-organized sewing kit containing essential tools for invisible repairs.
You’ll need several needle types – sharp ones for woven fabrics and ballpoint needles for knits.
A needle threader saves time and frustration when working with fine threads.
Choose thread colors that perfectly match your fabric – hold threads against the material in natural light to find the best match.
Quality scissors are important; invest in fabric-specific shears that cut cleanly without fraying edges.
Keep fabric scraps handy for testing stitches or creating patches.
If you’re working with a sewing machine, make sure you have appropriate machine needles and bobbins ready.
Pro tip: Store your supplies in a clear container so you can quickly spot what you need.
A well-stocked kit means you’re always ready for emergency repairs.
Effective sewing supply organization involves using sewing room storage solutions to maximize your workspace and ensure quality scissors are always within reach, promoting a well-organized sewing kit for successful projects with the right sewing kit.
Prepare The Fabric
You’re ready to prep your fabric. Spread it out, smoothing wrinkles. Inspect the hole, noting its size.
Trim loose threads with scissors. Match thread color for an invisible repair. Fabric inspection is key to a seamless fix.
Stabilize the fabric, clean the area, and assess the hole for a strong sewing hole repair using effective fabric repair methods and sewing techniques.
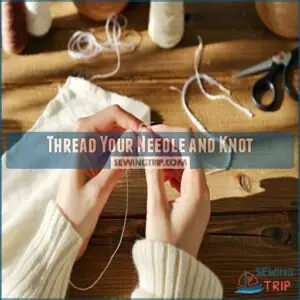
Thread Your Needle and Knot
You’re about to master Thread Selection and Knot Types.
Choose a needle that glides through fabric and select a matching thread.
Thread your needle using a threader if needed.
Create a Secure Knot, like a Granny knot, for invisible stitch sewing.
Roll the thread for a compact knot.
Proper Needle Threading and Secure Knotting guarantee even Thread Tension, essential for sewing a hole and achieving an invisible stitch, a key technique in how to close a hole with needle and thread.
Understanding the right Sewing Needle Thread is essential for a successful repair.
Start With an Invisible Stitch
You’ll start by making an invisible stitch to close the hole. This involves hiding the knot and making a small stitch to begin the repair.
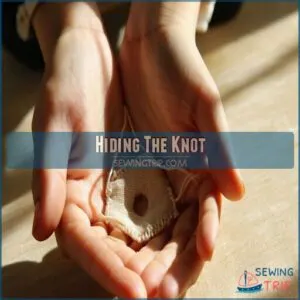
Hiding The Knot
To hide a knot, turn your fabric inside out.
Use a quilter’s knot for a strong finish.
For a truly hidden knot, learn effective knot concealment.
- Keep your knot small
- Use thread hiding for Stitch Security
- Practice Fabric Camouflage for invisible stitch.
You’re aiming for Knot Concealment, making your repair nearly invisible.
Double your thread for extra strength, ensuring your invisible stitching stays put.
With these Sewing Tricks, you’ll learn how to close invisible stitches, including an invisible knot for an invisible mending, like fixing a hole in a sweatshirt.
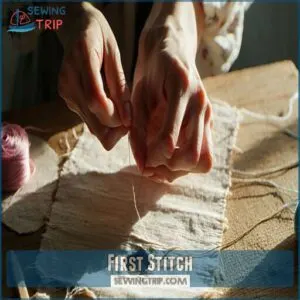
First Stitch
To start, insert the needle from the inside, on the right side of the hole.
Match your thread color and use a suitable needle. Make a small stitch, then another on the opposite side, parallel to the edge, beginning your invisible stitch to close the hole seamlessly.
This technique is essential for creating invisible stitch hems that are professional and durable.
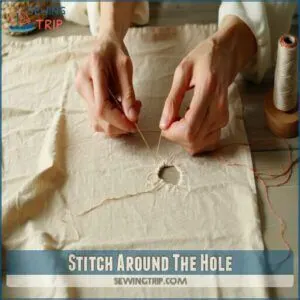
Stitch Around The Hole
You’re now stitching around the hole.
Match your thread to the fabric’s color for a near-invisible repair. Keep stitches tight, about ⅛ inch from the hole’s edge, and use the right needle for fabric reinforcement.
Maintain consistent stitch tension to sew a hole cleanly, ensuring a strong invisible stitch. To achieve a professional finish, understanding thread selection techniques is essential for a durable repair.
Complete The Invisible Stitch
You’re almost done with your repair, now it’s time to complete the invisible stitch. You’ll finish stitching and tie off the thread to secure your work.
Finish Stitching
You’re almost done.
Secure your invisible stitch by tying off the thread on the fabric’s backside, ensuring a flawless repair with secure seams and proper edge finishing.
Using the right stitch types for invisible mending and hole repair sewing techniques is crucial for a successful outcome.
Tie Off Thread
To tie off thread, create secure knots on the backside, locking stitches in place.
Make multiple tight knots, ensuring your invisible stitch stays put.
Trim thread ends, finalizing the sewing hole repair with a secure knot, mastering invisible mending and closing the hole with a flawless, hidden stitch.
Using the right sewing thread types is essential for a strong and durable repair.
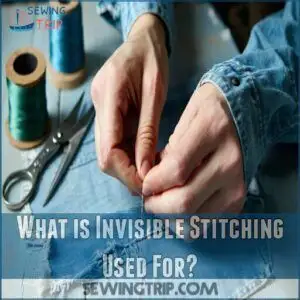
What is Invisible Stitching Used For?
Now that you’ve mastered the invisible stitch, let’s explore its versatility. Invisible stitching is your secret weapon for seamless fabric repair.
It’s perfect for mending rips and closing holes in fabric. You can even use it for hemming and attaching patches.
Here’s a glimpse of what you can achieve with invisible stitching:
- Closing gaps in seams
- Repairing tears in pillows
- Hemming pants and skirts
- Attaching linings
This technique, combined with careful thread selection and needle choices, makes your sewing techniques practically invisible. Whether you’re sewing a hole in your favorite jeans or repairing a delicate silk blouse, invisible stitching keeps your garments looking their best, using the invisible stitching technique for a professional finish, and ensuring a seamless fabric repair.
Frequently Asked Questions (FAQs)
How do you close a hole in a sewing machine?
You’ll close a hole using a sewing machine by threading it, selecting a suitable stitch, and sewing around the hole’s edge with a matching thread color for a seamless repair.
How do you sew a hole without it showing?
You sew a hole without it showing by using matching thread, small stitches, and a needle suitable for the fabric, making the repair nearly invisible and durable.
Can you sew a hole with a sewing machine?
You can sew a hole with a sewing machine, using a denim or heavy-duty needle, and a straight stitch or zigzag pattern for reinforcement and durability.
Can you sew a hole in a fabric?
You can repair a hole by threading a needle, tying a knot, and stitching around the hole’s edge with small, even stitches, securing the thread with multiple knots.
How do you close a hole in a fabric?
Fixing fabrics fearlessly, you fold, pin, and stitch the hole with precision, using thread that matches, to mend the tear neatly and strongly.
How do you sew a hole in a quilt?
You’ll need to thread your needle, tie a knot, and use a whipstitch or running stitch to secure the quilt’s hole.
Making small, even stitches to blend with the surrounding fabric.
How do you end a hole in sewing?
You tie off threads with secure knots, trim excess, and press the area to finish, ensuring a strong and nearly invisible mend, completing the repair with precision and care always.
How do you close a gap in sewing?
You close a gap by threading a needle, inserting it near the edge, and making small stitches to secure the fabric, then tying off the thread to finish.
How to close a stitch in sewing?
You secure a stitch by threading through the final loop, tightening, and tying off with additional stitches, then snip the thread to complete the sewing process neatly.
How to close stitch holes?
You’ll fix 12% of clothes with holes, so thread your needle, insert it, and backstitch to seal the hole, then tie off with a knot, and you’re done.
Conclusion
Knowing 70% of garments end up in landfills, you’ll reduce waste by learning how to close a hole sewing.
You master the skill by following steps.
Now, you can repair clothes using the invisible stitch technique, making how to close a hole sewing easy and efficient for you, and by doing so, you will be reducing waste.


