This site is supported by our readers. We may earn a commission, at no cost to you, if you purchase through links.
To complete your projects with a professional touch, master two hand stitches: the whip stitch and the ladder stitch.
The whip stitch encircles folded edges, creating a secure, noticeable stitch ideal for hemming and seaming.
For an invisible finish, employ the ladder stitch – it forms a hidden seam perfect for bindings, linings, and appliqué.
Proper tools such as needle sizes, thread types, thimbles, and preparation guarantee professional results.
When you desire an unnoticeable yet durable seam, the ladder stitch technique is your go-to.
Continue reading to unveil its full potential.
Table Of Contents
Key Takeaways
- The whip stitch is a versatile stitch used for hemming, seaming, and decoration, and is ideal for joining two fabrics together.
- The ladder stitch creates an invisible seam between folded edges or a folded edge and a flat edge, and is perfect for bindings, linings, pillows, and appliqué.
- Proper tools such as needle sizes, thread types, thimbles, and fabric preparation are essential for achieving professional results.
- The ladder stitch technique involves sliding the needle along the opposite fold before pushing it out again, creating a ladder effect with tiny stitches showing and larger stitches hidden inside the folds.
How to Close Sew?
To close seams invisibly, use the Ladder Stitch or Slip Stitch. These hand stitches create an invisible seam between two folded edges or a folded edge and a flat edge.
They’re ideal for bindings, closing linings, finishing st■ pillows, or applying appliqué invisibly. Collect your tools, including a needle, matching thread, needle threader, and possibly a thimble.
Iron the folds of your opening flat. Slip your threaded needle inside the fold to hide the knot. Bring the needle out through the folded edge, then push it into the opposite fold and slide along it.
Push the needle out again, then bring it straight up from where it came out and insert it into the opposite fold. Continue this back-and-forth pattern until you reach the end of your opening.
As you cross from folded edge to folded edge, you’re creating the look of the ladder that gives the stitch its name.
Hand Stitching Basics
Hand stitching is an essential skill for many sewing projects, and achieving an invisible finish is the ultimate goal. Common hand stitching choices include the Whip Stitch and Ladder Stitch, both of which are useful for different purposes.
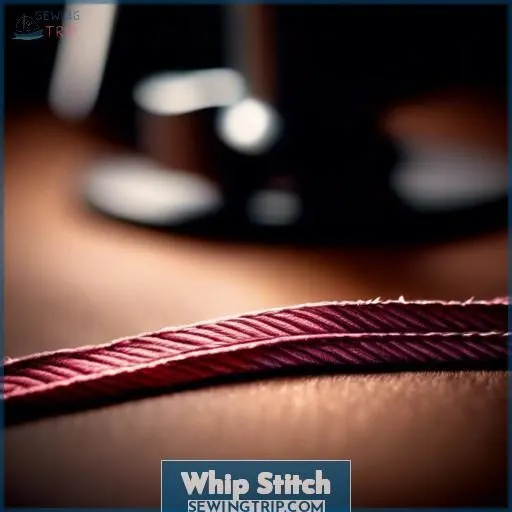
The Whip Stitch is a fast and secure stitch that wraps around folded edges and cinches them closed, creating a visible stitch with a slight pucker along the closure. It’s not ideal for seams on the exterior of the project.
The Ladder Stitch creates an invisible seam between folded edges or folded and flat edges. It can be used for bindings, linings, pillows, and appliqué. The tighter the stitches and the thread match, the more invisible the stitches will be. The needle is inserted inside the fold to hide the knot, and the stitching technique involves sliding the needle along the opposite fold before pushing it out again. This creates a ladder effect with tiny stitches showing and larger stitches hidden inside the folds.
Whip Stitch
The Whip Stitch is a versatile stitch used in various crafts, including sewing, knitting/crochet, and even leatherwork. It’s a quick and easy stitch that can be used for hemming, seaming, and decoration. The Whip Stitch is also commonly used to join two fabrics together, keeping the edges from fraying. It’s a popular choice for garment sewing, as well as for joining knitting and crocheting.
When using the Whip Stitch, it’s important to keep the thread tension even to prevent gathers or puckering. The stitch can be done in a diagonal or straight direction, and the length of the stitch can vary depending on the project. The Whip Stitch is known for its simplicity and ability to create a flat seam that prevents fabric from unraveling. However, it may not always be evenly spaced and straight, especially near the end of the work.
The Whip Stitch is often used in felt crafts, such as appliqué, due to its ability to create a durable bound seam without adding bulk. It’s popular in felt stuffies because it almost disappears when using matching thread. When using the Whip Stitch for appliqué, it’s essential to tie a knot at the end of the thread and bring the needle through between the applique and the background fabric, hiding the knot below the applique. Then, make the first stitch by going straight to the edge of the applique and taking the needle down to the underneath of the felt, and come up from underneath the felt through the applique and felt in at about 1/4 inch from where the first stitch was made. Repeat these steps until finished, and secure with a knot.
Ladder Stitch
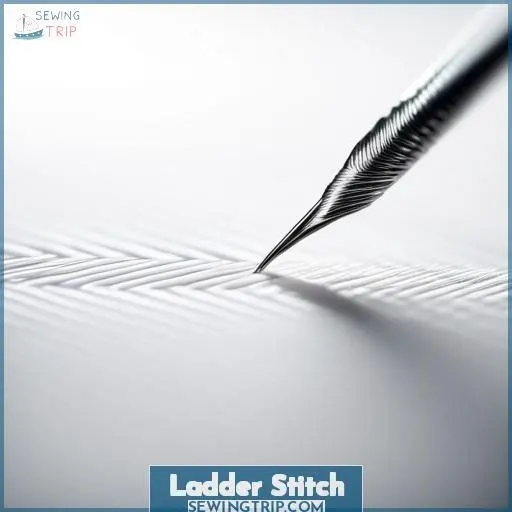
Now that you’ve mastered the Whip Stitch, it’s time to explore the Ladder Stitch, a concealed seam that produces an imperceptible stitch between folded borders or folded and flat borders. This stitch is ideal for bindings, linings, pillows, and appliqué. Here are three reasons why the Ladder Stitch is an essential stitch to learn:
- Unnoticeable Seam: The Ladder Stitch creates a seam that’s scarcely discernible, making it perfect for projects where you desire a clean, polished appearance.
- Sturdy Thread: By passing the thread through extant stitches, you guarantee a firm hold that won’t unravel.
- Concealed Knot: The needle is inserted within the fold, concealing the knot and providing a professional finish.
With these tips, you’ll be able to create a Ladder Stitch that’s both secure and unnoticeable. Next, we’ll examine the Ladder Stitch Technique for even more tips and tricks.
Ladder Stitch Technique
To create the ladder effect, slide the needle along the opposite fold before pushing it out again.
Bring the needle straight up from where it came out and insert it into the opposite fold.
Continue this back-and-forth-and-slide pattern until the end of the opening.
Cross from the folded edge to the folded edge.
This technique is perfect for creating an invisible seam between folded edges or folded and flat edges.
It can be used for bindings, linings, pillows, and appliqué.
Tight stitches and a thread match result in more hidden stitches.
Tools and Materials
To begin hand stitching, gather the necessary tools and materials:
Needle sizes appropriate for the fabric and thread
Thread types that match the fabric and stitching line
Thimble options to protect your fingers during long seams
Iron settings for the fabric type
Fabric preparation
Felt to protect the fabric from the needle
Seam
Stitching line
Fold/seam allowance
Iron the fabric to prepare it for stitching, ensuring the fold/seam allowance is pressed flat.
While stitching, a thimble can protect your fingers.
Once you’ve finished stitching, use a seam ripper or sharp scissors to remove any loose threads.
Frequently Asked Questions (FAQs)
What are the best closures for childrens clothing?
With kids’ ever-wriggling bodies, you’ll want closures that are snug as a bug yet easy-peasy. Elastic waistbands, snaps, and hook-and-loop fasteners let little tykes dress themselves hassle-free. For a pinch of panache, add some decorative buttons or bows that are sewn securely in place.
How do you sew a hidden zipper?
To sew a hidden zipper, first baste it in place, right sides together. Unzip halfway, then stitch close to the teeth on each side. Expertly ease the zipper tape into the seam allowance as you sew – it’ll be invisible from the right side.
What are the pros and cons of using buttons for garment closures?
Like a master craftsman, you must weigh buttons‘ pros and cons. Pro: timeless charm, easy on/off. Con: can gap, threaded holes stretch fabric over time.
How do you sew a decorative buttonhole?
To sew a decorative buttonhole, mark the placement, then use a specialized buttonhole foot to stitch dense zig-zag stitches. Carefully cut open the buttonhole, being precise yet not clipping the stitches. A fray-preventing stitch completes this eye-catching accent.
What are the best closures for a wrap skirt or dress?
Let’s say you’re crafting a chic wrap dress – the perfect closure could be fabric-covered buttons or loops. For a stylish wrap skirt, try adding snaps, hooks and eyes, or even a trendy D-ring belt to cinch the waist. Get creative with closures that flatter your style!
Conclusion
Just like a master painter adding the final brushstrokes, you’ll now put the finishing touches on your projects using the ladder stitch technique to close seams.
This invisible stitch neatly binds linings, appliqués, and hems, elevating your work with a polished, professional appearance.
With practice and the proper tools, you’ll seamlessly incorporate this invaluable skill into your repertoire, guaranteeing flawless finishes every time.

