This site is supported by our readers. We may earn a commission, at no cost to you, if you purchase through links.
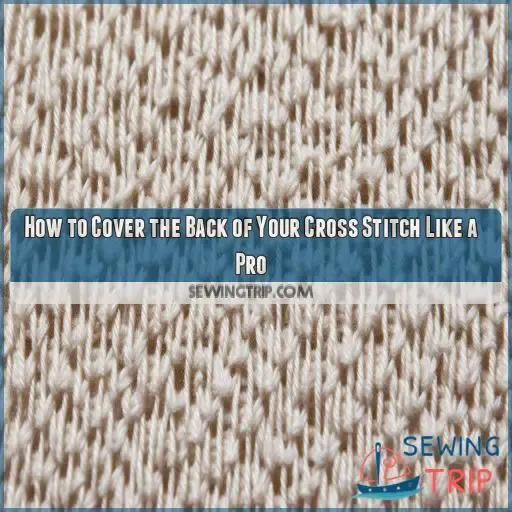
One way to cover the back is to use felt. First, finish your stitching, then remove the hoop’s fabric. Trace the hoop’s outer side to get the right size for your felt. Cut it out, place it at the back, and secure it with a thread. Easy, right?
But wait, there’s more. If you want to get extra crafty, you can also use chipboard, fabric, and double-sided tape to create a backing. Intrigued? Keep reading to uncover more tricks.
Table Of Contents
Key Takeaways
- There are several options to cover the back of your cross-stitch and hide those messy threads, including using felt, chipboard, fabric, or a combination of these materials.
- A neat back finish can be a source of pride and craftsmanship, showcasing your attention to detail and making your work stand out.
- Trailing threads can be minimized by keeping your fabric taut, snipping loose threads, and using a thread color that blends with your fabric.
- You can display your unframed cross-stitch using a hoop or by turning it into a banner, adding a unique and crafty touch to your décor.
Reasons to Consider the Back of Your Cross Stitch
So, should you even bother with the back of your cross stitch? Absolutely! While it’s true that a messy back won’t ruin your project, there are a few good reasons to think about tidying up those trailing threads.
First, those loose ends can sometimes show through thin fabric or in certain lighting. No one wants their hard work overshadowed by visible knots and tangles! Second, if you’re not framing your piece, the back will be on full display. Imagine your masterpiece sitting pretty on a shelf, only to have its impact lessened by a chaotic tangle of threads.
Visibility Through Thin Fabric
Even if you think no one will see the back of your cross stitch, those trailing threads can still show through thin fabric. This is especially noticeable in certain lighting conditions, where the shadows cast by loose threads can be visible. Here are three reasons why you should consider the back of your cross stitch:
- Visible Threads: Those loose threads can create unsightly shadows, ruining the clean look of your design.
- Light Issues: The way light passes through thin fabric can reveal the mess of threads on the back, detracting from your careful stitching on the front.
- Thread Control: Managing your threads is key to a neat back. By keeping the back tidy, you can avoid any unwanted visibility issues.
Unframed Piece Appearance
The back of your cross stitch can be visible, especially if you’re not planning on framing it. This is a key consideration for unframed projects like 3D objects or hanging decorations. A neat back can enhance the overall appearance of your project, ensuring it looks professional from all angles.
| Unframed Projects | Backside Visibility | Impact on Appearance |
|---|---|---|
| Lampshades | High | Visible Trails |
| Ornaments | Medium | Neat Finish Preferred |
| Bookmarks | Low | Less Critical |
Pride In Craftsmanship
There’s something special about taking pride in your work, and that includes the back of your cross stitch. It’s all about craftsmanship and attention to detail. Here are a few reasons to think about the back of your cross stitch:
- Craftsmanship: A neat back showcases your skill and attention to detail. It’s a sign of mastery and perfectionism.
- Aesthetic Appeal: A tidy back can enhance the overall appearance of your cross stitch, especially if it’s unframed or on display.
- Personal Satisfaction: Taking the time to perfect the back of your work can give you a sense of accomplishment and pride. It’s like having a secret that makes your project uniquely yours.
When Trailing Threads Are a Concern
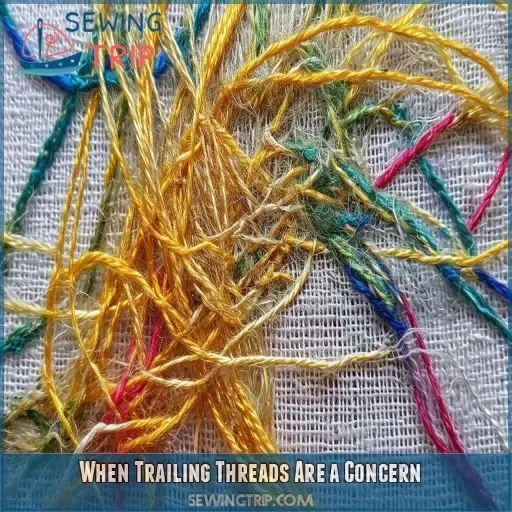
Trailing threads can be a nuisance and a bit of an eyesore, but don’t stress too much. They’re usually only noticeable if your fabric is thin or in certain lighting conditions. You might want to pay extra attention to them if you’re a self-proclaimed cross stitch perfectionist or if you’re creating a 3D project like a lampshade where the back might peek through.
To keep those pesky threads in check, consider the following:
- Fabric choice: Opt for a thicker fabric to conceal any trailing threads.
- Back tension: Keep your fabric nice and taut by using a hoop or frame. This will help reduce the appearance of loose threads.
- Stitch neatness: Take pride in your work and aim for neat, consistent stitches. The tidier your stitches, the less likely you’re to have stray threads.
- Thread color: Go for a thread color that blends in with your fabric. This way, any stray threads will be less noticeable.
When Not Framing Your Cross Stitch
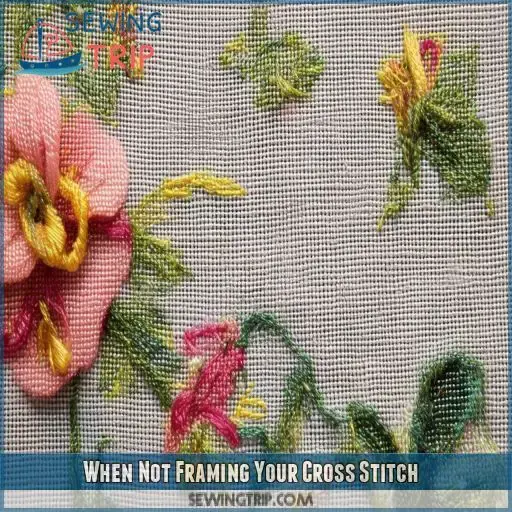
If you’re not planning on framing your cross stitch project, the back will be visible, so it’s worth taking a few extra steps to make sure it looks neat and presentable. You don’t want all that hard work to go unnoticed!
There are a few ways to display your unframed cross stitch and still keep it looking tidy. You could use an embroidery hoop, also known as a cross stitch hoop, to create a cute and crafty display. This is a simple way to show off your handiwork and gives your project a rustic, homely feel.
Another option is to turn your cross stitch into a banner. This is a fun way to showcase your piece and adds a playful touch to your decor. You can hang it on a wall, drape it over a shelf, or even use it as a unique table runner. Get creative with how you display your unframed cross stitch and make it a feature in your home!
Desire for a Neat Back Finish
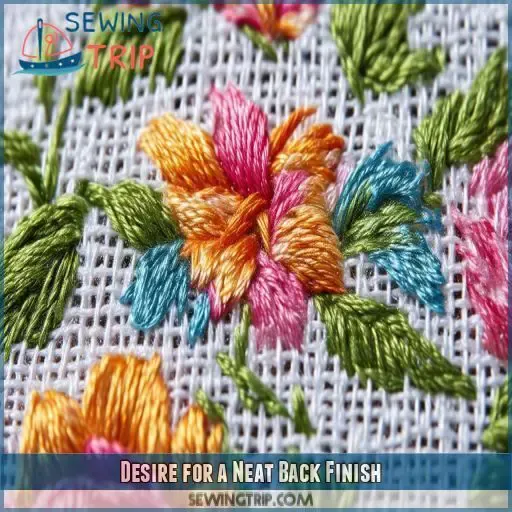
There’s no denying that a neat back finish on your cross stitch can be a source of pride and satisfaction. It’s like having a secret hidden beneath the surface, a little surprise that only you know about. But why do some cross stitchers aim for such perfection? Well, let’s take a look at a few reasons why a tidy back finish might be important to you:
- Pride in craftsmanship: There’s a sense of accomplishment that comes with creating something beautiful, and that feeling is amplified when your work is impeccable from start to finish. It’s like being a master chef who takes pride in a clean kitchen—a tidy back finish is a sign of your dedication to your craft.
- Attention to detail: A neat back finish shows your careful attention to detail. It shows that you care about the entire process, not just the final product. It’s like a builder taking the time to make sure the foundation of a house is just as strong and perfect as the walls and roof.
- Uniqueness: In a world where mass-produced items are commonplace, a neat back finish makes your work stand out. It adds a touch of individuality and makes your cross stitch truly one-of-a-kind. It’s like having a secret signature that only you know about, adding a layer of intrigue to your creations.
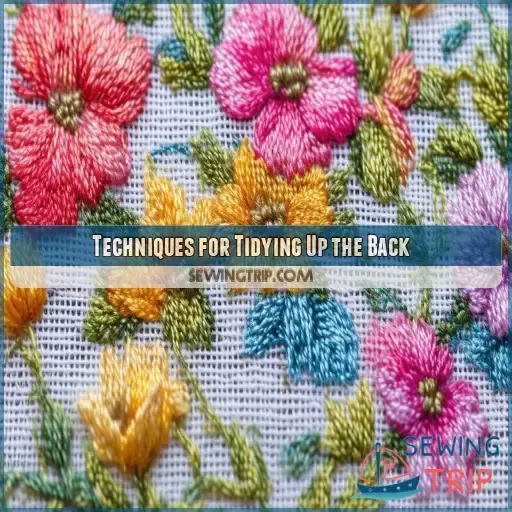
Techniques for Tidying Up the Back
If you want a neat back to your cross stitch, there are a few simple techniques to try. First, avoid trailing threads. Keep your fabric taut in a hoop or frame to help with this. Snip any loose threads close to the fabric and use a needle threader to avoid knots. Practice makes perfect, so the more you cross stitch, the neater your technique will become.
Here’s a handy table with some dos and don’ts for keeping your back stitches tidy:
| Do | Don’t |
|---|---|
| Use a hoop or frame | Leave fabric loose |
| Snip loose threads | Trail threads |
| Practice | Worry about knots |
Enhancing the Appearance of Your Cross Stitch
Now that you’ve tidied up the back of your cross-stitch, it’s time to focus on the front and give it that extra wow factor. Here are some tips to enhance the appearance of your cross-stitch:
- Play with fabric and thread colours: Experiment with different fabric and thread colours to create unique combinations. Try using a darker fabric with bright threads or vice versa to make your design pop.
- Add some bling: Incorporate beads, sequins, or metallic threads into your design to add a touch of sparkle and dimension.
- Try speciality stitches: Go beyond the basic cross stitch and explore speciality stitches like the French knot, backstitch, or lazy daisy to add texture and interest to your piece.
- Frame it: Choose a complementary frame that showcases your design. Play with different mat colours and styles to find the perfect pairing.
- Finish with care: Take your time with the finishing touches. Use sharp scissors to trim any loose threads and make sure your piece is clean and pressed before displaying it.
Frequently Asked Questions (FAQs)
How to cover up the back of a cross stitch?
Did you know that cross-stitching boosts mental wellbeing and reduces anxiety?
If you want to cover the back of your cross-stitch, you can use felt. Cut a circle of felt to fit inside your hoop, then gather the raw edge of your fabric. Place the felt over the gathered fabric and stitch it in place.
How to make the back of cross stitch look nice?
Keep the fabric taut with a hoop or frame, snip loose threads, and avoid knots with a needle threader. Embrace the uniqueness of a messy back—rules are meant to be broken, and there’s beauty in imperfection!
How do you close the back of a cross stitch?
Closing the back of your cross-stitch is simple. After adding your backing, just gather the raw edge with a basting stitch, then sew on a felt circle to cover the gathered fabric.
How to fix the back of a cross stitch?
If you’re stressing over the back of your cross-stitch, remember: it’s all good! That said, if you’re bothered by trailing threads, grab some sharp scissors and snip ’em close to the fabric.
Whats the best way to cut loose threads?
If you’ve got a knot, cut any threads involved, leaving as much "free" thread as possible. Then, stitch over the loose threads. To avoid loose ends, snip threads close to the fabric with embroidery scissors.
How do I keep my cross stitch frame-worthy?
It’s not worth the effort."
But what about the sense of pride in a job well done?
Keep the back neat: stitch it up tight, use acid-free board, and pull threads taut. You can also tape knots or use self-stick mounting board.
Can I hide the back of my cross stitch?
You can hide the back of your cross stitch with a felt backing. It’s a simple way to keep your work looking neat and tidy, and we’ll show you how.
Is it bad to have a messy back?
Don’t sweat it if your cross-stitch has a messy back. It’s like a secret code only you know – unique and full of character. The front’s what counts, and rules shouldn’t steal the fun.
Conclusion
Whether you’re dealing with a tangled mess or just want to add that extra touch of professionalism, covering the back of your cross-stitch project is a must.
From felt to fabric and even chipboard, you now have a bag of tricks to tidy up those trailing threads like a pro.
So, go ahead and give it a try!
Your cross-stitch masterpiece deserves a finish that’s just as stunning on the back as it’s on the front.

