This site is supported by our readers. We may earn a commission, at no cost to you, if you purchase through links.

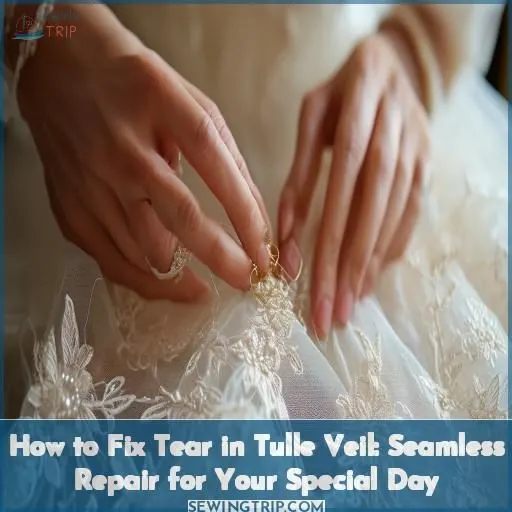
First, secure the veil flat with pins and identify the tear’s location.
Next, thread a needle with matching color thread and stitch the tear closed using an invisible stitch. Keep stitches small and tight, and consider French knots at the ends for extra security.
Trim excess thread, press the veil, and voila! Your repaired veil will look pristine.
With proper storage and gentle handling, you can keep your veil tear-free for your special day.
Want to guarantee a flawless repair? Follow along for more expert tips.
Table Of Contents
Key Takeaways
- A torn tulle veil is like a delicate fabric unraveling, but with patience and care, you can mend it back to pristine condition, just like preserving a cherished memory. The key is to have a gentle touch and use the right tools – a sharp needle, matching thread, and a steady hand.
- Stitch the tear with tiny, invisible stitches, and consider adding French knots at the ends for extra reinforcement. It’s like weaving a delicate tapestry, each stitch a thread in the intricate pattern that holds the beauty together.
- Press the repaired area gently, as if smoothing out the wrinkles of time, and your veil will regain its ethereal elegance, ready to grace your special day with its timeless charm.
- Store your mended veil with care, like a precious heirloom, away from harsh elements that could unravel your meticulous work. Handle it gently, and it will remain a pristine treasure for years to come, a testament to the enduring beauty of love and diligence.
How to Fix Tear in Tulle Veil?
To fix a tear in a tulle veil, carefully thread a needle and stitch the torn edges together using small, neat stitches. Once the tear is mended, trim any excess thread and gently press the area to blend the repair seamlessly.
Gather Supplies
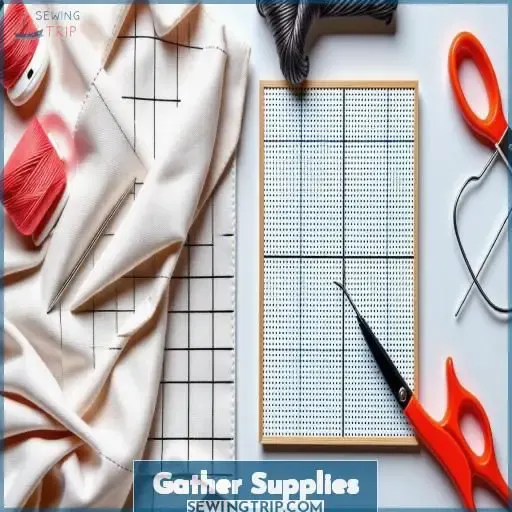
Before fixing your tulle veil, gather the right supplies.
You’ll need a needle suited for delicate fabric—aim for a size 10 or 11 sharps needle. Match the thread color to your veil for a seamless repair.
Good lighting and magnification, like an embroidery hoop or magnifying glass, make stitching easier on your eyes. Have small, sharp scissors handy to trim excess thread when finished.
With the right tools in hand, you’re ready to lovingly restore your special-day accessory to perfection.
Prepare the Veil
Start by closely examining the veil to identify the exact location and extent of the tear. Once located, gently secure the affected area by pinning or taping the surrounding tulle fabric to prevent the tear from spreading further.
Identify the Tear
With the veil laid flat, carefully inspect it to identify the tear’s location, size, shape, and visibility. Prioritize repairing tears near the face or along trim lines for maximum impact. If the tear is large or in a prominent area, address it immediately before the wedding day to avoid unsightly distractions.
Secure the Veil
After identifying the tear, carefully spread out the veil on a flat surface. Use straight pins to secure the veil in place, guaranteeing it’s taut but not overstretched. Position the tear front and center, and pin around the edges for stability during the repair process. Proper veil placement and pinning strategies guarantee ideal positioning and prevent further damage.
Repair Technique
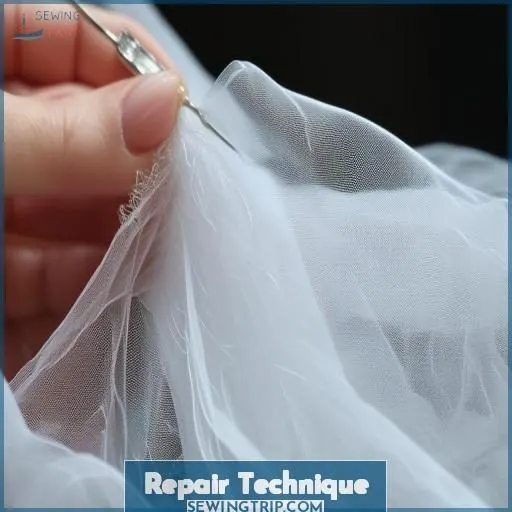
You’ll need to thread your needle with a fine thread that matches the color of your tulle veil. Then, carefully stitch the tear closed, keeping your stitches small and close together for an invisible repair.
Threading the Needle
With the veil properly secured, thread a sharp needle with a fine silk or polyester thread. Confirm the thread matches the veil’s color, and adjust the tension for smooth stitching. Tie a secure knot at the end, leaving a short tail. Practice on scrap fabric until you feel confident to tackle the tear itself.
Stitching the Tear
With the needle threaded, carefully stitch the tear using an invisible stitch:
- Use short stitch lengths for a seamless repair.
- Match the thread color closely to the veil’s hue.
- Consider a French knot at both tear ends for extra security.
- Keep stitches tight but not overly taut to avoid further damage.
Take your time; this delicate step makes certain a flawless finish for your special day.
Finishing Touches
Once the tear is repaired, carefully trim any excess thread ends to guarantee a neat finish. Then gently press or steam the veil to smooth out any puckering or wrinkles created during the repair process.
Trimming Excess Thread
With the tear neatly stitched, carefully snip away any excess thread using sharp embroidery scissors. Small, precise cuts will conceal the repair and create a seamless appearance. Confirm the absence of loose threads by gently tugging at the knots. Different needle types and thread colors can make stitches less visible on tulle veils.
Pressing the Veil
Once trimmed, gently press the repaired area with a warm iron, using the appropriate heat setting for tulle. Place a protective cloth over the veil to avoid damaging the delicate fabric. Lightly spritz with water if needed—moisture helps set the stitches while pressing. Take care on the pressing surface to maintain your veil’s pristine look.
Preventive Measures
To prevent future tears in your tulle veil, proper storage is essential; keep it in a breathable garment bag or box, away from direct sunlight and moisture. Handling the delicate fabric with care, avoiding harsh tugging or rough treatment, will also help maintain its pristine condition for your special day.
Proper Storage
After repairing the veil, proper storage is essential to prevent future damage. Store it in an airtight container or acid-free storage bag with moisture-absorbing silica gel packs. Keep humidity levels low, as moisture can lead to mildew. Gently wrap the veil in acid-free tissue paper to avoid creasing or crushing.
Handling With Care
When handling your tulle veil, treat it like the delicate treasure it is. Avoid compressing, crushing, or folding it tightly, as this can weaken the fibers. Transport it gently, smoothing any wrinkles. For cleaning, handwash gently with mild soap—never machine wash. With proper care, your veil’s beauty will endure for years.
Frequently Asked Questions (FAQs)
How do you prevent further tearing?
Like mending a torn sail on stormy seas, you must carefully reinforce the veil’s delicate fabric. With steady hands and patience, gently stitch the ripped edges together using a fine needle and matching thread, securing the waves of tulle to prevent further unraveling on your voyage.
Can tulle veils be dry cleaned?
Yes, tulle veils can typically be dry cleaned. However, it’s best to check the care label and consult a professional cleaner. Dry cleaning gently removes soils while minimizing further damage to delicate fabrics like tulle.
What kind of needle works best?
The delicate yet resilient nature of tulle demands a sharp needle. A thin, sharp embroidery needle will glide effortlessly through tulle’s intricate weave, mending tears with grace.
Is there a way to reinforce it?
Yes, you can reinforce the tear by carefully hand-stitching a thin tulle overlay over the damaged area. This effectively patches and strengthens the veil without being too noticeable.
How long does the repair last?
With proper technique, a tulle veil repair lasts indefinitely. Carefully reinforce the tear using fabric-friendly glue or sewing small stitches. Proper tension and minimal manipulation guarantee the delicate fabric remains pristine.
Conclusion
Fixing a tear in your tulle veil is like mending a delicate memory—handle it with care. With the right tools and techniques, you can seamlessly restore its pristine beauty, just like preserving cherished moments for eternity. Follow our expert guidance, and your repaired veil will be a flawless companion on your special day, reflecting the timeless elegance you deserve.


