This site is supported by our readers. We may earn a commission, at no cost to you, if you purchase through links.
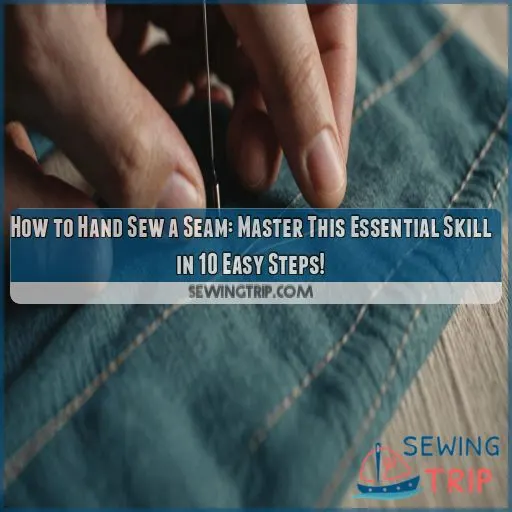
First, grab your supplies: needle, thread, scissors, pins, and fabric.
Prepare your fabric by ironing and pinning the edges.
Choose your stitch: a running stitch is quick, while a backstitch is stronger.
Start from the back of the fabric to hide the knot, then stitch along the seam, looping around the edge.
Finish with a knot or backstitches, trim the excess thread, and you’re golden.
Stay tuned for more hand-sewing tips and tricks!
Table Of Contents
- Key Takeaways
- Essential Tools for Hand Sewing Seams
- Preparing Your Fabric for Hand Sewing
- Threading the Needle and Tying Knots
- Basic Hand Sewing Stitches for Seams
- Step-by-Step Guide to Hand Sewing Seams
- Types of Hand-Sewn Seams and Applications
- Troubleshooting Common Hand Sewing Seam Issues
- Finishing Techniques for Hand-Sewn Seams
- Advanced Hand Sewing Seam Techniques
- Tips for Improving Hand Sewing Seam Skills
- Frequently Asked Questions (FAQs)
- Conclusion
Key Takeaways
- Mastering the humble running stitch and the rock-solid backstitch will make you a hand-sewing ninja – able to tackle any seam that comes your way with confidence and finesse.
- Thimbles and needle threaders are your new BFFs – protecting your fingers from those pesky needle pricks and making threading a breeze, so you can stitch up a storm in no time.
- Puckered seams, uneven stitches, and thread tangles are the ultimate party crashers – but with a few simple tweaks to your technique, you can banish them for good and ensure your hand-sewn seams are the life of the party.
- Don’t be afraid to get creative with decorative edges and invisible seams – combining stitches and techniques will take your hand-sewing skills from basic to brilliant, and make your projects truly one-of-a-kind.
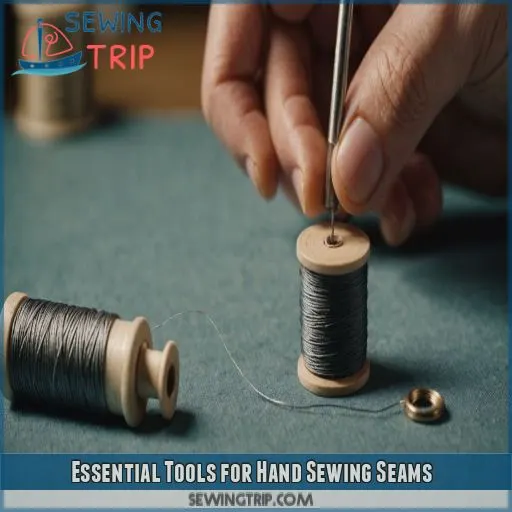
Essential Tools for Hand Sewing Seams
You’ll need the right tools to make hand sewing a seam a breeze. Let’s explore the essential items that’ll set you up for success, from choosing the perfect needle and thread to equipping yourself with handy fabric markers and a trusty seam ripper.
Needles and Thread Selection
Choosing the right needle and thread is like finding the perfect dance partners for your fabric.
For delicate silks, grab a fine needle and lightweight thread.
Heavier fabrics? Go for a sturdy needle and stronger thread.
Match your thread color to your fabric or go bold with a contrast.
Fabric Marking Tools
For sewing seams by hand, fabric marking tools are your secret weapons. They’re like GPS for your needle, guiding you to stitch perfection. You’ll want to stock up on:
- Tailor’s chalk for temporary, easy-to-remove marks
- Fabric pens that disappear with water or heat
- Tracing paper and a marking wheel for transferring patterns
Scissors and Seam Rippers
You’ll need two trusty sidekicks for your sewing adventures: sharp scissors and a seam ripper.
Think of scissors as your fabric’s best friend, slicing through it like butter.
Meanwhile, the seam ripper is your "oops" eraser, ready to undo any stitchy mistakes.
Keep these tools sharp and stored safely – you don’t want to accidentally snip your favorite shirt while reaching for them!
Thimbles and Needle Threaders
You’ll be threading needles like a pro and protecting your fingers in no time with these handy tools! Let’s explore thimbles and needle threaders:
- Thimble types: Metal, silicone, or leather
- Needle threader types: Wire loop or automatic
- Thimble sizing: Snug fit is key
- Threading tricks: Moisten thread end or use beeswax
Don’t let pricked fingers or squinty eyes slow you down. These little helpers will have you stitching up a storm faster than you can say "hand-sewn masterpiece"!
Preparing Your Fabric for Hand Sewing
Before you start hand-sewing, let’s get your fabric ready!
First things first, choose your fabric wisely – it’s like picking the perfect dance partner.
For beginners, cotton’s your best bet – it’s forgiving and won’t slip away like a greased pig.
Now, don’t skimp on pre-washing; nobody wants a shrunken masterpiece!
Once it’s dry, iron out those wrinkles like you’re smoothing ruffled feathers.
Time to mark your territory (on the fabric, that is) using tailor’s chalk or a fabric pen.
These marks are your roadmap, so make ’em count!
Finally, channel your inner Edward Scissorhands and cut along those lines with precision.
You’re now primed for stitching success!
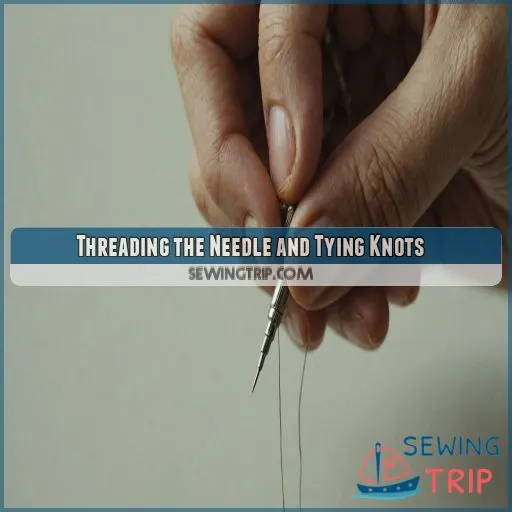
Threading the Needle and Tying Knots
You’re about to tackle one of the most important steps in hand sewing: threading your needle and tying knots. Don’t worry if you’ve struggled with this before – we’ll break it down into simple, foolproof techniques that’ll have you stitching like a pro in no time.
Choosing the Right Thread Length
Now that your fabric’s prepped, let’s tackle thread length. It’s like Goldilocks – not too long, not too short, but just right. The perfect length depends on a few factors:
- Fabric weight: Heavier fabrics need shorter threads
- Project size: Longer threads for bigger projects
- Stitch type: Backstitch? Go shorter. Running stitch? Longer’s okay
Using a Needle Threader
Now that you’ve got your thread cut to size, it’s time to tackle the dreaded needle threading. Don’t worry, we’ve all been there – squinting at that tiny eye, tongue sticking out in concentration. But here’s a game-changer: the needle threader. This nifty little tool is a lifesaver for those of us who struggle with fine motor skills or less-than-perfect eyesight.
| Threader Type | Best For | Ease of Use |
|---|---|---|
| Wire Loop | Fine needles | Easy |
| Automatic | Multiple threads | Very Easy |
| Dental Floss | Thick threads | Moderate |
| Magnifying | Poor eyesight | Easy |
| LED Light | Low light sewing | Very Easy |
Single Vs. Double Thread Techniques
If you’re about to thread your needle, you’ve got two choices: single or double thread. Your pick can make or break your seam, so let’s break it down:
- Single thread: Perfect for lightweight fabrics and delicate work.
- Double thread: Ideal for heavy-duty seams and thicker materials.
- Project matters: A summer dress? Go single. Repairing jeans? Double up!
Secure Knot-Tying Methods
Ready to tie the knot? Not that kind, silly! We’re talking thread knots here.
To secure your stitches, master the art of knot-tying.
Start with a simple loop, then wrap the thread around twice. Pull it tight, and voila! You’ve got a sturdy knot that won’t slip.
For extra security, try a figure-eight knot. It’s like giving your thread a tiny hug – snug and slip-free.
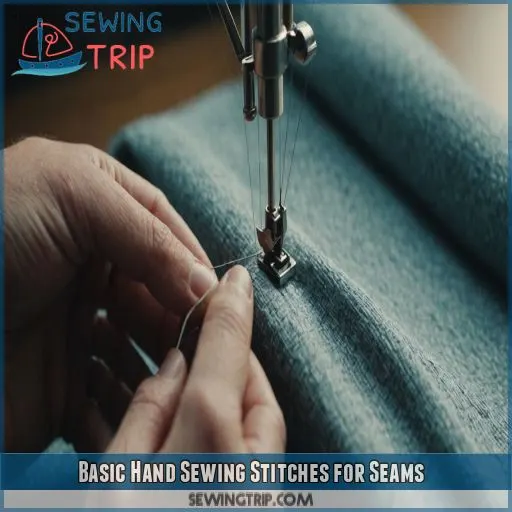
Basic Hand Sewing Stitches for Seams
You’re about to discover the essential stitches that’ll turn you into a hand-sewing pro. Whether you’re mending a torn seam or creating a new garment from scratch, mastering these basic stitches will give you the skills to tackle any sewing project with confidence.
Running Stitch Technique
The running stitch is your go-to for quick seams. It’s like taking your needle for a jog through the fabric! You’ll create a dotted line of stitches by moving the needle in and out of the fabric at regular intervals. Here’s why it’s a game-changer:
- Perfect for basting or temporary seams
- Ideal for lightweight fabrics
- Lets you adjust stitch length easily
Backstitch for Stronger Seams
Ready to beef up your seams? Let’s talk backstitch!
This powerhouse stitch is your secret weapon for rock-solid seams that’ll stand the test of time.
Think of it as the superhero of hand sewing – it’s got your back when you need extra strength.
Perfect for high-stress areas or repairs, the backstitch is like giving your fabric a mini suit of armor.
Let’s learn how to wield this mighty stitch!
Combination Stitch Benefits
You’ve mastered running and backstitches, but why stop there? The combination stitch is your secret weapon for seams that pack a punch. It’s like having your cake and eating it too – you’ll get the speed of running stitches with the strength of backstitches. Here’s why you’ll love this versatile technique:
- It’s a game-changer for those tricky seams that need extra oomph
- You’ll feel like a sewing superhero, conquering both efficiency and durability
- Your projects will have that professional touch, making you beam with pride
Step-by-Step Guide to Hand Sewing Seams
Ready to tackle hand sewing like a pro? You’re in luck because we’re about to break down the process of hand sewing a seam into 10 easy-to-follow steps that’ll have you stitching with confidence in no time.
Marking and Pinning Fabric Edges
Ready to mark and pin like a pro? Grab your favorite fabric marking tool and let’s get cracking! First, lay your fabric pieces right sides together. Now, channel your inner artist and draw your seam line. Don’t skimp on precision – it’s the secret sauce for stellar seams! Next, pin perpendicular to the edge, about every 2-3 inches. You’ve got this!
Starting the Seam Correctly
Ready to kick off your seam? Here’s the secret sauce: Start with your fabric’s wrong side facing up. Align those edges like you’re lining up dominos. Now, thread your needle and tie a knot that’s tighter than your grandma’s purse strings. Poke that needle through from the back, about 1/4 inch from the edge. You’re off to the races!
Maintaining Even Stitch Length
Now that you’ve started your seam, let’s keep those stitches in line!
Think of your needle as a tiny soldier marching across the fabric – you want those steps to be nice and even.
Use your thimble to push the needle through with consistent pressure.
As you go, keep an eye on your thread tension and adjust as needed.
Before you know it, you’ll be stitching like a pro!
Ending and Securing the Seam
You’re on the home stretch! To end your seam like a pro, take a few backstitches to reinforce it.
Then, flip your fabric over and weave the needle through your last few stitches.
Pull the thread tight, creating a small loop, and pass the needle through it twice.
Snip the excess thread, and voila! You’ve just sealed the deal on a secure seam.
Types of Hand-Sewn Seams and Applications
You’ll be amazed at how versatile hand-sewn seams can be once you master a few key techniques. Let’s explore four essential seam types that’ll have you sewing like a pro in no time, whether you’re working with delicate silks or tough denim.
Plain Seam Construction
Now that you’ve got the basics down, let’s tackle the humble plain seam.
It’s the bread and butter of hand sewing, perfect for joining two fabric pieces.
Start by aligning your fabric edges, right sides together.
Pin if needed, then use your chosen stitch (running or backstitch) to sew along the seam allowance.
Don’t sweat it if your first attempts look a bit wonky.
French Seam for Delicate Fabrics
Ready to tackle delicate fabrics like a pro? French seams are your secret weapon! They’re perfect for:
- Sheer fabrics that love to fray
- Visible seams you want to look polished
- Heirloom projects deserving extra TLC
- Garments where comfort is key (no scratchy edges!)
This technique might seem fancy, but it’s just two simple seams in disguise. You’ll feel like a fabric ninja, hiding those raw edges and creating a clean finish. Let’s get started!
Flat Felled Seam for Durability
Now, let’s tackle the flat felled seam – the heavyweight champion of durability!
You’ve seen this tough guy on your favorite pair of jeans.
It’s the secret behind their long-lasting strength.
While it might seem a little tricky at first, hand sewing a Flat felled seam is totally doable.
You’ll feel like a garment construction wizard, creating seams that can withstand anything life throws at them.
Ready to level up your sewing game?
Lapped Seam for Non-Fraying Materials
Now that you’ve mastered the flat felled seam, let’s tackle the lapped seam – perfect for those non-fraying materials like leather or fleece.
Imagine you’re crafting a cozy fleece scarf or a stylish leather bag.
The lapped seam is your go-to technique!
It’s like giving your fabric a warm hug, with one edge overlapping the other.
Ready to give it a whirl?
Troubleshooting Common Hand Sewing Seam Issues
Even the most experienced hand sewers encounter hiccups along the way, but don’t let that discourage you! In this section, we’ll tackle common issues like puckered seams and uneven stitches, giving you the know-how to troubleshoot like a pro and keep your sewing projects on track.
Dealing With Puckered Seams
Now, let’s tackle those pesky puckered seams. They’re like wrinkles in your masterpiece!
To smooth things out, check your fabric tension. Are you pulling too tight? Ease up, buttercup!
Your needle size and stitch length matter too. If you’re using a heavyweight needle on delicate silk, you’re asking for trouble.
Keep that seam allowance consistent, and you’ll be golden!
Fixing Uneven Stitches
- Practice makes perfect: Set aside time for stitch drills
- Mind your tension: Keep it consistent, like a well-tuned guitar string
- Choose wisely: Match your needle to your fabric type
- Get a grip: Adjust your hand position for better control
Preventing Thread Tangles
Tired of wrestling with tangled threads? You’re not alone!
To keep your hand sewing smooth, start by using the right thread tension and needle size for your fabric type.
Quality thread is your best friend here.
When you’re done, store your thread properly – no more bird’s nests!
Addressing Fabric Fraying
Now that you’ve tackled those pesky tangles, let’s address another common nemesis: fraying fabric. It’s like your seam’s kryptonite! But don’t worry, we’ve got your back. For woven fabrics, try a zigzag stitch along the raw edge or use pinking shears. With delicate fabrics, a French seam is your best friend. Remember
Finishing Techniques for Hand-Sewn Seams
You’ve sewn your seam, but the job’s not done yet! Let’s explore some finishing techniques that’ll give your hand-sewn seams a professional look and make sure they last.
Trimming and Grading Seam Allowances
After hand-sewing your seam, it’s time to trim and grade those seam allowances. This step’s really important for a polished finish, folks! Grab your sharp scissors and let’s get to work. Here’s why you’ll love this process:
- It’s like giving your seam a stylish haircut
- You’ll feel like a pro tailor in no time
- Your garment will thank you with a sleek silhouette
Pressing Seams Open or to One Side
Once you’ve sewn your seam, it’s time to give it a professional finish.
Grab your iron and press those seams like a pro!
For most fabrics, press seams open to reduce bulk.
But for some, like denim, pressing to one side works better.
Use a pressing cloth to protect delicate fabrics, and don’t forget to adjust your iron’s heat setting.
Your seams will thank you!
Overcasting Raw Edges by Hand
Now that you’ve pressed your seams, it’s time to tame those unruly raw edges.
Overcasting by hand is like giving your seam a neat haircut.
Grab your needle and thread, and let’s get those edges looking sharp!
There are a few overcast stitch variations to choose from, depending on your fabric type.
Applying Seam Sealants
You’re almost done! Now, let’s seal the deal with a seam sealant. Choose from various types like fabric finishers, seam tapes, or wax-based sealants. Apply a small amount to the seam allowance, following the product’s instructions. This step prevents fraying, adds durability, and gives your hand-sewn seam a professional finish. Easy peasy, right?
Advanced Hand Sewing Seam Techniques
Now that you’ve mastered the basics of hand sewing seams, it’s time to level up. In this section, we’ll explore advanced techniques that will elevate your sewing skills and open up a world of creative possibilities.
Curved Seam Sewing Methods
Curved seams can be a challenge, but with practice and the right techniques, you’ll master them.
It’s all about fabric manipulation and stitch placement.
Ease the fabric as you sew, gently stretching and coaxing it into place.
This makes sure your stitches are evenly spaced and smooth.
Control is key, so take your time and focus on guiding the needle with precision.
It’s like drawing a curve with stitches—slow and steady wins the race!
Reinforcing Stress Points in Seams
Reinforcing stress points in seams is a must for durable handiwork.
These are areas that bear the brunt of movement and tension, like the knees of pants or elbows of sleeves.
Use a combination of stitches to beef up these spots.
Try a few backstitches, then running stitches, and finish with more backstitches.
This trio of stitches creates a super-strong seam that’ll keep your creations intact.
It’s like a secret weapon for your sewing arsenal!
Decorative Hand-Sewn Seam Finishes
Now it’s time to add some flair to your hand-sewn seams! Experiment with embroidery stitches to create beautiful decorative edges that elevate your projects. Try combining stitches for unique hand-sewn embellishments that add a touch of vintage charm. Don’t be afraid to mix and match techniques to develop your own signature style and make your creations truly special.
Invisible Seam Techniques
Invisible seams are like magic tricks in sewing. They’re perfect for hems and joining delicate fabrics seamlessly. Here’s how to master them:
- Slip Stitch: This is your go-to for invisible hems. Hide the stitches between the fabric layers, catching just a few threads from the main fabric.
- Blind Stitch: Similar to the slip stitch, but ideal for joining two folded edges. It’s often used for hemming curtains or skirts.
- Ladder Stitch: Use this to close openings in stuffed projects, like cushions or toys. It’s nearly invisible, hence the name, as it looks like the rungs of a ladder.
Tips for Improving Hand Sewing Seam Skills
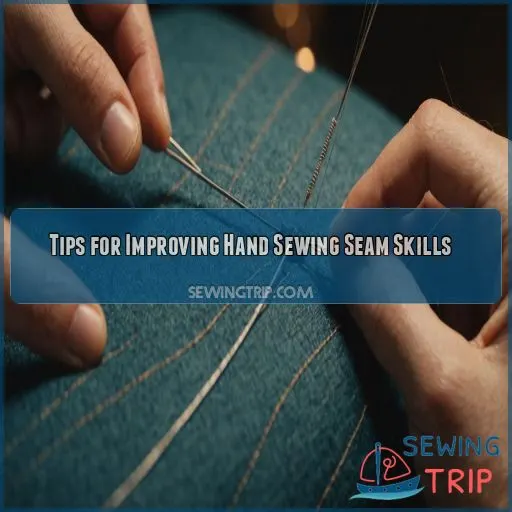
Mastering the art of hand sewing seams takes practice, but with the right techniques and tools, you’ll be a pro in no time. These tips will help you improve your hand sewing skills, from proper posture and lighting to choosing the right projects to build your skills and confidence.
Proper Posture and Lighting
When hand sewing, your posture matters.
Set up your workspace with an ergonomic setup to avoid back pain and eye strain.
Good lighting is key, so opt for natural light or a well-lit room with a task lamp.
Avoid hunching over your work and take breaks to stretch.
It’s all about comfort and avoiding aches and pains.
A comfy sewist is a happy sewist!
Now, let’s get you set up for success.
Practice Exercises for Even Stitches
Practice makes perfect, and it’s the same with hand sewing. To get a feel for stitch length and fabric tension, try these exercises:
- Set up a "sewing sampler." Practice different stitches on scrap fabric, focusing on keeping stitches even.
- Use seam guides. Draw lines on fabric with tailor’s chalk to follow, ensuring straight, evenly spaced stitches.
- Focus on hand positioning. Try sewing with your dominant hand and then switch. It’s a fun challenge that improves control.
Choosing Projects to Build Skills
Now that you’ve honed your hand sewing skills, it’s time to level up with projects. Start with:
- Simple garments like scarves or skirts.
- Mending tears and holes in your clothes.
- Using fabric scraps to make small accessories like pincushions or eyeglass cases.
- Crafting toys and stuffed animals.
These projects will boost your confidence and prepare you for more complex creations.
Maintaining Hand Sewing Tools
Taking care of your hand sewing tools is essential for seamless stitching.
Keep your needles sharp—they’re like your trusty sidekicks.
Store them in a pincushion or a magnetic case to avoid misplacing them.
Also, remember to replace your needles when they get dull—you don’t want to sew with a blunt needle!
Clean your scissors and other tools regularly to prevent rust.
Invest in a good pair of scissors, and they’ll last a lifetime.
Frequently Asked Questions (FAQs)
How to hand sew a seam?
You want your seams to hold like a sturdy handshake, so hand sewing them is a must-have skill. Thread your needle, knot the end, and choose a stitch. Running and backstitches are common. Finish with a knot.
What is the easiest way to hand stitch a seam?
You can easily hand stitch a seam with a running stitch. It’s a fast, simple stitch, ideal for seams under minimal stress. Start on the wrong side, hiding the knot, then sew with even stitches.
Is sewing a seam easy?
96% of people think sewing’s a breeze once they master the basics. Sewing seams is a cinch when you know the tricks. Practice makes perfect, so grab your needle and give it a whirl!
How do you make a strong seam on a sewing machine?
For a strong machine-sewn seam, backstitch. It’s like tying a knot when hand sewing. Start and end with backstitching to lock stitches. Point pins toward you to avoid stabs.
What is the best stitch for hand sewing a seam?
The best stitch for hand sewing a seam? It’s the backstitch. It’s stronger than the running stitch and ideal for repairs and small projects. It’s a simple but sturdy option.
How to sew a straight seam by hand?
Ah, the tricky task of sewing a straight seam by hand! Don’t worry, friend, it’s not as tough as it sounds. Simply thread your needle, knot the end, and sew small, even stitches along your marked line.
How to hand sew a plain seam?
You’re about to master the plain seam! Thread your needle, tie a knot, and sew straight up the edge of your fabric with a simple running stitch. Keep your stitches even and not too tight – easy peasy!
How to hand sew a seam without it showing?
Your secret’s safe! To hand sew a seam without it showing, use a blind hem stitch or a slip stitch with a matching thread color. These stitches are like ninjas – they get the job done without being seen.
Is hand sewing a seam suitable for all fabric types?
Sorry to say, but hand sewing a seam isn’t suitable for all fabric types. Thicker fabrics like leather or vinyl can be tricky, while delicate fabrics like silk or chiffon require extra care and finesse.
Can hand-sewn seams be as strong as machine-sewn seams?
Your hand-sewn seams can be just as strong as machine-sewn ones – it’s all about the stitch you choose and how you sew it. With a little practice, your hand-sewn seams will be virtually unbreakable (Source).
How long does it take to master hand sewing seams?
Don’t worry, mastering hand sewing seams won’t take forever! With consistent practice, you’ll get the hang of it in a few weeks to a few months, depending on how often you sew and how complex your projects are.
Can I use different colored threads for hand-sewn seams?
You can use different colored threads for hand-sewn seams, but it’s best to match the thread color to your fabric for a seamless (literally!) look. However, contrasting thread can be a stylish choice for decorative stitches or visible seams.
Are hand-sewn seams prone to fraying or unraveling easily?
Picture a beautifully hand-sewn seam, impeccable and secure. As you sew, you’re probably wondering, are hand-sewn seams prone to fraying or unraveling easily? Generally, no, if you use the right thread and sew even, tight stitches.
Conclusion
Mastering the art of hand sewing a seam is as easy as breathing – once you’ve got the rhythm, that is!
It’s all about balance: the right tools, the perfect stitch, and a dash of practice.
Now, with these 10 easy steps under your belt, you’re ready to tackle any seam that comes your way.

