This site is supported by our readers. We may earn a commission, at no cost to you, if you purchase through links.
 Did you know mastering a few basic hand-sewing skills can save you hundreds of dollars on clothing repairs annually?
Whether you are a novice or looking to refine your skills, our guide on basic hand-sewing tips covers the essential tools, stitches, and techniques to get you started.
Learn how to select the right thread, choose the proper needles, and create secure stitches for any project.
Let’s embark on the realm of hand sewing!
Table Of Contents
Key Takeaways
- Arm yourself with the right tools! A sharp needle, a trusty thimble, and quality thread are your sewing squad.
- Master the basics! The running stitch, overstitch, and backstitch are your sewing superheroes.
- Practice makes perfect! Don’t be afraid to stitch away and embrace the process. The more you sew, the smoother your skills will become.
- Patience is indeed a virtue. Enjoy the journey of hand sewing, and remember that it’s not a race.
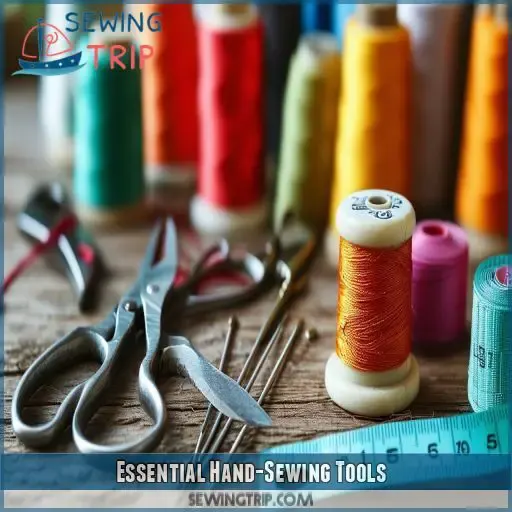
Essential Hand-Sewing Tools
To master hand sewing, you need to select the right tools. Let’s explore the essential tools for hand sewing.
First up, choosing the right needle is important. Select fine hand-sewing needles, and remember to store them safely when not in use. You can use a needle book, magnetic needle case, or even an old-fashioned tomato pincushion to keep your needles organized and protected.
Now, let’s talk about finger protection. Using a thimble is a great way to safeguard your fingers and push the needle through thick fabric. It might take some time to get used to, but it’s a helpful tool to have. If you’re not a fan of thimbles, there are alternatives like leather finger guards or even a simple band-aid to prevent painful pricks.
Threading a needle can be tricky, but with practice, you’ll get the hang of it. Remember to cut your thread at an angle to make it easier to insert into the needle’s eye. If you’re having trouble, there are needle threaders available, which are thin wires that guide the thread through the eye.
Lastly, waxing your thread is an optional step, but it can help eliminate tangles and create smoother stitches. You can use beeswax, which comes in disks or blocks, and simply pull your thread through it. Then, press the waxed thread with a warm iron to set it.
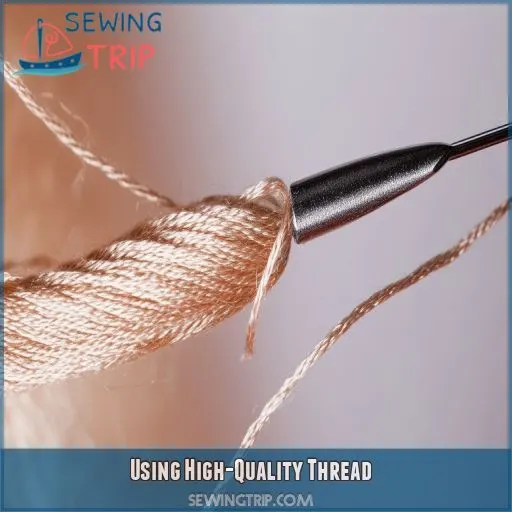
Using High-Quality Thread
When it concerns hand sewing, using high-quality thread is essential. Here’s why:
- Strength and Durability: High-quality thread is stronger and more durable, reducing the risk of your stitches breaking or coming undone over time.
- Smoothness and Consistency: Threads of higher quality are smoother, reducing friction and making it easier to sew by hand. They’re also more consistent in thickness, preventing tangles and uneven stitches.
- Color Fastness: Quality threads are less likely to bleed or fade, ensuring your project maintains its intended colors.
- Variety of Colors and Types: Opting for well-known thread brands offers a wider range of colors and types (e.g., cotton, polyester, silk, or linen), allowing you to choose the perfect match for your project.
Using the right thread for your project is key to achieving professional-looking results and ensuring your handiwork stands the test of time.
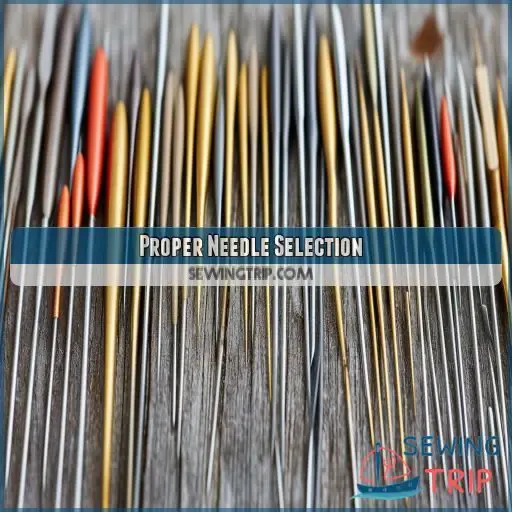
Proper Needle Selection
Selecting the appropriate needle is essential for successful hand-sewing, as it directly impacts the ease and quality of your work. You should consider factors such as the needle’s size, type, and purpose to match your fabric and thread for optimum results.
Knot Tying Techniques
Regarding knot-tying techniques, several factors merit attention: knot placement, loop thickness, and knot security. Appropriate knot placement guarantees the safety of your stitches and prevents thread unraveling. Loop thickness influences knot security and finger fatigue, so adjust the number of loops around your finger to achieve an appropriate balance.
Needle Threading Methods
For needle threading methods, fold the thread and create a sharp point. Push it through the needle’s eye. Choose the right needle size for your thread.
Cutting and Waxing
When cutting your thread, always cut at an angle. This makes it easier to insert into the needle’s eye. Waxing your thread is also important. It eliminates tangles, smooths down fluff, and lubricates the thread. Use a beeswax disk, and pull your thread through before pressing with high heat.
Threading the Needle
Now that you’ve selected the right needle, it’s time to thread it. Fold your thread in half and create a sharp point at the end. This pointed thread end is key to easily guiding the thread through the needle’s eye. With a steady hand, push the sharp thread point through the needle eye, pulling the folded thread behind it.
A handy trick to make threading even easier is to cut your thread at an angle before you fold it. This angled cut creates a natural sharp point, making it a breeze to guide the thread where it needs to go. You can also use a beeswax disk to wax your thread, which not only strengthens it but also makes it smoother and easier to thread.
Mastering this simple skill of threading the needle will set you up for success as you begin your hand-sewing journey. It’s a fundamental step that will soon become second nature, allowing you to focus on the stitches and techniques that bring your creations to life.
Basic Hand-Sewing Stitches
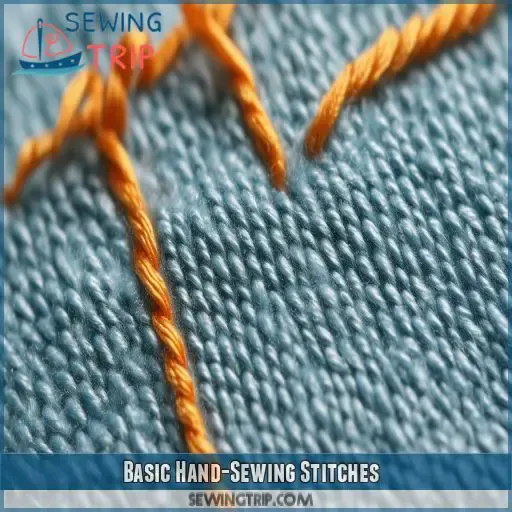
Now that you’ve threaded your needle, it’s time to delve into the realm of basic hand-sewing stitches. This is where the magic happens as you transform a simple piece of fabric into something extraordinary.
The running stitch is a beginner-friendly stitch, perfect for gathering fabric and creating beautiful ruffles or simple seams. Move on to edge stitches like the overstitch or overcast stitch to prevent fraying and add a polished finish to your work.
If you’re feeling adventurous, try the French knot, a quirky decorative stitch that adds character to your creations. It’s often used for creating eyes or raisins in ornaments, giving them a playful touch.
As you master these stitches, you’ll also want to explore stitch variations and decorative embellishments. Experiment with different thread tensions to see how it impacts your stitches. Remember, practice makes perfect, so keep honing your skills with various sewing patterns and hand-sewing projects.
Creating Secure Stitches
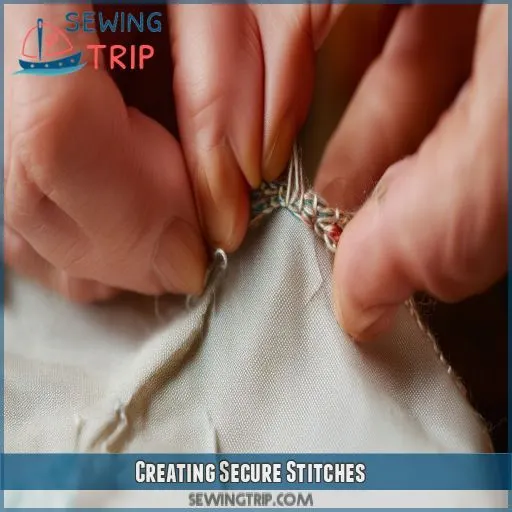
In crafting secure stitches, several reinforcement techniques will aid you. Consider employing durable materials, such as silk thread, which possesses both strength and smoothness. This will facilitate achieving inconspicuous stitching.
Furthermore, pay heed to needle variations. Delicate hand-sewing needles are optimal, and remember to rotate your needle slightly to prevent entanglement. Additionally, a thimble can safeguard your finger and enhance needle precision.
The backstitch is your stalwart ally for secure stitching. It’s a robust and dependable stitch, ideal for concealed seams and securely containing stuffing. Hence, when seeking exceptional security, the backstitch is your covert weapon.
Sewing Techniques for Beginners
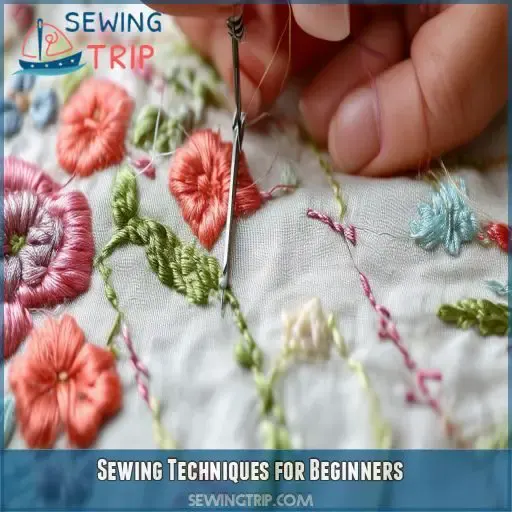
Now that you’ve mastered the art of creating secure stitches, let’s delve into some beginner-friendly sewing techniques. These tips will help you navigate the realm of sewing with ease and confidence.
1. Sewing Machine Savvy
Familiarize yourself with the sewing machine. It’s your trusty companion in the realm of sewing. Understand the different parts, from the presser foot to the thread tension dial. Practice adjusting stitch length and width to create a variety of effects.
Invest in a well-stocked sewing kit. It’s your portable toolbox for quick fixes and on-the-go projects. Make sure it includes needles, threads, scissors, and a thimble. A good kit will have you prepared for any sewing situation.
3. Thread Tension Tricks
Master the art of thread tension. Too loose, and your stitches will be messy; too tight, and your fabric will pucker. Find the sweet spot by testing on scrap fabric. Adjust the dial until your stitches are even and smooth.
4. Sewing Patterns Simplified
Don’t be intimidated by sewing patterns. They’re like roadmaps for your fabric journey. Learn to read and interpret them, understanding grainlines, notches, and seam allowances. Soon you’ll be crafting like a pro!
With these techniques in your toolkit, you’re well on your way to sewing success. Remember, practice makes perfect, so keep honing your skills, and you’ll be creating masterpieces in no time!
Maintaining Hand-Sewing Equipment
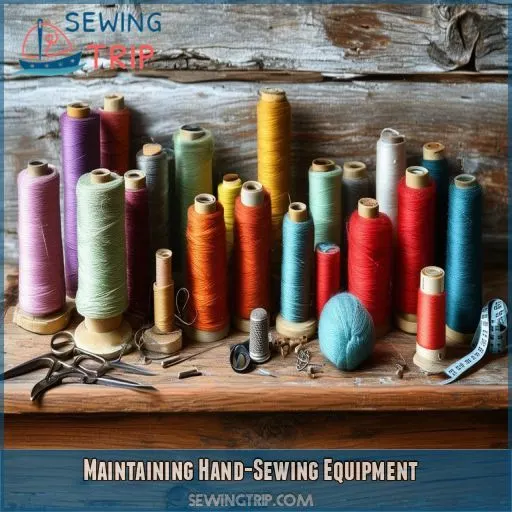
Now that you’ve mastered the basics of hand sewing, it’s time to talk about maintaining your equipment. Properly caring for your tools will guarantee they last longer and make your sewing experience more enjoyable. Here are some tips to keep your hand-sewing equipment in top shape:
| Maintenance Tips | Description |
|---|---|
| Needle Storage | Store needles in a designated case or tin to prevent loss and keep them sharp. |
| Thread Organizer | Use a thread organizer to keep different colors and types of thread tangle-free and easily accessible. |
| Wax Application | Apply wax to your thread to prevent tangles and create smoother stitches. |
Clean your equipment regularly, especially your scissors, to prevent rust and keep them sharp. Create a maintenance schedule to guarantee you’re taking care of your tools properly. A well-maintained sewing kit will make your projects easier and more fun!
Frequently Asked Questions (FAQs)
What should beginners do hand stitch?
If you’re a beginner, start with a running stitch. It’s the most basic stitch and can be used for gathering fabric, mending seams, and hemming clothes. Try the basting stitch next—it’s similar to the running stitch but faster to sew.
How to become good at hand sewing?
Imagine creating your own unique designs with needle and thread, a true artisan. To become a master at hand sewing, practice the basics: knot tying, threading needles, cutting and waxing thread. Use fine needles, a thimble, and high-quality thread. Master the running stitch, overstitch, backstitch, blanket stitch, and French knot.
What are the 4 basic hand stitching?
The four basic hand stitches are the running stitch, the blanket stitch, the ladder stitch, and the vertical hem stitch.
How do you sew perfectly by hand?
Sewing by hand is a precise art. Patience is key, and practice makes perfect. Keep stitches even by poking the needle in and out with equal spacing. Sew tightly with backstitching, a straight stitch without gaps. Finish with a knot, pulling the thread halfway through.
Whats the best way to cut thread?
For the cleanest cut, carefully measure and mark where you want to cut the thread. Then, hold the thread between your thumb and ring finger, and your index and middle finger. Finally, pick up the scissors and open them at the mark.
How do you wax thread?
To wax thread, grab a block of solid beeswax and your thread of choice. Draw the thread across the wax, pull, and repeat on the other side. For a rainbow of colours, wax embroidery flosses, linen thread, or strands of yarn.
Why should I use a thimble?
Thimbles protect your fingers from injury, sweat, and cramps. They also give you more control and precision, improving the quality of your sewing.
Which needles are best for hand sewing?
Sharps are sharp, medium-length needles, ideal for most hand-sewing tasks. For leather, use leather needles or glovers to avoid damaging the material. If you’re embroidering, opt for longer-eyed needles to accommodate multi-strand threads.
What is a French knot used for?
French knots are used in embroidery to create small, 3D-looking knots that can be used for flower centres, seeds, eyes, dots, and berries.
Conclusion
Hand sewing is a valuable skill that can save you money and expand your creative horizons. You might be thinking, "I don’t have the time or patience to learn hand sewing." But with the right tools, techniques, and guidance, anyone can master the basics and reap the benefits.
Throughout this article, we’ve explored essential hand-sewing tips, covering everything from selecting the right tools to creating secure stitches. You’ve learned about the importance of high-quality thread and proper needle selection, as well as various techniques for beginners. By following these basic hand sewing tips and with practice, you’ll be able to repair clothes, create unique projects, and even save money.

