This site is supported by our readers. We may earn a commission, at no cost to you, if you purchase through links.
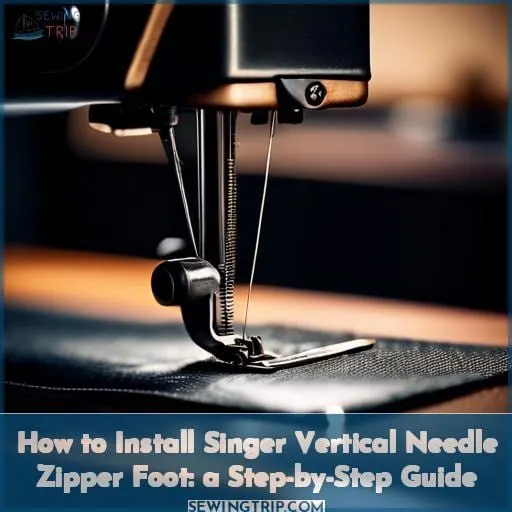
If you’re ready to tackle zipper installation with precision, you’ll need to know how to install a Singer Vertical Needle Zipper Foot on your machine. This guide will walk you through the process, ensuring your zipper is stitched flawlessly into place.
Whether you’re a seasoned tailor or a DIY enthusiast, mastering the zipper foot is key to elevating your sewing projects.
Let’s dive into the steps for seamless zipper application using your Singer sewing machine.
Table Of Contents
Key Takeaways
- The zipper foot allows for sewing close to the zipper teeth without applying pressure, ensuring a clean, professional finish and avoiding snagging.
- It is compatible with low shank machines such as Singer, Kenmore, White, and Signature, and can be adjusted on either side of the needle to accommodate the side of the zipper being sewn.
- Proper installation involves attaching the zipper foot to the machine with the needle in the highest position and the presser foot raised, ensuring the needle aligns with the edge of the zipper foot to avoid catching the zipper teeth.
- The zipper foot’s design not only facilitates the insertion of zippers but also allows for the attachment of trims and the insertion of piping, making it a versatile tool for various sewing projects.
Overview of the Zipper Foot
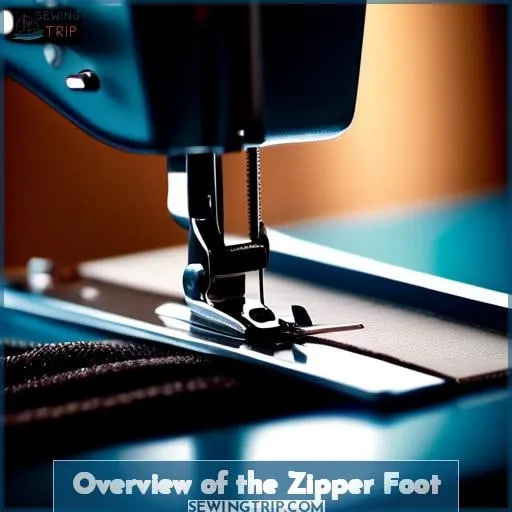
When it comes to sewing, precision is key, especially with tasks like applying zippers. The Singer Vertical Needle Zipper Foot is designed to enhance this precision by allowing you to adjust the needle position relative to the presser foot edge.
This feature is crucial for controlling the seam’s size, ensuring that you can sew close to the zipper teeth without applying pressure on them. Compatible with low shank machines, including popular brands like Singer, Kenmore, White, and Signature, this accessory is a game-changer for both novice and experienced sewers.
Its hinged and adjustable design facilitates precise stitching, making the installation of zippers simpler and more efficient.
Importance for Precision Stitching
When it comes to precision stitching, especially with zippers, the right tools make all the difference. Your vertical needle zipper foot is like a secret weapon for tackling those tricky zipper applications.
Think of it as your trusty sidekick, allowing you to dance around zipper teeth with the grace of a ballerina. With this foot, you can glide past the teeth without a snag, ensuring your fabric stays as pristine as a freshly ironed shirt.
It’s not just about avoiding a battle with the zipper; it’s about achieving that clean, professional look on your DIY projects. Remember, a well-installed zipper is like a good handshake – it says a lot about your craftsmanship.
So, keep your foot maintained, choose your fabric wisely, and don’t shy away from troubleshooting tips that can save the day when you’re in a pinch.
Compatibility With Low Shank Machines
Given the importance of precision stitching, especially when it comes to applying zippers, it’s crucial to have the right tools at your disposal.
Now, let’s dive into its compatibility with low shank machines. You see, not all sewing machines are created equal, and the zipper foot is no exception.
For those of you with Singer, Kenmore, White, or Signature machines, you’re in luck. This versatile accessory is designed to play nice with machines that use a side-fastening thumbscrew. It’s like the Swiss Army knife of sewing machine feet, adjusting on either side of the needle to ensure you don’t put undue pressure on those delicate zipper teeth.
So, before you start your next project, make sure your sewing machine is compatible.
Preparing Your Sewing Machine
To prepare your sewing machine for installing a zipper foot, you’ll first need to attach the foot to your machine.
Then, depending on which side of the zipper you’re sewing, attach the zipper foot to the presser foot holder on the left or right side.
Next, adjust the needle position so that it aligns with the edge of the zipper foot, allowing you to stitch close to the zipper teeth without catching them.
Attaching the Zipper Foot
Attaching your zipper foot is like unlocking a secret level in your sewing adventure—it’s easier than you think and opens up a world of possibilities! First, take a deep breath; you’ve got this.
Loosen the thumbscrew on the side of your sewing machine to remove the current foot. Now, grab your trusty zipper foot. You’ll notice it’s a bit of a chameleon, ready to slide onto either side of the needle, depending on which side of the zipper you’re tackling.
Align the foot with the presser foot holder, and gently lower the presser foot lever to snap it into place. Tighten the thumbscrew to secure your zipper foot. Voilà! You’re now ready to conquer zippers with the finesse of a sewing ninja.
Adjusting Needle Position
Once you’ve got your zipper foot attached, it’s time to play with needle alignment. Think of it as tuning a guitar; you’re aiming for that perfect pitch. With your foot’s adaptability, you can shift the needle to either side, ensuring it doesn’t bully the zipper teeth with unwanted pressure.
This is crucial for that snug, seamless fit we’re all after. Remember, you’re not just sewing—you’re orchestrating a symphony of stitches.
Zipper Installation Steps
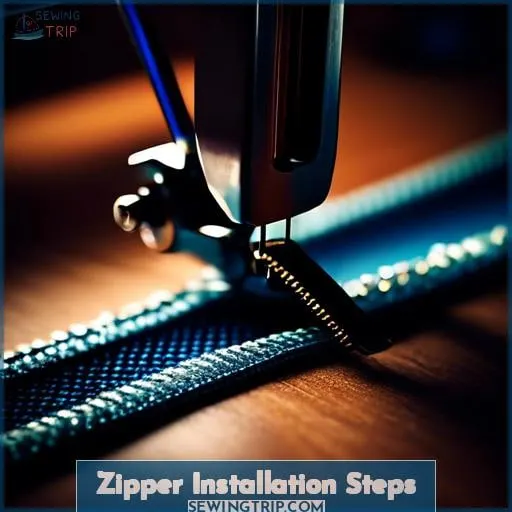
Once you’ve attached your Singer Vertical Needle Zipper Foot, it’s time to align the zipper.
Place the zipper face down on the seam, ensuring the teeth are on the seam line.
Sew next to the zipper teeth without applying pressure to them, starting from the bottom, pivoting at the corner, and continuing up the side.
Aligning the Zipper
After attaching the zipper foot to your sewing machine, it’s time to align the zipper.
Start by laying the fabric flat and placing the zipper right side down on the wrong side of the fabric.
Pin the zipper in place, taking care to position pins perpendicular to the zipper teeth at both ends to mark the start and stop points of your stitching. This step is crucial for preventing the zipper from shifting and for maintaining even seam allowances.
When sewing, approach the zipper with a steady hand and a keen eye to avoid sewing over the teeth. If you encounter any hiccups, don’t fret—troubleshooting is part of the sewing adventure.
Adjust your technique based on the zipper type and fabric considerations. Remember, practice makes perfect.
Sewing Next to Zipper Teeth
Once you’ve got your zipper foot attached, it’s showtime for your sewing machine.
You’re about to get up close and personal with those zipper teeth, and precision is key. Think of your needle as a dancer—elegant and just a hair’s breadth away from the zipper teeth, but never stepping on them.
Your zipper foot allows for this delicate dance, with needle positioning that’s as adaptable as your playlist on a long drive. Whether you’re working with the heft of denim or the whisper of silk, the right presser foot option ensures your fabric and zipper material glide together in harmony.
Tips for Successful Zipper Application
To ensure your zipper application is successful, it’s crucial to avoid putting any pressure on the zipper teeth while sewing.
Adjust the zipper foot to accommodate different zipper sizes for a clean, professional finish.
Avoiding Pressure on Zipper Teeth
After aligning your zipper just right, it’s crucial to keep the pressure off those tiny teeth.
- Gently guide, don’t force: Think of it as persuading rather than telling. Your sewing machine is your partner in this dance.
- Adjust the presser foot pressure: If your machine allows it, lighten up. You’re aiming for a touch as soft as a butterfly landing.
- Use a longer stitch length: This isn’t a race. Longer stitches mean less stress on the zipper teeth.
- Practice on scrap fabric first: Get a feel for it before the main event. It’s like a rehearsal dinner before the big day.
- Keep the zipper teeth free of fabric: Ensure there’s no fabric caught in the teeth. It’s like checking your teeth for spinach before a photo.
Adjusting for Different Zipper Sizes
Adjusting for different zipper sizes is like playing a tailor’s version of Tetris—each piece must fit perfectly for a seamless finish.
When tackling various zipper sizes, remember that the key players are:
- Foot placement: Allows you to dance gracefully along the zipper’s edge without stepping on its teeth.
- Seam allowance: Guides the journey from start to finish.
- Fabric type: The terrain, sometimes smooth, sometimes tricky, requiring adjustments in thread tension to navigate without a hitch.
- Thread tension: Ensures every stitch is a step towards a masterpiece.
- Needle size: Chosen with precision to match the fabric’s weight.
With these elements in harmony, you’ll zip through projects, turning potential frustration into a victory lap around your sewing table.
Frequently Asked Questions (FAQs)
Can the Singer Vertical Needle Zipper Foot be used for decorative stitching or other non-zipper applications?
Yes, the Singer Vertical Needle Zipper Foot isn’t just for zippers; it’s a jack-of-all-trades!
You can dive into decorative stitching, piping, and more, turning your sewing projects into masterpieces with a twist of creativity.
How do I adjust the tension when using the zipper foot to prevent loose stitches on the underside of the fabric?
Just like a tightrope walker adjusts their balance, you’ll need to tweak your machine’s tension.
Turn the tension dial to the right to increase tension and prevent loose stitches on the fabric’s underside.
What should I do if the zipper foot is causing the fabric to pucker or wrinkle during sewing?
If your zipper foot’s turning your fabric into a crinkled mess, don’t sweat it! Loosen up that thread tension—think of it as giving your fabric a little breathing room.
And remember, it’s a dance, not a tug-of-war; let your machine lead.
Are there any specific maintenance or cleaning tips for the Singer Vertical Needle Zipper Foot to ensure its longevity?
To keep your Singer Vertical Needle Zipper Foot in tip-top shape, remember this golden nugget: 90% of sewing machine issues stem from neglect.
Regularly wipe it down with a soft, dry cloth to remove lint and dust. After every project, give it a gentle clean, especially around the screw areas, to prevent buildup.
If it starts sticking or moving awkwardly, a tiny drop of sewing machine oil on the hinge can work wonders.
A stitch in time saves nine, so a little care goes a long way in avoiding a jam-packed day of troubleshooting!
If my sewing machine is not listed in the compatibility list, how can I determine if the Singer Vertical Needle Zipper Foot will still fit my machine?
To check if the Singer Vertical Needle Zipper Foot fits your machine, first identify if your machine has a low shank and uses a side-fastening thumbscrew.
Measure the shank height or consult your machine’s manual. If it matches, you’re in luck!
If unsure, reach out to customer support or sewing communities for advice.
Conclusion
Interestingly, the journey of installing a Singer Vertical Needle Zipper Foot might seem intricate at first, but with the right guidance, it’s quite straightforward.
You’ve learned the importance of this tool for precision stitching and its compatibility with low shank machines.
By preparing your sewing machine, attaching the zipper foot, and adjusting the needle position, you’re set for success.
The steps for aligning the zipper and sewing next to its teeth are crucial for a flawless finish.
With this guide, installing a Singer Vertical Needle Zipper Foot becomes an achievable task, enhancing your sewing projects with professional-quality zippers.

