This site is supported by our readers. We may earn a commission, at no cost to you, if you purchase through links.
Whether you’re a seasoned stitcher or a novice with a needle, you’ll find invaluable tips to ensure your quilt layers come together seamlessly, promising nights wrapped in the warmth of your labor.
Yes, to layer a quilt for sewing, lay the backing fabric right side down and tape the edges, then spread the batting and smooth out wrinkles, and finally place the quilt top right side up, ensuring all layers are flat before pinning or basting together.
Table Of Contents
Key Takeaways
- Select appropriate materials for each layer of the quilt: Choose fabrics that complement each other for the pieced top, and use natural materials like cotton or wool for the insulating batting.
- Prepare and assemble the quilt sandwich: Lay out the backing fabric right side down, center the batting on top, and then place the pieced quilt top right side up.
- Baste the layers together to prevent shifting: Use safety pins, temporary adhesives, or hand basting to secure the layers. Start from the center and work your way out to ensure the quilt remains smooth and taut.
- Ensure ample floor space for basting and quilting: A large, flat surface is necessary for layering and basting the quilt. Use tape or weights to keep the layers in place if needed, and consider creative alternatives if space is limited.
Quilt Layers Overview
When it comes to layering a quilt for sewing, you’ll start with your pieced top.
Add an insulating layer of wadding or batting, and finish with the backing fabric.
This quilt sandwich is essential for both the quilt’s warmth and its aesthetic finish.
Your choice of materials and how you assemble these layers will greatly impact the final look and feel of your quilt.
Pieced Top
While assembling your quilt, you’ll begin with the pieced top, which is the foundation of your quilt’s design and aesthetic. This stage is where your creative expression truly shines through, involving careful fabric selection, color matching, and design planning.
Your pattern choices here set the tone for the entire project. It’s a process that blends artistic vision with technical skill, ensuring that every piece of fabric contributes to the overall harmony and impact of your quilt.
As you lay out your pieced top, consider how each element interacts, from the seam allowance to the way colors and patterns complement each other, setting the stage for the basting and quilting that will bring your vision to life.
Insulating Fabric
You’ll need an insulating fabric, often referred to as wadding or batting, to provide warmth and volume to your quilt. Choosing the right fabric enhances thermal efficiency, making your creation cozy.
Explore various insulation methods and fabric selections, focusing on layering techniques that complement your stitching considerations.
This step is crucial in achieving the desired comfort and aesthetic of your quilt.
Backing Fabric
The backing fabric, your quilt’s final layer, plays a crucial role in both the appearance and functionality of your finished project.
Tape securing keeps it taut. Mastering the pinning technique and layer smoothing are key to avoiding wrinkles.
A spritz of wrinkle release can aid in achieving a pristine surface, essential for successful quilt basting and quilting.
Wadding Selection
When it comes to layering your quilt for sewing, selecting the right wadding is crucial for achieving the desired warmth, comfort, and longevity of your project.
You’ll find a variety of natural materials, including cotton and wool, which are favored for their breathability and softness.
Additionally, specialty waddings like black wadding for dark fabrics and fusible wadding for ease of use offer creative solutions tailored to your quilting needs.
Natural Materials
After selecting your quilt’s pieced top and backing fabric, you’ll need to choose a wadding. Natural materials like cotton, wool, and silk offer warmth, comfort, and durability for your project.
Opting for cotton versus polyester can enhance temperature regulation and sustainability benefits.
Wadding showing and spray baste techniques ensure a smooth finish.
Specialty Wadding
Beyond the realm of traditional natural materials, specialty wadding offers a plethora of options tailored to specific quilting needs and creative visions. From heat-resistant varieties ideal for crafting placemats and oven gloves, to black wadding that accentuates the vibrancy of colors in your quilt, the selection is vast and versatile.
- Fusible options for easy layering
- Black wadding for rich color contrasts
- Alternative methods for unique quilting motifs
- Application tips for optimal results
- Specialty considerations for quilting supplies
Purchasing Wadding
When you’re ready to layer your quilt, purchasing the right wadding is crucial for the project’s success. You can buy wadding in pre-cut quilt sizes, by the meter, or by the roll, depending on the scale of your work and frequency of quilting.
For beginners, it’s wise to buy a little extra to account for any mishaps. Seasoned quilters might find buying by the roll more economical and convenient for their needs.
Pre-cut Sizes
When you’re selecting wadding for your quilt, you’ll find that pre-cut sizes offer a convenient option to match the common dimensions of quilts, saving you time and effort.
These sizes enhance cutting efficiency and minimize fabric shifting.
Handling leftovers becomes simpler, offering economical options and storage solutions.
Pre-cuts are perfect for projects like Quilt to Give, ensuring your quilt top layers beautifully every time.
By the Meter or Roll
Once you’ve determined the right type of wadding for your quilt, you’ll find that purchasing it by the meter or roll can be more cost-effective, especially if you’re planning multiple projects or a particularly large quilt.
- Roll Advantages: Bulk buying reduces costs and ensures consistency across projects.
- Meter Benefits: Buy the exact length needed, minimizing waste.
- Storage Solutions: Keep rolls tidy with hanging racks or under-bed containers.
- Convenience Factors: Easier handling when basting quilt layers or sewing binding.
Assembling Quilt Layers
As you prepare to assemble your quilt layers, it’s essential to consider the basting techniques that will hold your project together. Floor space can be a challenge, so planning ahead to ensure you have enough room is crucial.
These steps are key to creating a quilt that not only looks beautiful but also lasts for years.
Basting Techniques
After selecting the right wadding for your quilt, you’ll need to baste the layers together, a process that temporarily secures the pieced top, insulating fabric, and backing fabric before quilting.
| Basting Technique | Pros | Cons |
|---|---|---|
| Temporary Adhesives | Even hold, no pins | Can be messy |
| Fabric Spray | Quick application | May stain |
| Pinning Methods | Precise control | Time-consuming |
Choose a method that suits your quilting style, whether it’s the precision of pinning or the speed of fabric spray. Use wrinkle release or starch alternatives to prepare your fabric, ensuring a smooth surface for either machine or hand quilting.
Floor Space Considerations
You’ll need ample floor space to lay out your quilt layers, as this step requires spreading out the backing, batting, and quilt top for basting.
- Maximizing efficiency with ergonomic setups to ease your workflow.
- Creative alternatives like wall basting when floor space is scarce.
- Space-saving solutions using spring clamps to secure layers on a table.
- Optimizing workflow with a walking foot to guide fabric smoothly under the feed dogs.
Quilting Techniques
When it comes to quilting, mastering the techniques of layering and stitching is essential for creating cozy, beautiful quilts.
Whether you’re using a machine for precise patterns, hand stitching for a traditional touch, or tying knots for a quick and rustic finish, each method adds its own unique texture and style to your quilt.
With practice and patience, you’ll find that quilting not only results in stunning creations but also offers a rewarding crafting experience.
Machine Quilting
In transitioning from assembling your quilt layers, you’re now ready to dive into machine quilting. Here, you’ll stitch patterns through your quilt sandwich to both secure the layers and add decorative elements.
Select quilting motifs that resonate with your style, adjusting thread tension and stitch length for smooth results.
Use a darning foot for free-motion designs, ensuring your fabric choices and quilting needles are compatible for seamless machine quilting.
Hand Stitching
Whereas machine quilting offers speed and precision, why not explore the unique charm and texture that hand stitching can bring to your quilt?
With thimble selection and needle techniques, you can quilt with confidence.
Thread varieties, from fine quilting thread to pearl cotton, allow for diverse stitch patterns.
Embrace quilting ergonomics for comfort, and finish with a running stitch, sewing binding on your quilt by hand.
Tied/Knotted
After exploring hand stitching, you’ll find that tied or knotted quilting offers a traditional and often quicker method to secure your quilt layers.
- Tied quilts use simple knotting techniques for alternative finishes, adding decorative closures.
- Knotting techniques introduce artistic embellishments, transforming quilting projects.
- Alternative finishes like tying can simplify sewing binding on a quilt, offering unique quilting patterns and tips.
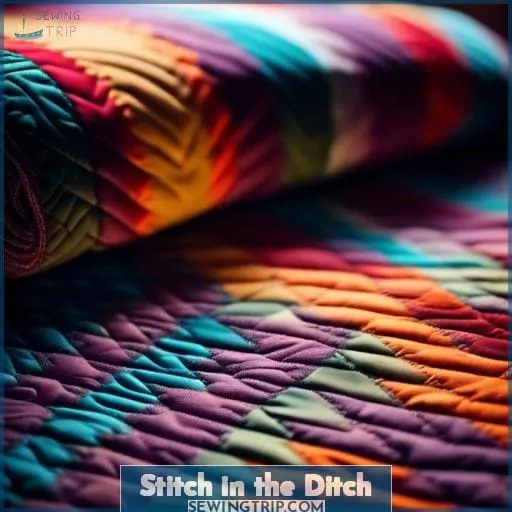
Stitch in the Ditch
When you’re ready to stitch in the ditch, setting up your machine correctly is crucial. You’ll want to use a medium-length straight stitch and ensure the tension is balanced for smooth quilting.
Opt for a cotton thread that matches your fabric or a monofilament thread if you’re working with multiple colors.
Always start quilting from the center to prevent fabric shifting.
Machine Settings
How do you adjust your machine settings for stitch in the ditch quilting to ensure your stitches are both secure and inconspicuous? When setting up your machine for stitch in the ditch, it’s important to select a medium-length straight stitch and balanced tension to create even, inconspicuous stitches along the seam lines.
Use a walking foot to help feed the fabric layers evenly and prevent shifting. It’s also recommended to use cotton thread matched to the fabric or monofilament thread for less visible stitches, and to insert a machine quilting needle, adjusting the machine to stop with the needle down for precision.
| Setting | Recommendation |
|---|---|
| Machine Tension | Balanced for even stitches |
| Stitch Length | Medium, for secure stitching |
| Needle Size | Quilting needle, for durability |
| Thread Choice | Cotton or monofilament, matched to fabric |
| Feed Dogs | Engaged with walking foot, for smooth fabric feed |
Thread Choices
Your choice of thread is crucial when stitching in the ditch, as it affects both the quilt’s durability and aesthetic appeal.
- Polyester vs Cotton: Polyester offers strength and durability, while cotton provides a softer finish.
- Variegated and Metallic Threads: Add visual interest and sparkle to your quilting photos.
- Invisible Thread and Embroidery Floss: Perfect for subtle stitching or decorative flair when sewing binding on a quilt.
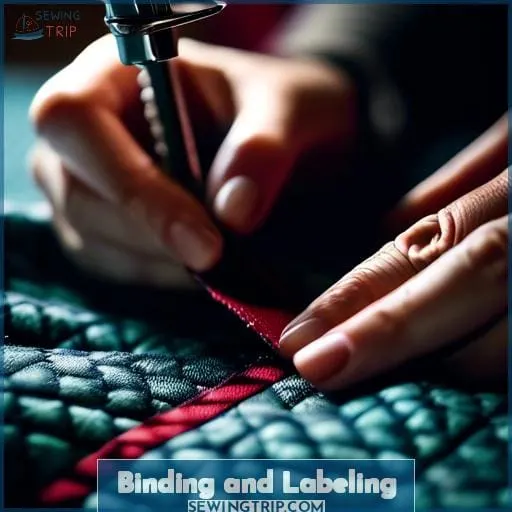
Binding and Labeling
Now that your quilt top is complete, it’s time to finish it off properly with binding and a label.
Attaching the binding protects the edges of your quilt and gives it a polished look.
Adding a label personalizes your quilt and provides details for future quilt historians.
Materials and Preparation
Once you’ve completed the quilting process, you’ll need to gather materials for binding and labeling to give your quilt a polished finish.
Start by selecting the right fabric, ensuring it complements your quilt’s design.
Use precise cutting techniques for uniform strips.
Organize your workspace efficiently, keeping tools within reach.
Protect your surface with a cutting mat to maintain a pristine working area.
Attaching Binding
After preparing your materials, you’ll want to attach the binding to the quilt’s edges, which involves sewing a strip of fabric around the perimeter to give a neat finish and protect the edges.
- Choose between machine vs hand sewing, considering stitch lengths for durability.
- Decide on bias vs straight cut binding for flexibility and ease.
- Watch a corners tutorial to master mitering for a polished look.
Adding a Label
One should always add a label to their quilt, as it’s a crucial final touch that documents the quilt’s maker, recipient, and the occasion it was made for.
Personalization options abound; you can embroider, print, or even handwrite on fabric.
This artistic touch isn’t just about quilt finishing; it’s a testament to your sewing techniques and creative embellishments.
Quilting for Others
While you’re exploring the rewarding craft of quilting, consider using your skills to benefit others by organizing a Quilt to Give event. This initiative is a beautiful blend of community engagement and social responsibility, offering a unique volunteering opportunity.
By reaching out to local shelters or hospitals, you can assess the impact of your handcrafted quilts on those in need.
Outreach strategies might include partnering with quilting circles or crafting guilds to amplify your efforts.
As you stitch each piece, you’re not just creating a blanket; you’re weaving a tapestry of comfort and belonging, providing warmth in more ways than one.
Embrace this chance to touch lives and foster a sense of freedom through the art of quilting.
Frequently Asked Questions (FAQs)
How do I choose the right type of pins for basting my quilt layers, and are there alternatives to pins?
For basting quilt layers, curved safety pins are ideal. They’re designed to hold all three layers together without shifting.
Alternatives include spray adhesives for a no-pin option. These provide a temporary bond that’s repositionable and washes out.
What are the best practices for handling and storing large quilt batting rolls to maintain their quality?
Store large quilt batting rolls vertically in a dry, clean area to prevent creases and damage.
Use a garment rack for easy access and organization.
Cover with a clean sheet to protect from dust and sunlight, ensuring longevity and quality.
Can I use different types of fabric for the quilt backing, and how does the choice of fabric affect the final result?
Like a painter selecting a canvas, when creating a quilt, one must consider the fabric used for its backing. The chosen material affects the quilt’s drape, texture, and warmth, setting the foundation for both comfort and aesthetic appeal.
Drape refers to how well the finished product hangs; Texture adds depth and interest through touch; Warmth is essential if using the quilt primarily for insulation purposes. Each aspect contributes significantly to the overall experience of enjoying the completed work.
In summary, careful selection of the right fabric for the backside of a quilt plays a crucial role in ensuring that it meets expectations regarding appearance, feel, and functionality.
(Sources consulted during editing process include information about quilting basics from reputable websites such as Quilter’s Review, Craftsy, and Bluprint.
What should I consider when selecting a spray adhesive for basting, and are there eco-friendly options?
When choosing a spray adhesive for basting, opt for an odorless, repositionable, and washable option like Odif 505 or Sulky KK2000, which is also eco-friendly.
Avoid sprays with harmful fumes and ensure good ventilation.
How do I ensure that my quilt layers remain flat and without wrinkles during the quilting process?
To ensure your quilt layers stay flat and wrinkle-free, start by ironing each layer.
Tape the backing down on a hard surface, smooth the batting on top, then add the quilt top.
Secure layers with pins or spray adhesive, working from the center out.
Conclusion
Crafting your quilt’s layers is akin to weaving a tapestry of comfort. As you’ve learned how to layer a quilt for sewing, remember that each stitch is a note in a symphony of threads.
With the right wadding, careful assembly, and personalized quilting techniques, you’ll turn fabric and thread into a cherished heirloom.
Embrace the process, and let your creativity shine in every cozy creation you craft.

