This site is supported by our readers. We may earn a commission, at no cost to you, if you purchase through links.
To loop sew, you’ll first need to create thread chains by hand or machine.
For hand-sewn chains, stitch multiple threads together.
For machine chains, use a zig-zag stitch over threads.
Attach button loops by pulling machine chains through fabric and knotting the thread.
Use a guide plate for precise alignment.
Belt loops involve stitching folded fabric strips onto waistbands by hand or machine.
Mastering these techniques opens doors to adding decorative, functional loops that enhance your sewing projects’ durability and visual appeal.
Continue onward to uncover the intricacies of flawless loop sewing.
Table Of Contents
- Key Takeaways
- How to Loop Sew?
- Hand-Sewn Thread Chains
- Machine-Sewn Thread Chains
- Serger-Sewn Thread Chains
- Attaching Machine-Made Button Loops
- Guide Plate Setup for Machine-Made Button Loops
- Sewing Process for Machine-Made Button Loops
- Finishing and Completion of Machine-Made Button Loops
- Hand-Stitching Belt Loops Onto Waistbands
- Machine-Stitching Belt Loops Into Waistbands
- Finishing and Attaching Belt Loops to Waistbands
- Frequently Asked Questions (FAQs)
- Conclusion
Key Takeaways
- To create thread chains, you can use either hand-sewn or machine-sewn techniques, depending on the project requirements.
- Attaching button loops involves threading machine chains through fabric and knotting the thread, while belt loops are created by stitching folded fabric strips onto waistbands.
- Adjusting thread tension, needle size, and stitch length is crucial for creating strong and attractive loops.
- Guide plates can be used for precise alignment when attaching machine-made button loops.
How to Loop Sew?
Loop sewing involves creating durable and decorative loops for garments, such as thread chains for linings, button loops for closures, and belt loops for securing belts. This technique enhances functionality and style, utilizing various stitches and materials for different applications.
Hand-Sewn Thread Chains
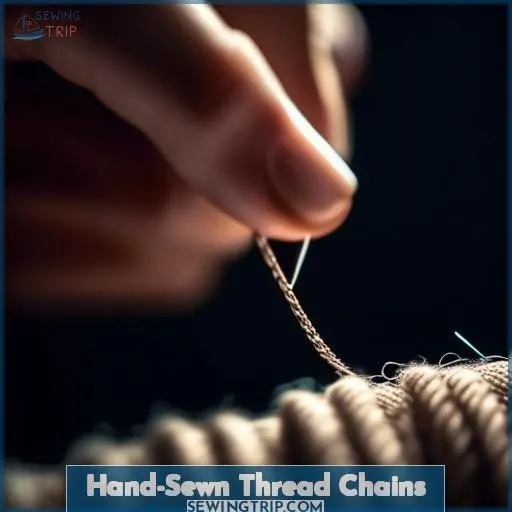
Hand-sewn thread chains are a versatile sewing technique that can be used for various projects, from button loops to decorative chains.
These chains are made by hand-stitching multiple threads together.
Forming a loop over your finger and pulling through the stitch loop to create a knot.
The thread chain yarn can be made from heavy-duty or embroidery thread, depending on the project’s requirements.
The finished thread chain can be used for a variety of projects.
Creating decorative loops for buttons or adding a unique touch to your hand-sewing projects.
Machine-Sewn Thread Chains
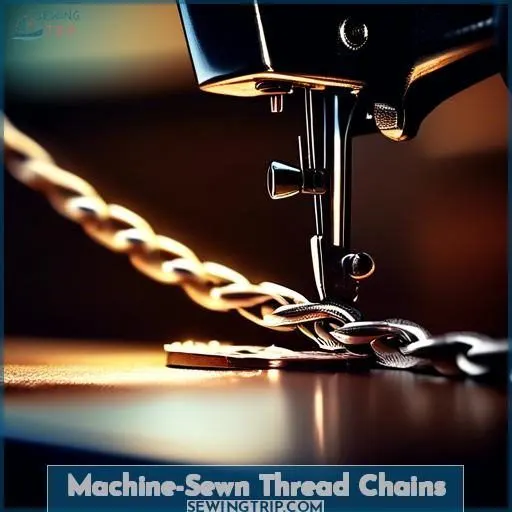
Creating machine-sewn thread chains is a simple process that involves a few steps. First, you need to cut 4-6 threads and bring the bobbin thread up through the throat plate. Then, hold the upper and bobbin threads together and use a zig zag stitch to sew over the threads. This will create a chain-like pattern on your fabric.
When it comes to thread tension, fabric tension, needle size, and stitch length, it’s paramount to adjust these settings according to the specific requirements of your project. For example, when sewing pants, you might use a different needle size and stitch length than when sewing a shirt.
Fusing interfacing onto the waistband of your pants is a crucial step in creating strong and durable belt loops. This can be done by pressing the fusible interfacing onto both sides of the waistband, ensuring that it adheres well.
Machine-sewn thread chains are a popular choice for creating button loops and belt loops. By following these steps and adjusting your sewing machine settings, you can create strong and attractive loops for your garments.
Serger-Sewn Thread Chains
After mastering machine-sewn thread chains, let’s delve into the sphere of serger-stitched thread chains.
With your serger, modifying the settings is crucial.
You’ll want to adjust the thread tension and zig-zag width based on your fabric thickness to get that ideal chain length.
Serger sewing unlocks a range of embellishing applications for thread chains in your projects.
It’s not just about functionality; it’s about adding panache.
So, take your serger, and let’s loop stitch our way to imaginative freedom with tasteful thread chains.
Attaching Machine-Made Button Loops
Attaching machine-made button loops is an essential step in creating sturdy and long-lasting loops that enhance the appearance of your garments. Here’s a simple guide on how to do it:
- Thread through the needle: Start by threading a needle with a large eye with the suitable thread for your project, such as bonded nylon or Dacron.
- Pull loops through fabric: Bring the needle up through the fabric where you want the button loop to begin and pull the needle through the fabric from the back.
- Knot thread: Once you’ve pulled the needle through the fabric, tie a knot with the thread to secure the loop in place.
Remember to keep in mind loop strength, durability, spacing, and placement when attaching button loops. Experiment with different loop styles to find the ideal match for your sewing project.
Guide Plate Setup for Machine-Made Button Loops
Now that you’ve mastered the art of attaching machine-made button loops, it’s imperative to configure the guide plate for exceptional outcomes.
The guide plate is a pivotal element in crafting flawless button loops and belt loops.
Constructed of a sturdy material, it should measure approximately 0.5-0.75 times the line’s thickness.
The slot should be double the line thickness in width and extend for several inches.
Maintain precise alignment and ideal thread tension to elevate your stitching experience.
Sewing Process for Machine-Made Button Loops
To create machine-made button loops, follow these steps:
- Thread Selection: Choose an appropriate thread, such as bonded nylon or Dacron, for your loops.
- Guide Plate Setup: Secure a guide plate to your machine with tape and adjust its alignment for suitable line positioning.
- Zig-Zag Stitch: Use a sharp needle to minimize fiber damage and set the zig-zag angle to 45-90 degrees. Run the length of overlap, creating 90-degree angles, and stitch beyond the short tail.
- Thread Tension: Maintain proper thread tension for a strong and even stitch.
- Needle Selection: Select a needle suitable for your fabric.
- Fabric Compatibility: Consider the fabric compatibility when selecting the needle and thread.
- Loop Strength: Ensure the loops are strong enough to withstand regular use, such as belt loops.
Finishing and Completion of Machine-Made Button Loops
Once you’ve sewn your button loops, it’s time to finish them off. Here’s a step-by-step guide to achieve a professional appearance:
- Button Placement: Double-check the placement of your buttons to guarantee they’re evenly spaced and aligned with the buttonholes.
- Thread Tension: Adjust your thread tension to achieve a consistent loop length. A tighter tension will result in shorter loops, while a looser tension will produce longer loops.
- Buttonhole Shape: Ensure the shape of your buttonholes matches the shape of your buttons. This will prevent any misalignment or gaping.
- Loop Length: Trim your loops to the desired length, considering the thickness of your fabric and seam allowance.
- Fabric Thickness: For thicker fabrics, consider using a heavier thread to guarantee the loops can withstand the weight.
- Right Side vs. Wrong Side: If you’re using a topstitch, make sure you’re stitching the right side of the fabric. If understitching, stitch the wrong side.
- Topstitch: If you’re using a topstitch, make sure it’s even and consistent. This will give your button loops a neat, finished appearance.
- Understitch: If you’re understitching, make sure the stitches are invisible from the right side of the fabric.
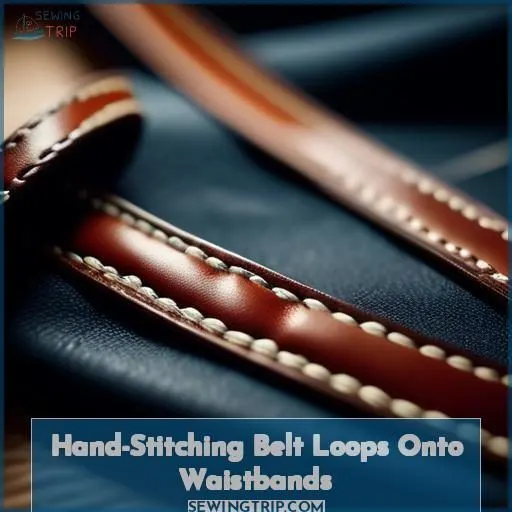
Hand-Stitching Belt Loops Onto Waistbands
After mastering button loops, let’s tackle belt loop placement on pants for that custom fit.
Choose sturdy fabric for loop durability and size them to slide belts through with ease.
When hand stitching techniques come into play, it’s all about the details.
Sew belt loops onto the waistband with care, ensuring each loop is evenly spaced for a polished look.
It’s not just about how to sew belt loops, it’s about elevating your garment with precision and style.
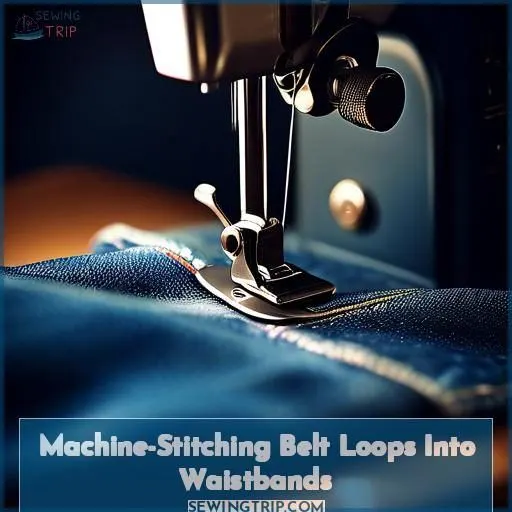
Machine-Stitching Belt Loops Into Waistbands
Now that we’ve covered hand-stitching, let’s explore machine-stitching belt loops onto waistbands. This method is more secure and appropriate for larger sewing projects. Here are the steps:
- Belt Length: Measure the belt length and cut the waistband accordingly.
- Loop Spacing: Decide on the desired loop spacing and mark the points on the waistband.
- Fabric Thickness: Consider the thickness of the fabric when choosing the needle size and thread strength.
- Sewing Project: Set the machine for a stitch that will securely attach the belt loops to the waistband.
- Attaching Belt Loops: Position the belt loops over the marked points and sew them onto the waistband using the chosen stitch.
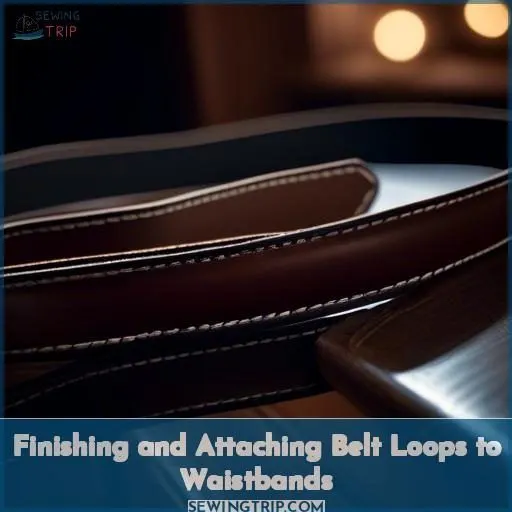
Finishing and Attaching Belt Loops to Waistbands
Now that you’ve mastered the art of sewing belt loops onto your waistband, it’s time to take it to the next stage. In this section, we’ll explore the realm of finishing and attaching belt loops to your waistband. Whether you’re working with heavy-duty thread or embroidery thread, the key is to make sure your belt loops are secure and won’t fray or come loose.
To start, think about the material of your belt loops. Bonded nylon or Dacron are good choices because they’re strong and won’t snag. For placement, aim for a 1/4-inch overlap on each end. Reinforcement is essential, so consider using a guide plate with a firm material, such as a piece of cardboard, to make sure they’re lined up properly.
When it comes to style, the choice is up to you. Whether you prefer a simple slip stitch or a more decorative imitation serger stitch, the key is to keep a consistent length and pattern. For striped or printed fabrics, consider using a seam ripper to make sure the finish is perfect.
Use these tips in your sewing process, and you’ll be well on your way to creating a waistband that’s not just functional but also visually appealing.
Frequently Asked Questions (FAQs)
What is the best thread to use for hand-sewn thread chains?
You’ll want to use heavy-duty or embroidery thread. It’s strong, durable, and won’t unravel easily—the perfect choice for neat, tight hand-sewn chains.
Can I use a different type of thread for machine-sewn thread chains?
Machine chains let you get creative – from embroidery floss for delicate pieces to sturdy upholstery thread for heavy-duty projects. Imagine stitching with yarn’s vibrant hues or waxed thread’s rustic charm. The thread’s the limit when machine chaining!
How do I adjust the angle of the stitch for machine-made button loops?
You adjust the zig-zag stitch angle using your machine’s settings. Most allow 0-90 degree adjustments. For button loops, aim for 45-90 degrees to create clean, squared corners on the loops.
Can I use a different needle for sewing machine-made button loops?
A sharp needle, like a microtex or topstitching needle, works great. It’ll pierce cleanly through the threads without damaging them. Just take it slow and use a stable presser foot – you’re in control.
How do I finish the ends of machine-made button loops?
To finish machine-made button loops, you’ll double-thread a needle and weave it through the loops, securing with knots. Alternatively, use a zig-zag stitch to encase the loops’ raw ends – quick and pro!
Conclusion
Elevating your sewing prowess to astonishing new heights, mastering how to loop sew will unleash a realm of possibilities. With thread chains, button loops, and belt loops at your disposal, you’ll create garments that transcend mere fabric, becoming masterpieces infused with unparalleled durability and visual splendor**. Embrace these loop sewing techniques, and your projects will forever be transformed.

