This site is supported by our readers. We may earn a commission, at no cost to you, if you purchase through links.
 To open a sewing machine foot pedal, first identify if it’s a generic or original design with a clamshell or modern style.
Carefully examine the bottom for curled metal edges, sliding your fingers along the shorter edge without the curl.
Use a screwdriver to gently wedge the bottom downwards, exposing the sliding mechanism.
Next, insert the screwdriver tip into a slot or seam and pry the bottom cover downwards, sliding it off most of the way.
Seek assistance from an experienced technician if unsure, as components may fly off during disassembly.
Proceed with caution, and you’ll guarantee a seamless process.
Table Of Contents
Key Takeaways
- Identify the type of foot pedal (generic or original, clamshell or modern style) to determine the appropriate disassembly approach
- Carefully examine the bottom of the foot pedal, locating the curled metal edges and sliding mechanism to access the internal components
- Use a screwdriver to gently wedge and slide off the bottom cover, taking caution to avoid losing any small parts
- Seek assistance from an experienced technician if unsure about the disassembly process to ensure no components are misplaced
How to Open Sewing Machine Foot Pedal?
To open a sewing machine foot pedal, first identify the type of foot control, then access the sliding mechanism and remove the bottom cover by carefully wedging it downwards. Reverse these steps to reattach the bottom cover, ensuring proper alignment.
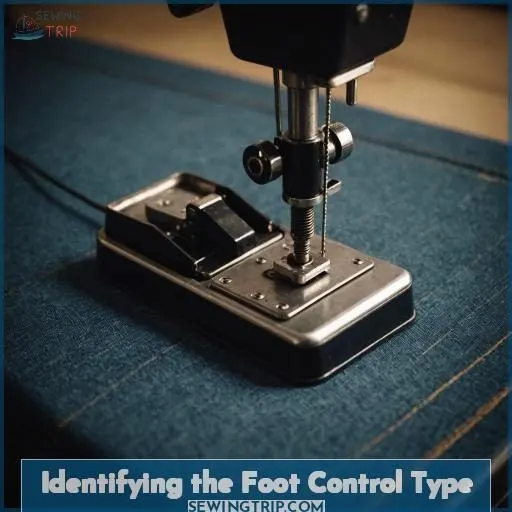
Identifying the Foot Control Type
To begin, you’ll need to determine the type of foot control you’re dealing with.
Is it a generic foot pedal or the original one that came with your sewing machine?
Scrutinize it – is it a clamshell-style foot control, or does it have a more up-to-date design?
Singer’s Touch and Sew series, for instance, employs a distinctive clamshell foot control.
Pfaff foot controls also have a unique style.
Understanding the specific type will aid your approach when it comes time to open it up.
Observe details such as the presence (or absence) of screws, the configuration of the housing, and any identifying marks.
This information will be essential as you proceed to access the internal components.
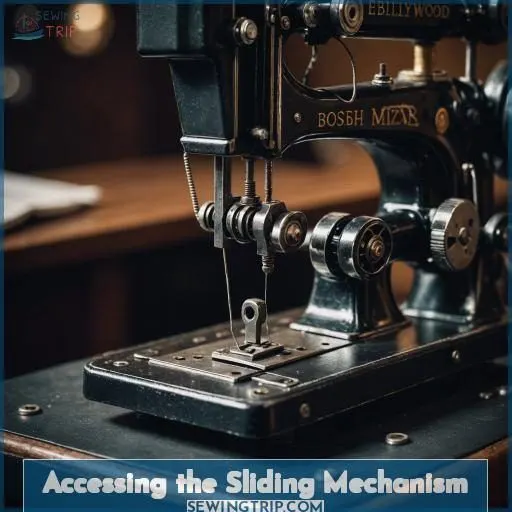
Accessing the Sliding Mechanism
To access the sliding mechanism, you’ll need to examine the foot pedal’s bottom closely.
The curled metal edges on the bottom are your key to discovering its secrets.
Gently slide your fingers along the shorter edge without the metal curl – this is where you’ll find the entry point.
Using a screwdriver, carefully wedge the bottom downwards, working it back and forth until it starts to slide off.
Be mindful, as the bottom may come off quickly, so keep a close eye on any tiny parts that could go flying.
With patience and a steady hand, you’ll have the sliding mechanism exposed, ready for the next step.
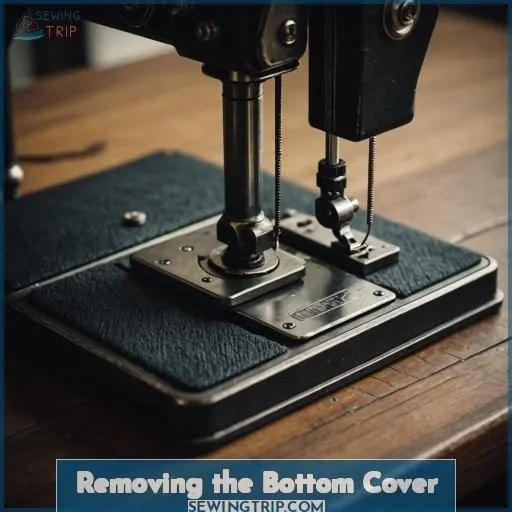
Removing the Bottom Cover
Start by inserting the tip of a flat-head screwdriver into the slot or seam along the bottom edge of the foot pedal. Carefully wedge the screwdriver to pry the bottom cover downwards, sliding it off most of the way to access the internal components.
Insert the Tip of a Screwdriver Into the Slot
To remove the bottom cover, start by sticking the tip of a screwdriver into the slot. Gently wedge the bottom downwards, working it back and forth to slide the cover off most of the way. Be cautious during disassembly, as parts may fly loose, and seek assistance if you’re unsure about the process to avoid missing any tiny components.
Carefully Wedge the Bottom Downwards
With your screwdriver’s tip wedged into the slot, gently apply downward pressure onto the pedal’s bottom. Avoid forcing it, allowing the curled metal edges to slowly give way as you carefully slide the bottom portion downwards. Maintaining a steady, controlled motion prevents damage to your Fashion Mate 257’s Rocketeer-style foot pedal during this delicate operation.
Slide the Bottom Off Most of the Way
With the screwdriver tip wedged into the slot, gently work the bottom cover off by sliding it back and forth. Carefully slide the cover most of the way off, taking care not to lose any small parts. When reattaching, reverse the sequence, ensuring the cover aligns properly to avoid issues during reassembly.
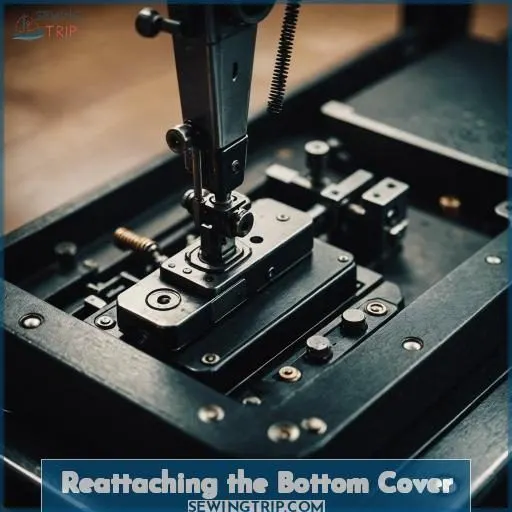
Reattaching the Bottom Cover
To reattach the bottom cover, reverse the steps you took for removal. Carefully slide the bottom portion back onto the foot pedal housing, ensuring proper alignment of the curled metal edges and maintaining the correct orientation.
Reverse the Steps for Removing the Bottom
To reattach the bottom, reverse the steps you took to remove it.
Carefully slide the bottom back on, ensuring proper alignment.
Be mindful of any reassembly difficulties.
Don’t hesitate to seek assistance from a Pfaff dealer if you have any missing part concerns.
They may even be able to help you inspect the coupler and search for replacement parts.
Slide the Bottom Back On, Ensuring Proper Alignment
To reattach the bottom cover, simply slide it back on, making sure it aligns correctly. This step demands caution and accuracy to prevent any misalignment that could result in friction or affect the foot pedal’s longevity and tension. Proceed patiently and verify the alignment twice to ensure a safe and seamless reassembly.
| Alignment | Friction | Durability | Tension | Safety |
|---|---|---|---|---|
| Essential for proper operation | Can cause wear and tear | Impacts long-term use | Affects control and responsiveness | Ensures reliable operation |
Seeking Assistance for Disassembly
After carefully removing the bottom cover, you may encounter a few challenges.
Parts can easily fly off during disassembly, leaving you scrambling to find any missing pieces.
To avoid this headache, it’s best to seek assistance from an experienced technician, like your local Pfaff dealer.
They’ll guide you through the proper disassembly procedure, ensuring no tiny components get lost.
And when it’s time to put it all back together, their expertise will prove invaluable, helping you reassemble the foot pedal without a hitch.
Don’t be afraid to turn to the pros.
They can even inspect the copper components and provide recommendations on replacement parts, if needed.
With their help, you’ll have your foot pedal working like new in no time.
Frequently Asked Questions (FAQs)
What tools are needed to disassemble the foot pedal?
You’ll need a sturdy flathead screwdriver to carefully pry open the casing. Approach with patience – these pedals often conceal their secrets, yearning for the experienced touch.
How can I determine if any parts are missing?
Sorting parts methodically lets you spot gaps, like missing puzzle pieces. Take photos before and during, then compare – any leftovers signal something’s amiss. Keeping an eagle eye throughout disassembly prevents future headaches.
What precautions should I take during the disassembly process?
Make a work area, lay out tools. Avoid disassembling until you’re confident—parts may fly unpredictably. Handle carefully, label components. Mastering the process empowers you for future repairs.
How can I properly label and store the disassembled parts?
Label each part with masking tape or permanent marker. Lay out the pieces neatly on a clean surface for reassembly. Just like mastering a new skill, taking it step-by-step makes success inevitable.
Where can I find replacement parts if needed?
Envision gently repairing that stubborn foot pedal, your sewing machine’s heartbeat. eBay and local sewing shops offer affordable replacement parts, breathing new life into your trusty companion.
Conclusion
Traversing the labyrinthine realm of sewing machine foot pedals, you’ve deciphered the enigmas to frictionless operation.
With your newfound wisdom on how to pry open sewing machine foot pedals, routine upkeep or rectifications become a cinch.
Approach each phase systematically, observing precautions, and you’ll safeguard a seamless disassembly process.
Bestowing upon you the confidence to surmount any pedal-related predicaments.
Cherish this hard-won expertise, and let your sewing proficiency ascend.

