This site is supported by our readers. We may earn a commission, at no cost to you, if you purchase through links.
We’ll show you how to do it without a seam ripper in nine easy ways.
From fabric scissors to stitch erasers, you’ll be able to quickly and easily remove embroidery without damaging your fabric.
Table Of Contents
- Key Takeaways
- How to Remove Embroidery Without a Seam Ripper?
- Fabric Inside Out Method
- Tweezers: a Handy Alternative
- Consider Fabric Scissors
- Using a Stitch Eraser (or Electric Trimmer)
- Carefully Remove Threads With Fingernails
- Try Using Nail Clippers
- Exploring Razor Blade Options
- Reviewing Chemical Removers
- Patience and Practice
- Frequently Asked Questions (FAQs)
- Conclusion
Key Takeaways
- You’ve got options: from fabric scissors to stitch erasers, nail clippers to good ol’ tweezers, there’s more than one way to say goodbye to unwanted embroidery.
- Go slow and steady: removing embroidery is a delicate task that requires patience and a gentle touch – rushing it might lead to accidental snips and fabric tears.
- Inside out is the way out: turning your garment inside out lets you see the stitching pattern clearly, making it easier to navigate the thread removal process without damaging the fabric.
- Practice makes perfect: before diving into your favorite shirt, test out your embroidery-removal skills on some scrap fabric to get a feel for the tools and techniques.
How to Remove Embroidery Without a Seam Ripper?
You can absolutely remove embroidery without a seam ripper, and there are several techniques you can try. One method involves turning your garment inside out to get a better view of the stitching details. This helps you understand the embroidery’s structure and guides your removal process. Another option is to use tweezers, which allow for precise removal of leftover stitches and threads while minimizing fabric damage. You can also carefully use embroidery scissors or manicure scissors to snip the threads, but this requires a steady hand and caution to avoid cutting the fabric itself.
If you want to know more, there are other methods you can explore.
Fabric Inside Out Method
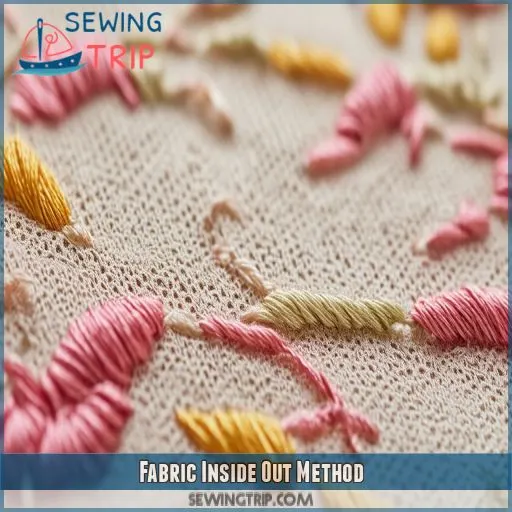
Turning your garment inside out is a key step in the embroidery removal process.
This simple technique lets you carefully look at the stitching details, making it easier to figure out how to remove the stitches.
By exposing the back of the embroidery, you can see the stitching pattern clearly, giving you a better understanding of where to start.
This method works for all types of fabrics and embroidery, making it a versatile first step in your embroidery removal journey.
Tweezers: a Handy Alternative
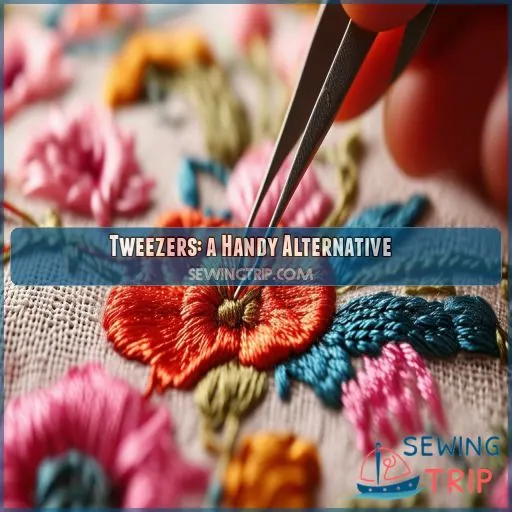
Tweezers are a great alternative to a seam ripper for removing embroidery, especially when precision is key.
They’re perfect for removing leftover stitches and threads, ensuring you don’t damage the fabric.
Work from the front of the garment and use tweezers to pluck out those delicate threads with accuracy.
This method is ideal for intricate embroidery or delicate fabrics where you need a gentle touch.
You can also use a stitch eraser for more efficient thread removal, especially on machine-made embroidery.
Consider Fabric Scissors
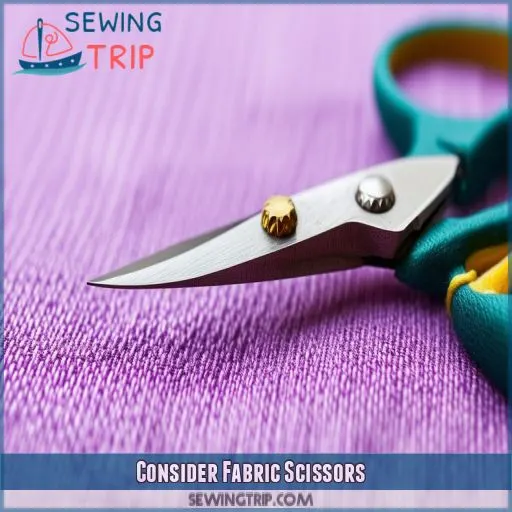
If you’re trying to remove embroidery without a seam ripper, fabric scissors can be a lifesaver. Picking the right pair of scissors is important, as is keeping safety in mind to avoid any accidental cuts or fabric damage.
Choosing the Right Scissors
When choosing scissors for embroidery removal, consider the size, sharpness, and material. Opt for small, sharp scissors designed for fabric or embroidery work. The size and sharpness will help you target and cut individual threads without damaging the surrounding fabric. Embroidery scissors or manicure scissors are ideal, as they allow for precise cuts.
Safety First
When using fabric scissors, safety precautions are paramount. Here are some key considerations:
- Always use sharp scissors designed for fabric to avoid snags and tears in your clothing.
- Be cautious when cutting near delicate fabrics to prevent accidental cuts or damage.
- Make sure your work area is clear of hazards, and you have good lighting to see the fabric clearly.
- Keep a clothing brush or lint roller nearby to quickly address any stray threads or fabric pills that may occur during cutting.
- Take your time and work slowly to avoid mistakes.
Removing Stitches
When removing embroidery, the next step is to address the stitches themselves. While fabric scissors can be used, it’s important to be cautious and choose the right type of scissors for the job. Embroidery scissors are ideal, as they’re designed for precision work and won’t damage the fabric. You can also use manicure scissors as a substitute, but be extra careful not to cut the fabric.
The process of removing stitches involves carefully snipping the threads with the tip of the scissors. Work in small sections and start with satin stitches if the embroidery has multiple layers. Once you’ve cut the stitches, use a darning needle to lift the threads away from the fabric’s front, ensuring a thorough removal. Repeat this process as needed, and remember to work patiently to achieve a clean finish.
Using a Stitch Eraser (or Electric Trimmer)
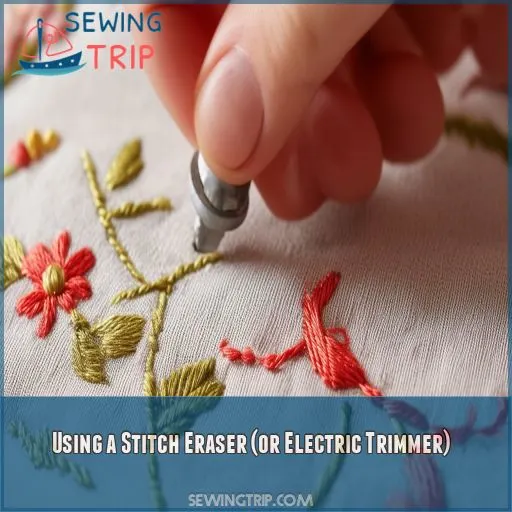
If you’re dealing with high-quality, machine-made embroidery, a stitch eraser (or electric trimmer) is your best bet.
This method is more efficient and quicker than using a seam ripper.
To start, pull the fabric tight and work from the outside of the embroidery in.
The eraser will cut through the threads, releasing them from the fabric.
Just be sure to regularly check its progress to make sure it’s cutting correctly and avoid any fabric damage.
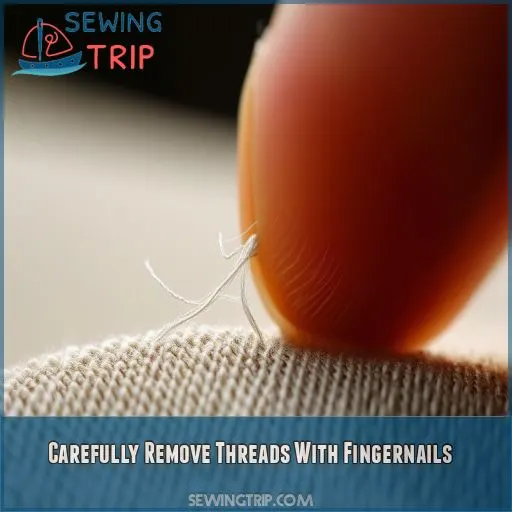
Carefully Remove Threads With Fingernails
If you’re looking for a more precise method, try using your fingernails to carefully remove the threads.
This technique requires patience and a gentle touch to make sure you don’t damage the fabric.
It’s best to work slowly and use a magnifying glass to check your progress.
This method is especially useful for intricate embroidery designs that require a delicate approach.
While it may take longer, with careful attention, you can achieve a clean removal.
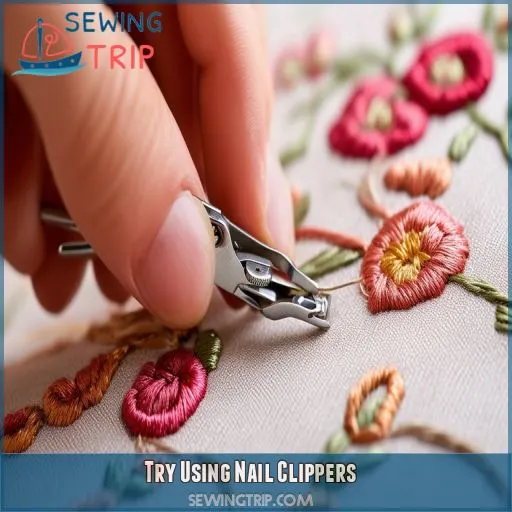
Try Using Nail Clippers
If you don’t have a seam ripper, nail clippers can be a handy tool for embroidery thread removal.
They’re especially useful for cutting through stubborn threads.
To use them effectively, turn your garment inside out and locate the embroidery’s backside.
Gently slide the nail clippers under the threads and snip them carefully.
Work in small sections to avoid damaging the fabric.
This technique is ideal for removing embroidery from delicate fabrics, as it provides more control than a seam ripper.
Remember to work slowly and cautiously to avoid any accidental cuts or fabric damage.
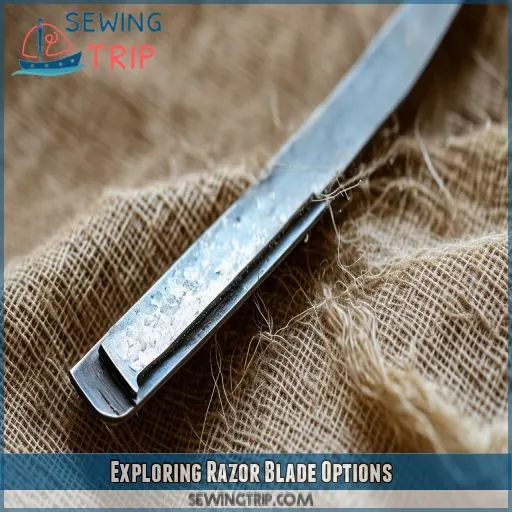
Exploring Razor Blade Options
Razor blades offer a swift and efficient method for embroidery removal, but they require careful handling to prevent accidents and fabric damage. When using a razor blade, always prioritize safety. Opt for a fresh blade with the best sharpness to make sure you get precise cuts and minimize the risk of fabric snags or accidental cuts. Protect your fabric by stabilizing it on a flat surface and securing the area surrounding the embroidery with masking tape. This creates a barrier, reducing the chances of accidental cuts to the fabric.
The correct blade technique is key. Gently glide the blade under the embroidery, using a slow and steady motion to avoid applying excessive pressure that could damage the fabric. Work in small sections, gradually cutting the threads. Remember to regularly check your progress to make sure the blade is cutting effectively and you’re achieving the desired result.
Reviewing Chemical Removers
Chemical removers are an option for embroidery removal, but they come with risks. These products contain strong chemicals, like sodium thioglycolate and calcium thioglycolate, which can cause chemical burns if left on the skin for too long. They’re also not suitable for use near the eyes, nose, or genitals.
Here are some pros and cons to think about:
Pros: Chemical removers are a quick and easy at-home option for embroidery removal.
Cons: They can cause chemical burns and irritation, especially if you have sensitive skin or use them incorrectly.
- Risks: Chemical removers can be harmful if not used properly, leading to swelling, inflammation, rashes, blisters, or burns.
Patience and Practice
Removing embroidery is a skill that requires time, patience, and practice. You can’t rush the process—take your time and be careful. It’s an art that demands a gentle hand and a keen eye for detail.
Practicing on scrap fabric first is key. Get a feel for the tools and techniques before tackling your actual garment. This way, you’ll develop the precision and confidence needed to achieve a professional result. Remember, it’s all about mastering the craft with patience and practice.
Frequently Asked Questions (FAQs)
How do you remove embroidery from clothes without a seam ripper?
You can remove embroidery with a sharp knife or razor blade, cutting as close to the fabric as possible. Alternatively, use a needle and thread to loop the embroidery threads, then gently pull them off the fabric.
What can I use as a seam ripper if I don’t have one?
You can use a pair of sharp embroidery scissors, a razor blade, or a thread ripper blade (fabric blade). However, these tools require extra caution, as they can damage the fabric.
How to quickly remove embroidery?
To quickly remove embroidery, use a stitch eraser. This tool works like a hair trimmer, cutting and removing threads from machine embroidery. You can also use a safety razor to cut through tight areas of stitching.
How to remove stitches without a seam ripper?
There are a few ways to remove embroidery without a seam ripper: use a sharp knife, a fabric steamer, tweezers, or a needle and thread.
Can I use nail clippers?
No, nail clippers aren’t suitable for removing embroidery. Try a hair trimmer, a razor blade, or an X-acto knife instead.
How do I avoid damaging fabric?
Always work from the back of the fabric, so any damage is less visible. Avoid using too much pressure, especially with blades, to prevent puckering. Stop when you reach the fabric. Keep the fabric taut as you work.
No tools, now what?
What’s the rush? Before you begin, dampen the embroidery thread and keep the fabric taught. Now, use your fingers to pluck the threads out, or drag your fingernail across smaller stitches to scrape them off. If you have a disposable razor, carefully shave off the thread from the back of the work.
Any chemical removers?
Yes, there are chemical embroidery removers available, but I can’t find any specific products or brands. AllStitch Embroidery Supplies mentions "aerosol sprays and chemicals" as an option.
Quickest method?
The quickest method to remove embroidery is using an electric stitch removal tool. However, these tools are expensive. An alternative is to use tweezers to pull out the stitches.
Conclusion
Removing embroidery without a seam ripper is a challenge, but with these nine methods, you can find the one that works best for you and your project.
From fabric scissors to stitch erasers, there’s an option to suit every situation.

