This site is supported by our readers. We may earn a commission, at no cost to you, if you purchase through links.
To rip jeans and leave the white thread, start by making strategic cuts with scissors or a cutter.
Then, gently pull out the blue threads to expose the white ones underneath.
It’s all about creating a natural, effortless vibe.
Choose a light to medium wash pair, and focus on the thigh or knee area for a relaxed, casual look.
Don’t worry if it gets a little messy – that’s half the fun!
With a few snips and tugs, you’ll be rocking that trendy, ripped look in no time.
Table Of Contents
Key Takeaways
- You’re about to get your DIY rockstar on and rip those jeans like a pro! To get started, pick the perfect pair – think old, faded, and comfy, with a light to medium wash that’s just begging for some distressing love.
- When creating holes and rips, vary the size and shape to achieve a natural look. Cut horizontally, then gently pull out the blue threads to expose that coveted white thread. And don’t worry, it’s okay if it gets a little messy – that’s half the fun!
- To prevent your rips from fraying into oblivion, grab a needle and thread (white, please!) and sew around the perimeter of each hole. Keep it short and sweet – about 1/8 inch should do the trick. This simple trick will keep your ripped jeans looking rad for a long time.
- When it comes to aftercare, When it comes to aftercare, remember to air dry fabrics your masterpiece to prevent fabric shrinkage and preserve the distressing.
. Hang them outside, lay them flat on a towel, or use a drying rack – just avoid that dryer, okay? Your ripped jeans will thank you!
Choosing the Right Jeans
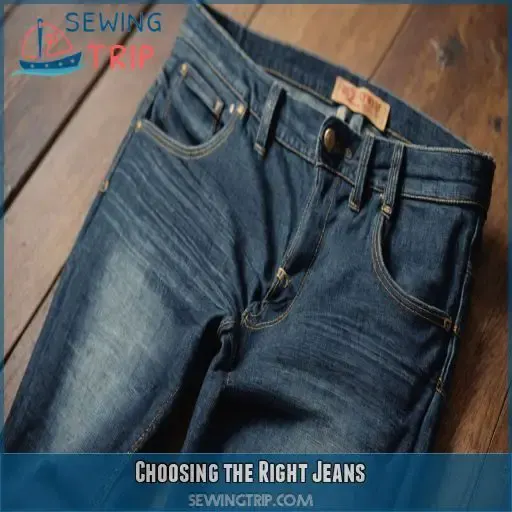
You’re about to get your DIY rockstar on and rip those jeans like a pro! To get started, you’ll need to pick the perfect pair – think old, faded, and comfy, with a light to medium wash that’s just begging for some distressing love.
Selecting Old, Faded Jeans for DIY Ripped Jeans
The thrill of giving old jeans a new life! When selecting old, faded jeans for DIY ripped jeans, think vintage vibes and thrift store finds. Go for denim that’s already broken in, with a natural fade that’s begging for some ripping and distressing. Don’t worry about stains or tears – they’ll just add character to your one-of-a-kind masterpiece!
Considering Light to Medium-Colored Pairs for a Worn-Out Look
- Light wash jeans show off those trendy rips
- Faded denim is begging for a distressed effect
- Soft colors add a laid-back vibe
- A lighter base means less work for you
- Easy to pair with anything
Ensuring a Comfortable Fit and Good Condition
Time to get real – your ripped jeans need to be comfy, or you’ll never wear ’em. Think about it, a good fit is key to rockin’ that worn-out look. You want to feel like you’re wearing your favorite old jeans, not struggling with stiff, uncomfortable fabric.
| Jeans Style | Fabric Stretch | Wear and Tear |
|---|---|---|
| Skinny Jeans | Low-Moderate | High |
| Boyfriend Jeans | Moderate-High | Low-Moderate |
| Old Jeans | Low | High |
| Faded Jeans | Low-Moderate | Moderate-High |
| Distressed jeans, much like those created with Denim Bleaching Techniques, add character to any outfit. | Moderate-High | High |
Preparing for the DIY Project
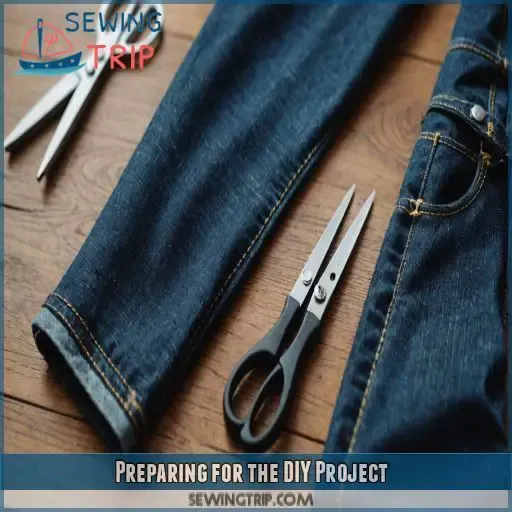
You’re ready to get ripping – literally! To prepare for this DIY project, you’ll need to gather the right materials and tools, understand the difference between ripped and distressed jeans, and prep those old jeans for a major makeover.
Gathering Necessary Materials and Tools
Now that you’ve scored the perfect pair of old jeans, it’s time to gather your DIY squad – scissors, tweezers, sandpaper, chalk, and a fabric marker! Add a pumice stone and washing machine to the mix, and you’re all set to rip, distress, and customize your denim. Get ready to express your creativity and give your jeans a rebirth.
Understanding the Difference Between Ripped and Distressed jeans, much like those created with Denim Bleaching Techniques, add character to any outfit.
- Ripped jeans have bigger holes with visible white threads.
- Distressed jeans have smaller cuts or scrapes with threads still intact.
- DIY distressing allows for a customized look that’s uniquely yours, unlike store-bought versions.
Pre-Washing and Preparing Jeans for the DIY Project
Time to get your jeans ready for a DIY makeover!
Before you start ripping, pre-wash and pre-shrink your denim to prevent any awkward shrinkage later.
Fading or bleaching can also help achieve that perfect worn-out look.
Use a cold wash to preserve the color, and hang them to dry – no dryer, please!
Your jeans are now primed for a ripping good time!
Creating Holes and Rips
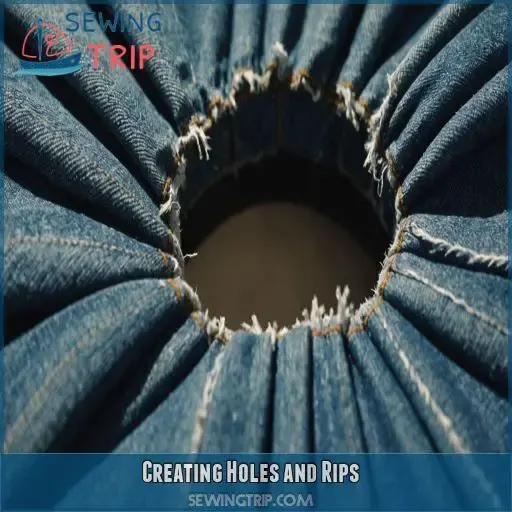
Now that you’ve preNow that you’ve prepped your jeans, it’s time to get ripping – literally! Grab your scissors or cutter, and let’s create some holes and rips that’ll give your jeans that effortlessly cool, worn-out look.
Making Holes Using Scissors or a Cutter/Knife
Grab your trusty scissors or a sharp cutter/knife. Scissors are safer, Scissors are safer, but left-handed scissors matter a knife gives a more precise cut .
. For a natural look, vary the size and shape of your holes. Cut horizontally, then gently pull out the blue threads to expose that coveted white thread.
Reinforcing Ripped Holes by Sewing Around the Perimeter
Now that you’ve made those holes, it’s time to get a little tidy. To prevent your rips from fraying into oblivion, grab a needle and thread (white, please!) and sew around the perimeter of each hole. Use a simple running stitch and keep it short and sweet – about 1/8 inch should do the trick.
Creating Horizontal Holes for a First-Time Rip
Now that you’ve reinforced those ripped holes, it’s time to get creative with your first-time rip! For a relaxed, casual vibe, try creating horizontal holes. Use scissors or a cutter to make small, evenly spaced cuts across the thigh or knee area. Start with one or two and see how you feel – you can always add more later!
Adding Finishing Touches and Distressing
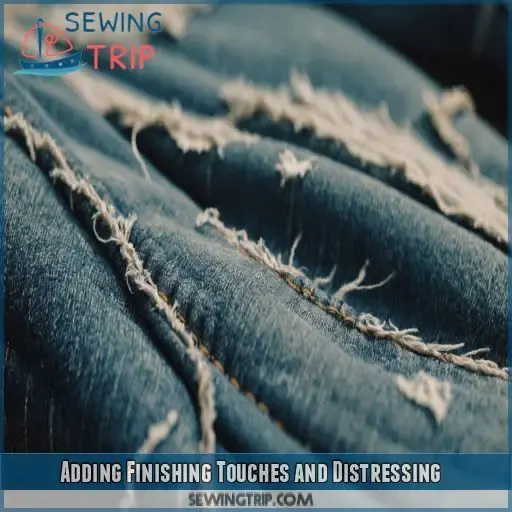
Now that you’ve got your rips and holes in place, it’s time to add those finishing touches that’ll make your jeans look like they’ve been your go-to pair for years. You’ll be fraying, scraping, fading, and shredding your way to a worn-out look that’s uniquely yours – and don’t worry, it’s way easier than it sounds!
Fraying, Scraping, Fading, and Shredding for a Worn-Out Look
Get ready to express your creativity! To achieve a worn-out look, you’ll want to fray, scrape, fade, and shred your jeans. Here are some DIY distressed techniques to try:
- Use a cheese grater to gently scrape away at the denim and create a soft, fuzzy texture.
- Employ a sanding block or sandpaper to smooth out rough edges and fade the denim.
- Try thread removal for a vintage look.
Alternating Between Tools for a Varied Distressing Effect
Time to mix things up! To achieve a varied distressing effect, alternate between tools like scissors, sandpaper, and tweezers. This will create a unique, layered look that’s totally on-trend. For example, use scissors to make a few snips, then sandpaper to smooth out the edges and create a frayed effect. Your denim will thank you!
Distributing Holes Artistically for a Natural Look
Now that you’ve mastered alternating between tools for a varied distressing effect, it’s time to get artsy with hole placement! Rip placement strategies are all about creating a natural, worn-out look. Vary hole sizes and distressing patterns to avoid a uniform, intentional vibe. Mix up fraying techniques and thread exposure control to keep things interesting and uniquely yours.
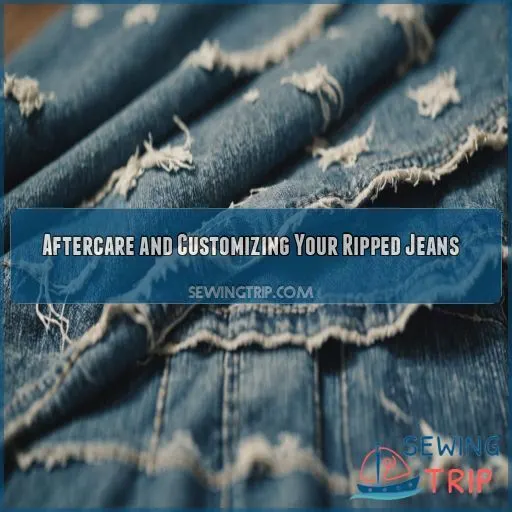
Aftercare and Customizing Your Ripped Jeans
Now that you’ve successfully ripped and distressed your jeans, it’s time to learn how to take care of them.
From avoiding the dryer to trying out laddering and other techniques, From avoiding the dryer to trying out distressing denim techniques and other methods, I’ll guide you through the simple steps to keep your ripped jeans looking rad.
.
This will help make them an extension of your personal style.
Avoiding the Dryer and Hanging Jeans to Dry Naturally
You’ve added those perfect Professional Finishing Touches and now it’s time to dry your masterpiece.
, and now it’s time to dry your masterpiece. To prevent fabric shrinkage and preserve the distressing, air drying is key. Here are three natural drying methods to try:
- Clothesline drying: Hang your jeans outside, away from direct sunlight.
- Drying rack: Place your jeans on a rack, allowing air to circulate.
- Flat drying: Lay your jeans flat on a towel, reshaping them as needed.
Customizing Your Ripped Jeans With Laddering and Other Techniques
Now that you’ve mastered the art of air-drying your ripped jeans, it’s time to get creative! Take your distressing game to the next level with laddering, razor cutting, and sandpaper techniques. Add some frayed edges and horizontal rips to give your jeans a unique touch. Experiment with thread removal methods to achieve that perfect, worn-out look.
Frequently Asked Questions (FAQs)
How to make stringy holes in jeans?
Time to get a little destructive! To make stringy holes in your jeans, use scissors or a razor blade to cut a small hole, then gently pull out the blue threads with tweezers, leaving the white threads intact.
What is the best way to rip jeans?
Ready to get creative? To rip jeans like a pro, grab sharp scissors or a razor blade, mark your target area with chalk, and carefully cut horizontal slits – don’t worry, it’s easier than you think!
How to stop jeans from continuing to rip?
Hey, friend! To stop your jeans from continuing to rip, To stop your jeans from continuing to rip, simply sew a circle around the frayed edges using a matching thread color.
. This will keep the rip from spreading and give your jeans a rad, distressed look!
How to close up ripped jeans?
Whoops, ripped those jeans again! To close up ripped jeans, grab a needle and thread, and get stitching! Simply sew around the rip’s perimeter to prevent it from growing, and voilà – your fave jeans are good as new!
What tools are necessary for ripping jeans at home safely?
To rip jeans safely at home, you’ll need sharp fabric scissors, tweezers, chalk or a fabric marker, sandpaper or a pumice stone, and a cheese grater – don’t worry, it’s easier than it sounds!
How long does it take to distress a pair of jeans?
Get ready to express your creativity! Distressing a pair of jeans can take anywhere from 30 minutes to a few hours, depending on the level of distressing and the tools you use – so, grab your scissors and let’s get started!
Can ripped jeans be dressed up for formal occasions too?
You can totally dress up ripped jeans for formal occasions – think pairing them with a sleek blazer, statement accessories, and some killer heels. Own that edgy-chic look and rock those ripped jeans with confidence!
What type of jeans work best for a ripped knees look?
Get ready to tap into your inner rebel! For a killer ripped knees look, opt for old, faded, or light-washed jeans that are begging for a makeover. Think comfortable, well-fitting pairs that’ll make you feel like a total boss.
Are there any risks of damaging jeans during the distressing process?
Yup, there are risks of damaging your jeans during the distressing process! Be cautious not to cut too much or use excessive force, which can lead to unwanted tears or a totally ruined pair.
Conclusion
You’ve made it – you’re now a certified jeans-ripping master! With these easy DIY steps, you’ve transformed your old, faded jeans into trendy, ripped perfection.
Pat yourself on the back, because learning how to rip jeans and leave the white thread is no joke.
Go ahead, show off your masterpiece, and don’t worry if it’s a little messy – that’s what makes it cool.
Rock those ripped jeans like you’re a pro, and get ready for the compliments to roll in!

