This site is supported by our readers. We may earn a commission, at no cost to you, if you purchase through links.
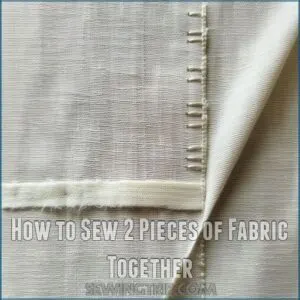 To sew two pieces of fabric together, start by pre-washing and ironing both fabrics—shrinking surprises later aren’t fun!
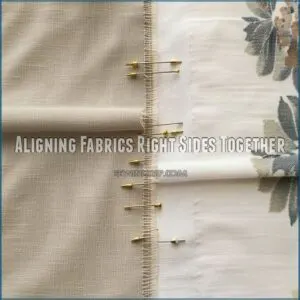
Place the fabrics with the right sides facing each other (the pretty sides), and align the edges neatly. Pin or clip them together to keep everything in place—nothing screams frustration like shifting fabric.
Use a sewing machine with a straight stitch or hand-sew with small, consistent stitches.
Knot the ends to secure the seam, trim the seam allowance, and give it a quick press with your iron for a professional finish.
Ready for more tricks? There’s so much to explore!
Table Of Contents
Key Takeaways
- Prep your fabric by pre-washing and ironing to prevent unexpected shrinkage and ensure smooth sewing.
- Always align your fabrics with right sides facing each other and use pins or clips to keep everything steady before you start stitching.
- Choose the right sewing technique – whether by machine or hand – and use a straight stitch, making sure to secure the ends with a knot for durability.
- Don’t skip the finishing touches: trim your seam allowance, press your seams with an iron, and take the time to clean up edges for a professional-looking result. Right sides facing, secure the ends.
How to Sew 2 Pieces of Fabric Together

Ever wonder how to sew fabric together effortlessly?
Having the right sewing machine tools can also make a big difference.
Align the edges with right sides facing, and use a straight stitch on your machine or by hand.
For sewing fabric seams, secure ends with a knot. Curved seams? Adjust slowly.
Mastering these sewing techniques makes stitching stress-free!
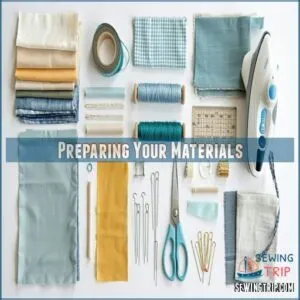
Preparing Your Materials
Before you start sewing, make sure you’ve got the right materials ready to go—it’s the first step toward a smooth project.
Gather your fabric, thread, and tools.
Don’t skip pre-washing and ironing unless you’re aiming for a surprise shrinkage later!
Selecting Fabric Types
Start with fabrics that complement each other. Match fabric textures or weights for smoother sewing.
When choosing fabrics, consider properties like breathability and moisture-wicking.
- Texture comparison: Avoid pairing slippery fabrics with thick ones.
- Color coordination: Blend colors that pop together.
- Eco-friendly choices: Try bamboo, organic cotton, or hemp.
Gathering Sewing Essentials
Getting your sewing essentials together is a must before diving into any project. Here’s your toolkit:
- Sewing machine or hand-sewing needles – choose based on your project planning.
- Sharp scissors – dull blades? Forget precise cuts.
- Pins or clips – essential tools to keep fabrics aligned.
- Iron – wrinkles ruin everything.
Stock up wisely for seamless results!
Pre-wash and Iron Fabric
Before sewing, pre-wash to prevent fabric shrinkage and tackle stains.
Use ironing techniques to smooth wrinkles for better control. Investing in the right iron, like those featuring steam settings for various fabrics, makes a big difference.
Pressing seams guarantees professional results.
Check out this fabric preparation cheat sheet:
| Task | Why It Matters | Quick Tip |
|---|---|---|
| Pre-wash | Avoid shrinkage, stains | Use mild detergent |
| Ironing | Smooth wrinkles, better finish | Iron on correct setting |
| Press Seams | Sharp, neat appearance | Press, don’t drag iron |
Pinning and Cutting
Pinning and cutting are all about getting your fabric aligned and ready for sewing.
without any frustrating slips or uneven edges.
You’ll need some patience and sharp scissors, but trust me, it’s worth it when everything comes together perfectly.
Aligning Fabrics Right Sides Together
Lay your fabrics with the right sides touching like they’re sharing secrets.
Perfect edge alignment makes all the difference in sewing two fabrics.
Use firm pin placement for seamless sewing.
- Tips:
- When Using Fabrics before,seam Try Matching
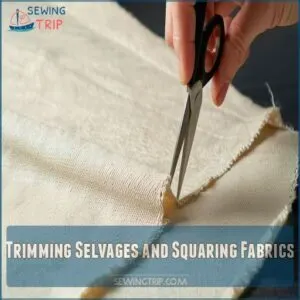
Trimming Selvages and Squaring Fabrics
Selvage trimming isn’t just a chore—it’s your ticket to perfect seams. Snip off those stubborn edges to square your fabric properly. Even cuts make sewing two fabrics a breeze. Use this guide to master cutting tips and fabric joining methods:
| Selvage Types | Fabric Squares | Cutting Tips | Accurate Cuts | Bias Cuts |
|---|---|---|---|---|
| Plain Selvage | Perfect edges | Use sharp scissors | Measure twice, cut once | Angled for flexibility |
| Frayed Selvage | Neat alignment | Pin before cutting | Follow grainline | Adds stretch |
| Decorative Selvage | Bold projects | Cut just inside edge | Check with a ruler | Avoid distortion |
| Tightly Woven | Smooth seams | Trim for efficiency | Stay patient | Increases durability |
| Loose Selvage | Clean look | Cut slowly | Use rotary cutters | Great for curves |
Selvage Types range from plain to decorative, each requiring specific attention.
Fabric Squares benefit from precise cutting for neat alignment and smooth seams.
Cutting Tips, such as using sharp scissors and following the grainline, ensure Accurate Cuts.
Bias Cuts offer flexibility and stretch, ideal for curves and adding durability to projects.
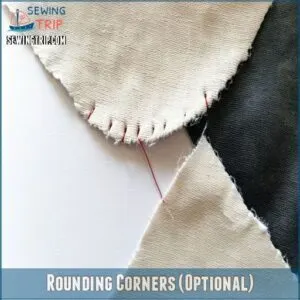
Rounding Corners (Optional)
Rounding corners gives your project a clean, professional look.
Here’s how:
- Use a plate or stencil for even curves.
- Trim excess, leaving space for seams, and consider using techniques for clipping inward corners to minimize bulk.
- Try bias binding for smooth, decorative edges.
Sewing Techniques
When it’s time to join two pieces of fabric, the right sewing technique makes all the difference.
Whether you’re using a machine or sewing by hand, simple, sturdy stitches will help keep your project from unraveling—and your patience intact.
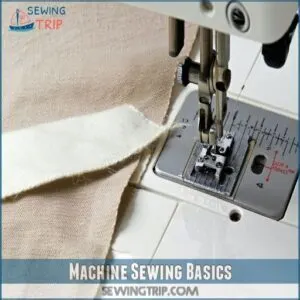
Machine Sewing Basics
Now that your fabric’s ready, fire up the sewing machine.
Check tension control, wind your bobbin tight, and pick needle types matching your material.
Using a high-quality best sewing machine, will help produce even stitches.
Adjust stitch length, guide fabric evenly, and troubleshoot jams quickly to master sewing two fabric pieces together.
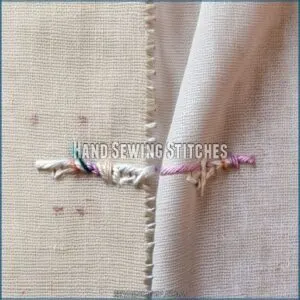
Hand Sewing Stitches
Hand sewing stitches are perfect for flexibility and control.
Whether you’re handling delicate fabrics or mending on the go, try these basics:
- Blind Stitch: For nearly invisible joins.
- Topstitch: Adds strength and style.
- Patchwork: Perfect for quilts.
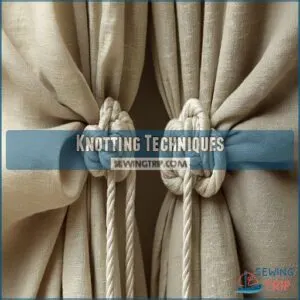
Knotting Techniques
Once you’ve mastered hand sewing, it’s time to explore knotting techniques similar to those used in a tie fleece blanket tutorial.
Start with basic knots to secure stitches. Tighten each carefully, ensuring durability.
Try decorative knots for flair, and troubleshoot knots by adjusting tension.
Perfecting these techniques enhances your sewing basics.
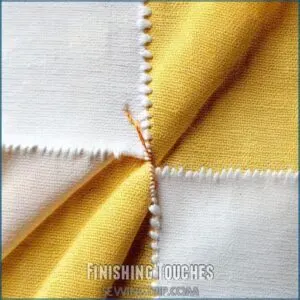
Finishing Touches
Now that your fabrics are sewn together, it’s time to clean up those edges.
Trimming, ironing, and maybe even throwing in a decorative touch will give your project that polished, professional finish.
Trimming Seam Allowance
After you sew fabric together, trim the seam allowance to reduce bulk and keep neat edges.
Use seam allowance tools to:
- Prevent fraying
- Shape sewing seams
- Master finishing techniques
Ironing Seams
Pressing seams isn’t just ironing—it’s magic for sewing seams!
Use steam for thick fabrics; go dry for delicate ones.
Keep your pressing tools handy and avoid puckering by pressing, not sliding.
Flat seams = pro-level seam construction success!
Adding Decorative Elements
Why settle for plain when you can wow?
Add flair with embellishment ideas like lace techniques or fringe options.
Try button artistry or embroidery styles to create unique decorative elements.
To maximize the impact of these decorative elements, carefully consider patch placement and design.
Personalize your sewing projects—make every fabric piece truly unforgettable!
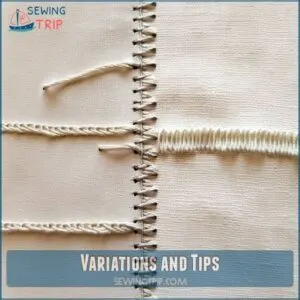
Variations and Tips
In the realm of sewing, no two projects are exactly the same, so it’s smart to adjust your approach based on the fabric and purpose.
With a few handy tips, you can avoid common hiccups and make your creations both practical and long-lasting.
Choosing Fabrics for Different Projects
Mixing fabric types brings personality.
Play with fabric weight, drape, and texture by pairing light cotton with velvet or denim.
Match colors, watch print scale, and verify fabric compatibility for success.
Adjusting Sizes for Various Needs
Adjusting sizes when sewing two fabrics together doesn’t have to be tricky. Use size charts and experiment:
- Factor in fabric stretch.
- Make pattern adjustments for garment fitting.
- Customize blanket sizes per need.
- Trim for seam allowance precision.
- Tweak with playful alterations.
Care and Maintenance Tips
Keep your projects flawless by properly storing fabric, cleaning stains quickly, maintaining thread quality, and giving your sewing machine routine care.
Regularly following general fabric care tips will also guarantee lasting results.
These simple sewing tips yield lasting results.
Frequently Asked Questions (FAQs)
Can you sew two pieces of fabric together?
Just line up the fabric with right sides together.
Pin them to keep everything steady.
Sew along the edge using a straight stitch. Don’t forget to remove pins and secure your seams!
How do you sew small pieces of fabric together?
Line up the right sides of your fabric, pin them carefully, and sew with a straight stitch.
For tiny pieces, go slow, keep your seam allowance consistent, and press those seams flat for a polished look.
How do you stitch two fabrics together?
Place the fabrics with right sides together, edges aligned.
Pin to hold them steady.
Sew with a straight stitch, keeping a consistent seam allowance.
Remove pins as you go, then press the seam flat.
How to attach two fabrics together?
Match the right sides of the fabric together.
Pin them to hold steady.
Sew a straight stitch along the edge.
Finish the seam to keep it neat.
How to make a sewing machine with two pieces of fabric?
Making a sewing machine isn’t a DIY project,
but you can sew two fabrics together using one!
Prep your machine: thread it, adjust settings, and stitch fabrics together with a straight or zigzag stitch.
How to join two fabrics together?
Pin, press, and prep!
Align the fabrics with right sides together, pin edges to prevent slipping, and sew a straight stitch.
Iron the seam flat for a crisp finish. It’s sewing made simple!
How to sew two pieces of fabric together invisibly?
Use a ladder stitch for invisible seams.
Thread a needle, knot it, and sew small, horizontal stitches between the fabric folds.
Tighten gently as you go, hiding the thread completely. It’s magic, really!
How do you sew two squares of fabric together?
Ever tried to make two squares one?
Start by aligning the edges, right sides facing.
Pin them together, then sew along the edge with a straight stitch.
Leave space for seam allowance and press flat.
How do I choose the best thread color?
Choose a thread color that blends seamlessly with your fabric.
Opt for a shade slightly darker or matching your material.
This trick guarantees your stitches disappear, giving your project a professional, polished finish.
Can I mix fabric types in one project?
You can mix fabric types, but it’s tricky.
Pair similar weights, stretch, and care requirements.
Test compatibility first by sewing swatches together.
Adjust machine settings and use appropriate needles to prevent frustration and achieve a professional finish. This will help you avoid problems with fabric types.
Conclusion
Mastering how to sew 2 pieces of fabric together is like gaining a superpower in your crafting journey.
Remember Sarah, who transformed her grandmother’s old curtains into trendy throw pillows? With practice, you’ll create stunning projects that wow everyone.
Whether you’re a beginner or looking to refine your skills, these techniques will become second nature.
Keep experimenting, stay patient with yourself, and don’t be afraid to make mistakes—they’re just opportunities to learn and grow. stunning projects
- https://www.allfreesewing.com/Basics-and-Tutorials/How-to-Sew-Two-Pieces-of-Fabric-Together
- https://sewingtrip.com/how-to-sew-2-pieces-of-fabric-together/
- https://sewfrenchcrossstitch.com/how-to-sew-two-pieces-of-fabric-together-without-overlapping/
- https://www.ikorncrafts.com/how-to-make-a-fabric-wreath/
- https://cutesycrafts.com/2018/10/how-to-make-a-tie-blanket-from-fleece.html

