This site is supported by our readers. We may earn a commission, at no cost to you, if you purchase through links.
 Over 80% of custom patches produced globally are iron-on, yet many struggle to identify them correctly.
You’re about to dive into a comprehensive guide on how to tell if a patch is iron-on, blending research skills with keen attention to detail.
This article will equip you with the knowledge and tools needed for flawless application, ensuring your patches adhere perfectly every time.
Embrace innovation and master the art of applying iron-on patches with confidence.
Table Of Contents
- Key Takeaways
- How to Tell if a Patch is Iron On
- What Are Iron-on Patches?
- Identifying Iron-on Patches
- Iron-on Vs. Sew-on Patches
- Determining Iron-on Patches Without Packaging
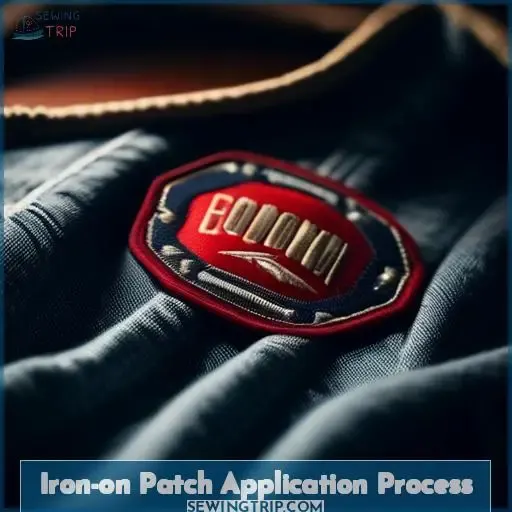
- Iron-on Patch Application Process
- Precautions When Using Iron-on Patches
- Caring for Items With Iron-on Patches
- Alternatives to Ironing
- Customizing With Iron-on Patches
- Top 4 Best Tools for Applying Iron-on Patches
- Frequently Asked Questions (FAQs)
- Conclusion
Key Takeaways
To identify iron-on patches, look for a smooth and shiny backing that indicates the presence of an adhesive layer.
Iron-on patches offer a quick application method. However, they may have limited durability compared to sew-on patches. Sew-on patches require needle and thread but are more flexible and long-lasting.
When determining if a patch is an iron-on patch without packaging, examine the back for adhesive qualities. Perform a heat test to check for stickiness. Also, consider the type of material to ensure it is not heat-sensitive and can withstand the application process.
Care for items with iron-on patches by placing them in areas that won’t stretch or wear easily. Wash gently, air-dry to prevent peeling, and consider alternatives to ironing such as using a hair straightener or fabric glue for application.
How to Tell if a Patch is Iron On
Yes, you can tell if a patch is iron-on by checking for a shiny, smooth backing that feels slightly sticky or by looking for adhesive residue, which indicates it’s designed for iron-on application. These characteristics are distinct from sew-on patches, which lack this adhesive layer.
What Are Iron-on Patches?
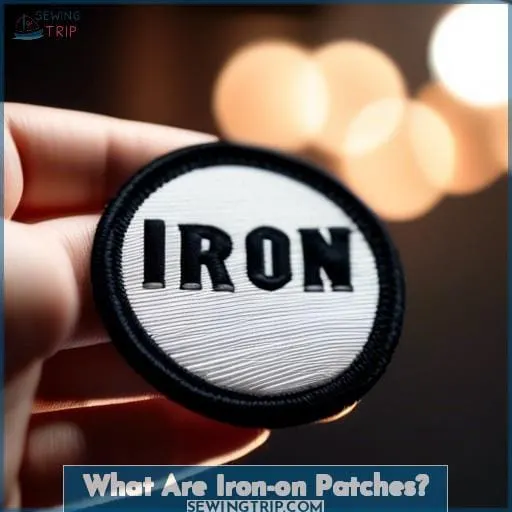
Iron-on patches are your go-to for sprucing up any fabric with a dash of personality or a splash of color.
These nifty little embellishments come with an adhesive backing that, when heated, sticks like a dream to most fabrics. But here’s the kicker: not all materials are game for this heat play. Cotton and polyester? Sure thing.
But toss in leather or delicate synthetics, and you might as well be playing fabric roulette.
So, before you crank up the iron, make sure your canvas is cut out for the heat. Iron-on patches are all about adding flair with minimal fuss, but remember, they’re not fond of the hot-and-heavy.
Identifying Iron-on Patches
Identifying whether your patch is ready for a quick iron-on adventure or if it’s a sew-on quest can be as easy as pie with a few clever tricks up your sleeve.
- Iron-on Identification: Peek at the back of your patch. A smooth, slightly shiny surface screams iron-on, thanks to its heat-set backing.
- Adhesive Texture Analysis: Feel for a sticky, adhesive texture. This is your patch whispering, I’m ready for some heat!
- Iron-on vs Sew-on Comparison: No adhesive or shiny backing? You’ve got a sew-on, partner.
- Packaging-less Patch Determination: Lost the packaging but still curious? Conduct a heat test with your iron (don’t forget the If You Care parchment baking paper for safety) to see if it sticks.
Iron-on Vs. Sew-on Patches
When you’re deciding between iron-on and sew-on patches, think of it as choosing between convenience and craftsmanship.
-
Iron-on patches come with an adhesive backing that bonds to fabric when heated. They’re a quick fix, perfect for a fast-paced lifestyle, but remember, they may not stick around forever—about 25 washes is their durability limit.
-
Sew-on patches require a needle and thread, but they’ll move with the groove of your garment, offering flexibility that lasts as long as your sewing skills hold up.
- If you’re in a pinch or needlework isn’t your jam, fabric glue is a nifty alternative.
Choose your setting wisely, and whether you iron-on or sew-on, your patches will be sticking with you through thick and thin.
Determining Iron-on Patches Without Packaging
Transitioning from the sew-on versus iron-on debate, let’s dive into figuring out if your patch is ready for the iron without its original packaging.
- Examine the Back: Look for a smooth, slightly shiny layer indicating adhesive presence.
- Heat Test: Gently iron the patch on a scrap fabric. If it sticks, it’s iron-on.
- Material Compatibility: Ensure the fabric isn’t one of those heat-sensitive synthetics.
- Patch Longevity: Remember, the iron temperature affects how well and how long the patch sticks.
- Patch Removal: If the iron-on patch isn’t sticking as expected, consider the adhesive’s durability or explore custom designs for a more personalized touch.
Armed with these tips, you’ll be ironing on patches like a pro in no time, ensuring your style sticks around!
Iron-on Patch Application Process
Applying an iron-on patch is like performing a magic trick with fabric as your stage.
- Iron Preparation: Warm up your iron to the right temperature for your fabric. Think of it as tuning your instrument before a concert.
- Patch Placement: Place your patch with precision, like an artist positioning their signature. Remember, location is everything.
- Bonding Techniques: Cover the patch with parchment paper and press down firmly. It’s like pressing a secret handshake between the patch and the fabric.
- Troubleshooting Tips: If the patch plays hard to get, reheat and press again. Persistence pays off.
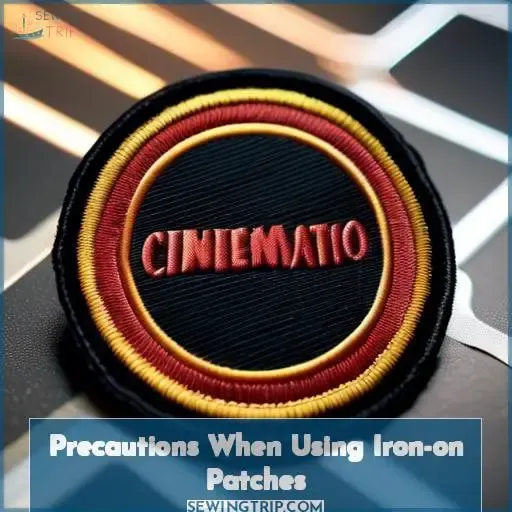
Precautions When Using Iron-on Patches
Transitioning from the nuts and bolts of applying iron-on patches, let’s dive into the precautions to keep your clothes and patches in tip-top shape.
- Adhesive Application: Ensure the patch’s glue side faces down. It’s like making pancakes; you wouldn’t pour batter on the griddle upside down, would you?
- Heat Management: Too much heat can turn your patch into a crispy critter. Start with a lower temperature and gradually increase as needed.
- Fabric Suitability: Not all heroes wear capes, and not all fabrics can handle heat. Keep iron-on patches away from leather and delicate materials that might throw a tantrum under high temperatures.
- Alternative Methods: If your iron acts more like a villain than a hero, consider sewing or using fabric glue as your sidekick for attaching patches.
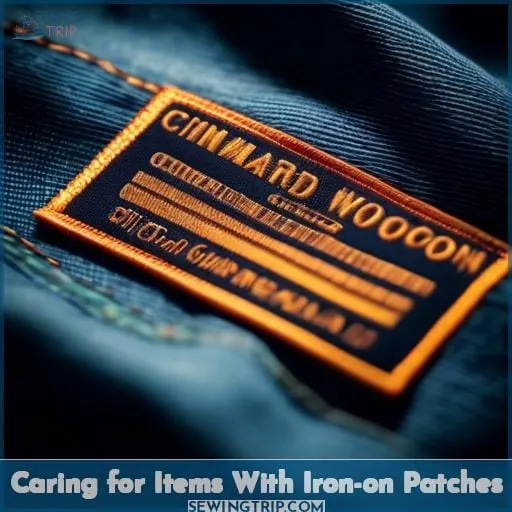
Caring for Items With Iron-on Patches
After ensuring your iron-on patches are securely attached, it’s time to dive into the art of keeping them in tip-top shape.
- Patch Placement Matters: Avoid areas prone to stretching or heavy wear. This strategic move ensures your custom designs and fabric-like adhesive stay intact.
- Gentle Does It: When it’s laundry day, remember that your garment care routine should include washing these items on a gentle cycle. Iron-on patches are machine washable, but they appreciate a soft touch.
- Air-Dry for the Win: Skip the tumble dryer. Air-drying not only prevents the adhesive patches from peeling but also keeps the fabric types and patch patterns in pristine condition.
By following these steps, you’ll ensure your iron-on patches continue to add that personal flair to your wardrobe without a hitch.
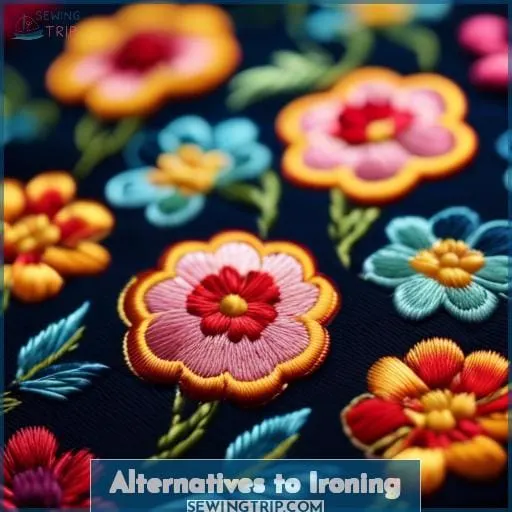
Alternatives to Ironing
After ensuring your newly ironed-on patches are cool and firmly in place, you might wonder what to do if an iron isn’t handy. Fear not! There are a few nifty tricks to secure your patches without the traditional press and steam.
- Hair Straightener: Got a hair straightener? It can double as a mini-iron for patch placement on delicate fabrics. Just be sure to check the iron temperature before you press.
- Fabric Glue: For a quick fix, fabric glue can hold your patch in place—no heat required. It’s a stitch in time without the actual stitching!
- Cricut EasyPress Mini: This little gadget is perfect for those hard-to-reach spots and ensures your patches stick around for the long haul.
Customizing With Iron-on Patches
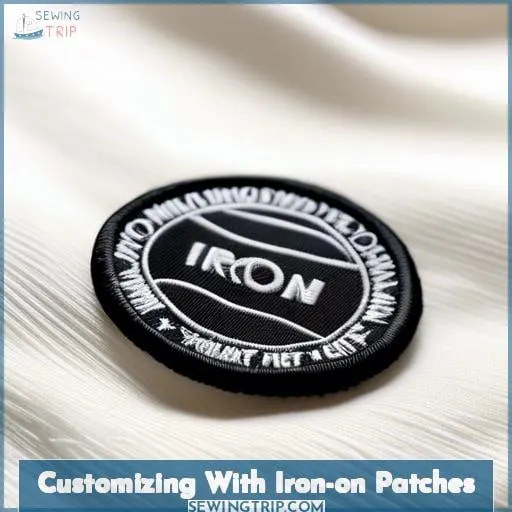
Customizing with iron-on patches is like adding your personal signature to your wardrobe. It’s a cinch to showcase your style or brandish your beliefs with a splash of fabric art. Whether you’re jazzing up a denim jacket or personalizing a tote bag, the right patch placement can speak volumes.
- Patch Styles: Choose from embroidered elegance to printed panache for that unique personalization.
- Custom Designs: Got a sketch or a slogan? Transform it into custom patches that shout ‘you’.
- Application Methods: Iron-on patches stick like a dream with a simple press, but for those fabric patches that need extra grip, a quick stitch secures them for the long haul.
Top 4 Best Tools for Applying Iron-on Patches
When it comes to applying iron-on patches, having the right tools can make all the difference. Here’s a look at the top 4 best tools: Embroidered Patch Assortment Vivid Colors, Cricut EasyPress Mini Heat Press, If You Care Parchment Paper, and Black Decker Vitessa Steam Iron Green.
1. Embroidered Patch Assortment Vivid Colors
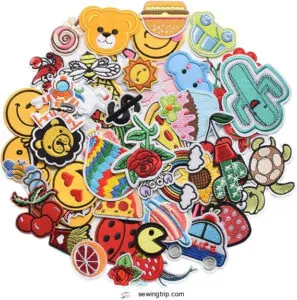
Dive into the world of DIY fashion with a vibrant embroidered patch assortment! These colorful patches come with a hot melt adhesive backing, making them a breeze to iron on. Whether you’re jazzing up a denim jacket or personalizing a tote bag, these patches are your ticket to show-stopping style.
Remember, they’re not just for looks; they can also mend a tear with flair. But keep in mind, for a marathon of wear and tear, stitching them on might just save the day.
- Adds a pop of color and personal style to any item
- Hot melt adhesive backing simplifies the application process
- Versatile for both decorative purposes and repairing clothes
- Adhesive may not withstand heavy or frequent use
- Some patches may be unsuitable for children
- Sewing may be necessary for a more durable hold
2. Cricut EasyPress Mini Heat Press
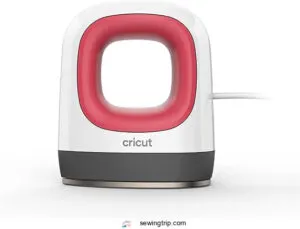
Dive into your next DIY project with the Cricut EasyPress Mini Heat Press, your trusty sidekick for applying iron-on patches. This compact powerhouse is perfect for small spaces and intricate designs, ensuring your patches stick like glue – without the mess! With three heat settings tailored for various materials, it’s like having a magic wand at your fingertips.
Whether you’re jazzing up a jean jacket or personalizing a tote, the EasyPress Mini makes it a breeze, proving that good things indeed come in small packages.
- Compact and lightweight, ideal for small projects and hard-to-reach areas.
- Three heat settings accommodate a wide range of materials.
- Precision tip ensures accurate application every time.
- Limited to smaller projects due to its size.
- May require multiple passes for larger patches.
- Higher price point compared to traditional irons.
3. If You Care Parchment Paper

When applying iron-on patches, If You Care Parchment Paper is your secret weapon. This heavy-duty, nonstick paper is a cut above the rest, ensuring your patches adhere without a hitch. It’s silicone-coated, so unlike its Quilon-coated cousins, it won’t leave a sticky residue.
Plus, it’s eco-friendly to boot! Just remember, while it’s top-notch for ironing on patches, the box’s blade might give you a bit of a headache—better grab those scissors instead.
- Silicone coating prevents sticking and residue
- Heat-resistant and heavy-duty for repeated use
- Eco-friendly and compostable, making it a guilt-free choice
- The package blade may not cut as expected
- Pricier than some alternatives, but you get what you pay for
- May require scissors for a clean cut
4. Black Decker Vitessa Steam Iron Green
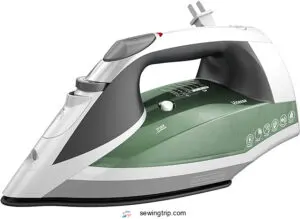
When you’re diving into the art of iron-on patches, the Black+Decker Vitessa Steam Iron Green is your trusty sidekick. Think of it as the Robin to your Batman in the quest to personalize your wardrobe.
With its Even Steam Soleplate Design, you’re guaranteed a smooth glide over any fabric, ensuring your patches stick like they’re supposed to. Its SmartSteam Technology adjusts the steam level automatically, so you don’t have to play a guessing game.
Plus, the vertical steaming feature is perfect for those last-minute touch-ups. And let’s not forget the automatic shutoff – because even superheroes need a safety net.
- Even Steam Soleplate Design for consistent results
- SmartSteam Technology optimizes steam flow
- Automatic shutoff for added safety
- Retractable cord may retract unexpectedly
- Water tank can be tricky to fill
- Light weight may not suit everyone
Frequently Asked Questions (FAQs)
How do environmental conditions affect iron-on patch adhesion?
To identify an iron-on patch, there are several key characteristics to look for:
-
Smooth and slightly shiny surface: The back of an iron-on patch typically has a smooth and shiny appearance, which is the adhesive side.
-
Thin layer of glue or heat-activated adhesive: This layer becomes tacky when heated, allowing the patch to adhere to the fabric.
-
Consistent texture: Iron-on patches often have a more consistent texture on the backing compared to sew-on patches.
-
Slightly sticky feeling: If the backing feels slightly sticky, it’s likely an iron-on patch.
These features distinguish iron-on patches from sew-on patches, which usually have a rougher backing and require stitching to attach to fabric.
Conclusion
Armed with the power of knowledge, you’re now a wizard in the art of identifying and applying iron-on patches.
With the best tools at your disposal, you’re set to transform any fabric into a personalized masterpiece.
So go forth, apply your iron-on patches with confidence, and watch as they stay put, wash after wash.

