This site is supported by our readers. We may earn a commission, at no cost to you, if you purchase through links.
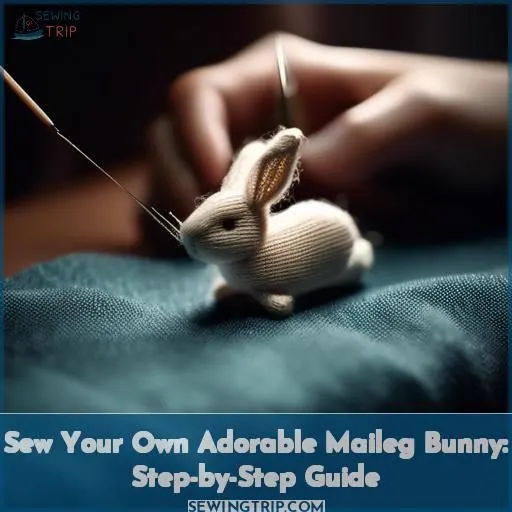
To create your own adorable Maileg bunny, start by gathering the necessary materials like cotton thread, embroidery floss, linen, and toy fiberfill.
Trace the pattern pieces onto cardstock, cut them out, and mark the notches. Stitch around the rabbit ears and the rest of the body, then attach the inner ear.
Clip and press the seams, use firm stuffing techniques and tools to achieve the perfect plump yet sculpted look.
Finally, hand-sew the limbs, add facial features, and consider blushing the cheeks for an extra touch of charm. After all, the true joy is in the handcrafted details.
Table Of Contents
Key Takeaways
- Gathering the right materials is crucial for sewing a Maileg bunny, including high-quality embroidery floss, linen fabric for the main pieces, and soft toy fiberfill for stuffing.
- Preparing the pattern by tracing and cutting out the pieces on cardstock ensures accuracy in the bunny’s shape and size, while marking notches helps align the pieces during assembly.
- Employing firm stuffing techniques and using tools like chopsticks can help achieve a plump yet sculpted look for the bunny, ensuring it stands up and maintains its shape.
- Adding personal touches, such as hand-sewn facial features and optional blushing cheeks, brings the Maileg bunny to life, making it a unique and charming handmade toy.
How to Sew a Maileg Bunny?
To sew a Maileg bunny, you can follow these steps:
- Trace the pattern pieces onto card and join the two rabbit body parts, A to A and B to B, to make one pattern piece.
- Cut the pattern pieces from linen fabric, including two body pieces, four legs, four arms, and one inner ear.
- Sew the rabbit body, leaving the bottom open, and stitch around the legs and arms, leaving the ends open for stuffing.
- Stuff the body parts with toy fiberfill, ensuring that you fill every little space.
- Pin the legs into the cavity of the body and stitch them closed, either by machine or by hand.
- Position the arms in place and hand sew them to the body.
- Create a simple face with a nose stitched from DMC cotton and eyes and mouth stitched with brown cotton.
For the dress, you can follow these steps:
- Cut out the bodice pieces from fabric, using the same fabric for both the fronts and lining pieces.
- Sew the bodice fronts to the backs at the shoulder seams and press the seams open.
- Place both bodice pieces on top of each other with right sides together and sew the neck and back edges.
- Sew up the bodice side seams, with the bodice pieces sewn together first and then the linings.
Remember to use a strong cotton and small stitch length when sewing soft toys, and to reinforce seams with a triple straight stitch if your machine has this feature.
Gathering Sewing Materials
To sew your own adorable Maileg bunny, you’ll need matching cotton thread and DMC cottons for the eyes and nose. Don’t forget the linen for the main pieces and plenty of soft toy fibrefill to stuff your fluffy friend.
Cotton Thread and Embroidery Floss
Gathering your sewing materials is the first step in creating your adorable Maileg bunny. You’ll need high-quality embroidery floss, which comes in a variety of colors and can be divided into six strands for different stitch effects. The thread contrast will depend on your fabric choice and the desired density of the fibrefill. For your project, you’ll want to choose a color that complements the linen fabric and the overall design of your bunny.
When it comes to choosing the right floss color, consider the design and the colors you’ll be using for the eyes, nose, and mouth. You may also want to select a color that matches the linen fabric for a cohesive look. Remember, the thread color can make a significant difference in the appearance of your finished bunny.
In addition to embroidery floss, you’ll also need a sewing machine and normal sewing supplies. Make sure you have a good selection of needles, pins, scissors, and thread in various colors to match your project.
Once you have your materials gathered, you’re ready to start the next step: preparing the pattern.
Linen for Main Pieces
To create your adorable Maileg bunny, you’ll need linen fabric for the main pieces. Linen thread is a suitable choice for this project, as it provides a natural texture and offers a variety of color options. The linen thread is strong and resistant to friction, making it perfect for projects that will be under a lot of stress.
When choosing linen fabric, consider the pattern sizing and fabric choice for your bunny. For example, if you’re making a dress, you might choose a lightweight linen fabric for the bodice and a heavier linen for the skirt. If you’re sewing the bunny’s body, you can use a lighter linen for the main pieces and a heavier linen for the inner ear detail.
When it comes to thread type, you can choose between cotton and linen threads. Cotton thread is softer than polyester and is a good choice for sewing on light fabrics like cotton or linen. Linen thread, on the other hand, is made from 100% linen and is a great option for thicker fabrics. It’s extremely strong and resistant to friction, making it perfect for projects that will be under a lot of stress.
For the Maileg bunny, you can use linen thread for sewing the ears, body, legs, and arms. Remember to pin the inner ear piece between the two ears of the main rabbit body pieces before stitching around the outside of the rabbit ears. Once you’ve stitched the rest of the rabbit body, you can stuff all body parts with toy fibrefill, using small wads of stuffing to prevent bunching.
Toy Fibrefill for Stuffing
Time to stuff your adorable Maileg bunny! Toy fibrefill is a great choice for a safe, hypoallergenic stuffing material. It’s eco-friendly and can be used for a durable construction.
Different stuffing materials are available, so feel free to explore and choose the one that suits your needs.
Preparing the Pattern
To begin, trace your pattern pieces onto card to create sturdy templates. Then, carefully cut out two body pieces, four legs, four arms, and one inner ear from your linen fabric.
Tracing and Cutting
Preparing the Pattern: Tracing and Cutting
Before you begin stitching your charming Maileg bunny, you need to get your pattern ready. Here are the steps to trace and cut your pattern pieces:
- Trace the pattern pieces: Start by tracing the pattern pieces onto a clean surface, such as a large piece of paper or a corkboard. Make sure to use a pen or pencil that won’t smudge or bleed through the paper.
- Cut the pattern pieces: Once you have traced all the pattern pieces, carefully cut them out using sharp scissors. Be sure to keep the pattern pieces organized so you don’t misplace any pieces.
- Cut the fabric: Now it’s time to cut your fabric. Lay out your fabric and place the pattern pieces on top. Use a rotary cutter or sharp scissors to cut out the fabric pieces according to the pattern. Remember to cut two of each piece, except for the inner ear, which you’ll only need one of.
- Check seam allowances: Before you start sewing, make sure to check the seam allowances on your pattern pieces. Seam allowances are the extra fabric that’s added to the edges of the fabric pieces to allow for stitching. Most commercial patterns have seam allowances ranging from 1/4 to 5/8 inch (6.4 to 15.9 mm). For this bunny project, a 5/8 inch (1.5 cm) seam allowance is recommended for most seams.
- Mark notches: To help align your pattern pieces when sewing, mark notches at the corners and other key points on the pattern pieces. This will guarantee that your seams match up correctly.
Inner Ear Detail
Adding the inner ear is like giving your bunny its first whisper of personality. Positioning is key; a slight tilt can turn a curious bunny into a sassy one.
Choose a contrasting fabric that whispers, Look at me! This is where your bunny starts to perk up, literally.
Use stitching techniques that blend seamlessly, because no one likes a bunny with ear surgery scars. This tiny detail will add volumes to your bunny’s facial expression, making it not just a toy, but a character with its own story.
Constructing the Bunny Body
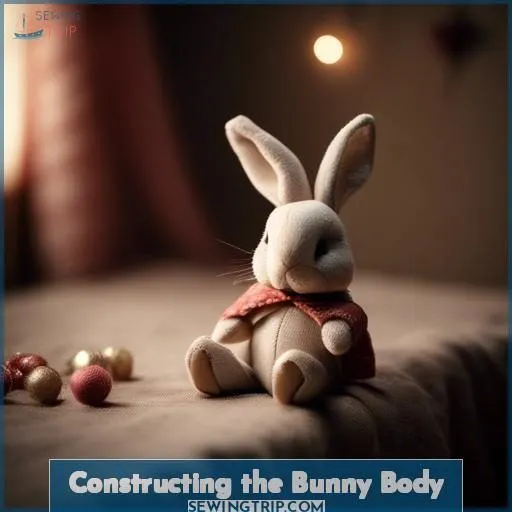
Now it’s time to construct the bunny’s body. Start by stitching around the outside of the rabbit ears first, then stitch the rest of the rabbit body. Next, stitch around the legs and arms, leaving the ends open for stuffing.
Sewing Ears and Body
Now that you’ve prepared the pattern, it’s time to start constructing your adorable Maileg bunny.
Begin with ear construction. Pin the inner ear piece between the two ears of the main rabbit body pieces. Then, stitch around the outside of the rabbit ears first, followed by the rest of the rabbit body.
Remember to leave the legs and arms open for stuffing.
Assembling Legs and Arms
Assemble the legs and arms of your Maileg bunny using toy fibrefill for stuffing. Firm up the stuffing at the ends for better shape. Use tools like chopsticks for easier stuffing. Pin legs into the body cavity, ensuring equal length. Position arms and pin to secure. Hand sew arms to body. Customize with facial features, blushing cheeks, or additional embellishments.
Attaching Inner Ear
Regarding the attachment of the inner ear to your Maileg bunny, there are a few factors to contemplate. Firstly, it’s crucial to make certain that the ear placement is accurate, with the inner parts of the ear connected to the body at approximately the second round. This will preserve the shape and structure of the ear.
Concerning materials, you can utilize either cotton thread or DMC cottons for the inner ear and nose. For the sewing machine and other supplies, you’ll require standard sewing equipment.
With regard to the actual attachment process, you can employ either hand or machine stitching. Hand stitching can provide a more personal touch, while machine stitching can be quicker and more consistent. The choice between the two methods will be based on your personal preference and the desired appearance for your bunny.
As for the ear shape, it’s important to make certain that the ears are rounded and not overly pointed, as pointed ears are undesirable in the Holland Lop breed. Additionally, you may consider using interfacing options to assist the ears in maintaining their shape and standing upright.
Stuffing and Shaping
After sewing the bunny body, it’s time to stuff and shape your creation. Be sure to clip and press the seams to avoid bunching, and use a firm stuffing technique with small wads of fiberfill to achieve the perfect plump yet sculpted look.
Clipping and Pressing Seams
To achieve a polished and professional appearance, trimming and ironing seams are essential aspects of the bunny-making process. Here’s how to proceed:
- Trim seams where needed to eliminate any excess material.
- Iron seam allowances using your chosen pressing instruments.
- For linen fabric, use a low-temperature iron and apply gentle pressure.
- Examine seam openings for any jagged edges or unraveling.
- Complete seams with your preferred seam finishing method.
Firm Stuffing Technique
After clipping and pressing your seams, it’s time to delve into the craft of filling. Perfecting filling methods is essential for attaining that ideal cuddle-worthy firmness. Strive for uniformity in firmness, particularly at the leg ends, to provide your bunny with a stable stance. Bear in mind, preventing clumping is paramount, so employ small balls of filling and pack them tightly.
Using Tools for Stuffing
To guarantee a well-fashioned and shapely bunny, employing the appropriate instruments is imperative. Here are four ideal techniques and considerations to ponder when stuffing your Maileg bunny:
- Rod Tools: A rod tool, such as a 1/4 inch rod, can be sharpened to create a pointed or tapered tip for optimal stuffing. This tool is ideal for inserting stuffing into the distant reaches of your bunny, securing even distribution and a firm shape.
- Stuffing Pellets: For smaller areas, consider using st■ animal pellets, which are safe for children and pets. These pellets can substitute plastic bags or paper as they’ll not be torn apart by a washing machine.
- Shredded Paper: Another safe option for stuffing is shredded paper, which enables children to add more stuffing as the toy ages. This is an economical way to stuff toys that can also be reused annually or during playtime with companions.
- Kapok Fiber: Kapok fiber is an eco-friendly stuffing material derived from the seed pods of indigenous trees. It’s lightweight, hypoallergenic, and machine washable, making it ideal for small toys.
Remember to use these tools with caution, ensuring that you don’t over-stuff or under-stuff your bunny. Always consider the desired firmness and shape of your bunny when selecting your stuffing methods and tools.
Final Touches and Embellishments
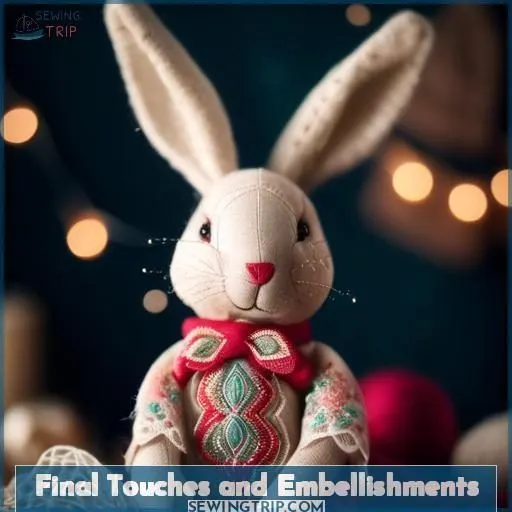
First, carefully position the arms and legs, pinning them in place before hand-sewing them securely to the bunny’s body. Then, using brown embroidery floss, add a simple yet charming face with a stitched nose and eyes, and consider adding rosy cheeks for an extra touch of whimsy.
Hand Sewing Limbs
Now that you’ve stitched and shaped your bunny, it’s time to attach its limbs. Hand sewing is the best way to guarantee seam alignment and a secure attachment.
Start by pinning the legs into the cavity of the body, ensuring they’re equal in length. Position the arms and pin them in place.
Then, use a needle and thread to sew the arms to the body, taking care to keep the stuffing from bunching.
For a more personal touch, consider embellishment ideas like adding a bow or a small bell to the end of each arm or leg.
Creating Facial Features
To create the facial features of your Maileg bunny, you’ll need a variety of embroidery threads and a sharp needle. DMC cotton threads are a popular choice for embroidery, and they come in a range of colors suitable for your project. For the nose, choose a thread that’s slightly lighter than the color of the bunny’s body. For the eyes, select a thread that matches the color of the bunny’s eyes.
To begin, position the bunny’s head so that the nose area is visible. Using a sharp tapestry or embroidery needle, insert the needle from the bottom-center of the head, about a third of the distance between the nose point and the eye. Pull the thread through, leaving a short tail on the bottom of the head. Next, insert the needle on the opposite side of the nose, trying to get it as symmetrical as possible, and have the needle emerge back on the first side, just below where you started. Pull the thread through, but not too tight, as this can cause the fabric to pucker.
Continue embroidering the nose, following the lines of knit stitches in the direction of the nose point. Each stitch should be slightly shorter than the one above, creating a triangular shape. Once you reach the nose point, insert the needle directly below the nose to make a vertical stitch, then have the needle emerge to the side of the muzzle. Pull the thread through.
For the eyes, use a thread that matches the color of the bunny’s eyes. Using the same technique as for the nose, insert the needle on the opposite side of the eye, checking for symmetry, and have it emerge at the bottom end of your vertical stitch. Pull the thread through. Finally, insert the needle into the same place you just came out from, catching the horizontal stitch of the eye by making a loop over top of it. Your needle needs to come out at the bottom of the head, where you started this business. Pull the thread through and snug up the loop holding down the eye.
For the mouth, you can choose to embroider a simple smile or a more detailed expression. The length of the stitches and how wide you make the mouth will determine the expression of your bunny. Experiment with different stitch lengths and mouth shapes to find the style you like best. Once you’re satisfied with the facial features, knot the thread ends securely and trim them to about 2.5 cm (1) long.
Remember to admire your handiwork before moving on to the next step in creating your adorable Maileg bunny!
Optional Blushing Cheeks
For the final touch, you can add a blush to your bunny’s cheeks. Here’s how:
- Blushing Techniques: Choose between a dab of blush or a gradient effect.
- Cheek Placement: Place blush on the outermost part of the cheeks, near the eyes.
- Blush Color Options: Opt for a soft pink or a deeper shade for a more dramatic look.
- Fabric Dye Alternatives: Consider using blush-colored fabric dye for a more permanent option.
- Natural Blush Substitutes: Use a light pink lipstick or a blush-tinted lip balm for a more subtle effect.
Frequently Asked Questions (FAQs)
Can I use synthetic fabric instead of linen?
Synthetic fabrics like cotton or polyester can work just as well as linen. They’re often more affordable and easier to find. Just adjust your sewing techniques as needed for the material. Go for it and have fun!
How do I wash my handmade Maileg bunny?
Wash your prized Maileg bunny with kid gloves, my friend! Gently hand-wash in cool suds, pat dry, and voila – your fluffy pal will be as snuggly as the day you stitched it. Treat it like the precious treasure it is!
Are there alternative stuffing materials to toy fibrefill?
Rather than typical fiberfill, try natural materials like wool batting, organic cotton, or even dried lavender for a sweet scent. These alternatives give your bunny unique texture and personality.
How can I make the bunnys ears stand up?
To make those bunny ears stand tall, simply insert a thin wire or stiff ribbon into the seam before stuffing. This’ll keep them perky and ready to catch the eye! Just be careful not to poke through the fabric.
What are some ideas for customizing the bunnys outfit?
Wow, did you know the average person spends over 5 hours a week on DIY crafts? Let’s kick your bunny’s look into high gear – stitch on a tiny bowtie, embroider a fancy waistcoat, or add a frilly tutu. The possibilities are endless!
Conclusion
Radiant with a charming aesthetic, your handcrafted Maileg bunny will enchant all who behold it. From plump, sculpted features to whimsical facial expressions, this Maileg bunny you’ve sewn will bring joy and delight wherever it goes.
Savor the satisfaction of sewing this adorable companion, as each thoughtful stitch and careful detail imbues it with your unique touch. Treasure this one-of-a-kind creation, for in the art of sewing a Maileg bunny, the true magic lies.

