This site is supported by our readers. We may earn a commission, at no cost to you, if you purchase through links.
This guide will share with you some new, creative ways to create invisible, perfectly sewn, and flawlessly finished seams. From flat piece seaming to three-dimensional shape assembly, you will learn all the tricks of the trade to give you complete control over your crochet assembly.
Get ready to revolutionize the way you crochet and make seamless, stunning pieces from beginning to end.
Table Of Contents
Key Takeaways
- Master the mattress stitch and you’ll be stitching up a storm! This invisible seam technique is your secret weapon for joining pieces like a pro. Trust me, it’s a game-changer.
- Pins are your best friends when it comes to aligning pieces. Stick ’em together before you start sewing, and you’ll avoid the dreaded "oops, that’s crooked" moment. It’s like giving your crochet a little hug before the big show.
- Keep that tension even, folks! Nobody wants a puckered seam – it’s the crochet equivalent of bed head. A smooth, consistent pull on your yarn will keep things looking slick.
- Don’t be afraid to mix it up! While the mattress stitch is great, other techniques like whipstitch and slip stitch have their time to shine. It’s like having different dance moves in your repertoire – you’ll always have the right one for the occasion.
How to Sew Crochet Pieces Together?
To sew crochet pieces together, start by aligning and pinning them in place. Thread your needle with matching yarn and secure it at the beginning.
For an invisible stitch, work with right sides facing and thread through top loops. Pull tight every few inches for even tension. When joining squares, work from the inside out, catching top loops of each stitch.
For toys, use child-friendly yarn and securely attach any small parts. Choose the right needle and maintain consistent tension for precision.
Practice different techniques like the mattress stitch to achieve seamless joins. With these tips, you’ll transform separate components into polished, professional-looking projects.
Let’s dive deeper into mastering these essential techniques.
Securing Crochet Pieces
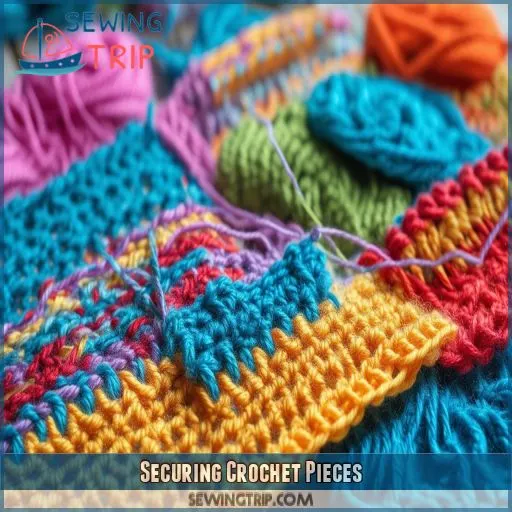
Securing your pieces is the step toward absolutely seamless joining when you’re ready to bring your crochet project to life. It could be closed, flat, or open pieces; the idea is always to get an invisible seam for perfect blending.
For a beginner, just align your pieces and pin them in place. This will ensure that you have a flat seam when joining row ends.
Using matching yarn, thread your needle, and sew in at the beginning. When sewing, use even tension; puckering will result if your tension is uneven.
Techniques for Seam Invisible Stitch
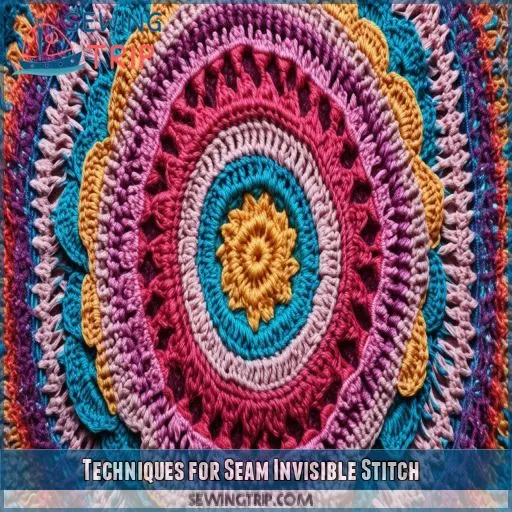
Now that you’ve secured your crochet pieces, it’s time to master the seam invisible stitch. This technique, also known as the mattress stitch, is perfect for joining different panels or colors in various projects. You’ll create neat seams that blend seamlessly into your work. Here’s what you need to know:
- Line up your pieces with right sides facing
- Thread your needle through the top loops of stitches
- Pull yarn tight every few inches for a flat seam
With practice, you’ll be able to join panels of different colors effortlessly, creating professional-looking finished products. The mattress stitch is your secret weapon for invisible seams!
Joining Crochet Squares
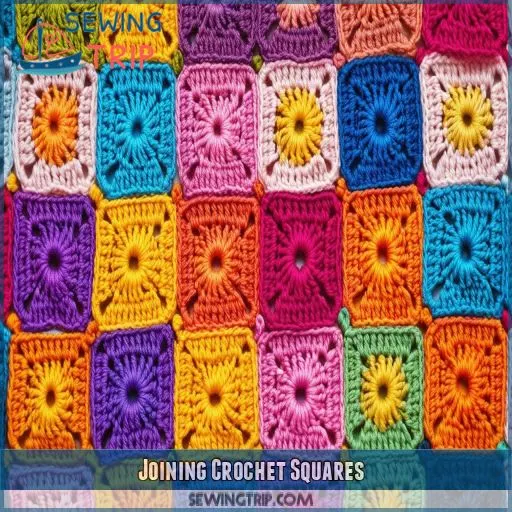
Now that you have learned the invisible stitch, let’s learn how to join crochet squares. This is what’ll give you those gorgeous afghans.
To do so, just line up your squares with right sides together and make sure that your stitch count matches up. Thread your yarn and secure it, working from the inside out and catching the top loops of each stitch. That’s what’s going to give you even yarn tension so that it won’t pucker on you.
Pull tight at regular intervals, putting your fingers on either side of the seam. As you go along sewing, a hidden seam will begin to appear.
If completed, finish with those finishing touches—such as a blanket stitch border to give it that professional touch.
Attaching Crochet Toys
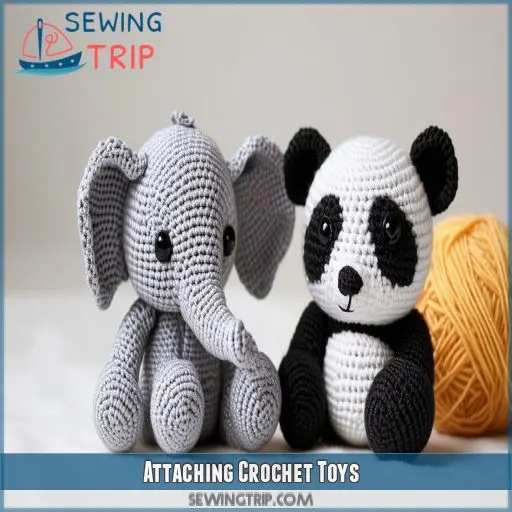
Now that you’ve mastered the art of joining squares, let’s dive into attaching your crochet toys. This is a crucial technique when you want to make cute amigurumi and baby-safe stuffed animals. When working with crochet toy pieces regularly, remember :
- Use child-friendly yarn that’s both soft and hard wearing.
- Eyes and small parts should be locked tightly together not to become choking hazards.
- Make mobile joints by providing gaps between attachments.
- Add fun accessories and embellishments to really give it a pop of charm.
This can be used to attach limbs or accessories by simply sewing around the edge of the piece and then pulling tight to create a neat, rounded attachment point for parts of amigurumi.
Tips for Precision Sewing
Now that you’ve mastered attaching crochet toys, let’s focus on precision sewing to elevate your craft. Achieving seamless joins requires attention to detail and the right techniques. Here are three key tips to enhance your precision:
- Choose the right needle: A tapestry needle with a bent tip allows for better control and accuracy.
- Maintain consistent thread tension: Keep your stitches even to avoid puckering or loose seams.
- Pay attention to seam placement: Align your pieces carefully for invisible finishing.
Frequently Asked Questions (FAQs)
How to attach crochet pieces together?
Practice makes perfect! To attach crochet pieces, align edges, use a tapestry needle, and choose the mattress stitch for invisible seams. Thread through stitches on both sides, pulling gently. For amigurumi, whipstitch works well. You’ll master it quickly!
How do you sew crochet fabric together?
You’ll want to use the mattress stitch for an invisible seam. Place pieces right sides together, line up stitches, and thread yarn through top loops. Pull tight every few inches, ensuring even tension to avoid puckering.
What is the best way to sew crochet squares together?
While sewing squares together might sound intimidating, it’s actually very simple. You’d like to use the mattress stitch so that the seam doesn’t show. Line up your squares with right sides together and work from the inside, threading through top loops. Pull tight every once in a while.
How do you sew crochet toy pieces together?
You’ll need a tapestry needle and matching yarn. Pin pieces together, then use a whipstitch or invisible seam technique. Work from the inside out, securing stitches every few inches. Knot and hide yarn tails for a polished finish.
How do I choose the right yarn for seaming?
You’ll want to thread carefully when picking your seaming yarn. Choose a fiber that matches or complements your project’s yarn. It should be strong, yet thin enough to hide easily. Opt for a similar weight and texture for seamless results.
Can I use a sewing machine for crochet pieces?
You can use a sewing machine, but it’s not ideal for crochet pieces. The bulky yarn and uneven texture can jam the machine. Hand-sewing with a tapestry needle and yarn gives you more control and a neater finish.
Whats the best way to join different-sized crochet pieces?
If you’re joining pieces that are of different sizes in your crochet, you’ve got a needle in the haystack of options available. Mattress stitch creates a flat seam. Whipstitch is fast for joins where it won’t show. Single crochet to form a decorative edge that allows for size discrepancies.
How do I maintain stitch tension while seaming?
You’ll want to keep your yarn tension consistent as you seam. Hold the pieces snugly together, pull the yarn gently after each stitch, and check your work regularly. Don’t rush – slow and steady wins the tension race!
Are there alternatives to mattress stitch for joining pieces?
Like a tapestry of options, you’ve got alternatives to mattress stitch. Try whip stitch for quick joins, slip stitch for flat seams, or single crochet for sturdy connections. Each technique offers unique benefits, enhancing your project’s finish.
Conclusion
Like a master weaver threading delicate silk, you’ve now learned how to sew crochet pieces together with finesse. You’re equipped with techniques for invisible seams, joining squares, and attaching toys. Remember, precision is key.
As you practice these methods, you’ll transform your projects from simple to stunning. Whether you’re crafting blankets or amigurumi, these skills will elevate your work.
Keep honing your craft, and soon you’ll be creating seamless, professional-looking pieces that showcase your crochet mastery. Your journey to flawless finishes has just begun.

