This site is supported by our readers. We may earn a commission, at no cost to you, if you purchase through links.
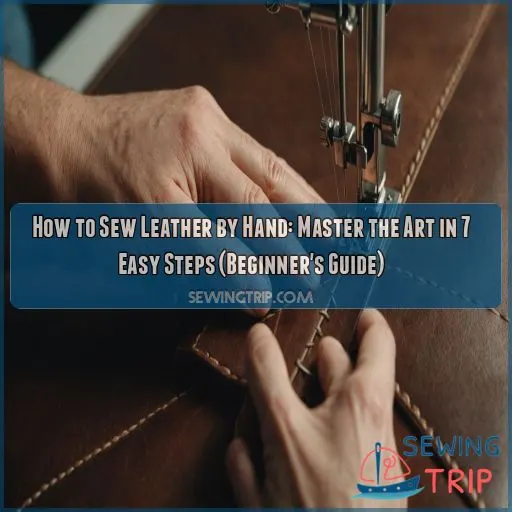 Ready to tackle hand-sewing leather? You’ve got this!
First, gather your tools: leather needles, waxed thread, and a trusty stitching pony.
Prep your leather by marking stitch lines and punching holes.
Thread your needle (don’t forget to double it up for saddle stitching), and start your first stitch.
The saddle stitch is your new best friend for strong, durable seams. It might feel a bit like wrestling an alligator at first, but with practice, you’ll be stitching like a pro.
Stick around, and we’ll unravel the secrets to leather-sewing mastery together!
Table Of Contents
- Key Takeaways
- Essential Tools for Hand Sewing Leather
- Preparing Your Leather for Hand Sewing
- Marking and Punching Holes in Leather
- Threading Needles for Leather Hand Sewing
- Mastering the Saddle Stitch Technique
- Alternative Hand Stitching Methods for Leather
- Finishing Touches for Hand-Sewn Leather Projects
- Frequently Asked Questions (FAQs)
- Conclusion
Key Takeaways
- You’ll need the right tools for the job, including a leather needle, waxed thread, and a stitching pony or lacing horse to hold your leather steady—trust us, your fingers will thank you!
- To create professional-looking seams, use a grooving tool to create a shallow groove for your stitches to follow, and don’t be afraid to experiment with different stitch spacings to find the perfect tension.
- Mastering the saddle stitch technique is key to creating strong, durable seams—it’s like a leather-bound dance, where you need to keep your grip steady and your tension consistent to avoid puckering or sagging.
- Don’t be too hard on yourself if you make mistakes—they’re an inevitable part of the learning process, and you can always remove stitches with a seam ripper or sharp knife and start again; the key is to be patient and take your time to get it right.
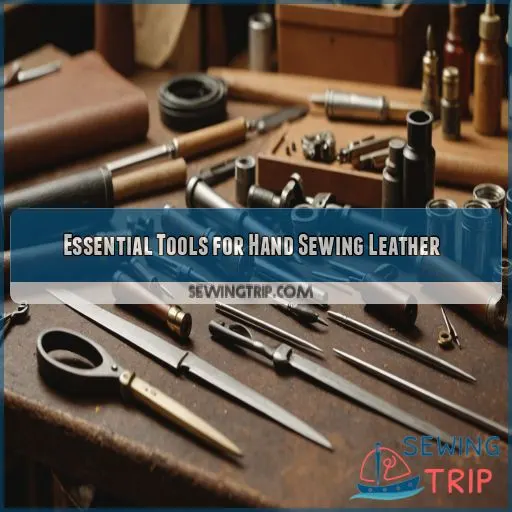
Essential Tools for Hand Sewing Leather
You’ll need the right tools to tackle hand-sewing leather like a pro. Let’s explore the essential gear that’ll make your leather projects a breeze, from specialized needles to handy gadgets that’ll save your fingers from becoming pin cushions.
Leather Needles and Thread
If you’re stitching up leather by hand, you need the right tools. Let’s talk needles and thread – your key partners in this leather-working journey. Here’s what you need to know:
- Needle types: Harness, glovers, and triangular
- Thread options: Polyester, nylon, or waxed
- Size matters: Match needle and thread thickness to your leather
Leather Punch and Awl
Now, let’s tackle the dynamic duo of leather punching: the leather punch and awl. These tools are your ticket to creating clean, precise holes for stitching. Here’s a quick comparison to help you choose the right tool for your project:
| Tool | Best For | Pros | Cons | Maintenance |
|---|---|---|---|---|
| Leather Punch | Thick leather, precision | Consistent hole size | Limited hole sizes | Oil moving parts |
| Awl | Thin leather, flexibility | Versatile, cost-effective | Requires more skill | Sharpen regularly |
| Needle | Delicate work, repairs | Minimal damage | Time-consuming | Replace when dull |
| Pricking Iron | Multiple holes at once | Speeds up process | Expensive | Keep clean and dry |
| Rotary Punch | Large projects | Quick and efficient | Less precise | Oil rotating wheel |
Stitching Pony or Lacing Horse
You’ll want a stitching pony or lacing horse to hold your leather steady. It’s like having an extra pair of hands! Clamp your project in place, and you’ll be stitching like a pro. Trust me, your fingers will thank you later.
Leather Glue and Binder Clips
Now that you’ve got your leather secured, let’s talk adhesives and clips. You’ll need leather glue and binder clips to keep things in place while you work. These tools are your secret weapons for achieving professional results. Here’s why they’re essential:
- They’ll make you feel like a leather-working superhero
- You’ll experience the satisfaction of perfectly aligned edges
- Your projects will look so good, you’ll want to show them off
- You’ll save time and frustration by avoiding misaligned stitches
- You’ll gain confidence in tackling more complex leather projects
Thimble and Finger Protectors
| Protection | Pros | Cons |
|---|---|---|
| Leather Thimble | Flexible, breathable | Less durable |
| Metal Thimble | Sturdy, long-lasting | Can be slippery |
| Silicone Guards | Comfortable, grippy | May wear out quickly |
Preparing Your Leather for Hand Sewing
Now that you’ve got your tools ready, it’s time to prep your leather. Think of it as setting the stage for your sewing masterpiece. Here’s what you need to do:
- Choose the right leather type for your project
- Cut your leather pieces with precision
- Soften the leather if needed (especially for thick hides)
- Prepare the edges for a clean finish
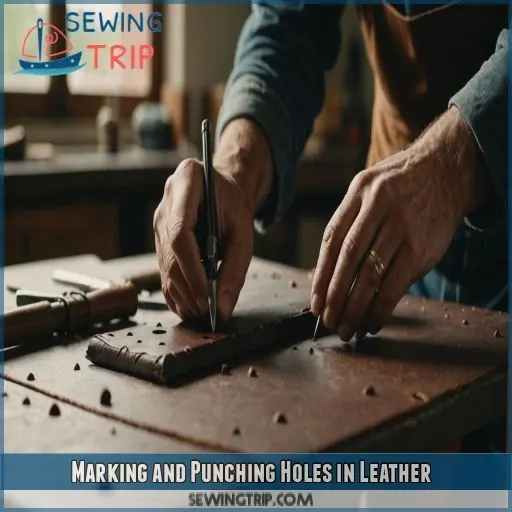
Marking and Punching Holes in Leather
You’re about to tackle one of the most important steps in hand-sewing leather: marking and punching holes. This step can make or break your project, so let’s get it right and set you up for stitching success.
Creating Stitching Lines With Grooving Tools
Now that your leather’s prepped, it’s time to create your stitching lines. Grab your trusty grooving tool – it’s like a GPS for your needle! Run it along the edge, creating a shallow groove. This little valley will guide your stitches, keeping them straight as an arrow. It’s a game-changer for neat, professional-looking seams.
Using Over-stitching or Pricking Wheels
Ready to mark your stitching line? Grab your over-stitching or pricking wheel and let’s roll! These nifty tools are your ticket to precision. Here’s how to use them like a pro:
- Choose your wheel based on leather thickness
- Set your desired stitch spacing
- Apply even pressure as you roll
- Maintain your tool for consistent results
Employing Diamond Hole Punches
Alright, let’s punch it up a notch! Diamond hole punches are your secret weapon for clean, consistent holes. Place the punch where you want your stitch, give it a firm tap with a mallet, and voila! You’ve got a perfect diamond-shaped hole. Remember, the thicker the leather, the harder you’ll need to hit.
Determining Appropriate Stitch Distance
Once you’ve got your diamond punch ready, it’s time to figure out your stitch spacing. Think of it like Goldilocks – not too big, not too small. For chunky projects, go longer; delicate work needs tighter stitches. Your hand strength and leather thickness play a part too. Grab some scrap leather and experiment until it feels just right!
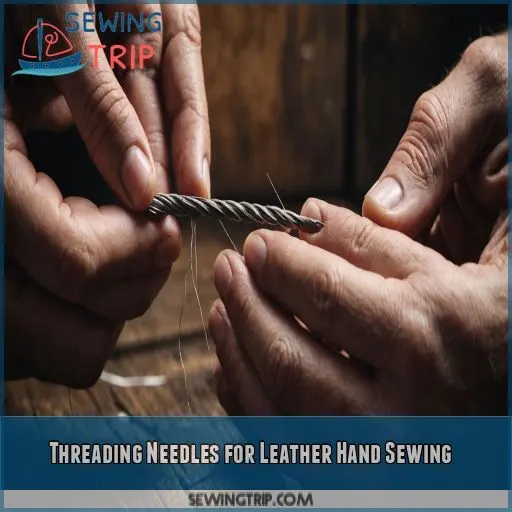
Threading Needles for Leather Hand Sewing
You’re about to start leather hand sewing, and threading your needle is your first big step. Don’t worry if it seems tricky at first – with a bit of practice, you’ll be threading needles like a pro and ready to tackle any leather project that comes your way.
Selecting the Right Thread Length
Now that you’ve marked your stitching line, it’s time to thread your needle.
But hold your horses! The right thread length can make or break your project.
You’ll want to cut a piece about four times the length of your stitching line.
This might seem like overkill, but trust me, it’s better to have too much than to come up short mid-stitch.
Creating Secure Knots
Ready to tie the knot? Not that kind! We’re talking leather-sewing knots here.
Start by threading your needle, leaving about an inch of slack.
Now, here’s the secret sauce: puncture the thread near the end and pull it through to create a loop.
Voila! You’ve got a secure knot that won’t slip.
Threading Double Needles for Saddle Stitching
Ready to tackle saddle stitching? You’ll need two needles for this dance.
Cut a thread four times your stitch line’s length, then double it over.
Knot those ends like you’re tying your shoe – snug and secure.
Now, thread each end through a needle’s eye.
Voila! You’re armed with double-needle power.
This technique’s a game-changer for DIY leather projects, giving you that pro-level control and tension.
Just remember, patience is key – Rome wasn’t stitched in a day!
Mastering the Saddle Stitch Technique
You’re about to become a leather-stitching pro with the saddle stitch technique. This versatile method will give your projects a professional look and durability that’ll make you feel like a seasoned craftsperson in no time.
Starting the First Stitch
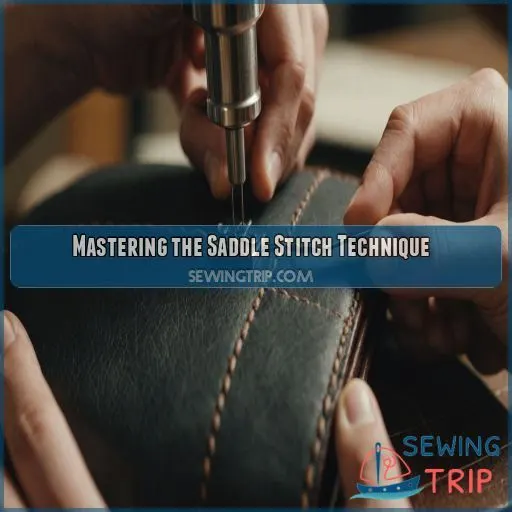
Ready to take the plunge? Here’s how to start your saddle stitch journey. Thread both needles, then push one through the first hole from front to back. Pull both ends until the thread’s center rests in the hole. Now, send the second needle through the next hole. You’re off to a stitchin’ good start!
Maintaining Consistent Tension
You’ve got your needles threaded, now let’s tame that tension! Think of it as a leather-bound dance – too tight, and your stitches pucker; too loose, and they’ll sag like a sad cowboy hat. Keep your grip steady and pull each stitch with consistent force. It’s all in the wrist, partner!
Creating Back-stitches for Security
Ready to lock down those stitches? Back-stitching is your secret weapon for bulletproof seams. After completing your saddle stitch, reverse direction for 2-3 stitches. This creates a sturdy anchor that’ll withstand even the toughest wear and tear. Remember, the right thread and tension are key – think Goldilocks, not too tight, not too loose!
Finishing and Securing the Final Stitch
Now that you’ve back-stitched like a pro, it’s time to wrap things up. Push your needle through the final hole, leaving both threads on the back. Snip the excess thread close to the leather, but don’t go too wild – you’re not giving your project a haircut! For extra security, melt those nylon thread ends and press them flat.
Alternative Hand Stitching Methods for Leather
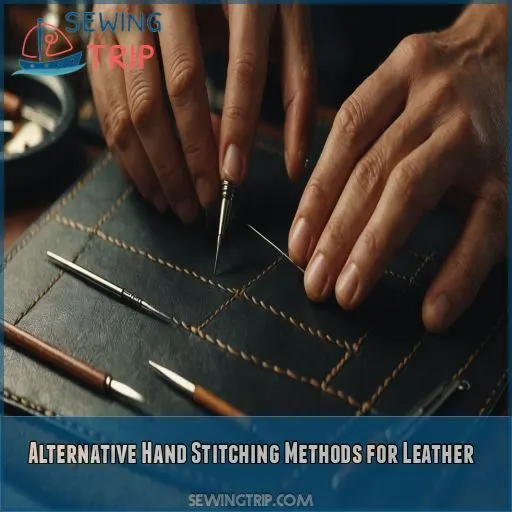
While the saddle stitch is a go-to for leather work, it’s not the only game in town. Let’s explore some other handy stitching methods that’ll expand your leather-crafting repertoire and add flair to your projects.
Running Stitch for Lighter Leathers
Ready to tackle lighter leathers? The running stitch is your go-to move. It’s like skipping stones across a pond – quick and easy.
Choose a thin, waxed thread that won’t overpower your delicate leather.
Space your stitches evenly, about 1/8 inch apart, for a clean look.
Keep your tension consistent, but don’t pull too tight – you don’t want to turn your leather into an accordion!
With practice, you’ll be stitching up a storm in no time.
Cross Stitch for Decorative Edges
After mastering the running stitch, let’s jazz up your leather projects with cross stitches. This eye-catching technique adds flair to edges and can turn a simple piece into a showstopper. Here’s a quick rundown of cross-stitch essentials:
- Choose contrasting thread colors for maximum impact
- Experiment with different stitch spacings
- Try diagonal patterns for a unique twist
- Use a leather awl for precise hole placement
- Practice on scrap leather to perfect your technique
Whip Stitch for Joining Leather Pieces
The whip stitch is your go-to for joining leather pieces.
It’s like giving your project a leather hug!
First, prep your edges and choose a durable thread.
Start by poking your needle through from the back, then wrap it over the edge and back through.
Keep your tension consistent, like you’re walking a tightrope.
This stitch is perfect for wallets, bags, and even leather-bound books.
You’ll be whipping up projects in no time!
Finishing Touches for Hand-Sewn Leather Projects
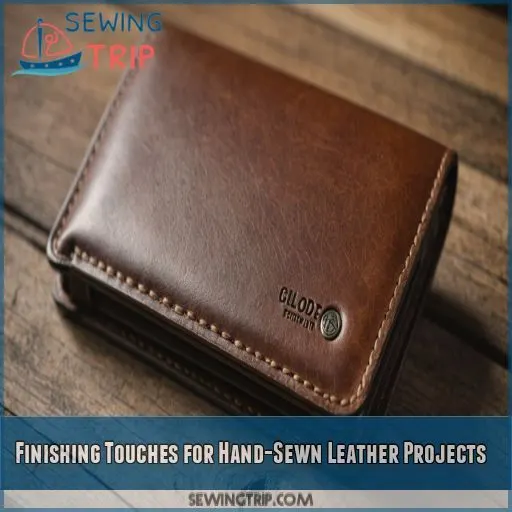
You’re almost done with your leather project, but don’t put away your tools just yet! These final touches will elevate your handiwork from good to great, giving your creation that professional polish it deserves.
Pressing Stitches With Over-stitching Wheel
Now that you’ve mastered the saddle stitch, it’s time to give your project that professional touch.
Grab your over-stitching wheel and get ready to roll!
This nifty tool isn’t just for marking—it’s your secret weapon for smooth, polished stitches.
Gently glide it along your seam, applying even pressure.
It’s like ironing your stitches, but cooler.
You’ll be a pro in no time!
Applying Leather Dyes and Sealants
You’ve stitched your leather masterpiece, but don’t hang up your crafting hat just yet! It’s time to make your project pop with some color and protection. Think of it as giving your leather a spa day. Here’s how to apply dyes and sealants like a pro:
- Choose your weapon: water-based, alcohol-based, or oil-based dyes
- Test on a scrap piece first (trust me, you’ll thank yourself later)
- Apply sealant after dyeing for a long-lasting finish that’ll turn heads
Trimming and Melting Thread Ends
You’re in the home stretch! Time to tidy up those thread ends.
Grab your trusty scissors and snip ’em close to the leather—we’re talking whisker-close here.
For nylon threads, channel your inner dragon and give ’em a quick flame kiss. Just be careful not to singe your masterpiece!
A gentle press with your finger will smooth things out.
Voila! Your stitches are now as sleek as a cat’s whiskers, and your project’s ready to strut its stuff.
Frequently Asked Questions (FAQs)
Can leather be hand sewn?
You can definitely hand sew leather! With the right tools, like strong thread and a leather needle, you’ll be creating beautiful, durable pieces in no time. Just remember to prep your leather and take your time.
What is the best stitch for hand sewing leather?
Did you know 75% of leather crafters prefer the saddle stitch? It’s the best stitch for hand sewing leather, offering exceptional strength and durability. Master this stitch and you’ll be creating pro-level leather goods in no time!
How to sew leather without a sewing machine?
To sew leather without a machine, start by preparing your leather pieces with glue and thread, then create a stitching line and mark your stitches. Use a thimble and finger protectors to safeguard your fingers as you stitch.
Can you sew leather with a regular needle?
Don’t try to ‘thread the needle’ with a regular one – it’s a recipe for disaster! You’ll need a leather needle, with its triangular point and extra strength, to pierce through leather without tearing.
How do I fix a mistake in leather stitching?
Don’t panic if you mess up your leather stitching! Gently remove the stitches with a seam ripper or a sharp knife, taking care not to damage the leather. Then, re-thread your needle and re-stitch the area.
Can I hand sew thick leather without special tools?
You can hand sew thick leather without special tools, but it’s tougher and more time-consuming. Use a sturdy needle, waxed thread, and a thimble to protect your fingers. Be patient and take small stitches for a strong hold.
Whats the best thread tension for leather sewing?
Thread tension‘s the secret sauce to sewing leather like a pro! Aim for a gentle tug, not a tight squeeze. You want it snug, but not strangling the leather – think ‘firm handshake’ not ‘death grip’.
How do I prevent leather from stretching while sewing?
To prevent leather from stretching while sewing, use a steady hand and maintain even thread tension. You can also apply a thin layer of leather adhesive to the back of the leather pieces along the stitch line.
Are there waterproofing techniques for hand-sewn leather projects?
To waterproof your hand-sewn leather project, try applying a sealant, like beeswax or a leather conditioner, to protect it from moisture and wear, giving your masterpiece a longer, more durable life.
Conclusion
You’ve wrestled the leather-sewing alligator and come out on top!
With these 7 easy steps, you’ve mastered the art of how to sew leather by hand.
Your new skills will take you from novice to pro in no time.
Don’t be afraid to try new things and make mistakes—they’re all part of the journey to leather-sewing mastery.
Happy stitching!

