This site is supported by our readers. We may earn a commission, at no cost to you, if you purchase through links.
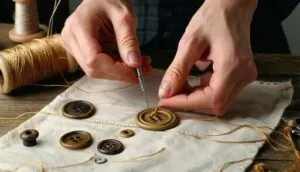
To sew on a shank button, start by threading your needle and marking the button placement.
Next, make a few stitches through the top layer, leaving a small loop.
Slip the shank through the loop and continue stitching through the holes, securing the button in place.
Once the button is firmly attached, tie a knot on the wrong side and trim any excess thread.
For a professional touch, consider using blanket stitches to reinforce the button’s attachment.
Follow these steps, and you will have a perfectly sewn shank button—but there is more to explore for mastering this technique.
Table Of Contents
Key Takeaways
- Use a needle and thread, preferably button and carpet thread for added robustness.
- Thread the needle through the shank of the button for a firm attachment.
- Secure the button in place by stitching through the holes and tying a knot on the wrong side.
- Reinforce the button’s attachment with blanket stitches for added durability.
How to Sew on a Shank Button?
To sew on a shank button, start by threading a needle with double thickness thread and making a knot at the end. Then, sew through the shank and fabric, securing the button with several stitches and finishing with a knot under the button.
Materials
To sew on a shank button, you’ll need:
A needle and thread, preferably button and carpet thread for added robustness.
Scissors for cutting excess thread.
A shank button with a raised area on the back for easy sewing.
The shank depth may vary based on the fabric thickness, so consider this when selecting your button.
To ensure stability, you might want to use a clear or matching button on the inside of the garment.
Instructions
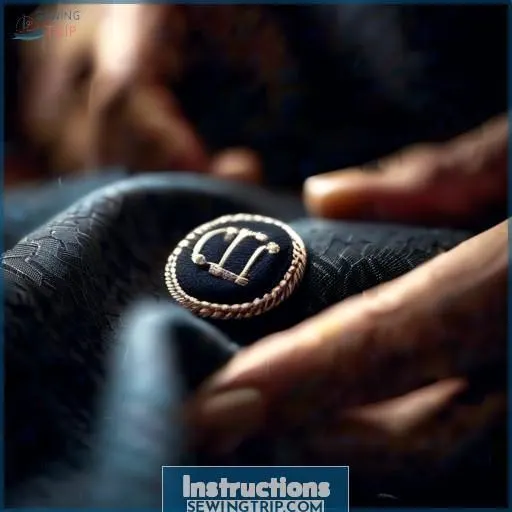
You’ll want to start by threading your needle with a length of thread and tying a knot at the end. Next, mark where you want the button placed on the fabric using a water-soluble marker.
Thread the Needle
To thread a needle for sewing a shank button, follow these steps:
- Choose the appropriate needle size and thread type that are suitable for the button and fabric.
- Thread the needle with equal lengths of thread, making sure the thread tension is correct for the needle size and fabric.
- Tie a knot at the end of the thread to make it stronger.
Remember to think about the needle size, thread colors, and thread types when choosing materials. Different needle sizes and thread types are good for different fabrics and sewing techniques. For example, sharps needles are often used for general sewing, while darners are great for mending with thicker threads or wool. Always make sure the needle is sharp and free from burrs for easy sewing.
Mark Button Placement
Before diving in, let’s chalk out where your button will anchor. Consider these:
- Button size and color should complement your coat or shirt.
- Assess fabric thickness for thread strength.
- Remember, extra buttons save the day!
Thread Through the Top Layer
To stitch a shank button, you’ll need to pass the needle through the top layer of fabric, capturing only a small portion. This guarantees that the knot is stable and the thread tension is suitable for the fabric’s texture. Here’s an unordered 5-item bullet list to aid you through the process:
- Thread the needle: Begin by threading the needle with equal lengths of thread and tying a knot at the end for double strength.
- Mark button placement: Use a water-soluble marker to indicate the button placement on the fabric.
- Pull thread tight: Pull the thread tight to secure the knot on the mark.
- Cut excess thread: Finally, cut the excess thread to complete the process.
Remember to use a needle and thread appropriate for the fabric and button, and match the thread color for a seamless look. This step is essential for securing the button and preventing thread wear.
Thread Through the Shank
Passing through the shank of a button is essential for firm attachment.
Use a needle and thread with matching lengths for increased strength.
Shank buttons feature a metal loop on the underside, so thread the needle through this loop.
Maintain threads on the right side of the fabric.
Pass the needle through the shank and fabric multiple times to secure the button with double threads.
Ending Knot and Finishing Touches
To make sure your shank button remains in place, follow these knot-tying steps:
- Loop thread, needle through—knot securely!
- Pull tight, snug as a bug.
- Double-check, maybe knot again?
- Snip close, no loose ends.
Tips
Tips for Sewing on a Shank Button
To guarantee a sturdy and secure button, follow these tips:
- Shank Button Placement: Mark the button placement with a water-soluble marker before stitching.
- Button Stability: Use an extra button from the garment or purchase additional buttons for added stability.
- Thread Strength: Use strong thread, such as button and carpet thread or quilting thread, for increased durability.
- Knot Security: Tie a knot at the end of the thread for double strength and secure the knot on the mark.
- Finishing Touches: Use blanket stitches to secure the button and prevent thread wear.
Remember to match the thread color for a seamless look and save buttons from discarded garments for future use.
Additional Information
Regarding sewing on a shank button, there are a few critical points to bear in mind. Firstly, you’ll want to select the appropriate thread for the task. Button and carpet thread, or quilting thread, are both robust options for this endeavor. Additionally, you might want to employ a vanishing marking pen to delineate the button’s placement on the fabric. This will aid in guaranteeing that your button is positioned correctly and securely.
Another significant factor to take into account is the shank depth. This will vary based on the thickness of the fabric you’re working with. If the shank is too deep, it may not sit suitably in the buttonhole. To obviate this, you may need to add an object or provide some give in the thread as you sew the button to the garment.
Button placement options are also important to contemplate. A small button on the inside of the garment can enhance stability and hinder the button from shifting or becoming loose over time. Blanket stitches can also be employed to secure the button and forestall thread wear.
Here are some additional tips for sewing on a shank button:
- Utilize a double strand of thread for added strength.
- Commence on the center line marking and secure the beginning thread with a knot or a few stitches between the folds of fabric.
- Convey the thread up to the right side of the fabric and through a hole in the button. Thread it back through an adjacent hole.
- Pull the thread, allowing for a sufficient thread shank between the button and the fabric.
- Enter the first layer of fabric and the interfacing, picking up several threads of the facing. Angle the needle toward the same general location where the thread emerged through the fabric to the right side.
- Continue stitching in the same place for approximately 6 stitches.
- If a toothpick, shank gauge, or pin was used to form the thread shank, remove it and pull the button to the top of the thread. Wind the thread around the stitches beneath the button.
- Secure the thread at the bottom of the thread stem.
Frequently Asked Questions (FAQs)
What is the difference between a flat button and a shank button?
Did you know that shank buttons can hold up to 20% more weight than flat buttons? The difference is that shank buttons have a raised loop on the back, allowing you to sew them in a way that keeps the stitching hidden.
Do I need a special needle for sewing on a shank button?
No, you don’t need a special needle. A regular hand sewing needle will do the trick. Just thread it up and get to work – the shank button’s got your back! Easy peasy.
What type of thread should I use for sewing on a shank button?
You’ll wanna use a heavy-duty thread like button or carpet thread for sewing on shank buttons. This strong stuff will hold up much better than regular all-purpose thread. Stitch through the shank’s loop for a secure, hidden attachment.
Can I use a sewing machine to attach a shank button?
You can use a sewing machine to attach a shank button, but it’s tricky. The shank’s protruding back can get caught in the machine. For best results, sew on shank buttons by hand using a needle and thread.
How do I prevent the shank button from coming loose over time?
Nearly 1 in 5 sewn-on buttons fail within a year. To prevent your shank button from becoming loose, wrap the thread around the shank 3-5 times before securing it. This extra grip will keep your button firmly in place.
Conclusion
Sewing on a shank button may appear intimidating, but with this step-by-step guide, you’ll master the technique in no time. Don’t let the thought of stitching through the shank intimidate you – it’s easier than it seems.
By following these simple instructions, you’ll be able to securely attach shank buttons to your garments and achieve a professional-looking finish. So, don’t hesitate to give it a try – sewing on a shank button has never been easier!

