This site is supported by our readers. We may earn a commission, at no cost to you, if you purchase through links.
Sewing suspender buttons requires precise placement and sturdy attachment.
Mark the desired positions on your garment, ensuring even spacing and considering your body dimensions.
Using a sharp needle and matching thread, create sturdy button holes.
Carefully stitch the buttons, securing the thread with small stitches and knots around the bases.
Circle the thread twice for reinforcement.
Symmetry is key—ensure buttons are evenly positioned.
To elevate your ensemble, choose fashionable buttons that complement the occasion and desired aesthetic.
Master these techniques, and you’ll rock impeccably tailored suspenders with confidence—but that’s just the beginning of crafting perfect braces.
Table Of Contents
Key Takeaways
- Mark desired positions on garment with even spacing and body dimensions
- Create sturdy buttonholes and securely attach buttons with matching thread
- Choose fashionable buttons that complement the occasion and desired aesthetic
- Consider robust yet fashionable buttons, thread compatibility, needle size, and chalk marking for proper button placement
How to Sew Suspender Buttons?
To sew suspender buttons, follow these steps:
- Measure and mark the placement of the buttons on your pants, usually about 1 inch (2.5 cm) from the center of the back of the pants.
- Thread a needle with a heavyweight thread that matches your pants.
- Sew through the top inner layer of the waistband, about an inch away from the final button placement.
- Secure the thread by sewing a few small stitches and then thread the button onto the needle, fixing it in place.
- Repeat the process for the other side, making sure the second button is a mirror image of the first.
- Attach the end of your braces to your newly affixed buttons.
Remember to sew the buttons on the inside of the pants, using the same technique as you did in the back.
Gathering Materials
Before venturing into the realm of suspender buttons, let’s equip ourselves with the appropriate tools.
Your choice of buttons is paramount; consider robust yet fashionable, a beacon for your braces.
Thread compatibility is paramount; it’s like selecting a dance partner for your buttons, ensuring they move harmoniously on the dance floor of your garment’s inner fabric.
Needle size is significant; neither too imposing to intimidate nor too diminutive to be unnoticed.
Chalk marking is your navigational tool, guiding you where X marks the spot.
Finally, scissor quality can’t be underestimated; sharp as a tack, they’ll make the cut every time.
Button Placement
To achieve the ideal button positioning for your suspenders, follow these steps:
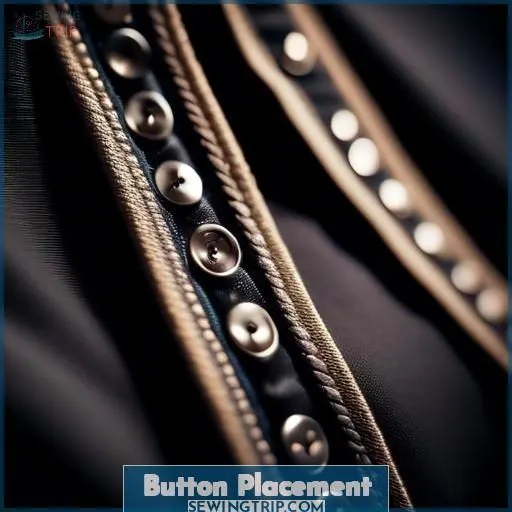
- Mark the positioning: Start by marking the placement of the buttons on the front and back of your pants. For the front, place the buttons 3-4 inches towards the side on the main pleat. For the back, place the buttons 1.25-1.5 inches on either side of the back center seam, with a distance of 2-3 inches on each side of the middle seam.
- Consider your body dimensions: Take into account your waist, stomach, and shoulders when placing the buttons. This will ensure a comfortable and secure fit for your suspenders.
- Determine the suspender form: Decide whether you’re using X-shaped or Y-shaped suspenders, as the button placement will vary depending on the style.
- Guarantee equal button spacing: Measure the distance from the middle seam to make sure that the buttons are equidistant.
- Mark the positioning: Use pins, stickers, or chalk to mark the button placement on the waistband.
- Sew the buttons: Attach the buttons to the waistband using a needle and thread, securing the thread with small stitches.
- Check the fit: Once you have sewn the buttons, try on your pants with the suspenders to ensure a comfortable and secure fit.
Remember to use heavyweight thread for durability and choose buttons that complement or contrast the color of your pants. For a formal look, consider concealing the buttons inside the waistband, while for a casual look, you can place them outside the waistband.
Sewing the Buttons
To sew suspender buttons onto your pants, follow these steps:
- Thread Selection: Choose a thread that matches the color of your pants or buttons. Heavyweight thread is recommended for durability.
- Button Hole Size: Make sure the button hole is large enough for the needle to pass through easily.
- Needle Type: Use a sharp sewing needle for sewing through the fabric and buttonhole.
- Knot Strength: Secure the thread with small stitches before sewing the button to prevent it from coming loose.
- Button Placement Symmetry: Make sure the buttons are placed symmetrically on both sides of the back seam and front of the pants.
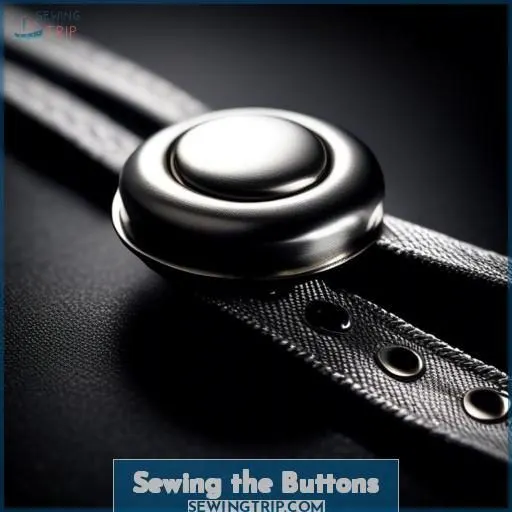
- Sewing: Start by sewing the button onto the waistband’s top layer, securing the thread with small stitches. Then, thread the button onto the needle and fasten it in place. Secure the thread by passing back through the button and sewing through the stitching.
- Stitching: Continue sewing the button by inserting the needle into the fabric from the back, about 1/8 from the beginning of the stitch. Then, insert the needle through the button’s opposite hole from the fabric’s front. Pull the thread through until the knot catches on the button’s back.
- Looping: Loop the thread around the button base twice to strengthen the stitch.
- Knotting: Create a knot around the button base and insert the needle under the button to secure the knot.
- Finishing: Cut the excess thread and repeat the process for the remaining buttons.
Remember to test your suspenders after sewing the buttons to make sure they’re secure and comfortable.
Finishing Touches
After attaching your suspender buttons, it’s time to secure them.
Begin by choosing a sturdy thread for longevity.
Next, tie a knot around the button base, making sure it matches the fabric.
Circle the thread around the button base twice for added safety.
Insert the needle under the button to fasten the knot.
Repeat these steps for all buttons.
Styling Your New Suspenders
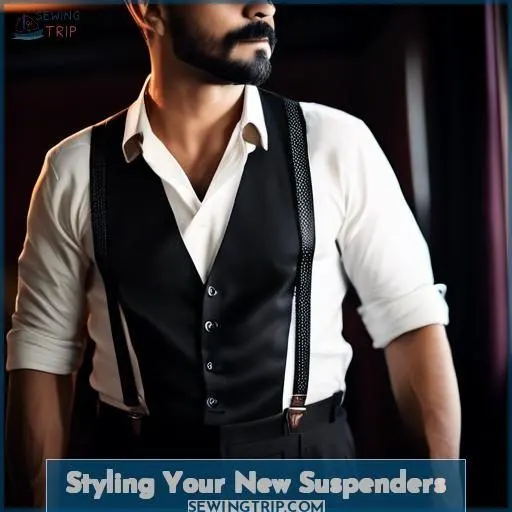
To style your new suspenders, consider the occasion and your desired look.
For a formal event, pair your suspenders with a shirt and bow tie, a granddad shirt, and brogue boots.
For a more casual look, wear them with a flat cap and a granddad shirt.
Remember to choose the right materials and types of suspenders for the occasion.
Make sure a proper brace fit by considering your waist, stomach, and shoulder measurements.
By following these guidelines, you’ll be able to rock your suspenders with confidence and style.
Frequently Asked Questions (FAQs)
What is the difference between clip-on and button-on suspenders?
Clip-on suspenders conveniently slide onto your pants, but button-on braces give a classic, sophisticated look. You’ll need some basic sewing skills to attach buttons evenly—it’s a craft that’ll make you feel like a true stylish gent.
How do I determine the correct button placement for my suspenders?
Prepare to showcase your sartorial prowess! Position the buttons meticulously for suspender dominance – those at the front angled toward the sides, while the rear pair embrace the central seam. Achieve a custom-tailored fit that will elicit gasps of admiration!
Can I sew suspender buttons on the inside or outside of my waistband?
You can sew suspender buttons on either the inside or outside of your waistband, depending on your personal style preference. Buttons on the inside offer a more formal look, while exterior buttons give a casual vibe.
How do I attach suspender buttons to pants without damaging the fabric?
Carefully sew suspender buttons onto the waistband without damaging the fabric. Position them symmetrically, reinforcing the threads for durability. Measure and mark the spots first, then stitch the buttons securely in place. Easy does it!
What is the best way to ensure that my suspenders fit comfortably and securely?
Did you know that 9 out of 10 suspender wearers prefer a snug, secure fit? Adjust button placement to your body proportions for a comfortable, personalized hold that’ll keep your pants up all day long. It’s a cinch!
Conclusion
With your suspender buttons securely sewn, you’re now equipped to craft the perfect braces. Elevate your style by choosing fashionable buttons that complement your ensemble.
Mastering the art of sewing suspender buttons is just the beginning – the true craftsmanship lies in how you incorporate these functional yet stylish accessories into your wardrobe.
Flaunt your customized suspenders with confidence, knowing you’ve executed the how to sew suspender buttons technique flawlessly.

