This site is supported by our readers. We may earn a commission, at no cost to you, if you purchase through links.
 Whether you’re sewing your first dress or constructing complex couture, taking accurate body measurements is essential for achieving the perfect fit.
As an experienced sewing instructor who has fitted hundreds of garments, I’ll demonstrate our professional techniques to measure key areas like bust, waist, and hips.
With the right tools and a few handy tips, you’ll have precision measurements to create flawless, custom-fitted fashions tailored just for you.
Now grab your tape and let’s get your dimensions!
Table Of Contents
Key Takeaways
- Wear form-fitting clothes and have a helper when taking measurements
- Measure bust by placing tape high and evenly around the fullest part
- For waist, wrap tape snugly yet comfortably around natural waistline
- Measure hips at widest part standing and while seated for non-stretchy fabrics
Gather Measuring Tools
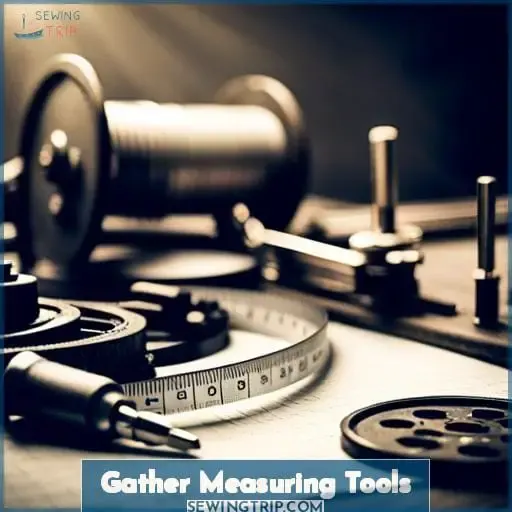
You’ll need a measuring tape, string, measurement chart, pencil, and optionally a helper to take accurate measurements for sewing.
As a professional, having the right tools prepared ahead of time streamlines the entire process.
Select flexible measuring tapes in both metric and imperial units to account for any pattern.
Round up a pencil, eraser, pins, string, and printable measurement chart.
Organize tools together in a bag or box for portability.
Maintain tools by checking tape accuracy yearly against a ruler and replacing worn strings.
Must-have accessories like posture braces, small mirrors, and phone cameras supplement tool kits.
DIY a measurement chart if unable to print.
Ask a friend to assist recording numbers, ensuring the tape stays straight, and photographing for future reference.
Accurately documenting body measurements is the first step in constructing well-fitted garments.
Investing a few minutes gathering robust tools prevents frustration from ill-fitting seams down the road.
Prepare Body for Measuring
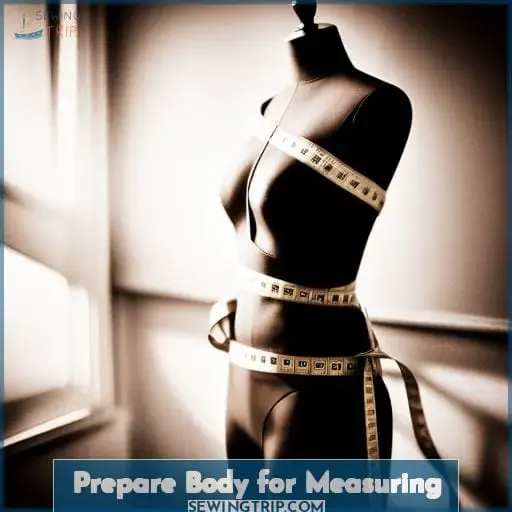
Preparation requires wearing tight-fitting clothes or undergarments and the bra you’ll wear with the garment before taking measurements.
To start, gather a full-length mirror and stand in front wearing form-fitting clothing that won’t obstruct the measuring tape. Tight camisoles, leggings, bike shorts, and sports bras work well. You’ll achieve the most accurate measurements this way rather than taking them over bulky clothing.
Consider enlisting a helper to hold the other end of the tape and record numbers. Their assistance allows you to stand comfortably rather than contorting to measure yourself.
For sewing success, the key is taking measurements against the body wearing undergarments similar to those you’ll wear with the finished garment.
Schedule weekly measurement checks, especially if your body shape fluctuates. Consistent assessments ensure properly fitted creations.
With the right preparation and tools, precision measurements empower perfect sewing.
Measure Bust
Next, we’ll discuss measuring the bust.
To start, place the measuring tape high across the bust, above the fullest part and under the arms.
Then, measure around the fullest part of the bust, keeping the tape level and your arms down.
High Bust
Next, don’t wear a bra and place the tape over your top bust and under your armpits to measure your high bust.
This bare measurement captures your true frame without artificial lift. Stand tall, relax your shoulders down, and breathe normally.
Run the tape evenly around your back and across your bust, keeping it horizontal.
Recheck in the mirror that the tape sits flat, not creeping up or sagging.
Record this measurement as your bare upper bust baseline for sewing success.
Full Bust
Place the tape around the fullest part of the bust, keeping the tape horizontal and straight across the back while keeping your arms down.
As a professional seamstress, I recommend wearing a supportive bra that you’d normally wear with the garment you’re creating.
When taking measurements, stand upright while relaxing the torso. Breathe normally, without intentionally expanding the ribcage.
For best results, have a helper check the tape’s positioning in the back using a mirror to guarantee accuracy.
Retaking measurements is key before cutting fabric to achieve the ideal fit around the full bust.
Measure Waist
Next, we’ll discuss measuring your waist. This is an important measurement to get right as it determines the fit at your midsection.
Take both a standing and sitting waist measurement for the most accurate result.
Standing Waist
Take the tape measure and wrap it around your natural waistline, which is the narrowest part of your torso, to get your standing waist measurement.
As you wrap the tape snugly yet comfortably around your middle, make sure you’re wearing form-fitting clothes or undergarments to get the most accurate measurement possible.
Using a full-length mirror while measuring can help ensure the tape is straight all the way around.
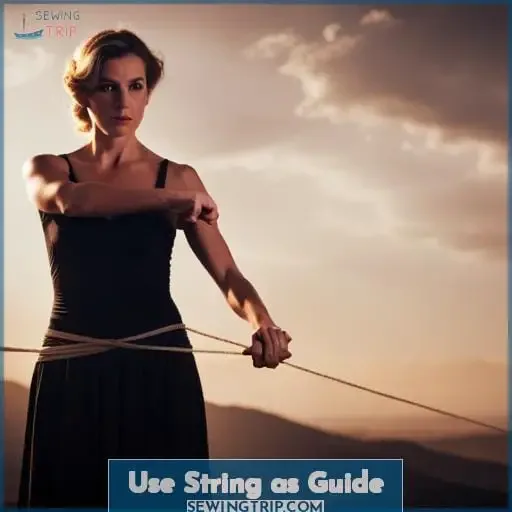
You may also find a string useful for guiding the placement of the tape perfectly horizontally around your natural waist.
Getting an accurate standing waist measurement is crucial for well-fitted garments.
Sitting Waist
When measuring your waist for close-fitting, non-stretchy garments:
Sit down, allowing the tape to slide as your waist expands.
This seated measurement provides the most accurate fit for structured dresses, pants, and skirts.
As you settle into a normal sitting posture, exhale and measure around the narrowest part of your waist, keeping the tape horizontal and snug but not tight.
Compare your standing and seated waist sizes – the difference indicates the minimum wearing ease needed for comfort.
Record both waist measurements, using your seated size for non-stretch wovens requiring precise tailoring around the waist and hips.
Measure Hips
Next, we’ll discuss measuring your hips. This is an important measurement for fitted garments and skirts.
Take this measurement while standing and while sitting to determine the right size pattern and fabric yardage for your project.
Standing Hips
How do you determine the standing hip measurement for fitted garments?
Place the measuring tape around the widest part of your hips while standing comfortably.
This measurement works well for garments with some ease or stretch fabric.
As you design the garment and select fabrics, consider how seated postures impact hip measurement.
Tighter fabrics and less ease may require a larger hip measurement or pattern adjustments to prevent fitting challenges.
Accounting for hip measurement properly allows the freedom to design diverse silhouettes.
Sitting Hips
You’ll then sit down, allowing the tape to slide as your body expands for a fitted, non-stretchy garment measurement.
Relax posture while seated
Allow hips to expand naturally
Record new hip measurement
Sitting down when taking your hip measurement captures the fuller contour of your shape while seated. This seated measurement is ideal when sewing a slim-fitting or non-stretch woven garment you’ll wear while sitting, to ensure the perfect custom fit accommodating your body’s posture and proportions at rest.
Tracking this hip expansion from standing to sitting grants the insight needed for clever pattern adjustments, achieving flawless garment shaping that flatters your figure in motion.
Other Useful Measurements
Next, you’ll want to measure a couple of key points on your arms and legs.
Wrap the tape around the fullest part of your upper arm to measure your bicep circumference.
Also important is your thigh measurement – place the tape around the widest part of your upper leg, just below your crotch.
Bicep
Place the tape around the arm at armpit level, around the fullest part of the upper arm.
Keep the arm down and relaxed as you position the measuring tape horizontally around the bicep muscle.
Note if one arm is larger for tops with fitted sleeves.
Tracking bicep measurements along with your sewing projects provides insight into changing body shape.
As we strength train and sculpt arm muscles, adjust sleeve width and other design elements for arms.
When measuring the upper arm area, tailor clothing to complement your beautiful arms rather than camouflage.
Celebrate fitness achievements by showcasing toned biceps and triceps in narrow-cut or sleeveless garment options.
Thigh
Next, measure the fullest part of the upper leg, just below the crotch.
Place the measuring tape around the widest part of your thigh while standing straight with feet together and legs slightly separated.
This thigh measurement helps determine trouser fit and athletic wear sizing.
It indicates leg circumference for skirts and dresses as well.
For skirts, also measure from waist to desired skirt length.
Accurate thigh measurements lead to well-fitted garments that are comfortable while allowing full range of motion.
Record Measurements
When taking measurements, download a measurement chart or set up a Google Sheets document to record your precise numbers for future sewing projects.
Record measurements in a table with columns for measurement name, date, and actual measurement.
Color code measurements – blues for bust, reds for hips, greens for waist.
Save multiple copies of the sheet for weight fluctuations.
Accurate measurements are the key to garment fitting and sewing success. As any experienced seamstress knows, precision mapping of the body enables tailoring perfection. Whether drafting patterns from scratch or adjusting store-bought, accurate numbers ensure proper shaping and eliminate guesswork.
For form-fitting designs especially, exact measurements create the intimacy we desire from clothing – affirming our shape. By carefully recording widths of bust, waist and hip, we build belonging between garment and wearer.
With practice, familiarity with your own proportions will grow. Honor the wisdom in each curve and angle, respecting the governance of fabric over form.
Our measurements may vary day-to-day, but maintain vigilance and numbers will steady, guaranteeing consistent quality and delight in creations to come.
Retake Measurements
With your measurements documented, recheck them daily or as changes to your body necessitate. Our bodies fluctuate, so verifying measurements often ensures a proper fit for your sewing projects.
Stand in front of a full-length mirror to recheck measurements. Use a taut string as a guide for accuracy when retaking waist and hip measurements.
Getting consistent numbers can prove difficult as posture shifts. Relax your stance before wrapping the tape measure. Exhale naturally rather than sucking in your stomach. Drape measuring tape smoothly across curves without gaps for a correct fit.
Double-check bust, waist, and hip measurements first when retaking your sizes. Arm, thighs, and calves tend to remain stable. However, update all numbers every couple of weeks at a minimum to guarantee sewing success with the most current dimensions.
Use String as Guide
Frequently, you’re utilizing a length of string to precisely locate the natural waist and side waist.
As a professional seamstress, I rely on simple string techniques and tailoring tricks to ensure precision fit.
Loop a piece of string around your body at the narrowest point—your natural waist.
Tie the ends together snugly and allow the string to drop, using it to mark the spot on both sides.
This creates an instant point of reference, allowing exact side waist measurements from armpit to waist.
For the most accuracy, ask your sewing helper to use the taut string guideline while measuring.
By incorporating clever string tips into the measuring process, you amplify precision.
Whether draping fabric or sewing custom-fit designs, accurate measurements are essential for success.
As an experienced sewing instructor, I share proven string methods to streamline tailoring and enhance the end result.
Precision with string simplifies fit.
Check Measurements in Mirror
You should double-check your measurements using a mirror to validate their accuracy before cutting fabric. As a professional seamstress, I always recommend a quick visual confirmation to boost your confidence in the numbers.
Stand in front of a full-length mirror wearing your close-fitting undergarments and simply compare your body to the measurements noted. This mirror check and self-verification brings an extra level of visual validation to your figures.
Run the tape around your bust, hips, and waist, ensuring the reflections match what you’ve recorded.
Having accurate sewing measurements is the key to success, and taking a few seconds to confirm their precision through a reflection accuracy check is time well spent. We all have asymmetries and differences side-to-side, so seeing your shape compared to the measurements reinforces their validity.
Frequently Asked Questions (FAQs)
What if I don’t have a helper to take measurements for me? Can I still get accurate measurements?
Yes, you can still get accurate measurements without a helper:
- Use a mirror to check the positioning of the tape measure.
- Take photos of the tape measure on your body from multiple angles to double-check later.
- Work slowly and methodically.
- Retake any measurements you’re unsure about.
With care and patience, you can measure yourself accurately.
How often should I retake my measurements?
Measurements should be retaken regularly, especially if your body shape changes often, like during puberty, pregnancy, or weight fluctuations.
For general sewing, measure every few months.
For a perfect fit, measure the day you cut fabric and again before the first fitting.
Do my measurements change if I gain/lose weight? How much of a difference is significant?
Yes, your measurements often change when your weight fluctuates.
A difference of 2 inches or more in the bust, waist, or hips likely indicates notable bodily changes that warrant new measurements before sewing clothing.
Otherwise, small fluctuations under 2 inches generally don’t drastically impact fit.
I’m ordering a custom-made dress online. What are the key measurements I should provide to the dressmaker?
Provide your bust, waist, and hip measurements.
Also include shoulder width, arm length, and any other areas related to the dress style.
Snug but not too tight on the tape measure.
Record accurately for the dressmaker.
I seem to get different bust measurements depending on the bra I wear. Which one should I use?
As bust measurements vary with different bras, do the simple underbust measurement first.
This establishes your true chest size without variable cup fit factors.
Then do a full bust over whichever bra you anticipate wearing with the garment.
This accounts for cup size factors when pattern drafting for ideal shaping and support.
Conclusion
As an experienced seamstress, I assure you accurate garment fitting starts with precise measurements.
After years of guiding students, I’m confident this process, while meticulous, is manageable.
Carefully measure and record your dimensions.
Recheck data, using visual and tactile guides like string or mirrors to validate numbers.
With time and practice, you’ll master this skill fundamental to sewing success.
Consult my sewing academy with any measurement questions—we’re committed to your perfectly fitted fashions.

