This site is supported by our readers. We may earn a commission, at no cost to you, if you purchase through links.
 Ready to hem like a pro with Wrights iron-on hem tape? First, choose the right tape for your fabric weight and hem width.
Then, mark the hem, fold the edge, and tape it down. Next, press that tape with a medium-hot iron for 10 seconds – no peeking! Let it cool completely before handling.
If the tape isn’t sticking, check your iron temp. Wrinkles? Use a press cloth. Residue? Reheat and peel gently.
With a little practice, you’ll be hemming like a seasoned seamstress. Just remember – measure twice, cut once, and let that tape work its magic for a flawless finish every time!
Table Of Contents
Key Takeaways
- Choose the right hem tape for your fabric – consider the weight, width, and color to get a perfect match.
- Measure twice, cut once – take your time marking and cutting the hem to avoid messy edges.
- Press the tape with a medium-hot iron and let it cool completely – this helps the adhesive bond securely.
- Don’t sweat the small stuff – if you run into issues like wrinkles or residue, just reheat and peel gently to fix it up.
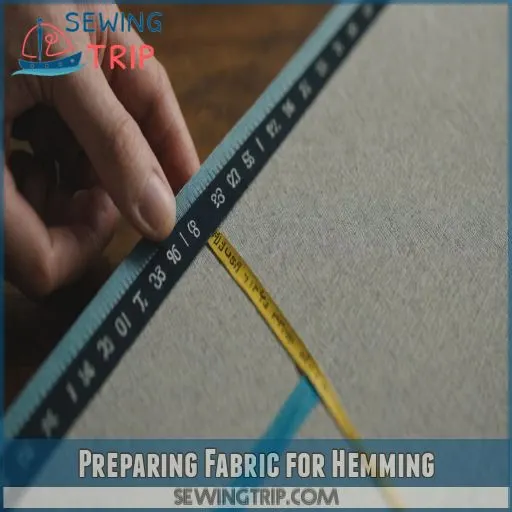
Preparing Fabric for Hemming
Before you start hemming, you’ll need to prepare your fabric.
First, mark where the hem should be, then flip the item inside out and get ready to fold and tape the edge.
Choosing the Right Hem Tape
Choosing the right hem tape is like picking the perfect dance partner—get it wrong, and you’re in for a clumsy evening. Learn more about tulle hemming techniques.
Consider fabric weight, hem width, and tape color.
Light fabrics? Opt for fusible web hem tape.
Heavyweight jeans? Try a thicker iron-on hem tape.
Match tape width with hem needs, and soon, your sewing notions will sing.
Measuring and Marking the Hem
- Slip on those pants and pin where you want the hem. Need accuracy? Use friends or mirrors—they don’t judge.
- Turn them inside out for easy access.
- Use a marking pen to draw your line.
- Double-check the clothing label before any cuts.
Cutting the Fabric to the Desired Length
Now that you’ve marked the hem, it’s time to cut. Grab sharp scissors—blunt ones are like trying to slice bread with a spoon. Cut a little longer than needed; you can always take more off, but adding it back? Not so much! Tempted to rush? Take it slow. Frayed edges and crooked lines never impressed anyone.
Avoid fraying with hem tape.
| Task | Tool or Item |
|---|---|
| Measure fabric | Ruler or Tape Measure |
| Mark fabric | Chalk or Pen |
| Cut fabric | Sharp Scissors |
| Avoid fraying | Hem Tape |
| Check length | Moderate patience |
Folding and Taping the Hem
Fold the fabric and apply the hem tape over it.
The length of the tape needed will vary depending on its width – usually about 25mm or 1 inch.
Carefully place the adhesive side down over the raw hem, near the edge of the cut, straight and covering all the edges.
Easy peasy!
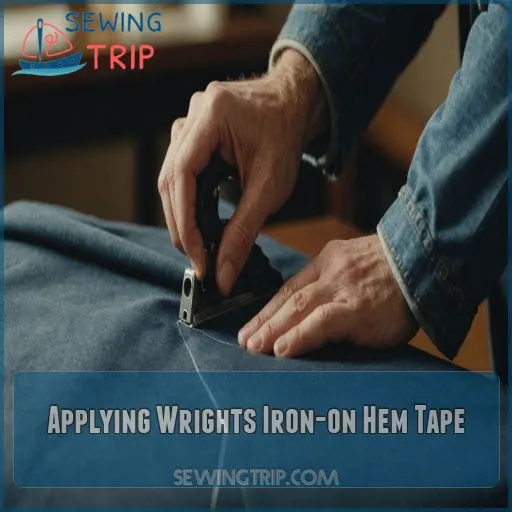
Applying Wrights Iron-on Hem Tape
Ready to make those hems perfect without sewing a stitch and learn about no-sew solutions??
Let’s tackle the process of applying Wrights Iron-on Hem Tape to give your fabric a neat, quick fix—just like magic!
Cutting the Hem Tape to the Correct Length
Your fabric’s ready, and it’s time to wield those scissors and get the hem tape just right. Let’s cut the tape a bit longer than the hem:
- Measure twice; cut once.
- Leave a little wiggle room—about half an inch.
- Match tape width with hem length, like when you’re measuring for turn-ups.
- Keep your fabric type in mind.
- Grab Wrights tape to make sure your fabric looks great!
Soaking the Hem Tape (if Necessary)
Think of soaking your hem tape as giving it a quick pre-treatment before you use it. Not all hem tape types need soaking, but if yours does, use lukewarm water to avoid tape residue. Let it soak for about 3-5 minutes—just like a quick dip for your hem tape! It’s key for fabric compatibility, ensuring wash and dry clean readiness.
| Hem Tape Types | Soaking Time | Water Temperature |
|---|---|---|
| Some Wrights Types | 3-5 minutes | Lukewarm |
| Iron-on Hem Tape | 3-5 minutes | Lukewarm |
| Water-repellent Types | Not needed | Not needed |
| Soft & Easy Hem Tape | Sometimes | Lukewarm |
| Lace Hem Tape | Not needed | Not needed |
Placing the Hem Tape on the Fabric
Next, carefully place the adhesive side of the hem tape down over the raw edge of the fabric, aligning it straight and ensuring it covers the entire hem.
Maintain gentle fabric tension as you apply the tape.
Check the alignment and adjust as needed.
Overlap the tape ends slightly.
Be mindful of any wrinkles or creases.
Pressing the Hem Tape With an Iron
With your hem tape in place, it’s time to press it—think of it like ironing out life’s wrinkles.
Set your iron to medium heat, about 302°F, and use a damp press cloth if you’re working with delicate fabric.
Gently press the hem tape for around 10 seconds, using proper pressure.
Just keep an eye on the iron temperature to avoid burns!
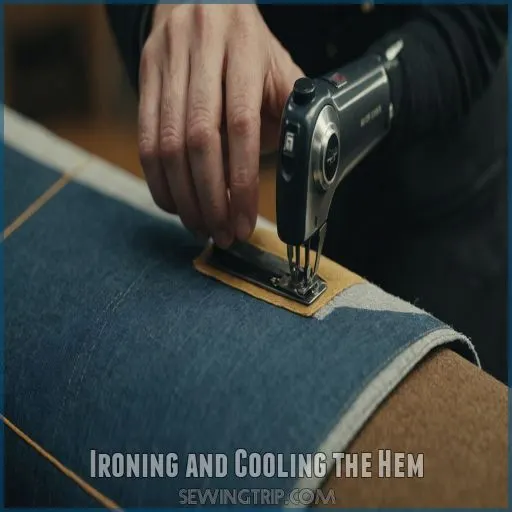
Ironing and Cooling the Hem
Ironing and cooling the hem is like giving your fabric a spa day; you want everything to relax and bond smoothly.
Use a press cloth for delicate fabrics, and let the garment cool completely before you start any adjustments.
Using a Press Cloth for Delicate Fabrics
Now you’re ready to iron—gasp!—your delicate fabrics.
Make it easier by placing a press cloth, like an old pillowcase or thin cloth, between the iron and fabric.
This prevents scorching.
Here’s a quick checklist:
- Press cloth types: Pillows cases work wonders!
- Delicate fabric care: Gentle heat.
- Iron temperature guide: Follow fabric’s label.
Allowing the Fabric to Cool Before Handling
After pressing the hem tape, let the fabric cool completely before handling.
This allows the adhesive to fully set and prevents any distortion or damage to the fabric.
Be patient – rushing to check your work could lead to wrinkles or creases.
Once cooled, your hem should be smooth and secure.
Fixing Mistakes and Removing Excess Tape
You’ve given your fabric time to cool, and now maybe you’ve hit a snag with sticky hem tape mistakes. No more sweat: here’s the skinny!
- Apply heat: Use a damp cloth and reheat the tape lightly.
- Peel gently: Slowly remove the adhesive tape.
- Clean up: If residue remains, gently rub with a little soap and warm water.
It’s as easy as pie!
Tips for Working With Wrights Iron-on Hem Tape
When working with Wright’s iron-on hem tape, setting the right iron temperature is key to a smooth hem, so don’t turn your pants into a melted masterpiece!
Whether you’re using it on denim or delicate fabrics, follow these quick tips to avoid wrinkles and creases for a flawless finish.
Choosing the Right Iron Temperature
Ironing might seem like a hot mess, but fear not, ironing wizards! Make sure you get a quick action seal by adjusting your iron’s temperature setting according to your fabric type. Pick a low heat to prevent scorching delicates, while tougher materials can take more sizzle. Consult your garment’s label—nobody wants crispy hems! This keeps your Wrights hem tape perfectly attached.
Avoiding Wrinkles and Creases in the Fabric
Preventing wrinkles and creases is key when using Wrights iron-on hem tape.
Gently press the fabric with the iron, avoiding heavy-handed movements that can distort the material.
Let the steam do the work – no need to slide the iron back and forth.
After pressing, allow the fabric to air dry completely before handling to lock in a smooth, crease-free finish.
Using the Hem Tape on Different Types of Fabric
Working with hem tape on different fabrics requires finesse.
Delicate fabrics demand gentleness; use a press cloth to avoid scorching.
On stretch fabrics, let them relax before applying Wrights Iron-on Hem Tape.
Thick fabrics? Use extra heat and pressure.
Synthetic fabrics may need a temperature check — they’re like Goldilocks, needing it just right!
Embrace variety and adjust accordingly!
Troubleshooting Common Issues With Hem Tape
Thinking about using Wright’s iron-on hem tape but worried about common hiccups? You’re not alone! Hem tape can be a bit tricky. Here’s how to sidestep those pitfalls:
- Hem tape not sticking? Double-check the iron setting. It should be on medium heat. Think of it like Goldilocks: not too hot, not too cold.
- Wrinkled hems driving you nuts? Place a press cloth between the iron and fabric. It’s your fabric’s superhero shield—no more scorched edges!
- Tape leaving a pesky residue? Use a damp cloth and reheat to peel it gently off. It’s like turning back time without the time machine.
- Tape too short? Always cut a tad longer than needed. Remember, better a bit extra than awkward gaps!
Frequently Asked Questions (FAQs)
How do you use iron on hem tape?
Using hem tape is like giving your pants a quick facelift and it’s surprisingly easy.
Turn the fabric inside out, place the tape along the edge, press with an iron for ten seconds, and you’re done.
Voila, no sewing needed!
Does hem tape really work?
Hem tape is a nifty solution for quick, stitch-free hems.
Stick it on, iron over, and voilà—your pants are a perfect length!
It’s not sewing magic, but it holds up well for casual wear.
Why is hemming tape not working?
If your hemming tape isn’t sticking, try cleaning the fabric first.
Make sure the surface is free of dust, lint, or oils that could prevent proper adhesion.
Reapply the tape firmly and give it time to fully bond.
Does hem tape come off in the wash?
Worried about hem tape surviving the wash?
Generally, the magic holds up well if properly applied.
Always check the product’s instructions and your garment label.
Avoid steaming hot washes, and you’ll have hem success.
Can Wrights Iron-On Hem Tape be reused?
Wrights Iron-On Hem Tape isn’t a reuse-friendly little helper.
Once you iron it on, it’s a one-way street.
You might say it’s as sticky as a good secret—secure and reliable, but not easily repositioned.
How durable is the hem after washing?
Iron-on hem tape can handle washing quite well, sticking around like a loyal sidekick.
However, for best results, cold washing and air drying are your new best friends to avoid any unwanted peeling or fraying.
What fabrics can Wrights hem tape not bond with?
As slippery as an eel, some fabrics may elude Wrights’ hem tape’s grip.
But don’t fret – with a little finesse, you can tame even the trickiest textiles and achieve a flawless finish every time.
Are there any noticeable effects after using hem tape?
When you use hem tape, you’ll notice a nifty clean edge without sewing!
It’s like a magic trick for your wardrobe.
Fabrics look seamless, but heavier materials might feel a bit stiff.
Stick with lighter fabrics.
How to safely remove hem tape residue?
Ah, the sticky aftermath of hem tape!
Tackle residue by reheating with a damp cloth and iron.
As it warms, peel it slowly like a sticker.
Voilà! Clean and ready for round two.
Conclusion
Flash back to the days of beepers and clunky gadgets—hemming was quite a chore!
Thankfully, with Wrights iron-on hem tape, mastering hemming is easy-peasy.
Just remember the essential steps: pick the right tape, press it with a medium-hot iron, and let it cool.
Always check your iron’s temp and use a press cloth for finicky fabrics.
With these tips, you’ll hem like a pro.
Ready to tackle your next project with confidence!

