This site is supported by our readers. We may earn a commission, at no cost to you, if you purchase through links.
 Think of a sewing machine as the tender dance executed between the needle and thread. One such important step in this choreography is your machine picking up the bobbin thread. If that goes sour, it results in frustration and tons of unfinished projects.
Don’t sweat—we have got nine expert fixes to get you smooth sewing. From checking bobbin tension to adjusting presser foot pressure, these solutions will help you regain control of your stitches.
Let’s get technical and get your machine running again, making every seam perfect
Table Of Contents
- Key Takeaways
- Check the Bobbin Tension
- Inspect the Bobbin Case
- Verify the Bobbin Winding
- Examine the Needle
- Confirm the Threading
- Clean and Lubricate the Machine
- Adjust the Presser Foot Pressure
- Use the Correct Needle and Thread
- Check the Needle Bar Height
- Seek Professional Assistance
- Frequently Asked Questions (FAQs)
- Conclusion
Key Takeaways
- Threading troubles? Time to become a bobbin detective! Start by checking that pesky bobbin tension and inspecting the case for any sneaky debris or damage. Remember, a well-wound bobbin is like a perfectly choreographed dance – smooth and in sync!
- Needle know-how is a game-changer. Don’t let a bent, blunt, or mismatched needle throw a wrench in your sewing plans. Swap it out regularly, and you’ll be stitching up a storm in no time.
- Keep your sewing machine happy with some TLC. A little cleaning and lubrication go a long way – think of it as a spa day for your trusty stitching companion. A clean machine is a dream machine!
- When all else fails, don’t be afraid to call in the cavalry. Sometimes, even the most seasoned sewers need a helping hand. A professional tune-up might be just the ticket to get your machine purring like a kitten again
Check the Bobbin Tension
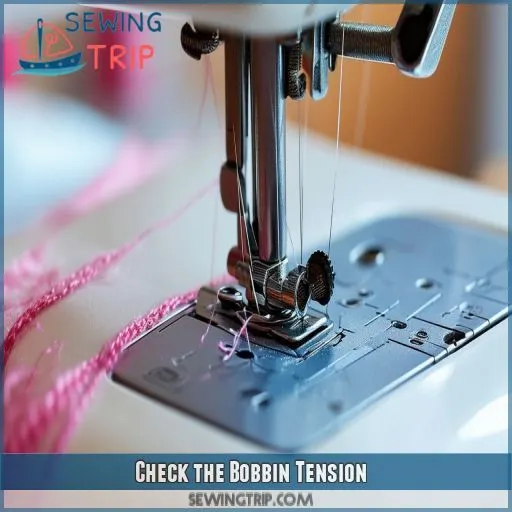
When your machine’s not picking up bobbin thread, one of the first places to look is at bobbin tension. First, remove the bobbin case and ensure that you’re using the correct size of bobbin for your machine. Make sure you use the right thread since thread type compatibility is always an issue in this kind of work.
Now, let’s talk about the tension knob. A slight clockwise turn will increase tension; a counterclockwise turn will decrease it. And, if you want to get haute couture, don’t forget to take out the thread tension gauge and take precise measurements. After all, spring tension can impact how smoothly your thread flows.
Bobbin tension is fine-tuned, as you balance between puckering the fabric from too much tightness and creating loops of stitches because it’s too loose. Aim for that Goldilocks zone where the tension’s just right, and you’ll sew smoothly in no time
Inspect the Bobbin Case
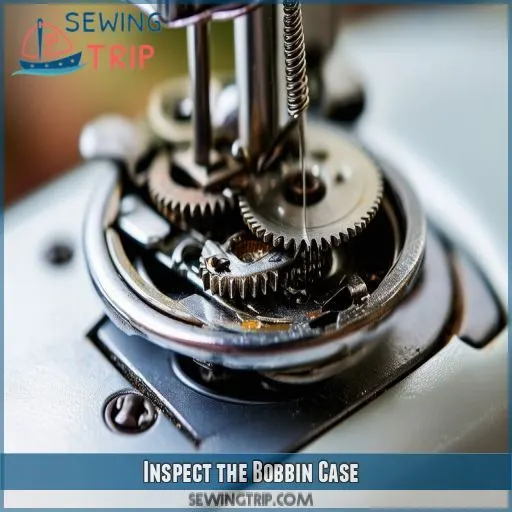
Now that you have checked the tension of your bobbin thread turn your attention toward your bobbin case. This most essential element is a significant player when considering how pickup happens to be performed on the thread. The following is what you need to inspect:
- Return the bobbin case to its position within the shuttle hook.
- Inspect the bobbin case alignment for warping or damage.
- Check the bobbin case spring and latch for smooth operation.
Notice how the flow of the bobbin thread is through the case. Any snags or misalignments in that can be a cause of pickup. If you notice any debris, gently sweep it out with the end of a soft-bristled brush. Be sure to inspect the thread path on your bobbin case for wear or burrs, too. A misaligned or damaged bobbin case gets in the way of good sewing. It will bring you closer to solving those nagging thread pickup problems and get you back to smooth sewing if you give it a good once-over.
Verify the Bobbin Winding
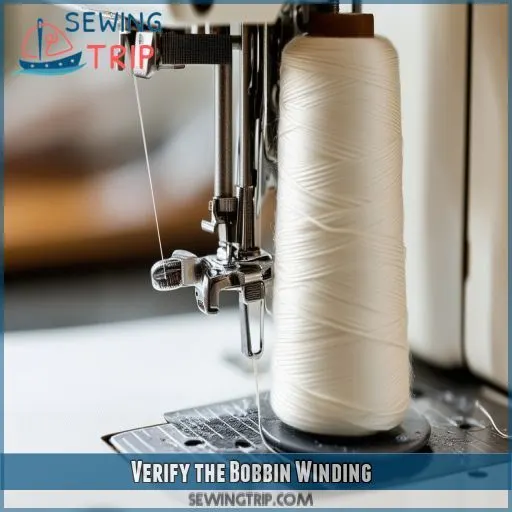
Now that you have checked the bobbin case, check the bobbin winding. If your bobbin is wound incorrectly, that could be putting irregular tension on your bobbin thread and cause your machine to skip stitches.
Ensure the bobbin has an even wind with no humps in it; if this isn’t the case, then turn off or gently re-wind if uneven or loose, making sure that you follow the correct winding direction for the model of your sewing machine. Be sure that the tension of your wind isn’t too tight, and a good winding of the bobbin means one where all threads lie flat and parallel to each other.
If you find irregularities in the wind pattern, that could very well affect your alignment of the path of the thread in the process of sewing. Remember, a well-wound bobbin keeps proper tension and avoids frustrating hiccups while sewing.
Take your time with this step – it’s a key factor in achieving smooth, professional-looking stitches
Examine the Needle
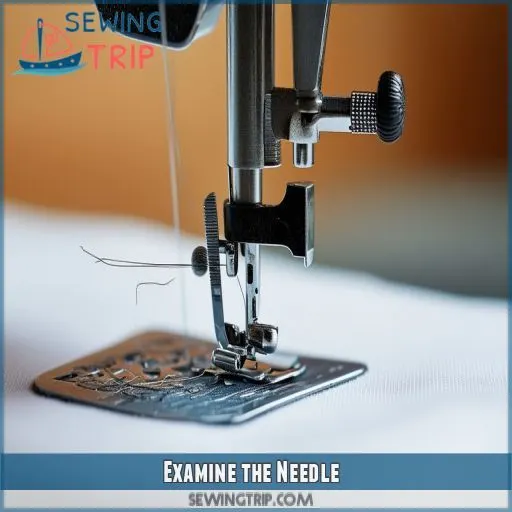
Now that you’ve checked your bobbin winding, let’s examine the needle. A faulty needle can be the culprit behind your machine not picking up bobbin thread. Here’s what you need to look for:
- Is your needle bent or blunt?
- Have you been using the same needle for too long?
- Does the needle match your fabric type?
- Is the needle securely fastened?
- Are you using the correct needle size?
Ensure you’re using the right needle type and size for your fabric. A bent or dull needle won’t penetrate the fabric properly, causing thread pickup issues. Replace your needle regularly, especially after heavy use or when switching fabric types. When inserting a new needle, make sure it’s aligned correctly and tightened securely. Remember, a small change in needle condition can make a big difference in your sewing results
Confirm the Threading
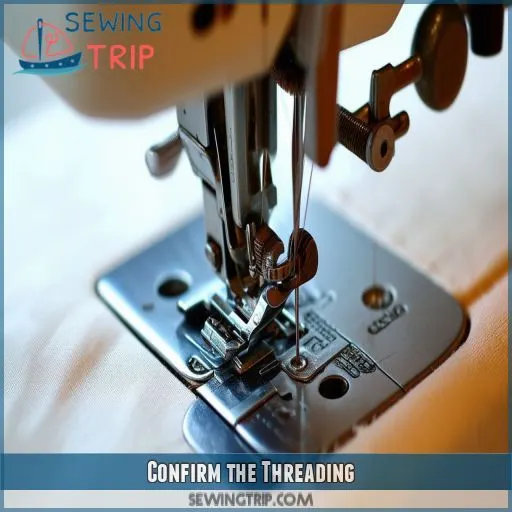
After checking your needle, you want to check your threading. This is typically wrong if your machine isn’t picking up your bobbin thread. Start by rethreading both your upper thread and bobbin according to the instructions of your machine.
Note any kind of indication of the thread tension since this could have been what caused the malfunction in picking up your upper thread on your bobbin. Ensure the thread is seated correctly in the tension discs, then pull the thread through all proper channels.
Check bobbin winding, too, as a poorly wound bobbin can cause issues. Use the correct size and type of needle for your fabric. Keep the presser foot in its appropriate position.
If using a stretch stitch, ensure you’ve adequately threaded for this function. Finally, leave long tails in both threads when you begin sewing
Clean and Lubricate the Machine
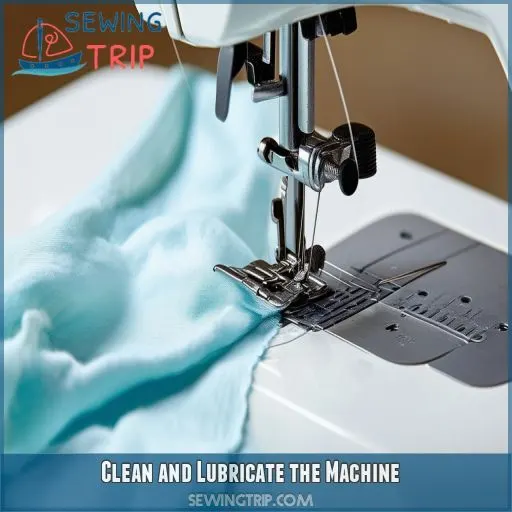
Now that you’ve checked your threading, you can clean and grease your machine. A dirty sewing machine is the number one culprit for many sewing issues, including breaks in your bobbin thread. Here’s how to keep your machine humming:
Clean using the appropriate tools: a lint brush, compressed air, and a soft cloth.
• Clear lint and other debris from bobbin case, feed dogs and the plate under the needle
Apply the factory-recommended lubricant to all moving parts.
- Follow your machine’s lubrication schedule for optimal performance
- Consider DIY cleaning for regular maintenance, but consult a professional for deep cleaning
Adjust the Presser Foot Pressure
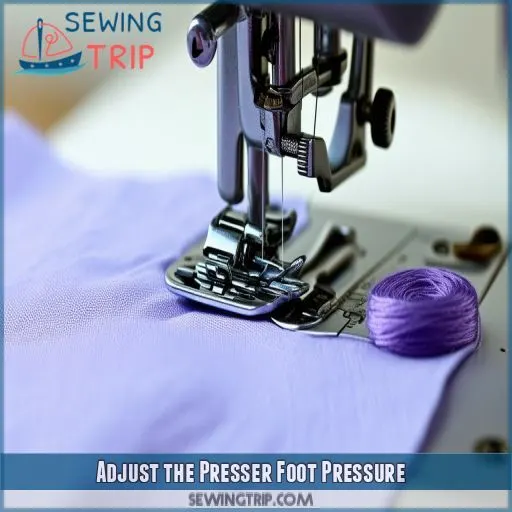
If your machine isn’t catching the bobbin thread, try adjusting the pressure of the presser foot. This setting—often overlooked—is essential in keeping the proper thread tension and in control of the fabric.
On very light fabrics, such as those used in a T-shirt alteration, it reduces pressure to avoid stretch or other damage, then raises a notch for thicker materials during sleeve or shoulder adjustments.
Make sure there’s correct alignment with the presser foot. If this isn’t done, it will result in poor thread pick-up. The pressure complements the thickness of the fabric and the size of the needle. Start on medium tension and adjust accordingly.
All adjusted well, your presser foot should run through your whole length of cloth smoothly and consistently, hence evenly spaced stitches and proper thread interaction.
This is an easy solution that’s often overlooked, but it may be the key to solving your problems with bobbin thread
Use the Correct Needle and Thread
You have gone so far, but probably the most underrated dynamic duo of your sewing machine are the needle and thread. I mean, it’s like trying to fit a square peg into a round hole if you’re working with a mismatched pair.
First, find a match between the type of your needle and your fabric—lightweight fabrics will require smaller needles, and heavier ones beefier. Then, look at the size of the needle: a size 80/12 is a good all-rounder, but adjust if necessary.
The thread now: Must be of a thickness to balance the diameter of your needle and the density of your fabric. Fine for light fabrics, a little thicker for stout materials.
But what’s more critical is thread tension. You’ll have puckered fabric if it’s too tight; if it’s too loose, sloppy stitches.
Nail this needle-thread combination, and you’re on your way to smooth, pro-looking seams
Check the Needle Bar Height
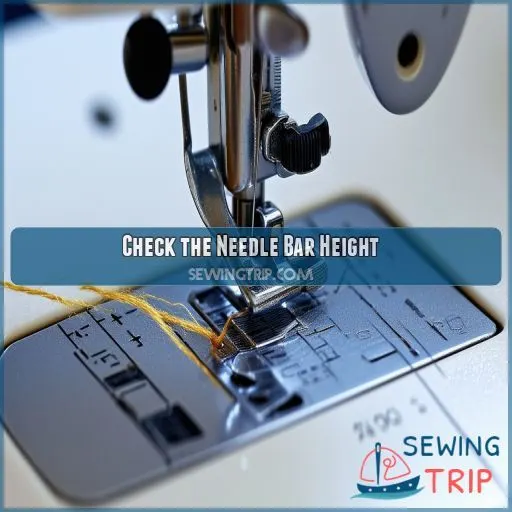
First, make sure you’re using the correct needle and thread; then check the height of your needle bar. It’s something that often gets overlooked, but it might be why your bobbin thread is missing its mark. Here’s how to tackle it:
- Height of the needle bar: Refer to your machine’s manual.
- Remove the Needle Plate and Check Needle-bar Position
- If necessary, set the tension for the needle bar
- Check the arm alignment—Needle motion.
This would also be affected by the seating and rotation of the bobbin case. The height of the needle bar being too high or too low would mean it won’t pick up the bobbin thread either. Be sure to check for blockages in any of the thread paths, too. The proper adjustment to the height of a needle bar will aid in the smooth flow of sewing without any hiccups and relieve all those annoying picking-up-threads problems. Voilà! With these steps, you’ll sew again effortlessly!
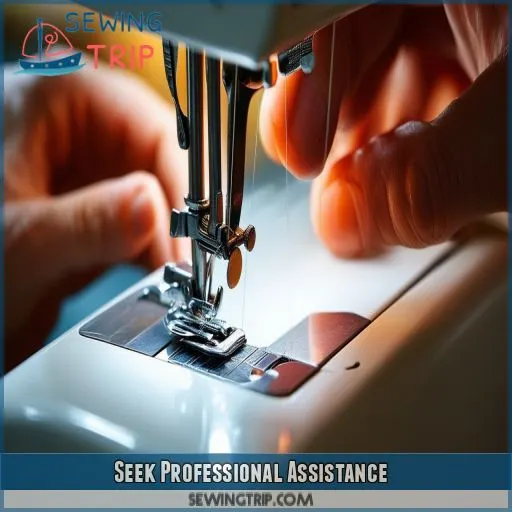
Seek Professional Assistance
If you have done everything else on this list and still can’t pick up the bobbin thread, it’s time to get your machine serviced by professionals. One wouldn’t want to try a problematic repair themselves and be putting either parts or, worse yet, their persons in jeopardy. Indeed, professional technicians can diagnose and correct problems such as those requiring timing adjustments that require specialized knowledge of machine parts.
| Service | Benefit | Consideration |
|---|---|---|
| Diagnosis | Accurate identification of issues | Cost of assessment |
| Repair | Proper fix for complex issues | Turnaround time |
| Maintenance | Avoid problems in the future | Ongoing maintenance cost |
Look for one with experience in your machine model and proper technician expert qualifications. They can check all the significant areas: bobbin winding, thread path, timing—just to be sure everything runs smoothly. While professional service might cost more, it’s usually money well spent if you want your trusted sewing companion to continue running well for years to come.
Frequently Asked Questions (FAQs)
Why is my sewing machine not grabbing the bobbin thread?
Are you not picking up the bobbin thread on your sewing machine? First, make sure the bobbin is seated and threaded properly. Ensure that the needle has been inserted correctly and that the upper thread tension is balanced. Clean up any lint accumulation around there, too.
How do I get my sewing machine to pick up the bobbin thread?
It’s going to be conquered in a whirlwind of fabric and thread! First, rethread your machine. Check the placement and tension of the bobbin. Be sure you have the correct size of the needle. Clean any lint buildup. You got this!
Why is my bobbin thread hard to pull?
Is it hard to pull the thread off your bobbin? Check the tension first. It may just be too tight or tangled. Ensure the bobbin is inserted just right, threaded correctly, and free from lint and other debris. Upon persistence of the problem, adjust the tension in your bobbin case.
Why is my sewing machine bobbin jamming?
Your sewing machine’s bobbin may be jamming because it’s threaded incorrectly, tensioned poorly, or its case is dirty. Look at your manual, clean the area, and make sure the correct size of bobbin is being used. After cleaning, you may need to adjust the tension.
Why is my sewing machine not picking up bobbin thread?
You’ve got a thread-apocalypse on your hands! First, check that your bobbin case is seated and going in the right direction. Make sure you thread it upright and get the proper tension. Replace needles that have been worn. Clean and oil your machine regularly. If none of the above works, it may need a timing adjustment. See a professional.
How to pick bobbin thread?
To pick up bobbin thread, raise the needle to its highest position. Hold the upper thread lightly, and turn the handwheel toward you. Pull the upper thread gently, and the bobbin thread should come up with it
How to use a bobbin thread on a sewing machine?
Threading the bobbin’s like threading a needle through a haystack. First, wind the bobbin. Insert it into the case, pull the thread through the slot and tension spring. Finally, raise the needle to catch the bobbin thread
Why is my needle not picking up the bobbin thread?
You must be having an issue with the bobbin. See whether it’s correctly seated and the thread is in the right direction. That will most definitely deal with the threading, tensioning, and cleaning of the machine. If problems still occur, then timing adjustment or professional help would be necessary.
Can fabric type affect bobbin thread pickup?
This will be somewhat like a light breeze affecting a light kite: the fabric type can indeed affect the pickup of the bobbin thread. You’ll find that the thicker fabrics may require some tension and pressure adjustment, and light, amid-weight materials may require just a finer needle for optimal performance.
Does room temperature impact machine performance?
Yes, room temperature can affect your machine’s performance. Extreme cold or heat may impact lubricants, causing stiffness or excessive fluidity. You’ll get the best results when operating your machine in a comfortable, controlled environment. Keep it cool and dry
How does thread storage affect its behavior?
Every thread has a silver lining when stored properly. You’ll find your thread behaves better if you keep it in a cool, dry place. Avoid direct sunlight and humidity, as they can weaken fibers and affect performance
Can machine vibration cause bobbin thread issues?
Yes, machine vibration can cause bobbin thread issues. It may loosen the bobbin case, affecting thread tension and pickup. You’ll notice skipped stitches or uneven tension. Regular maintenance and proper machine placement can help prevent these problems
Does machine age influence bobbin thread pickup?
Like a car’s mileage, machine age can affect performance. As your sewing machine gets older, wear and tear on parts may impact bobbin thread pickup. Regular maintenance and timely replacements can keep your trusty stitcher running smoothly
Conclusion
Picture Sarah, a seamstress who nearly gave up on a client’s dress when her machine wouldn’t pick up the bobbin thread. Using expert fixes, she identified a loose bobbin case and resolved the issue.
When your machine’s not picking up bobbin thread, don’t panic. Work through these solutions systematically, from checking tension to examining needle bar height. With patience and attention to detail, you’ll overcome this common sewing hurdle

