This site is supported by our readers. We may earn a commission, at no cost to you, if you purchase through links.
professional results can be achieved by mastering your tools for pressing. From irons to tailor’s hams, they give you power over shaping fabric.
You’ll learn which tools are must-haves, how to use them properly, and why they’re important to take your sewing skills to the next level.
Now it’s finally time to get control and let that creativity soar: the art of pressing is in your hands.
Table Of Contents
- Key Takeaways
- Why Pressing Matters in Sewing
- Essential Pressing Tools for Every Sewist
- Specialized Pressing Tools for Curved Surfaces
- Tools for Creating Sharp Creases and Seams
- Advanced Pressing Equipment for Professionals
- DIY Pressing Tools and Alternatives
- Proper Care and Maintenance of Pressing Tools
- Frequently Asked Questions (FAQs)
- Conclusion
Key Takeaways
- Pressing is the secret sauce: 90% of a garment’s quality comes from proper pressing. Treat your fabric like a sculptor treats clay, shaping it into perfection.
- Arm yourself with the right tools: Just like a chef needs sharp knives, you need a good steam iron, ironing board, and press cloths. Invest in these essentials for professional results.
- Master specialized tools for curved surfaces: Tailor’s hams, seam rolls, and sleeve boards are your allies when working with curves. They’ll help you achieve smooth, crisp lines and avoid unwanted creases.
- Take care of your tools: Clean your iron regularly, replace ironing board covers, and store your tools properly. They’ll last longer and give you the best results.
Why Pressing Matters in Sewing
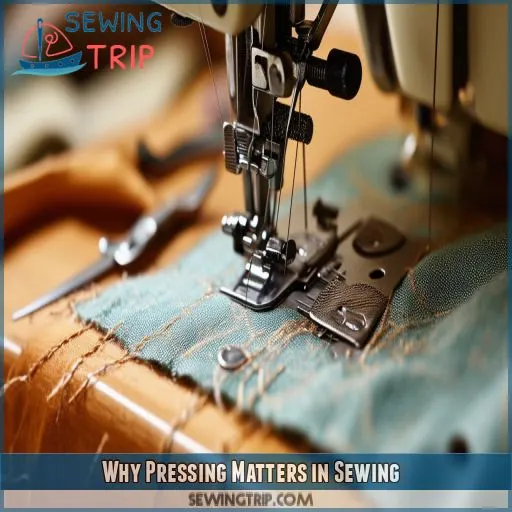
You must have heard that pressing accounts for 90% of the quality of a garment, and it’s true. Ironing will smooth out wrinkles while pressing shapes fabric and sets stitches, so it’s an essential step toward professional results.
The 90% Rule
You’ve heard of the 90% rule in sewing, right? It’s not about perfection, it’s about pressing! Believe it or not, 90% of your garment’s quality comes from proper pressing. By investing time and using essential tools, you’ll elevate your creations from homemade to professional. Don’t skimp on pressing – it’s your secret weapon for fabric care and time-saving success.
Difference Between Ironing and Pressing
While ironing smooths wrinkles, pressing shapes garments. You’ll use a pressing cloth, tailor’s ham, or point presser to apply heat and pressure strategically. A steam iron or steam generator creates crisp lines, while a dauber helps distribute moisture. Don’t forget ironing board covers and a pressing mitt for protection. Starch alternatives can give fabric extra body when needed.
Essential Pressing Tools for Every Sewist
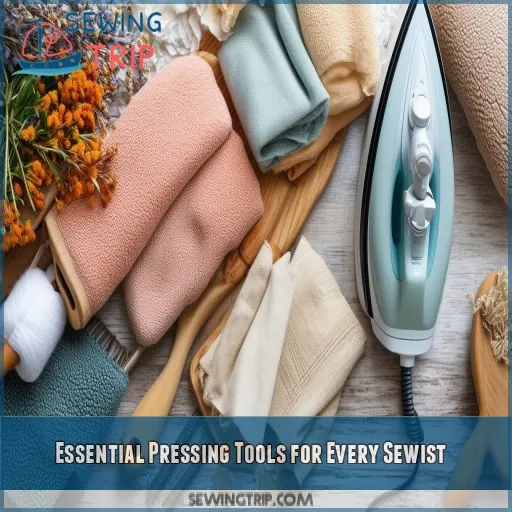
To achieve professional results in your sewing projects, you’ll need a few essential pressing tools. A high-quality steam iron, a sturdy ironing board, and protective press cloths form the foundation of your pressing toolkit, enabling you to create crisp seams and smooth fabrics with ease.
Steam Irons
You will want one with variable temperature controls and a robust steam output. Look out for a large water reservoir, comfortable ergonomics, and an iron with a long cord length for ultimate flexibility. Your iron’s performance goes hand in glove with the quality of your ironing board.
Ironing Boards
Of course, having a good ironing board would be in tandem with the iron. Look for adjustable heights, smooth surfaces, and cotton batting padding. Then, of course, accessories like sleeve boards and seam rolls will help you press more precisely. However it’s regular maintenance that will ensure your board remains in the best shape.
Press Cloths
Now that you’ve got your ironing board set up, let’s talk press cloths. These unsung heroes protect your fabric from scorching and shine. You’ll want a variety of press cloths: all-purpose cotton, semi-transparent organza, and even scraps of your project fabric.
Specialized Pressing Tools for Curved Surfaces
When working with curved surfaces in sewing, you’ll need specialized tools to achieve professional results. Three essential curved pressing tools are the tailor’s ham, seam roll, and sleeve board, each designed to support and shape different garment areas during pressing.
Tailor’s Ham
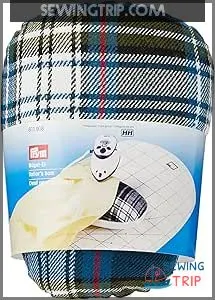
You’ll love using a tailor’s ham for pressing curved seams and shaping garments. This egg-shaped tool preserves the contours of your project, unlike a flat ironing board. Here are three key benefits:
- Perfectly presses darts
- Shapes collars and sleeves
- Maintains bust curves
Seam Roll
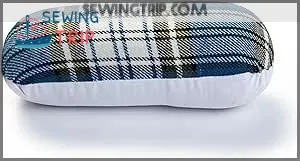
You’ll love the seam roll for pressing open seams without leaving imprints. This cylindrical tool lifts seam allowances, protecting your fabric in curved areas. It’s a game-changer for garment construction, working hand-in-hand with your tailor’s ham and pressing techniques.
Sleeve Board
While seam rolls handle long, straight seams, sleeve boards tackle the unique challenges of sleeves. You’ll find them indispensable for pressing sleeve plackets, hems, and curved sections. Their narrow shape lets you slip sleeves on easily, mimicking a miniature ironing board.
Tools for Creating Sharp Creases and Seams
Tools to be used in creating crisp, professional-looking creases and seams in your sewing projects are clappers, point pressers, and seam sticks. These tools team up to provide shape with sharp edges, press areas hard to reach, and ensure all your seams lie flat without unwanted impressions in the fabric.
Clapper
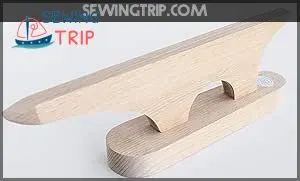
You’ll love using a clapper for razor-sharp creases. This wooden tool is a game-changer for:
- Flattening stubborn seams
- Creating crisp edges on collars
- Achieving professional-looking pleats
Store it with your tailors ham and anvil for easy access.
Point Presser
After mastering the clapper, you’ll want to conquer tight corners. The point presser’s tapered design lets you shape and press hard-to-reach areas with precision. It’s perfect for collars, cuffs, and lapels, giving your garments a professional finish.
Seam Stick
Moving from the point presser, you’ll find the seam stick invaluable. This slender tool lifts seam allowances, preventing imprints on your fabric. Made of wood and often padded, it’s perfect for pressing open seams on heavy or napped fabrics. Store it with your tailor’s ham.
Advanced Pressing Equipment for Professionals
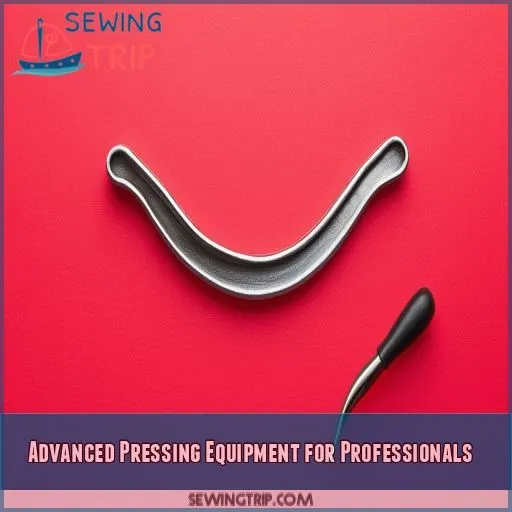
Bring your sewing to professional heights with advanced pressing equipment: a steam press, tailor’s anvil, and a needle board. These specialized tools provide precision and ease for working on challenging fabrics or when desiring perfect finishes in the garment.
Steam Press
While clappers and point pressers excel at creating sharp creases, a steam press takes your pressing game to the next level. This powerhouse tool offers:
- Intense steam bursts for deep penetration
- Precise temperature control for delicate fabrics
- Large water tank capacity for extended use
Tailor’s Anvil
You’ll love the tailor’s anvil for tricky pressing tasks. This versatile tool, with its various contours, tackles challenging areas effortlessly. Here’s a quick comparison:
| Feature | Tailor’s Anvil | Regular Board |
|---|---|---|
| Contours | Multiple | Flat |
| Versatility | High | Low |
| Cost | Higher | Lower |
Needle Board
A needle board‘s tiny spikes protect delicate fabrics during pressing. It’s ideal for velvet, corduroy, and napped materials. You’ll find various types, from wooden to metal. Store it carefully and consider a DIY version using canvas and pins for budget-friendly options.
DIY Pressing Tools and Alternatives
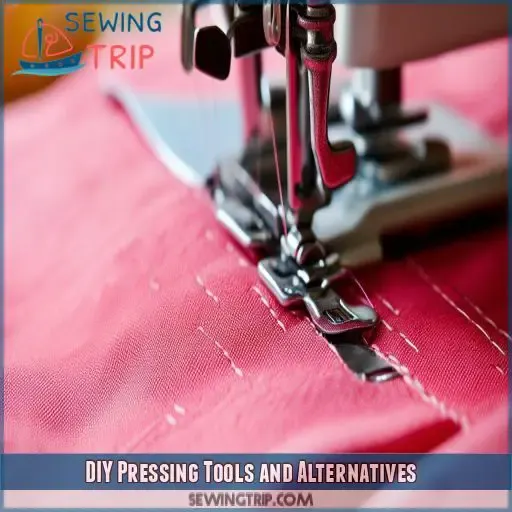
You don’t need to break the bank to get professional pressing results. With a bit of creativity, you can make your own tailor’s ham, improvise pressing surfaces, and find budget-friendly alternatives to expensive tools.
Homemade Tailor’s Ham
You can make your own tailor’s ham with these simple steps:
- Choose sturdy fabric like canvas or denim
- Cut out the sewing pattern
- Stuff with sawdust or wool scraps
- Sew it up tightly
This DIY tutorial offers a budget-friendly alternative to store-bought hams.
Improvised Pressing Surface
Don’t have a tailor’s ham? No problem! You can create an improvised pressing surface using alternative materials. A rolled-up towel or a tightly stuffed pillow can work wonders for curved areas. These space-saving ideas offer budget-friendly options for your DIY projects.
Budget-Friendly Options
You don’t need to break the bank for quality pressing tools. Explore budget-friendly alternatives like secondhand equipment or DIY options. Repurpose old items or find affordable substitutes. With a bit of creativity, you’ll achieve professional results without emptying your wallet.
Proper Care and Maintenance of Pressing Tools
Proper care and maintenance will give years of service and top performance to your pressing tools. You’ll be required to clean your iron regularly, replace the covers for the ironing board occasionally, and store all your pressing tools properly to keep them in good working order for all of your sewing projects.
Cleaning Your Iron
Clean your iron periodically to maintain its performance. A hot iron cleaner will remove all hunkered-down residue, while the soleplate can be cleaned with a slightly dampened cloth. Place your iron on its heel on an iron rest to prevent leakage and have smooth pressing time after time.
Replacing Ironing Board Covers
You’ll need to replace your ironing board cover periodically. Choose durable fabrics like cotton or silicone-coated materials. For a quick fix, try a DIY cover using muslin or old sheets. Regular maintenance, like spot cleaning, extends your cover’s life between replacements.
Storing Pressing Tools
Store your pressing tools well to ensure longevity and a clean sewing space. Use space-saving solutions in-store, like hanging organizers for press cloths and irons. You can help DIY storage boxes for small things. Let everything be dry and dust-free to provide the best way of organizing tools.
Frequently Asked Questions (FAQs)
What are the pressing tools for sewing?
You’ll need an iron, ironing board, and pressing cloth for basic tasks. For precision, add a tailor’s ham, seam roll, and point presser. A clapper helps with heavy fabrics, while a sleeve board tackles narrow areas.
What equipment is used for pressing?
You’ll need an iron, ironing board, press cloths, and a tailor’s ham for basic pressing. For advanced work, add a seam roll, sleeve board, point presser, and clapper. Don’t forget a spray bottle for steam!
How to use pressing tools?
Like a maestro conducting an orchestra, wield your pressing tools with finesse. Heat your iron, lay out your garment, and glide smoothly. Use a ham for curves, a seam roll for edges, and a clapper for crisp lines.
What is the rule for pressing in sewing?
Always press as you sew, not after. Use the right temperature for your fabric, press seams open, and avoid ironing. Test on scraps first. Remember, pressing shapes your garment while ironing can distort it.
How to choose the right pressing cloth material?
You’ll be amazed at how the right pressing cloth transforms your sewing! Choose natural fibers like cotton or silk organza for versatility. Consider your fabric’s needs – heavier cloths for delicate materials, lighter ones for visibility during pressing.
Can vintage irons outperform modern steam irons?
While vintage irons can provide excellent heat and weight, modern steam irons often outperform them with adjustable settings, consistent steam output, and safety features. You’ll likely achieve better results with a contemporary model for most sewing projects.
Are cordless irons worth the investment for sewists?
You’ll find cordless irons liberating but potentially limiting. They’re great for quick touch-ups and portability, but battery life can be an issue. If you’re doing extensive pressing, a traditional corded iron might still be your best bet.
How to prevent water spots when using steam?
Don’t let water spots rain on your parade! To prevent them, use distilled water in your iron, adjust steam settings appropriately, and press fabrics while they’re slightly damp. You’ll achieve crisp, spot-free results in no time.
Whats the best pressing surface for delicate fabrics?
Iron on a padded board, covered with a muslin or silk organza pressing cloth, to achieve even heat distribution and prevent scorching on delicate fabrics.
Conclusion
Most interestingly, professional sewing results derive 90% from press techniques alone.
With proper pressing tools, sewing turns into an art and transforms the finish of your projects.
Use helpful basics like steam irons and tailor’s hams in your work; exploit specialized, advanced tools that give precision to your work —and even make some DIY stuff.
Keep your gears in good order for long service.
Nail these—if you want to lift off your sewing projects to the level of professionalism in every piece you do.

