This site is supported by our readers. We may earn a commission, at no cost to you, if you purchase through links.
Having trouble sewing felt? You’re not alone. Many sewers are intimidated by the thick, dense fabric and struggle with skipped stitches, broken needles, and other problems. It doesn’t have to be this way, though – if you know a few tips and tricks for working with felt, you can create beautiful projects that will last for years to come.
Table Of Contents
Key Takeaways
- Sewing felt requires finding the right type of felt and considering the fiber that suits your project.
- Pay attention to factors like seam allowances, thread selection, needle size, tension settings, and stitch length for professional results.
- Use marking tools and pattern cutting shears specifically designed for felt.
- Adjust tension settings and practice handling stitches for embroidery techniques to avoid puckering or loose stitches.
Common Sewing Issues
You may have experienced frustration when working with felt, but don’t give up – there are solutions to common sewing issues that can help you create beautiful projects.
To get started, it’s important to understand the basics of layering and pattern selection. When choosing your fabrics, look for quality felt made from natural fibers like bamboo rayon or wool as they tend to be more durable than synthetic alternatives.
Additionally, consider how many layers you’ll need before purchasing – thinner fabric requires fewer layers while thicker material needs more support under each piece of felt in order for them to stay together through multiple stitches and washings.
Once you’ve selected your materials and got an idea on how much layering is necessary for a successful project, focus on seam allowances – slightly larger seams will allow enough room around edges without compromising the shape of the finished product while smaller ones provide a cleaner finish with less bulk overall.
Finally, turn attention towards fabric care; use gentle detergents when washing items made from delicate felts as harsh chemicals could cause damage over time! With these adaptation techniques in mind coupled with practice and patience, success is within reach so go forth confidently knowing all challenges can eventually be tackled!
Choosing the Right Felt
Finding the perfect felt for your project can make all the difference in achieving a successful outcome. From adding color to cutting tips, layering techniques to needle types and gluing methods, there are plenty of factors to consider when selecting an ideal fabric.
Start by researching what type of fiber is best suited for your desired result. Bamboo rayon and wool felts provide superior quality with less bulk than synthetic options, so they’re often recommended for more intricate designs that require multiple layers or precise stitches.
Consider how much layering you need before purchasing, as thinner fabrics won’t always hold up through numerous washes while thicker material may require additional support from each piece under it during stitching.
Larger seams allow enough room without compromising shape, while smaller ones provide a cleaner finish overall.
Finally, use gentle detergents when washing delicate felts since harsh chemicals could cause damage over time.
Thread Selection and Techniques
When selecting thread for sewing felt projects, choose a quality option that won’t fray or break easily and consider the color of the fabric to ensure it matches. To achieve professional results, pay close attention to thread tension, seam placement, needle type, and stitch length.
Color coordination is also key. Match lighter felts with lighter threads for subtlety or opt for contrast when stitching dark fabrics together.
To get started on your next project, adjust your machine’s tension settings until you find one comfortable enough to produce even stitches. Practice perfecting seam placements with scrap pieces before tackling bigger tasks.
Use needles appropriate in size based on the weight of the fabric being used and the desired effect wanted from stitching. Too large needles will cause puckering, while small ones can break more easily due to strain placed upon them by heavy materials.
Pick colors that blend well together so they don’t stand out like a sore thumb against contrasting hues. This could be accomplished through either monochrome combinations or complementary shades (e.
Keep track of each stitch’s length as it affects appearance. Whether opting for uniform-looking straight lines or decorative curves/waves created via varying its size accordingly throughout the course of work at hand.
Needle and Scissor Tips
Choosing the right needle and scissors is essential for successful sewing with felt.
- Choose a needle size that is appropriate based on the weight of your fabric weaving; too large will cause puckering, while small ones can break more easily due to strain.
- Use thread tension settings until you find one comfortable enough for even stitches.
- Match lighter felts with lighter threads or opt for contrast when stitching dark fabrics together.
- Invest in marking tools like tailor’s chalk and pattern cutting shears specifically designed to work well with felt materials during seam finishing processes, as well as any other specialized equipment needed such as an automatic buttonhole maker or appliqué presser foot attachment if desired later on down the line by crafters looking into expanding their skill sets further still over time here onwards outwards evermore anew!
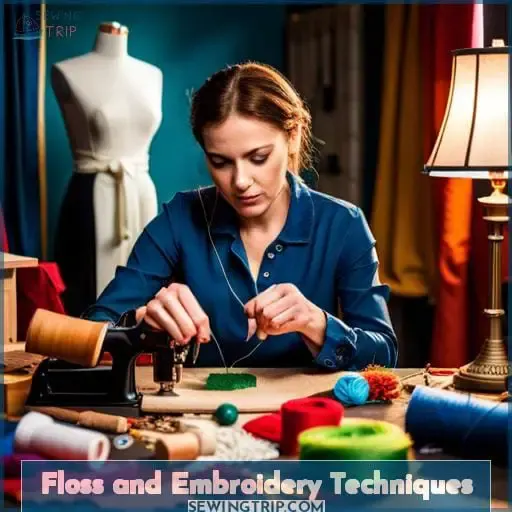
Floss and Embroidery Techniques
Now that you have the right tools for sewing felt, let’s talk about floss and embroidery techniques.
With a few adjustments to tension settings and some practice with handling stitches, you can create beautiful pieces of art that will last for years – it all starts with the right type of needle and thread!
Embroidery threads come in many different colors, so there is something to fit any project. Use thicker needles when working on projects made from heavier felts or if adding details like buttons or beads.
Don’t forget to adjust your tension accordingly – too tight could cause puckering, while too loose may lead to loose stitches over time.
When it comes down to selecting floss, opt for bright colors if stitching two dark fabrics together.
With these tips in mind, you’re sure to find success no matter which mediums used – be creative and explore new possibilities today!
Fitting and Tailoring Tips
Perfect your projects with fitting and tailoring tips – adjust the fabric just right to give you a finished work of art! Color mixing, seam placement, fraying prevention, and stitch lengths all come into play when creating something impressive.
Whether it’s an applique or a jacket, getting the details just right is key for success. Start by selecting fabrics that are best suited to your project – lightweight cottons can be used for intricate embroidery while heavier wools are great for jackets due to their durability.
Then explore color mixing techniques such as ombre shading or adding stripes and patterns which will add detail to any piece. When laying out pieces, make sure there is enough room between them so they won’t fray once stitched together.
Finally, consider where seams should go based on what looks most presentable. Think about buttons or zips going in places that are easily accessible but still look aesthetically pleasing at the same time! With these few steps in mind, you’ll have no problem crafting beautiful garments that last long after their first wear date – unleash your creativity now!
Smart Sewing Order
Creating the perfect piece of felt artwork starts with smart sewing order – it’ll help make sure your project looks flawless!
When selecting thread, choose one that’s strong and specifically designed for use on felt. Follow embroidery rules for precise results. Ensure all stitches are even in size and tension to avoid puckering or distortion.
Seam finishing techniques, like French seams, can improve the look of a garment while also adding strength.
Felt layering can give garments structure as well as texture. Experiment with different colors to create unique effects.
Fabric cutting should always be done carefully by measuring twice before cutting once!
With these tips in mind, you’ll have everything you need to craft stunning pieces that’ll last through time – unleash your creativity now!
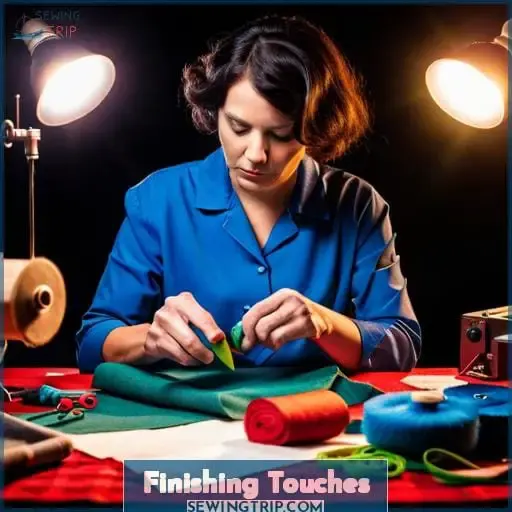
Finishing Touches
Once you’ve completed all the essential steps for your felt project, take it to the next level with a few finishing touches.
To create an eye-catching work of art, consider adding embellishments like buttons or trims.
Picking padding materials is also important – foam or batting can help add structure and cushioning to a project without compromising its shape.
Cutting cloth correctly is key too; use sharp scissors that are specifically designed for cutting felt.
Understanding stitches helps make sure seams look professional and tidy, while sealing them with fray check prevents fraying edges from ruining your hard work!
With these techniques in mind, you’ll be able to craft stunning pieces that will stand out for years to come – get creative now!
Frequently Asked Questions (FAQs)
What is the best way to store felt fabric?
Store felt fabric in an airtight container or bag, ensuring it is tightly sealed to keep out moisture and pests. Imagine packing a suitcase for a long journey – that is how secure you should make the seal.
This will ensure your fabric remains soft and supple like new, ready for when you need it again.
What are the benefits of using felt fabric?
Felt fabric is an ideal choice for crafting and sewing projects thanks to its lightweight, durable, and versatile nature. It’s easy to use and can be cut into any shape or size you need. Felt also doesn’t fray at the edges, so it holds up well over time without losing its original form.
How do I know which type of felt fabric is best for my project?
Choose the felt fabric that best suits your project needs. Consider factors like texture, color, durability, and absorbency when selecting a material.
What are the different types of stitches suitable for felt fabric?
Discover the perfect stitch for your felt fabric project! From the classic running stitch to decorative blanket stitches, there are plenty of options. Try experimenting with different techniques like chain stitching and buttonhole making to achieve a unique look.
How do I join two pieces of felt fabric together?
To join two pieces of felt fabric together, use a whip stitch. This involves passing the needle and thread over the edges of both fabrics in an overlapping manner to create a neat finish.
Conclusion
Congratulations! You’ve mastered the art of sewing felt. With the right materials, techniques, and a few clever sewing hacks, you can create amazing works of art that look and feel like they were crafted by a professional.
You’re now a skilled craftsman, capable of effortlessly creating stunning felt creations with incredible speed – it’s almost like magic! With your newfound skills, you can produce masterpieces that will make your friends and family green with envy.

