This site is supported by our readers. We may earn a commission, at no cost to you, if you purchase through links.
 Got a skirt that’s more tent than fitted? Don’t toss it – resize it! With a few simple steps, you can transform that too-big skirt into a perfect-fitting wardrobe staple.
Start by checking out the excess fabric and determining if your skirt style is suitable for resizing.
Gather your tools, turn the skirt inside out, and mark those new seam lines. Then, it’s time to channel your inner fashion designer: pin, stitch, and trim your way to a custom fit.
Don’t forget the waistband – a few pleats or some elastic can work wonders.
Before you know it, you’ll be strutting your stuff in a skirt that fits like a glove. And who knows? You might even discover a hidden talent for fashion transformation.
Table Of Contents
- Key Takeaways
- Assessing Your Skirt for Resizing Potential
- Gathering Essential Tools for Skirt Resizing
- Preparing Your Skirt for Alteration
- Pinning and Marking the New Seam Lines
- Sewing the Resized Skirt Shape
- Adjusting the Waistband for a Perfect Fit
- Finishing Touches: Hemming and Final Adjustments
- Frequently Asked Questions (FAQs)
- Conclusion
Key Takeaways
- You don’t need a fashion degree to tackle this DIY project. With some basic sewing skills and a bit of patience, you can turn that tent-like skirt into a perfect-fitting wardrobe staple by following these tips for improving your sewing. Just remember: measure twice, cut once.
- Your skirt’s style matters when it comes to resizing. A-line, pencil, and straight skirts are like play-doh in your hands – easy to reshape. But don’t lose hope if you’ve got a flared or pleated number; they might require a bit more creative thinking, but where there’s a will, there’s a way.
- Don’t forget about the waistband – it’s the unsung hero of a well-fitting skirt. Whether you’re creating sneaky pleats or threading in some elastic for a flexible fit, giving your waistband some TLC will make all the difference between "meh" and "marvelous."
- The devil’s in the details, so don’t skimp on those finishing touches. A neatly hemmed skirt and some final tweaks can elevate your DIY project from "homemade" to "high-end boutique." Plus, you’ll get major bragging rights when you tell your friends, "Oh, this old thing? I just whipped it up myself!
Assessing Your Skirt for Resizing Potential
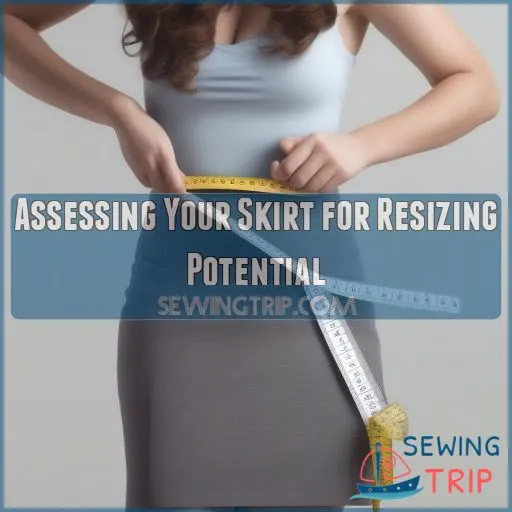
Got a skirt that’s more tent than trendy? Before you jump into resizing, let’s take a closer look at your too-big treasure to see if it’s a good candidate for a DIY makeover.
We’ll assess the excess fabric, check the waistband fit, and consider those pesky pockets to make sure your alteration adventure is smooth sailing.
Identifying Excess Fabric at the Sides
Standing in front of the mirror, you might notice your skirt doing the dreaded "bell" impression.
Don’t fret!
That extra fabric flaring out at your hips is just begging for a makeover.
Take a closer look at those side seams – they’re the culprits behind that unflattering shape.
By identifying where the fabric balloons out, you’ll pinpoint exactly where to take in your skirt for a sleeker silhouette.
Evaluating Waistband Fit
How well does your skirt’s waistband hug your curves?
Before diving into your resize too big skirt tutorial, let’s zero in on that important fit.
Check the waistband tightness – it should snugly embrace your waist without pinching.
Examine the waistband length, button closure, and zipper placement.
Is it an elastic waistband or a fixed one?
Determining Suitable Skirt Styles for Resizing
Now that you’ve checked the waistband, it’s time to size up your skirt’s style.
Good news! A-line, pencil, and straight skirts are all prime candidates for resizing. These fitted styles respond well to a nip and tuck.
Flared skirts can be trickier, but don’t lose hope! Even a loose maxi skirt can be transformed with the right technique. Remember, the key is working with the skirt’s natural shape to achieve that perfect fit.
Checking for Pockets and Their Impact
While you’re eyeing those skirt styles, don’t forget to peek at the pockets! They can make or break your resizing plans.
Side pockets might need a little juggling, but they’re usually salvageable.
Slash pockets? They might shrink a bit, but hey, at least you’ll still have a spot for your lip gloss! If pocket placement is trickier, you might need to get creative with alterations or say goodbye to them altogether.
Gathering Essential Tools for Skirt Resizing
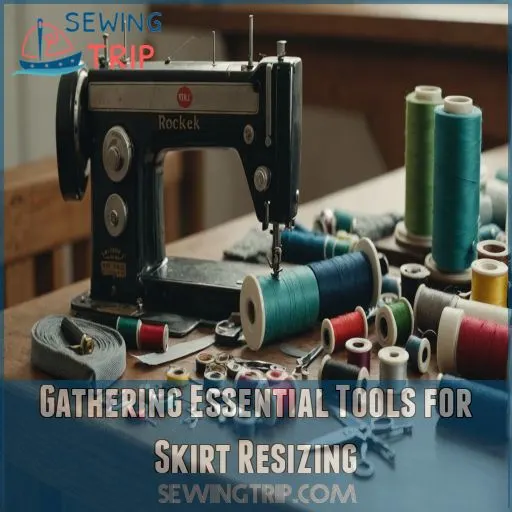
You’ve assessed your skirt, and it’s time to gather your tools.
Think of it as assembling your fabric-fighting squad!
Your trusty sewing machine will be the hero of this alteration adventure, and choosing the right one for basic alterations is key. choosing the right sewing machine.
Don’t forget its sidekicks: sharp fabric scissors and a seam ripper (the dynamic duo for undoing and redoing).
A measuring tape is your magic wand for precision, while tailor’s chalk becomes your artistic medium for marking new lines.
Pro tip: if you’re feeling fancy, grab a curved ruler for smooth seams that’ll make your skirt flow like a belly dancer’s costume.
With them in hand, you’re ready to transform that baggy number into a perfectly fitted masterpiece.
Let’s get this fashion party started!
Preparing Your Skirt for Alteration
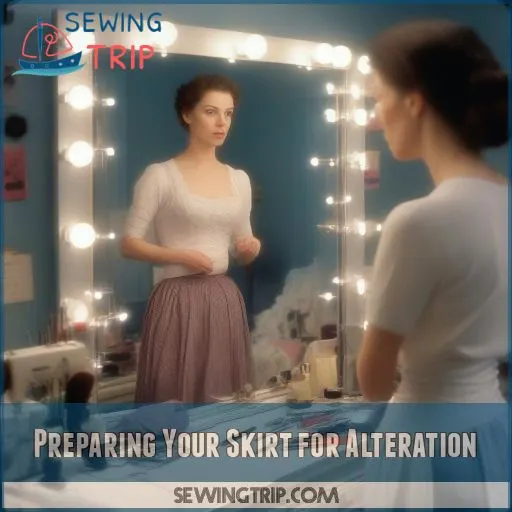
Ready to give your skirt a makeover?
Before you start snipping and stitching, let’s get your garment prepped for its transformation with a few simple steps that’ll set you up for success.
Turning the Skirt Inside Out
After rounding up your tools, it’s time to flip that skirt! Turn it inside out and lay it flat on your work surface.
This step’s a game-changer, revealing the skirt’s hidden secrets:
- Spot those pesky loose threads you’ve been ignoring
- Marvel at the intricate construction you never knew existed
- Feel like a fashion archaeologist uncovering ancient garment mysteries
Inside-out benefits are countless. You’ll align fabric layers perfectly, check for sneaky tears, and avoid snags while working. It’s like giving your skirt a backstage pass to its own makeover!
Removing Hem Stitches if Necessary
Now that you’ve flipped your skirt inside out, it’s time to tackle those pesky hem stitches.
Don’t worry, it’s not as hard as it sounds!
Grab your trusty seam ripper and let’s get to work.
Here’s a quick guide to help you navigate the hem removal process:
| Hem Type | Removal Method | Pro Tip |
|---|---|---|
| Blind hem | Gently unpick | Go slow to avoid fabric damage |
| Machine hem | Cut every 4th stitch | Use small scissors for precision |
| Hand-sewn hem | Snip and pull thread | Start from the end for easier removal |
Marking the Current Seam Lines
Before diving into the alteration process, it’s important to map out your skirt’s current landscape.
Grab your trusty seam ripper and gently unpick any stitches that might interfere with your resizing mission.
Next, whip out your measuring tape and chalk (choose a color that’ll pop against your fabric).
Carefully mark the existing seam lines, creating a roadmap for your upcoming transformation.
These guidelines will be your North Star throughout the resizing journey.
Pinning and Marking the New Seam Lines
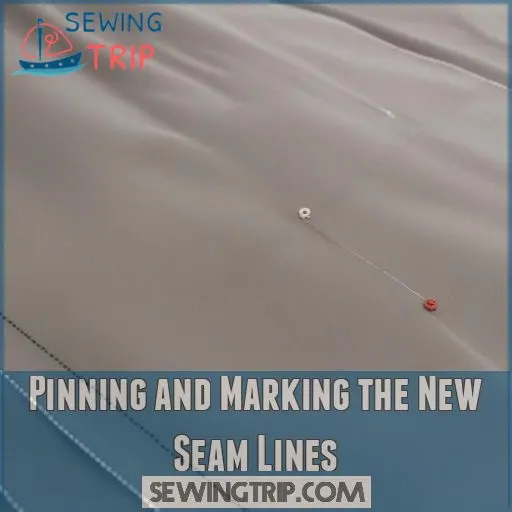
Now that you’ve prepped your skirt, it’s time for the fun part: pinning and marking those new seam lines.
This important step will determine your skirt’s new shape, so grab your pins and chalk – we’re about to transform that too-big skirt into a perfect fit!
Pinching Excess Fabric at Side Seams
Ready to tackle those pesky side seams? It’s time to channel your inner fashion designer!
With your skirt inside out, start pinching the excess fabric at each side seam. This important step sets the stage for your perfect fit.
Here’s what you’ll feel as you pinch:
- A rush of excitement as the skirt’s shape transforms
- The fabric’s texture between your fingers, whispering its potential
- A sense of empowerment as you take control of your wardrobe
Ensuring Even Distribution of Excess Fabric
Two’s company, but three’s a crowd regarding excess fabric! As you pin your skirt, aim for perfect balance. Divide the extra material evenly between front and back, keeping that center front aligned like a compass needle. If your side seam’s wandering off-center, adjust your pinches accordingly.
Here’s a handy guide to keep you on track:
| Area | Front | Back | Adjustment |
|---|---|---|---|
| Hip | 1/2" | 1/2" | Even distribution |
| Waist | 1/4" | 3/4" | More from back if needed |
| Thigh | 3/4" | 1/4" | Adjust for comfort |
| Hem | 1/2" | 1/2" | Keep side seam straight |
Even distribution is key for a flattering fit. More from back is needed at the waist because the back tends to be fuller. Adjust for comfort as needed, especially at the thigh. Keep side seam straight across the hem to ensure a balanced look.
Using Chalk to Mark New Seam Lines
Grab your chalk and let’s make your mark! With your skirt pinned, it’s time to transform those temporary adjustments into clear guidelines. Here’s how to chalk it up like a pro:
- Choose a chalk that contrasts with your fabric
- Use light, precise strokes along the pinned areas
- Mark both sides of the skirt for symmetry
- Create smooth curves for a flattering silhouette
- Double-check your markings before unpinning
Chalk your skirt to make the temporary adjustments permanent.
Create clear guidelines to ensure your skirt fits perfectly.
Double-check your markings before unpinning to guarantee accuracy.
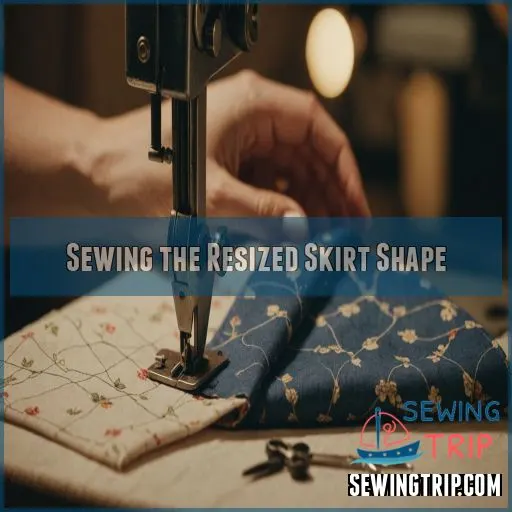
Sewing the Resized Skirt Shape
Now that you’ve pinned and marked your skirt, it’s time to bring your vision to life with some stitching magic.
Get ready to transform that too-big skirt into a perfectly fitted piece that’ll make you strut with confidence!
Creating Smooth Curves With a Ruler
You’re about to transform those jagged pin lines into graceful curves! Grab your trusty ruler and let’s work some magic.
For gentle fabric drapes, opt for a subtle curve. Got stiffer material? Go for a more pronounced arc.
Remember, your ruler’s the key to seam smoothness. As you draw, imagine the skirt hugging your curves just right. It’s like giving your garment a stylish facelift!
Stitching Along the New Seam Lines
Precision is key when stitching your new seam lines. Start in the seam allowance, gradually merging onto the original stitching for a smooth change.
Adjust your stitch tension and needle size to suit your fabric – you don’t want any puckering, like you might see when using the wrong needle size! Remember, slow and steady wins the race.
For a professional finish, consider top stitching or using a zigzag stitch to reinforce your new seams. You’ve got this!
Trimming Excess Fabric
After stitching your new seam lines, it’s time for the fabric-trimming tango! This step is important for achieving that sleek silhouette you’re after. Here’s how to trim like a pro:
- Leave a 1/2 inch seam allowance
- Cut parallel to your new stitching
- Snip notches around curved areas
- Gradually blend into the original seam
This step is important for achieving that sleek silhouette you’re after.
Finishing Raw Edges With Overlocking
Now that you’ve trimmed the excess fabric, it’s time to tame those unruly raw edges.
Overlocking is your secret weapon for a polished finish.
Whether you’re using a serger or your trusty sewing machine’s overlock stitch, this step will prevent fraying and give your skirt a professional look like when using a basting stitch.
Experiment with different stitch types, lengths, and tensions to find what works best for your fabric.
Don’t forget to choose a thread color that complements or matches your skirt!
Adjusting the Waistband for a Perfect Fit
You’ve reshaped your skirt, but the waistband still needs some TLC. Let’s tackle those final adjustments to make sure your newly resized skirt fits like a dream.
Creating Pleats for Minor Adjustments
With your skirt’s new shape in place, let’s tackle those minor waistband adjustments.
Creating pleats is your secret weapon for a perfect fit.
You’ll feel like a fashion designer as you fold and pin the back seam.
Let’s nail this together!
Inserting Elastic for Flexible Sizing
Craving a more flexible fit? Elastic is your secret weapon for waistband magic! Open up that waistband seam and let’s get stretchy:
- Measure your waist snugly and subtract 2 inches for comfort
- Choose a 1/2-inch to 1-inch wide elastic based on your waistband
- Thread elastic through using a safety pin as your guide
- Overlap elastic ends by 1 inch and secure with a zigzag stitch
You’ll be rocking that skirt with confidence in no time!
Hand-stitching the Waistband Closed
You’ve nailed the elastic insertion, now let’s seal the deal! Hand-stitching your waistband closed is like putting the cherry on top of your skirt sundae. It’s time to show off those nimble fingers and create a sleek finish.
Here’s a quick guide to help you ace this final step:
| Stitch Type | Best For | Difficulty |
|---|---|---|
| Slip Stitch | Invisible finish | Moderate |
| Whip Stitch | Quick closure | Easy |
| Ladder Stitch | Seamless look | Advanced |
Finishing Touches: Hemming and Final Adjustments
You’re almost at the finish line!
Now it’s time to put the final touches on your newly resized skirt by hemming it to the perfect length and making any last adjustments for a flawless fit.
Marking and Pinning the New Hem
Now that you’ve nailed the waistband, let’s make sure your skirt hits just right. Marking and pinning the new hem is like putting the cherry on top of your resizing sundae. Here’s how to get it picture-perfect:
- Put on your skirt and shoes
- Ask a friend to help mark the desired length
Marking and pinning the new hem is like putting the cherry on top of your resizing sundae.
- Use straight pins to secure the new hemline
- Double-check the hem’s evenness in a full-length mirror
Put on your skirt and shoes and ask a friend to help mark the desired length.
Cutting Excess Fabric and Overlocking Edges
With your new hem pinned, it’s time to trim the excess fabric. Cut along your marked line, leaving about a 3/4 inch seam allowance.
Now, let’s give those raw edges a polished finish with an overlock stitch.
Don’t fret if you’re new to overlocking – here’s a handy guide:
| Fabric Type | Stitch Type | Thread Tension | Stitch Length | Stitch Width |
|---|---|---|---|---|
| Lightweight | 3-thread | 4 | 2.5 | 5 |
| Medium | 4-thread | 5 | 3 | 6 |
| Heavy | 4-thread | 6 | 3.5 | 7 |
| Knit | 3-thread | 3 | 2 | 5 |
| Denim | 5-thread | 7 | 3.5 | 7 |
Hand-stitching for an Invisible Hem Finish
The needle’s glint catches your eye as you prepare for the final touch.
Hand-stitching creates an invisible hem that’ll make your skirt look professionally finished.
Choose a thread that matches your fabric and use a slip stitch or blind hem stitch.
Work in small, even stitches, catching just a few threads of the fabric’s surface.
This technique guarantees a polished finish that’ll have everyone wondering about your secret tailor.
Final Fitting and Adjustments
- Hem length: Is it just right?
- Side seam check: Do they hang straight?
- Waistband tightness: Can you breathe comfortably?
- Pleat placement: Are they evenly spaced?
Fabric drape is key – your skirt should flow beautifully.
If anything feels off, don’t fret! A few quick tweaks and you’ll be strutting your stuff in no time.
Frequently Asked Questions (FAQs)
How to adjust a skirt that’s too big?
Did you know 80% of women own ill-fitting clothes?
Don’t let your skirt be one!
Pin excess fabric at the sides, mark a new seam line, and sew it up.
You’ll feel like a fashion pro in no time!
How to increase the waist of a skirt?
Need more room in your skirt’s waist? You’ve got options! Try inserting elastic for flexibility, adding fabric panels for extra inches, or moving buttons for a quick fix.
How to reduce the waist size of a skirt?
You’ve got two nifty tricks up your sleeve to shrink that waistband.
Create a stylish pleat in the back,
or sneak in some elastic for a comfy, adjustable fit.
It’s like giving your skirt a tailor-made makeover!
Can you alter a skirt to make it smaller?
You’re in luck! Skirts can be taken in easily.
Pinch excess fabric, pin, mark, and sew a new seam. It’s like giving your skirt a stylish nip-tuck makeover.
How to resize a skirt with a lining?
To resize a lined skirt, treat the lining and outer fabric as one unit.
Pin and sew both layers together along the side seams.
Don’t forget to adjust the hem of both layers for a polished finish.
Can I resize a pleated or gathered skirt?
Pleated or gathered skirts pose a challenge, but don’t let that stop you!
Tackle the waistband first, then adjust the pleats or gathers.
It’s like solving a fabric puzzle – tricky, but totally doable with patience and creativity.
What to do if the skirt has embellishments?
Embellished elegance doesn’t have to be elusive!
You’ll want to carefully unpick decorations before altering.
Once you’ve nipped and tucked, reattach those sparkly bits.
It’s like giving your skirt a fancy facelift – tricky but totally doable!
How to resize a skirt without a sewing machine?
You’ve got this! Hand-stitching is your secret weapon.
Grab a needle and thread, then follow the same pinning and marking steps.
It’ll take longer, but you’ll feel like a DIY superstar when you’re done.
Can I resize a skirt made from stretchy fabric?
Stretchy fabric, stretchy solutions! You can resize a stretchy skirt easily.
Take in the sides or add elastic to the waistband.
Don’t overdo it – leave room for movement. Test as you go to maintain the fabric’s stretch.
Conclusion
Did you know that the average woman owns 27 items of clothing she never wears? Don’t let your too-big skirt become one of them!
With this resize too big skirt tutorial, you’ve got the power to transform ill-fitting pieces into wardrobe favorites.

