This site is supported by our readers. We may earn a commission, at no cost to you, if you purchase through links.
Here’s a quick rundown:
Sew the front neckline first, then choose a complementary fabric.
Double-check measurements and leave a seam allowance.
Press those neckline seam allowances for smoothness.
Now, lay your binding strip right-side-down along the back neckline, pin or clip it in place, and sew with a 1/4" seam allowance.
Flip the binding over the raw edge, press, and sew the open edge.
Want the full scoop on a pro-level finish? Read on.
Table Of Contents
- Key Takeaways
- Sewing the Neckline Back Seam
- Binding the Back Neckline
- Pro Tips for a Professional Finish
- Mastering the Sew Neckline Back Seam Finish
- Choosing the Right Binding Technique
- Essential Tools for Finishing Necklines
- Tips for Success
- Common Mistakes to Avoid
- Troubleshooting Common Issues
- Frequently Asked Questions (FAQs)
- Conclusion
Key Takeaways
- Mastering the sewn neckline back seam finish is key to achieving a flawless finish that elevates your entire garment – and with practice, you’ll be whipping up beautifully bound necklines like a pro!
- To get a professional-looking finish, it’s essential to press those neckline seam allowances for smoothness and use a consistent 1/4" seam allowance throughout.
- Don’t be afraid to experiment with different binding techniques and colors to add a fun design element to your neckline – after all, contrasting binding can be the icing on the cake that takes your garment to the next level!
- When it comes to curved necklines, remember to gently stretch the binding as you sew to prevent puckering, and trim excess binding at corners for a clean, crisp look that’s sure to impress.
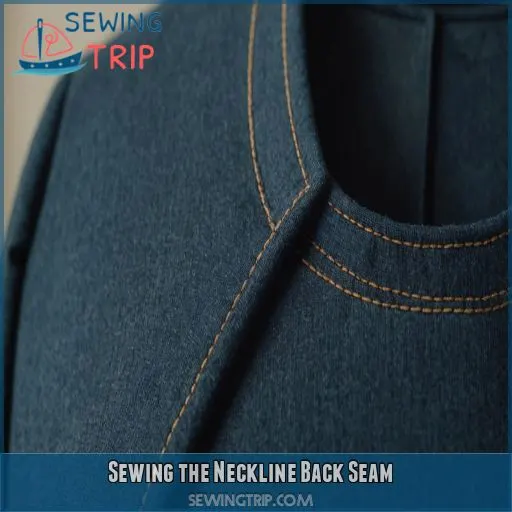
Sewing the Neckline Back Seam
You’re just a few stitches away from a professionally finished neckline. Learning the sew neckline back seam finish technique is easier than you think. With a little practice, you’ll be whipping up beautifully bound necklines like a pro.
To get started, let’s break down the process into manageable steps. We’ll cover everything from preparing your neckline to attaching that perfect binding.
Preparing the Neckline
Let’s get started on creating a beautiful neckline! Begin by sewing the front neckline according to your pattern instructions. Make sure to choose a fabric that complements your project and double-check your neckline measurements. Don’t forget to leave a seam allowance – this will help you get a professional finish. Now, let’s move on to the next step!
Leaving the Back Neckline Unsewn
Now that you’ve prepared the neckline, it’s time to leave the back neckline unsewn. Don’t worry, it’s intentional! This opening allows for a smoother binding process. Here are a few things to keep in mind:
- Leave a small opening, about 1-2 inches wide.
- Center the opening at the back seam.
- Make sure the seam allowance is even on both sides.
- Don’t stress if it looks unfinished – it’ll be covered soon!
Pressing the Neckline Seam Allowances
You’re one step closer to a flawless neckline! Pressing the neckline seam allowances is a really important step. Take your iron and gently press the seam allowances on each side of the neckline, making sure to iron the fabric flat. Don’t scorch the fabric! A smooth, ironed surface helps the binding lie flat and creates a polished look.
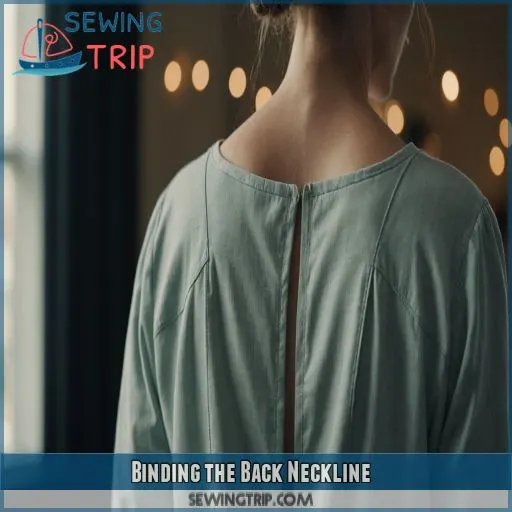
Binding the Back Neckline
You’re on the home stretch – now it’s time to give your neckline a polished finish by binding the back seam. With these easy steps, you’ll learn how to neatly attach the binding and achieve a flawless, professional finish that elevates your entire garment.
Laying the Binding Strip
Time to bring your neckline to life! Lay the binding strip along the back neckline, right-side-down, ensuring a smooth, even surface. Make sure the strip is long enough to cover the entire neckline, with a bit of wiggle room. Keep it taut but not tight, and align the edges for a seamless finish. Perfect placement is key!
Pinning or Clipping in Place
Now that you’ve laid the binding strip along the neckline, it’s time to secure it in place. Pin or clip the binding, making sure to maintain those seam allowances for a secure fit. Here are a few tips to keep in mind:
- Use straight pins for lightweight fabrics and clips for thicker ones.
- Pin or clip at regular intervals to prevent bunching.
- Make sure to pin or clip right up to the edge for a seamless finish.
Sewing the Binding With a 1/4 Seam
Time to get your sew on! With your binding in place, sew it to the neckline using a 1/4" seam allowance. Make sure your sewing machine is set to a straight stitch and maintain a consistent speed. Keep the binding aligned with the neckline edge, and don’t worry if it gets a bit wonky – that’s what pressing is for!
Flipping the Binding Over the Raw Edge
Now it’s time to flip the binding over the raw edge!
Gently fold the binding over the neckline’s raw edge, making sure it’s even and smooth.
As you fold, you’ll start to see that neat finish take shape.
Don’t worry if it’s not perfect yet – we’ll get to hand stitching and topstitching later.
Just focus on getting that binding in place for now.
Pressing and Sewing the Binding’s Open Edge
Now it’s time to secure that binding in place.
Press the binding strip to create a crisp fold.
Then hand-stitch or machine stitch the open edge, making sure to maintain even binding tension.
As you sew, keep an eye on your seam allowance to make sure it’s consistent.
With this final step, your neckline seam will be beautifully edge-finished and ready to rock.
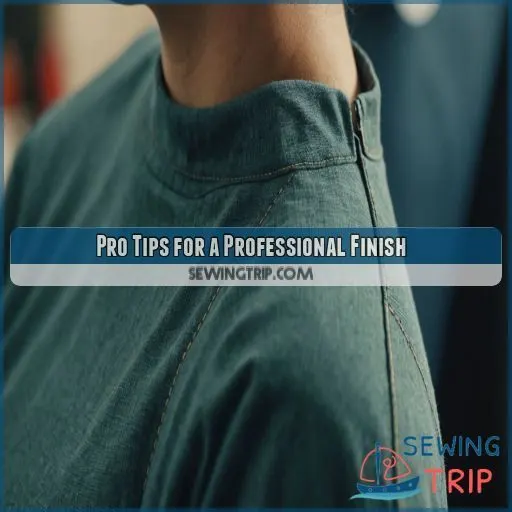
Pro Tips for a Professional Finish
You’ve made it to the final stretch of sewing a flawless neckline, now it’s time to master the pro tips that will bring your garment to the next level.
By incorporating a few simple yet professional techniques, you’ll be able to finish your neckline back seam with confidence and style .
Here are a few tips to help you achieve a professional finish:
- Use contrasting binding colors to highlight the neckline.
- Trim excess binding at corners for a clean, crisp look.
- Gently stretch binding for curved necklines to ensure a smooth fit.
Using Contrasting Binding Color
- Choose a color that complements your fabric.
- Consider the style of your garment and the look you’re going for.
- Don’t be afraid to experiment and try something new.
- Contrasting binding can add a fun design element to your neckline.
Trimming Excess Binding at Corners
Trimming excess binding at corners is a simple step that makes a huge difference. Grab those scissors and carefully snip off the extra binding, making sure to cut at a 45-degree angle for a clean corner. This helps your finished neckline look pro-level, not homemade. Sharp edges and precise cuts are your friends here!
Gently Stretching Binding for Curved Necklines
Now that you’ve trimmed excess binding, let’s tackle curved necklines!
When attaching binding to a curved neckline, gently stretch the Bias Tape as you sew to prevent puckering.
Think of it like hugging the curve – you want to coax the binding into place, not force it.
This simple trick will give you a smooth, professional finish that’ll make your garments shine.
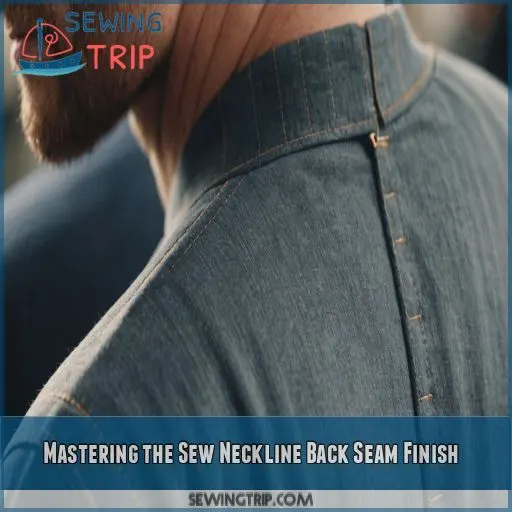
Mastering the Sew Neckline Back Seam Finish
You’re just a few steps away from mastering the sew neckline back seam finish, a technique that’ll elevate your sewing skills and give your garments a professional touch. With these pro tips, you’ll learn how to attach the binding neatly and achieve a beautifully finished neckline that’s both functional and fashionable (Source).
Why Bias Tape is Essential
You’re aiming for a flawless finish, so let’s get real – bias tape is your BFF for this project! It provides the necessary stretch and flexibility for a comfortable fit. With bias tape, you’ll be able to move freely without worrying about the neckline digging in. It’s an essential sewing supply, especially for beginners, to achieve a professional finish.
Attaching the Binding Neatly
Let’s attach that binding neatly! You’ve prepared your neckline, now lay the binding strip right-side-down and pin or clip in place. Sew it on with a 1/4" seam allowance, flip it over the raw edge, and press flat. Finish by sewing or hand-stitching the binding’s open edge down. Voilà! A beautifully bound neckline is taking shape.
Tips for a Beautifully Finished Neckline
Now that you’ve attached the binding neatly, it’s time to add those finishing touches for a beautifully finished neckline.
Gently stretch the binding as you sew for curved necklines.
Don’t forget to trim excess binding at corners for a clean look.
Practice makes perfect, so don’t be afraid to try this technique again and again until you get the hang of it!
Choosing the Right Binding Technique
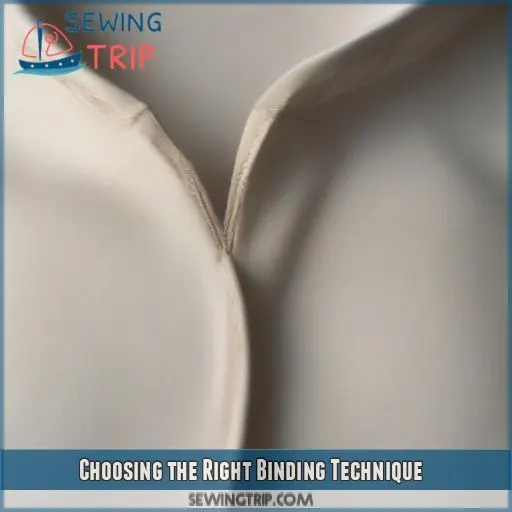
You’re just one step away from a beautifully finished neckline – now it’s time to choose the right binding technique to wrap up that back seam neatly. Whether you’re a fan of facing necklines, binding necklines, or ribbing necklines, we’ve got the lowdown on each method to help you pick the perfect one for your project .
Facing Necklines
You’ve nailed the sew neckline back seam finish, so let’s dive into facing necklines as a binding technique.
This method involves applying interfacing to the wrong side of the facing pieces.
Then, sew the facing pieces together and press the seam allowance.
Don’t forget to understitch the facing to prevent it from peeking out.
This technique provides a polished finish and is perfect for garments with a shoulder seam.
Binding Necklines
Binding Necklines – your new best friend! Now that we’ve covered facing necklines, let’s explore the art of binding. You’ve got this!
Three reasons you’ll love binding necklines:
- Freedom to experiment: Binding works with various neckline shapes and fabrics.
- Easy to master: With a binder attachment, you’ll achieve professional results.
- All-season versatility: Binding is perfect for any project, any time of the year.
Ribbing Necklines
Now that you’ve mastered binding necklines, let’s tackle ribbing necklines!
This technique is perfect for t-shirts and activewear.
You’ll need a stretch needle and Overlock Foot to sew the ribbing to the neckline.
Gently stretch the ribbing as you sew for a smooth finish.
Choose a ribbing type and size that complements your fabric, and don’t forget to match the ribbing color for a seamless look.
Essential Tools for Finishing Necklines
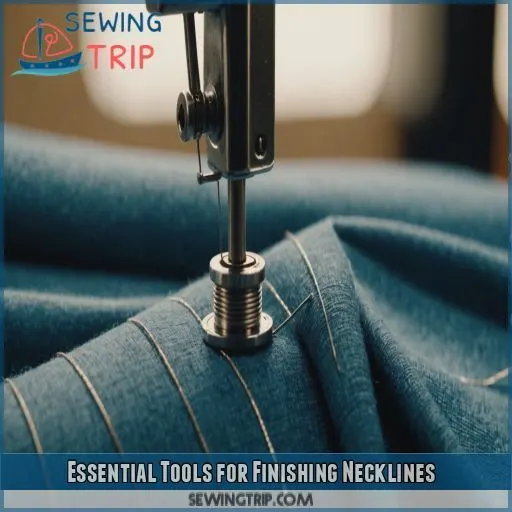
You’re just a few tools away from becoming a neckline-finishing pro! To get started, gather your essential tools, including a BERNINA 335, Reverse Pattern Foot, Overlock Foot, Edgestitch Foot, Binder Attachment, Binder Foot, and Stretch Needle – trust us, your necklines will thank you!
BERNINA 335
For a perfect neckline, the right tools are key. That’s where the BERNINA 335 comes in – your go-to sidekick for professional-looking sewing projects. With its array of features and accessories, you’ll be whipping up flawless necklines in no time. Here’s what you need to know:
- Check your user manual for specific guidance on using the BERNINA 335.
- Familiarize yourself with the machine’s features and accessories.
- Experiment with different techniques and settings to find what works best for your sewing projects.
Reverse Pattern Foot /1C/1D
The Reverse Pattern Foot /1C/1D is your go-to for sewing projects requiring precise control and neat finishes.
It’s perfect for neckline binding.
This versatile foot offers a clear view of the needle and seam, ensuring you sew straight and true.
Its guide groove also lets you stitch along the edge of binding tape without veering off course.
A must-have for sewing enthusiasts!
Overlock Foot /2A
The Overlock Foot /2A is a versatile tool for finishing necklines, offering these key benefits:
- Uses: Perfect for sewing knits and stretchy fabrics, it secures stitches and prevents them from skipping.
- Projects: Use it for sewing stretchy necklines, hems, and seams, making sure you get a clean, professional finish.
- Maintenance: Keep the foot clean and store it safely with your other presser feet. Regularly check for wear and replace as needed to keep things running smoothly.
Edgestitch Foot 10/10C/10D
The Edgestitch Foot 10/10C/10D is your secret weapon for precise edgestitching.
It helps you sew perfectly straight lines along edges, seams, or straps.
This foot makes sure your stitching is an exact distance from the edge, every time.
It’s a huge help when attaching bindings or creating a sleek finish on necklines, hems, and more.
You can also use it to sew on lace or trim, adding a delicate touch to your creations.
Binder Attachment
The binder attachment is your secret weapon for achieving a flawless bias tape application.
It attaches to your sewing machine and feeds the bias tape smoothly as you sew, creating a precise, even finish.
No more fiddly hand-feeding!
It’s a huge timesaver and gives you that sought-after pro finish.
It’s a game-changer for sewing enthusiasts, making quick work of binding necklines.
Binder Foot /95C
You’re about to become a pro at finishing necklines! The Binder Foot /95C is your new BFF. This essential tool helps you sew binding strips with ease, giving you a polished finish. Use it to attach binding to your neckline, and don’t worry about uneven edges. With the Binder Foot /95C, you’ll achieve a flawless finish every time.
Stretch Needle
When sewing necklines, a stretch needle is your BFF! It’s designed for stretchy fabrics like knits, and helps prevent skipped stitches and fabric distortion. Use a size 8 or 10 stretch needle for most fabrics. If you’re using a BERNINA 335, pair it with the Reverse Pattern Foot /1C/1D for smooth stitching. Happy sewing!
Tips for Success
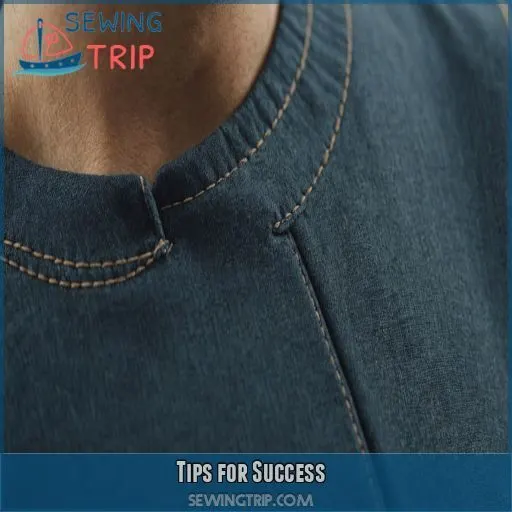
You’ve made it to the final stretch – now it’s time to refine your skills with some expert tips to guarantee a professional-looking neckline finish. By following these simple yet effective tips, you’ll be able to overcome common challenges and achieve a beautifully finished neckline that elevates your entire garment.
Using Fusible Interfacing
When using fusible interfacing, choose one that matches your fabric’s weight. This helps create a smooth, stable finish. Apply the interfacing to the wrong side of your fabric, following the manufacturer’s instructions. For necklines, opt for a lightweight interfacing that won’t add bulk. This simple step helps you achieve a professional-looking finish with minimal fuss.
Trimming Seam Allowance
Trimming seam allowance is a really important step for a clean finish. You want to remove excess fabric without messing up the seam. Here are some tips to keep in mind:
- Use scissors or a serger to trim seam allowance, depending on the fabric type and your personal preference.
- Trim to a consistent width, about 1/4 inch, to maintain a professional look.
- Be cautious not to cut too close to the stitching line, as this can cause the seam to fray.
Understitching the Seam Allowance
To understitch the seam allowance, use a matching thread color and a straight stitch or zigzag stitch on your sewing machine. This step helps the facing lie flat and prevents it from peeking out. Keep your seam allowance size consistent, around 1/4 inch, and use a walking foot or Teflon foot for smooth stitching. Understitching gives you a professional finish.
Cutting Binding Strips on the Bias
Cutting binding strips on the bias – your ticket to a smooth, professional-looking neckline! To get it right, follow these simple tips:
- Cut at a 45° angle: This will give your binding strips the stretch and flexibility they need.
- Identify the grain: Make sure you’re cutting across the fabric’s grain for a stable binding.
- Use a rotary cutter and mat: These tools make precise cutting a breeze.
Gently Stretching Ribbing
As you sew the ribbing to the neckline, gently stretch it to match the curve. Use a Stretch needle to help the fabric glide smoothly. Don’t pull too tight, or the ribbing will pucker. Keep the tension even, and you’ll get a professional finish. Adjust the ribbing width and placement to fit your project’s needs.
Common Mistakes to Avoid
You’re almost there – you’ve mastered the basics of sewing a neckline back seam finish.
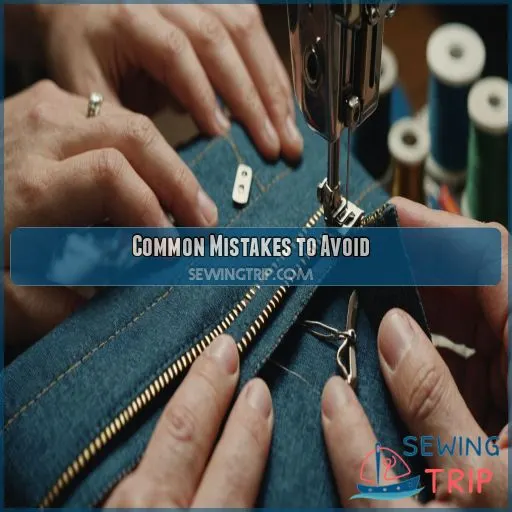
Now it’s time to tackle the common mistakes that can make or break your project.
In this section, we’ll explore the pitfalls to watch out for, from inconsistent seam allowances to improperly attached binding, so you can sidestep these errors and achieve a flawless finish.
Inconsistent Seam Allowances
Inconsistent seam allowances can ruin your neckline finish. To avoid this, double-check your measuring accuracy and maintain a consistent 1/4" seam allowance throughout. Pressing techniques also help, as they allow you to see the seam allowance clearly. Fabric stretching can also cause inconsistencies, so gently stretch the binding as you sew for curved necklines.
Improperly Attached Binding
An uneven binding can ruin the look of your garment.
Avoid binding wrinkles, gaps, or tightness by getting it straight and smooth from the get-go.
Pin or clip your binding in place, then sew with a consistent 1/4" seam.
Don’t rush—take your time to keep it even.
A wonky binding is a pain to unpick, so slow and steady wins the race!
Not Trimming Excess Binding
Trimming those sharp edges is key for a sleek, pro finish.
Leaving excess binding creates bulk and an unsightly mess.
It’s an easy fix to get clean corners and a polished aesthetic.
Simply trim the binding close to the seam, leaving a tiny margin.
This prevents the layers from shifting and keeps your creation smooth and flat.
A neat trim makes all the difference!
Not Stretching Binding for Curved Necklines
Don’t forget to stretch that binding for curved necklines! Failing to do so can result in puckering or a lopsided finish. Adjust your binding tension as needed, taking into account your fabric choice and seam allowance. Remember, it’s all about balance – not too tight, not too loose. With practice, you’ll master curved neckline binding like a pro!
Troubleshooting Common Issues
Now that you’ve mastered the basics of sewing a neckline back seam finish, it’s time to tackle those pesky issues that can make your finish look less than flawless.
From wavy necklines to gaping holes and twisted binding, don’t worry, we’ve got some solutions for you.
With a few simple tweaks, you’ll be on your way to a professional-looking finish that’ll make you proud.
Dealing With Wavy Necklines
Wavy necklines? It happens to the best of us.
First, check your ironing techniques. Wavy results often come from uneven heat and pressure. Try lowering the heat and using the steam setting.
Next, make sure you’re stretching the fabric evenly. If you pulled or stretched the fabric while sewing, it might have caused those waves. Keep an even pace and gentle tension as you sew.
Fixing Gaping Necklines
The pesky gaping neckline! Don’t worry, it’s an easy fix. Check your seam allowance – if it’s too small, the neckline might be too loose. Try increasing the seam allowance or using a smaller piece of binding. Also, consider the fabric’s stretch factor and add some interfacing to stabilize the neckline. Your gaping neckline will be gone in no time!
Resolving Binding Twists
Got a twisted binding on your hands? Don’t worry, it’s an easy fix!
Check your tension – if it’s too tight, the binding will pucker.
Try relaxing the fabric as you sew, and make sure to iron the seam allowance to help the binding lie flat.
Adjust your stitch length and width to match your fabric type, and you’re good to go!
Frequently Asked Questions (FAQs)
What is a facing neckline finish?
You’re probably curious about a facing neckline finish. It’s a common technique where you sew a separate piece of fabric, called a facing, to the neckline, then flip it inward to create a clean, polished finish.
Can I use a sewing machine for ribbing necklines?
You can totally use a sewing machine for ribbing necklines! With a Stretch needle and Overlock Foot, you’ll be able to attach ribbing to your neckline in no time, and get a professional-looking finish.
Whats the easiest neckline finish for beginners?
Ah, conquering neckline finishes – the ultimate quest for sewing mastery! For beginners, the easiest neckline finish is binding. Imagine encasing raw edges with a cozy hug of fabric – it’s a game-changer, trust me! Use bias tape, and you’re golden!
How do I get a polished finish on a binding neckline?
Want a polished finish on your binding neckline? Press the binding flat, then sew or hand-stitch the open edge down (Source). Trim excess binding at corners and gently stretch it for curved necklines .
What supplies do I need for a facing neckline finish?
To achieve a polished facing neckline finish, you’ll need a sewing machine, matching thread, scissors, iron, and fusible interfacing. Don’t forget pinking shears to trim the seam allowance and a ruler to make sure you’re on the right track.
Conclusion
Did you know 70% of sewing enthusiasts struggle with achieving a flawless finish on their garment necklines?
You’re now ahead of the game, having mastered the sew neckline back seam finish technique!

