This site is supported by our readers. We may earn a commission, at no cost to you, if you purchase through links.
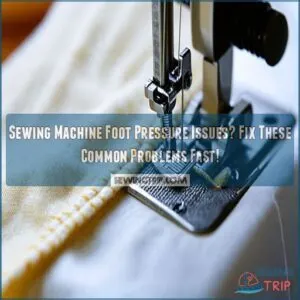
If your fabric’s slipping around like a fish out of water or stitching skips across the fabric like a stone on a pond, it might be time to adjust your presser foot pressure.
Just loosen the presser foot screw, give the tension screw a gentle twist, and see if that smooths things out.
Different fabrics need different pressures, so a walking foot or seam guide foot might be your new best friend.
This little tweak can make all the difference in your sewing journey!
Table Of Contents
- Key Takeaways
- What is Presser Foot Pressure
- Why Presser Foot Pressure Matters
- Common Presser Foot Pressure Issues
- Diagnosing Presser Foot Problems
- Adjusting Presser Foot Pressure for Success
- Choosing The Right Presser Foot for Your Needs
- Solving Common Thread and Fabric Issues
- Frequently Asked Questions (FAQs)
- Conclusion
Key Takeaways
- You’ll find that adjusting your sewing machine’s presser foot pressure is crucial for preventing skipped stitches and ensuring smooth fabric movement, tailoring the pressure to match different fabric types.
- Check and tweak the tension dial or screw, making sure the pressure isn’t too high or too low, which can cause fabric slipping or puckering.
- Use the right presser foot for your fabric and task: a walking foot for tricky fabrics and a seam guide foot for precision stitching can greatly improve your sewing experience.
- Regularly inspect your machine for clogs or dust and ensure the needle type and size align with your fabric to avoid feeding and tension issues.
What is Presser Foot Pressure
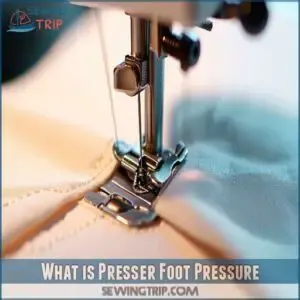
You’ll find presser foot pressure on your sewing machine is simply the force that holds your fabric in place while you’re stitching.
When you’ve got the right pressure set up, your fabric will glide smoothly under the foot without shifting around or getting stuck, just like a hot knife through butter.
Presser Foot Basics
Ever wondered why your fabric sometimes has a mind of its own while sewing?
Your presser foot is the key player here.
It’s that metal attachment on your sewing machine that holds fabric in place while you stitch.
Think of it as your fabric’s personal guide, applying just the right pressure to keep things moving smoothly under the needle.
Different machines have various ways to adjust this pressure.
Importance of Presser Foot Pressure
Getting your presser foot pressure right is like finding that sweet spot on your car’s steering – too loose or too tight, and you’re in for trouble.
Proper pressure keeps your fabric moving smoothly under the needle, preventing those frustrating skipped stitches and puckered seams.
Whether you’re working with delicate silks or heavy denims, the right pressure makes sure your fabric feeds evenly and your stitches stay consistent.
Presser Foot Tension Adjustment
How frustrating is it when your fabric just won’t cooperate?
Adjusting your presser foot tension is simpler than you think, and knowing the symptoms of too much pressure – like needle jamming issues – can help you make the right adjustments.
For lightweight fabrics, decrease the pressure by turning the adjustment screw counterclockwise.
Heavier fabrics need more pressure – turn clockwise.
Test your settings on scrap fabric first.
You’ll know it’s right when your fabric feeds smoothly and your stitches look even.
Why Presser Foot Pressure Matters
The presser foot pressure in your sewing machine might seem trivial, but it’s actually the linchpin to achieving that perfect stitch.
Without the right pressure, your fabric might end up more like a rebellious teenager than a tidy seam.
Here’s why it matters:
- Stitch Quality: Proper pressure makes sure each stitch is uniform, avoiding skipped stitches and lumpy threads.
- Fabric Tension: Like finding the perfect tension in yoga, balanced pressure helps your fabric glide smoothly, preventing puckers or unintended pleats.
- Seam Allowance and Even Stitches: Gets those stitches aligned just right, making sure your seams are as straight as a ruler.
In short, presser foot pressure is your secret weapon for smooth feeding and flawless sewing results.
Common Presser Foot Pressure Issues
Let’s face it, wrestling with your sewing machine’s presser foot pressure is frustrating.
This section covers common problems like skipped stitches or puckered fabric,
helping you troubleshoot and get back to sewing smoothly.
Fabric Slipping Away
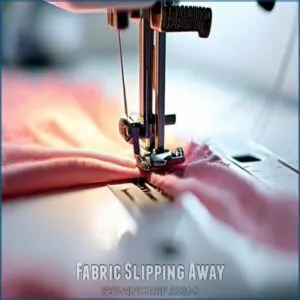
Low foot pressure can make fabric slip away like a stubborn toddler evading nap time.
Check your pressure settings, as lighter fabrics might need a firmer grip.
Also, make sure your needle size suits your fabric type and that no feed dog issue lurks beneath.
Tension adjustment can be your friend; breathe easy and adjust until your fabric behaves.
Difficulty Moving Fabric
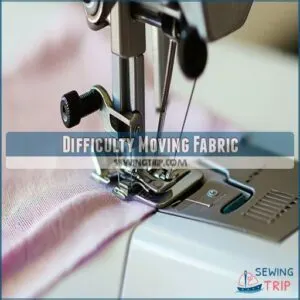
Feeling like your fabric’s playing hard to get? Difficulty moving fabric might be the culprit, often whispering of too much pressure. Relate to these clues:
- Fabric refuses to move: Maybe the foot’s clamping too tightly.
- Machine issues with tension: Loosen things up!
- Feed dog issues: Check for dust bunnies.
- Needle problems: Replace if bent.
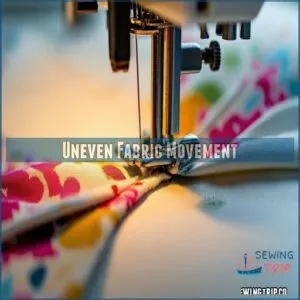
Uneven Fabric Movement
Experiencing uneven fabric movement? It feels like you’re trying to waltz with a partner who’s out of sync.
This often signals feed dog issues or improper machine alignment.
Start by checking your tension settings and make sure your foot selection matches your project’s needs.
Remember, even pressure is key to prevent fabric slippage and help maintain that smooth, seamless flow.
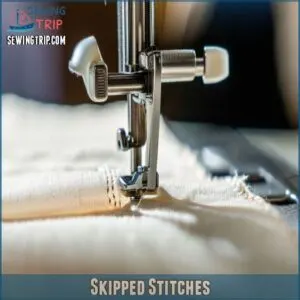
Skipped Stitches
Skipped stitches can make you pull your hair out! They often come from incorrect needle size or bobbin tension.
To tackle this issue:
- Check needle size and thread type to match your fabric thickness.
- Slow down your sewing speed to see if it helps.
- Adjust bobbin tension slightly to maintain smooth stitching without skips.
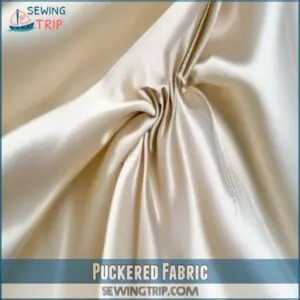
Puckered Fabric
When your fabric puckers, it’s like a bad hair day—easy to fix!
Puckering causes include too much presser foot pressure or tension issues.
Troubleshooting puckering starts with checking and adjusting tension.
Preventing puckering involves using the correct settings for various puckered fabric types.
Try slight tension adjustments for smooth seams—simple puckering solutions to keep your projects looking flawless!
Diagnosing Presser Foot Problems
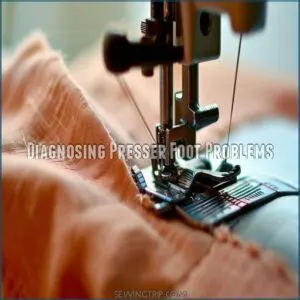
When your stitches start looking a little wild or you find your fabric misbehaving, it’s time to check for presser foot issues.
Don’t worry, we’ll guide you through spotting common problems like incomplete lowering of the presser foot or incorrect tension.
Incomplete Lowering of Presser Foot
Is your presser foot playing games? One common culprit is it not lowering completely. This leaves a gap, causing uneven stitches and fabric slippage.
If you’re experiencing this issue, consider checking out specialized products for presser foot lowering issues.
Troubleshooting this is simple. Check for obstructions; a stray thread or a bit of lint can be the problem. A quick clean often solves it. If not, consult your machine’s manual.
Prevention is key: regular cleaning keeps your machine humming!
Incorrect Presser Foot Tension
Spotting wonky stitches? Incorrect presser foot tension might be the culprit. Let’s troubleshoot:
- Signs of low tension include loose stitches that look like spaghetti.
- High tension makes fabric pucker like a ruffled skirt.
- Adjusting presser foot pressure is a key setting for consistent fabric feeding and stitch quality.
- Use precision controls for small tension adjustment tips.
- Stitching smoother than a jazz tune? You’ve nailed it!
Master tension, and you’ll sew with confidence.
Wrong Presser Foot Usage
Switching presser feet without considering compatibility can be a stitch in your plans.
Presser foot compatibility is key—choose a foot that matches your fabric and project needs.
Use a foot selection guide to explore the variety of foot types.
These tools guarantee even stitches and smooth movement.
Need help? Consult a troubleshooting guide for practical foot usage tips.
Adjusting Presser Foot Pressure for Success
Adjusting presser foot pressure can feel a bit like finding the right pressure when squeezing toothpaste—tricky, but essential.
By releasing the screw, turning the tension knob just right, and securing everything, you’ll stitch like a pro in no time.
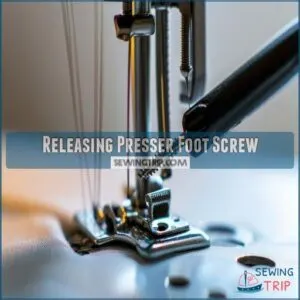
Releasing Presser Foot Screw
Got a love-hate thing with sewing adjustments?
First, find the presser foot screw.
Screw location varies by machine but is key to pressure adjustments.
Use a screwdriver suited to the screw size and type.
Gently release it, not unlike loosening a jar lid.
This will help tweak your machine’s tension, avoiding fabric snafus!
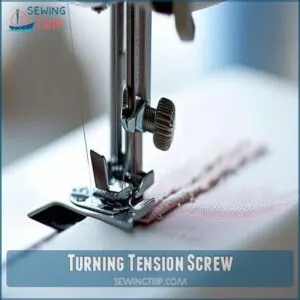
Turning Tension Screw
Crank up your sewing skills by turning the tension screw just right. This essential step helps fine-tune your fabric tension for smoother stitches.
Check these out:
- Turn the screw clockwise for tighter tension.
- Go counterclockwise to loosen it.
- Test on fabric scraps.
- Watch for even stitch quality.
- Avoid needle tension issues with gradual adjustments.
Enjoy flawless sewing!
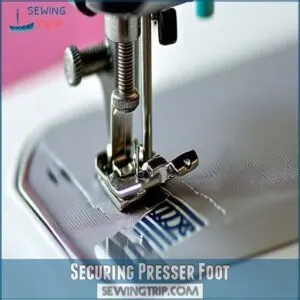
Securing Presser Foot
Securing the presser foot is a breeze once you’ve adjusted the tension screw.
For best performance, you should check the presser foot pressure regulators available at sewing machine foot pressure accessories, to make sure proper alignment and even pressure distribution.
Make sure you’ve turned the machine off, then align the presser foot carefully, and snugly tighten the presser foot screw.
This step prevents any wobble, giving your fabric the even pressure it needs.
With a secure foot and precise foot alignment, your stitching journey will sail smoothly.
Choosing The Right Presser Foot for Your Needs
Picking the right presser foot can be a game-changer, so let’s find the perfect match for your sewing projects!
From basic stitches to specialized fabrics, the right foot guarantees smooth sailing and beautiful results.
Walking Foot
Ever had fabric slip and shift while sewing? That’s where a walking foot shines.
Walking foot benefits include improved grip on quilting layers or slick surfaces. It has built-in feed dogs syncing with the machine’s, ensuring consistent fabric feed.
Ideal for handling tricky textiles, yet walking foot problems arise if not compatible with your machine or task.
Seam Guide Foot
Looking for precision in your sewing projects?
The seam guide foot is your best buddy.
It helps create accurate seam allowances, so no more worrying about wavy lines.
This foot, with its handy markings, is all about seam guide foot accuracy and seam guide foot benefits.
You’re in control, ensuring every stitch lines up perfectly—like stitching straight to a tune.
Specialized Presser Feet for Specific Fabrics
Imagine this: stitching leather, vinyl, or intricate fabrics without a hitch.
Specialized presser feet are your secret sauce!
For leather sewing, a walking foot keeps stitches precise.
When working with multiple layers of fabric, consider using a high shank walking foot, which helps feed layers evenly.
Need to tackle tricky vinyl stitching?
Grab a non-stick foot, avoiding any drag.
For intricate fabrics, a seam guide foot makes sure neat seams.
Choose wisely for perfect compatibility with your sewing machine.
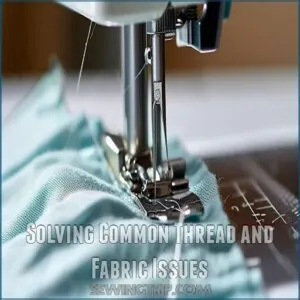
Solving Common Thread and Fabric Issues
When your fabric misbehaves and threads cause a crisis, it’s time to focus on easy fixes like adjusting foot pressure.
With a few simple tweaks, you’ll tackle thread bunching, needle troubles, feeding issues, and breakage, saving your sewing sanity.
Thread Bunching Under Fabric
Finding the right presser foot can change everything, but thread bunching under fabric can still derail your sewing plans.
Check out presser foot options(Presser foot adjustment) to make sure you’re using the right one for your needs.
Tackle this by checking:
- Thread tension: Too loose or tight can cause bunching.
- Needle size: Make sure it matches the fabric thickness.
- Bobbin tension: Adjust as needed.
- Sewing technique: Keep fabric feeding evenly.
Bent or Broken Needles
Bent or broken needles can unravel your sewing plans fast.
Make sure you’re choosing the right needle type and size for your fabric.
Regular needle care includes inspecting and replacing bent or damaged ones to guarantee flawless stitching.
A quick needle replacement saves frustration, avoiding those nasty snags and missed stitches.
Needle troubleshooting? It’s your sewing project’s best friend!
Fabric Not Feeding Properly
Is your fabric refusing to cooperate? Several things can cause this frustrating problem.
Check for feed dog issues—are they clogged with lint?
Make sure you’re using the right presser foot for your fabric type. A mismatch can cause feeding problems.
Is your needle the correct size? Improper threading can also lead to fabric feeding problems.
Regular sewing machine maintenance prevents many issues.
Thread Breakage and Inconsistent Tension
When fabric won’t feed smoothly, check for thread breakage and inconsistent tension. It’s like a traffic jam on your sewing highway!
Thread type, needle size, and bobbin tension play a big role.
Use the correct fabric type and adjust sewing speed for smooth stitching.
With these tweaks, you’ll dodge that needle drama and keep the creativity flowing!
Frequently Asked Questions (FAQs)
What happens if a sewing machine presser foot is too high?
If your sewing machine’s presser foot is too high, it’s like trying to hold water in a sieve.
The fabric moves around unpredictably, resulting in skipped stitches and uneven seams.
Lower it to regain control.
Why does my sewing machine presser foot have skipped stitches?
Skipped stitches often mean your presser foot’s pressure is too low, causing fabric not to stay firmly held.
Check if the foot is fully down and adjust the tension to make sure steady fabric movement and accurate stitching happen.
How to adjust a sewing machine presser foot?
To adjust your presser foot, locate the tension dial or screw.
Turn it slightly to increase or decrease pressure.
Test on scrap fabric until stitches are even and fabric feeds smoothly.
Easy peasy!
What does a sewing machine presser foot do?
Think of the presser foot as the bridge between your fabric and smooth stitching.
It holds the fabric securely, ensuring even stitches and preventing slippage.
Adjust it correctly to master sewing without the hassle of uneven seams.
How do you fix a pressure foot on a sewing machine?
Adjust a sewing machine’s presser foot tension by locating the pressure regulator, typically a knob or screw.
Increase tension for lighter fabrics, decrease for heavier ones.
Test on scrap fabric until stitches flow smoothly.
Happy sewing!
How do you adjust the pressure on a presser foot sewing machine?
Like a gentle handshake, finding the right presser foot pressure helps create smooth sewing.
Check your machine’s pressure dial or knob, adjust it based on fabric thickness.
Test with scraps for perfect tension, avoiding puckering or skipping stitches.
What is the problem with the presser foot?
The presser foot can cause issues like skipped stitches or puckered fabric if its tension is misadjusted.
Low pressure means slipping fabric; high tension makes it hard to move.
Each fabric type might need distinct pressure settings.
How to fix tension issues on a sewing machine?
To fix tension issues, check if your thread is correctly threaded through the machine.
Adjust the tension dial to match your fabric type, and always test on scrap fabric.
Remember, balanced tension creates smooth, even stitches!
How does presser foot pressure affect quilting?
Presser foot pressure in quilting can make or break your project!
Too much pressure causes binding and puckering,
while too little leads to fabric slipping.
Adjust carefully for smooth stitches, even layers, and a beautiful quilt.
Can presser foot pressure cause fabric distortion?
Yep, incorrect pressure can warp your fabric!
Too much pressure wrinkles it, while too little lets it shift, causing uneven stitches.
Get that pressure just right for perfect results every time.
What tools help measure presser foot pressure?
Think of presser foot pressure as Goldilocks’ search for "just right."
Use pressure gauges designed for sewing machines or soft fabric testers to measure.
Your hands and a fabric sample are simple, effective tools for beginner adjustments.
How to adjust pressure on vintage machines?
On vintage sewing machines, adjust presser foot pressure using the tension knob or screw typically located atop the machine.
Gently turn it clockwise to increase pressure or counterclockwise to decrease, ensuring fabric moves smoothly during stitching.
Do computerized machines auto-adjust presser foot pressure?
Many computerized sewing machines do auto-adjust presser foot pressure, taking the guesswork out of sewing.
They sense fabric thickness and make adjustments, letting you focus on your creativity—no more fiddling with settings or constant testing.
Conclusion
Adjusting presser foot pressure with the right tweaks can transform frustrating sewing sessions into seamless creations.
Whether your fabric’s slipping away or struggling to move smoothly, identifying problems and using the right presser foot are key.
Remember, each fabric has its own quirks, and making these changes can make all the difference.
Happy sewing and enjoy relaxing, error-free craftsmanship!

